[LINUX] Install Ubuntu 20.04 with GUI and prepare the development environment
Purpose of this article
This article is a record of a Mac user who was inspired by the release of Ubuntu 20.04 and tried to build an environment. I've installed Ubuntu 20.04 on both my laptop and VirtualBox on my Mac and found that it works. I think that there is a setting that does not receive everyone, so I hope that you can read it as much as there are people who do this kind of thing.
Specifically, we did the following:
--[Install Ubuntu](Install #ubuntu) -[Install Google Chrome](Install # google-chrome) -[Abandon ibus and install fcitx-mozc](Abandon #ibus and install fcitx-mozc) -[Crush caps lock and change to ctrl](Crush #caps lock and change to ctrl) -[Install Regolith Linux and try using i3](Install # regolith-linux and try using i3)
By the way, this article is written from the installed Ubuntu.
Until you boot Ubuntu from iso
Download the Ubuntu 20.04 iso from the following page. https://jp.ubuntu.com/download
I wrote a rough explanation for both the case of physically installing on a computer and the case of installing as a VM, so please read the one you like. If you are familiar with installing Linux, skip to [Detailed settings after installation](#Detailed settings after installation).
Those who install on laptops
Insert a USB memory etc. into your Mac and use the following command to find the location where the USB memory is recognized.
$ diskutil list
Unmount the USB stick
$ diskutil unmountDisk /dev/disk2
Burn the iso to a USB stick with dd. All the contents of USB will be erased.
$ sudo dd if=./ubuntu-20.04-desktop-amd64.iso of=/dev/disk2 bs=4028
Stick it in the laptop you want to install it on and reboot. If you hit ESC or something repeatedly when the BIOS screen appears, it will boot from USB. I don't explain in detail how to boot from USB because I think there are many other commentary articles.
When installing in VirtualBox
Create a new VM with a nice touch. 8GB of memory and 30GB of disk are allocated.

After creating the VM, I increased the CPU allocation to 4 Core,

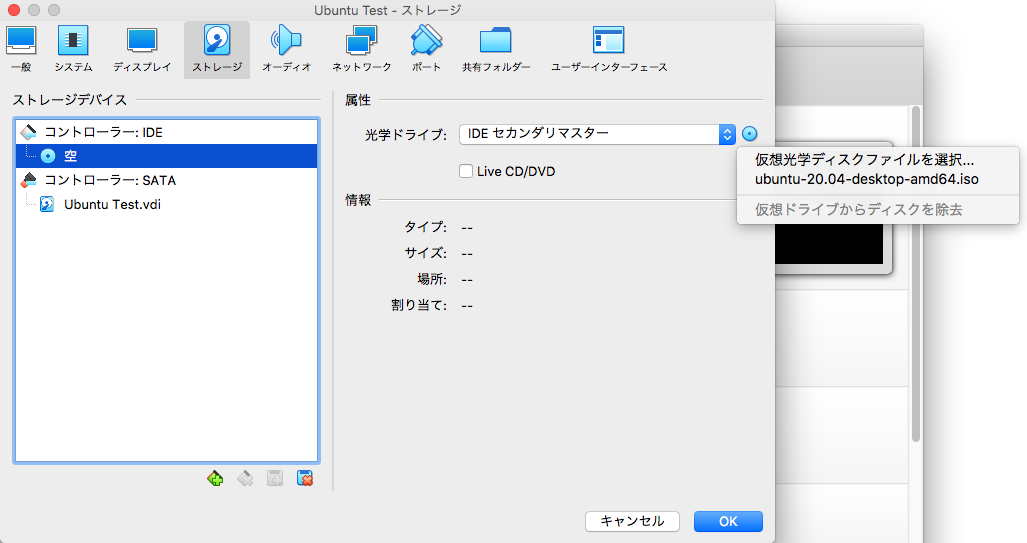
I set the iso I downloaded earlier as the optical drive.
Install ubuntu
The screens from here are all VirtualBox screens because it is difficult to take screenshots during installation.
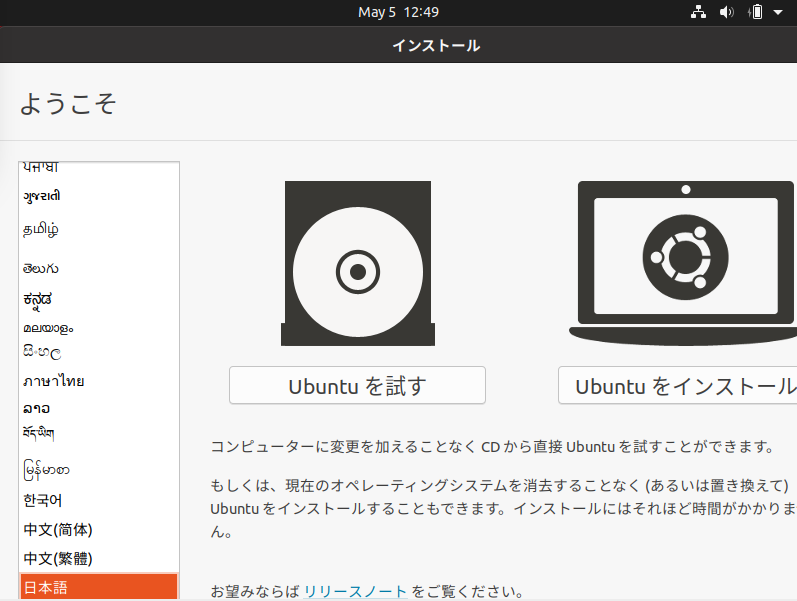
When you start Ubuntu, a screen like this will appear, so select Japanese at the bottom from the language column on the left and press Install Ubuntu.
Select the Keyboard you are using now.
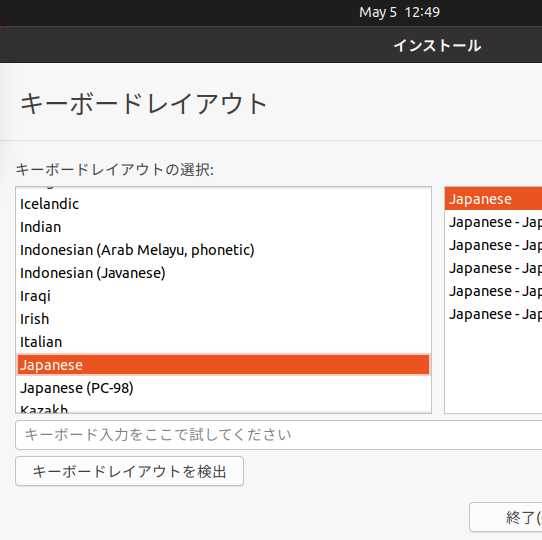
This area is your choice. I proceeded as it was.
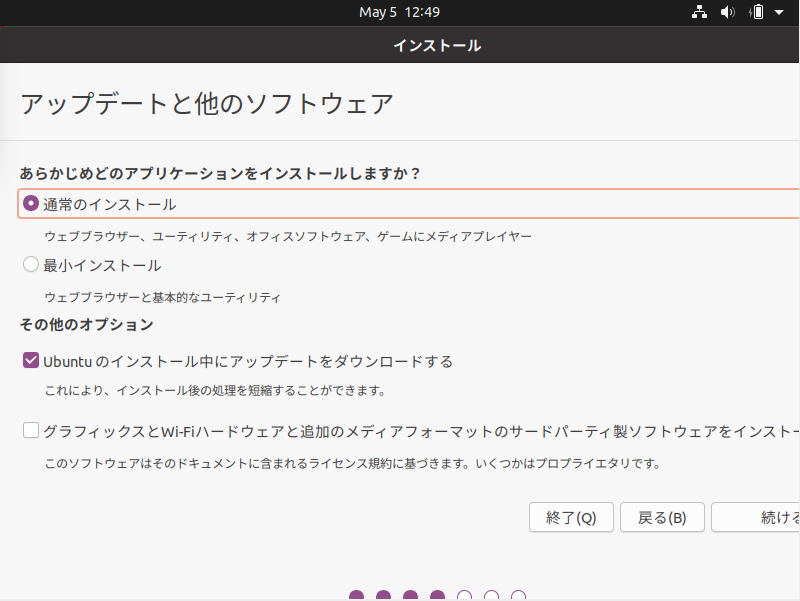
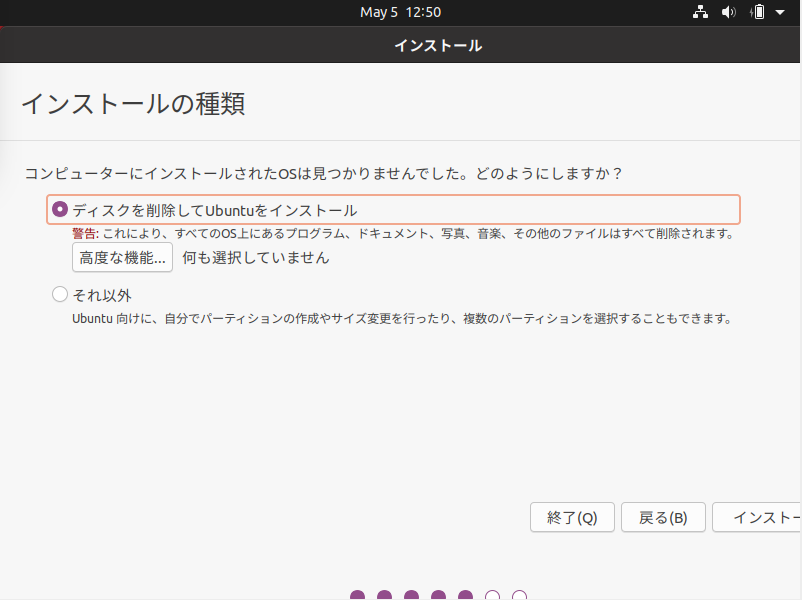
Select how to install on the disk. With VirtualBox, don't worry about it. When installing on a normal computer, you will be asked what to do with the existing OS. I think there is a way to live with Windows, but I won't explain it this time because the story goes awry. Proceed by erasing everything.
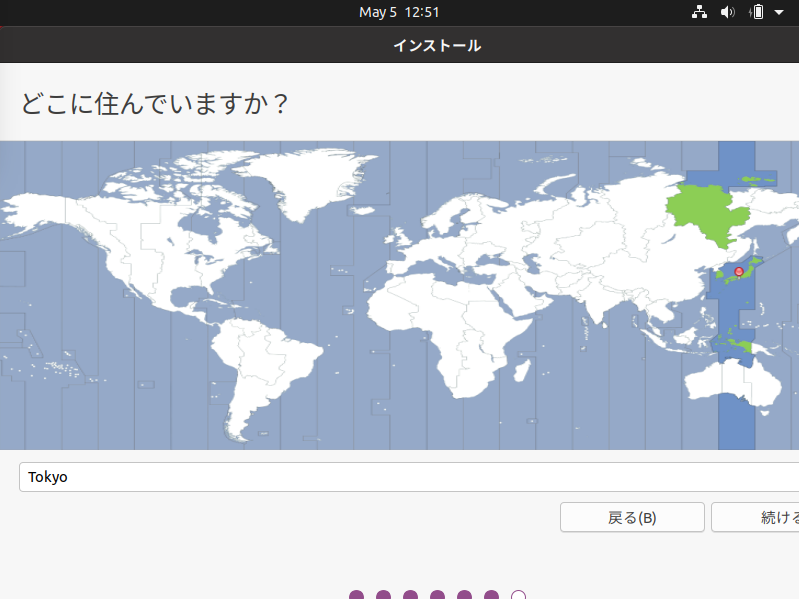
Select Tokyo for Timezone.
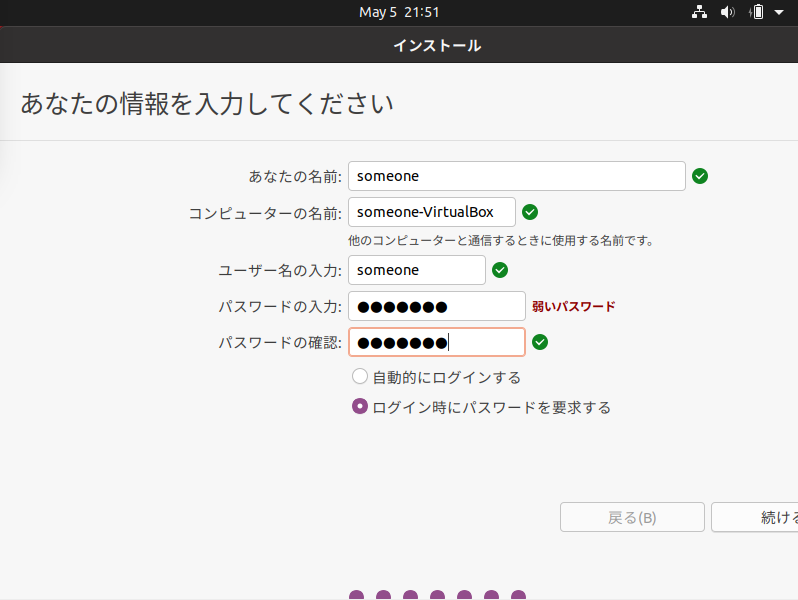
Please enter your favorite user name. Password too.
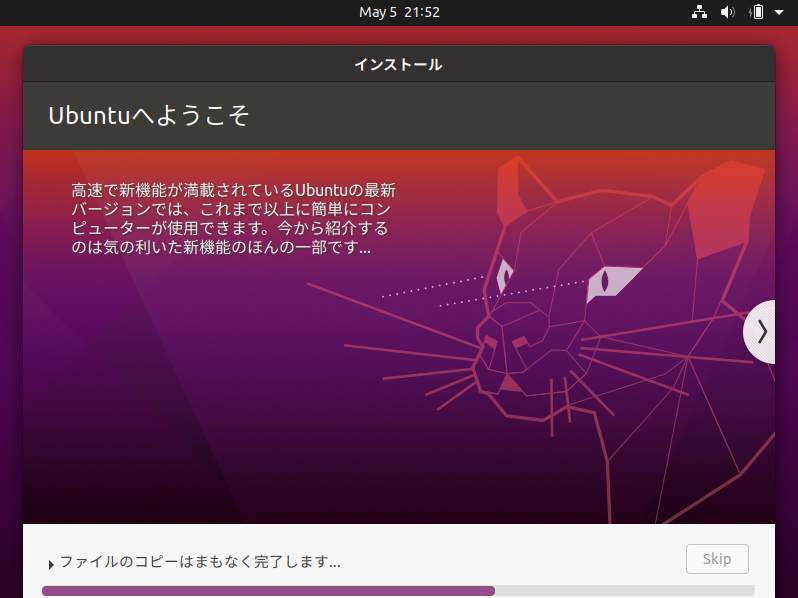
The installation has started. In my environment it took about 5 minutes.
The code name of Ubuntu 20.04 is Focal Fossa, but the screen shows Fossa as if you were staring at it.
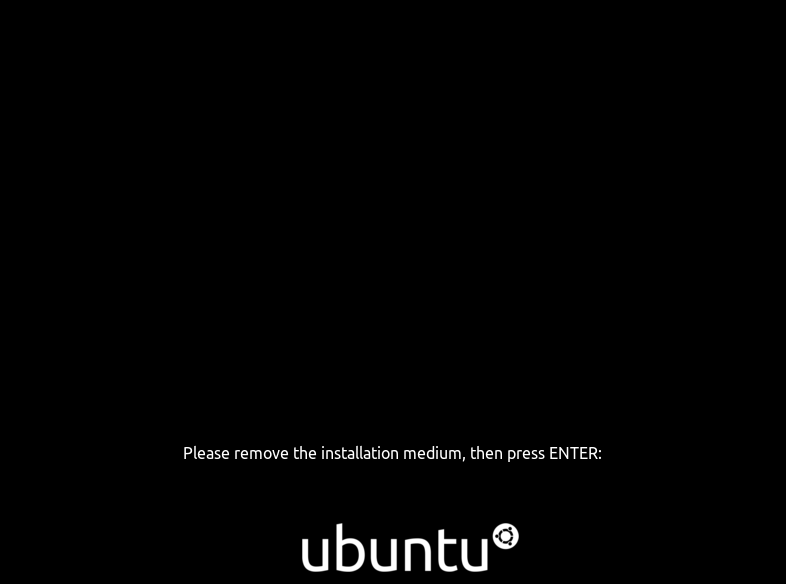
The installation is completed successfully. VirtualBox will be restarted if you just press Enter. If you are installing directly on your computer, unplug the USB and press Enter.
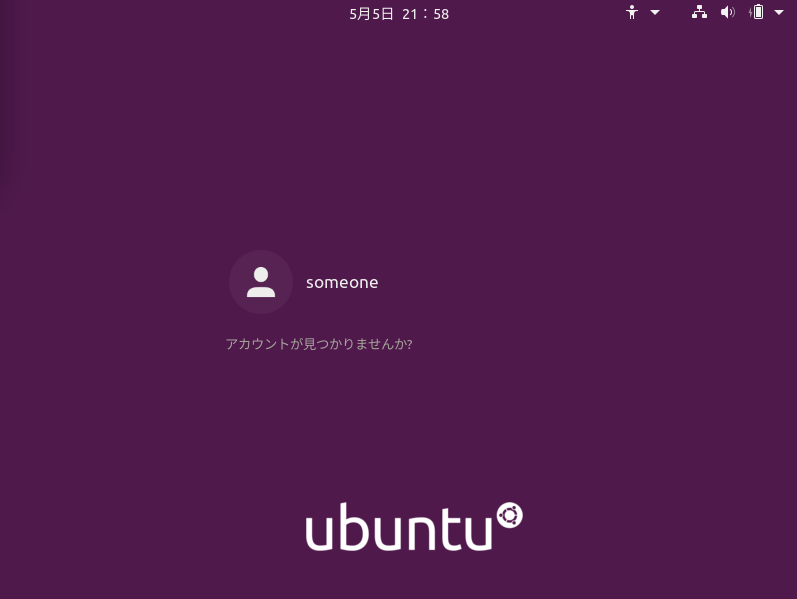
After restarting, this screen will appear, so select your user name, enter your password, and log in.
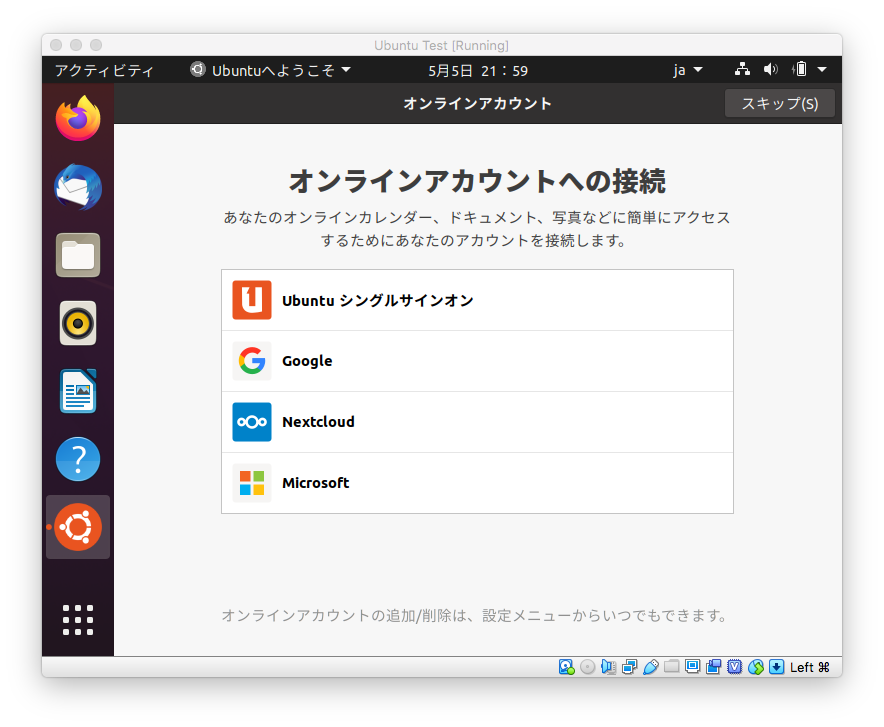
Various initial settings will come out, so proceed as you please.
Detailed settings after installation
Install Guest Additions for VirtualBox.
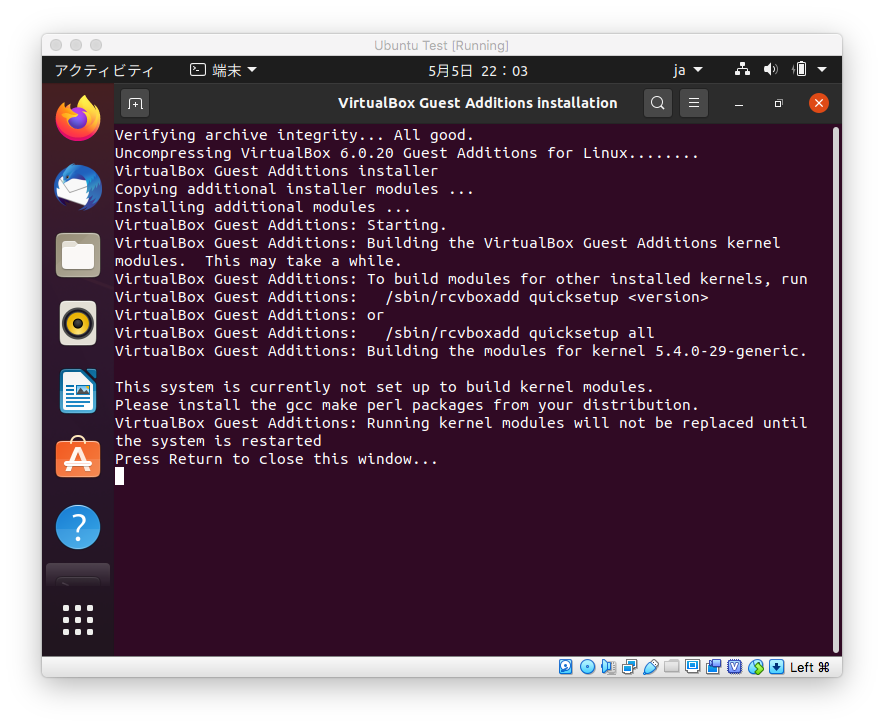
It's only VirtualBox, but it's sad if the screen remains narrow, so let's install Guest Additions so that you can expand the screen. From the menu bar on the Host side, press "Devices"-> "Insert Guest Additions CD image" and install as told.

When you see this, you're done, so press Enter to exit. After that, if you resize the window of VirtualBox, the screen will expand properly.
Convert files in your home directory back to English
By default, some directories under your home directory look like download, and it's hard to choose from the console, so I'll switch back to English.
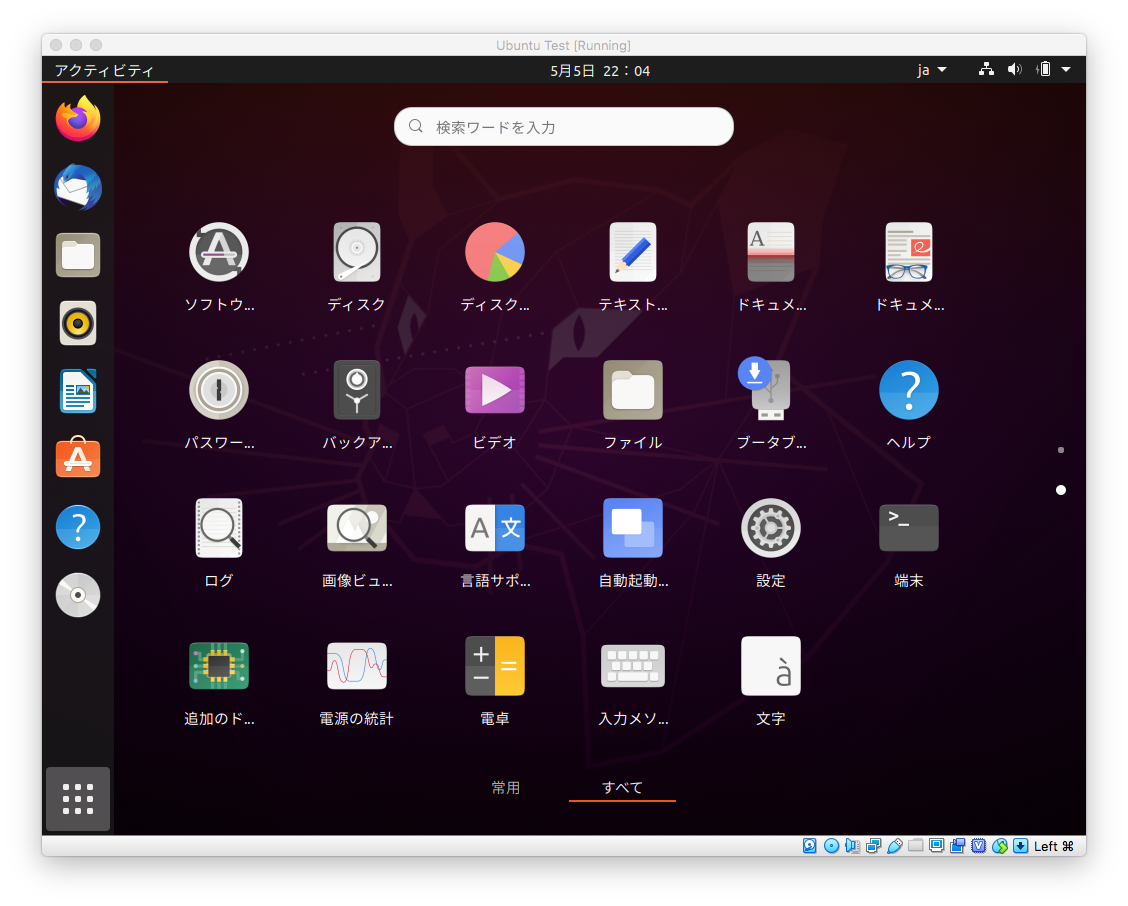
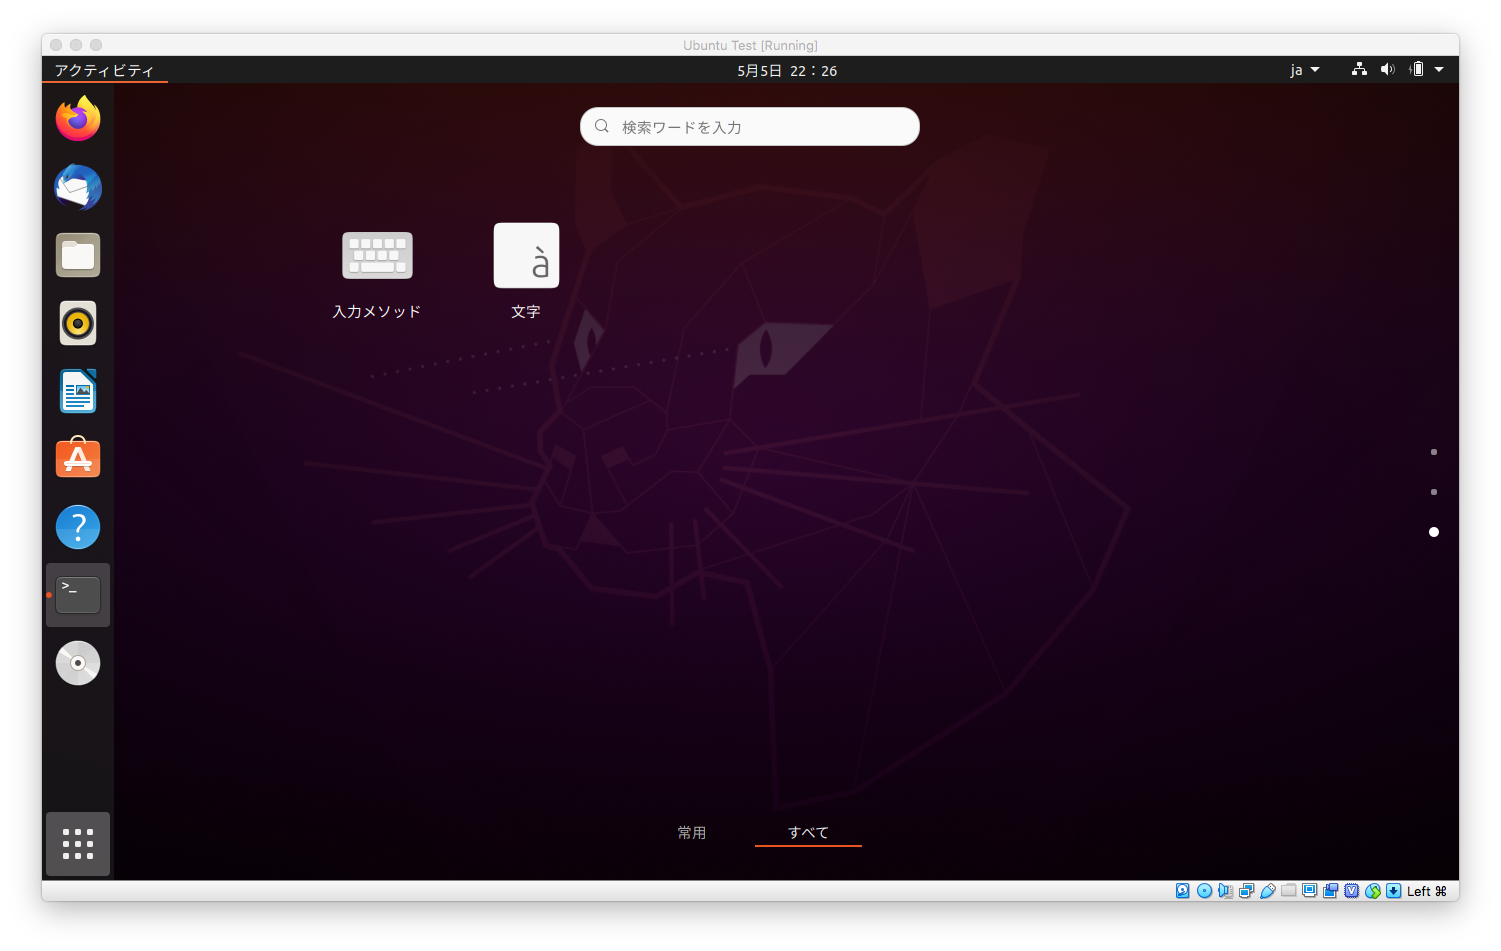
You can start the console by pressing the dots at the bottom left and scrolling down to find a terminal.
$ LANG=C xdg-user-dirs-gtk-update
Install Google Chrome
I like Chrome so I'll say goodbye to FireFox early.
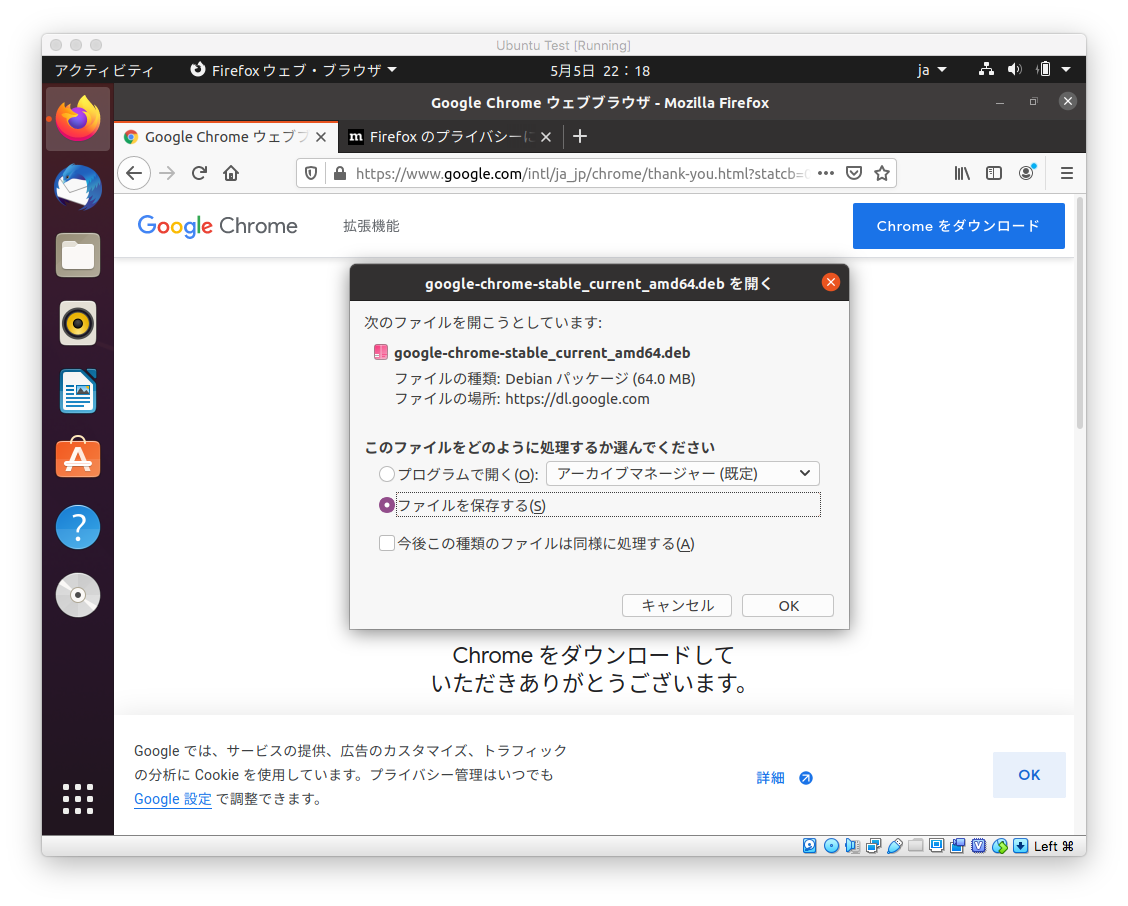
Download the .deb file for debian / ubuntu from the following page. https://www.google.com/intl/ja_jp/chrome/
If you don't normally use FireFox like me, be aware that it will be downloaded as a temporary file in a place you don't understand unless you choose to save it instead of opening it.
Install with the following command. (As an aside, I didn't know until today that I could install .deb files with the apt-get command. I've always used dpkg -i.)
$ sudo apt-get install ~/Downloads/google-chrome-stable_current_amd64.deb
Discard ibus and install fcitx-mozc
Various settings didn't work, so I decided to abandon ibus and install fcitx.
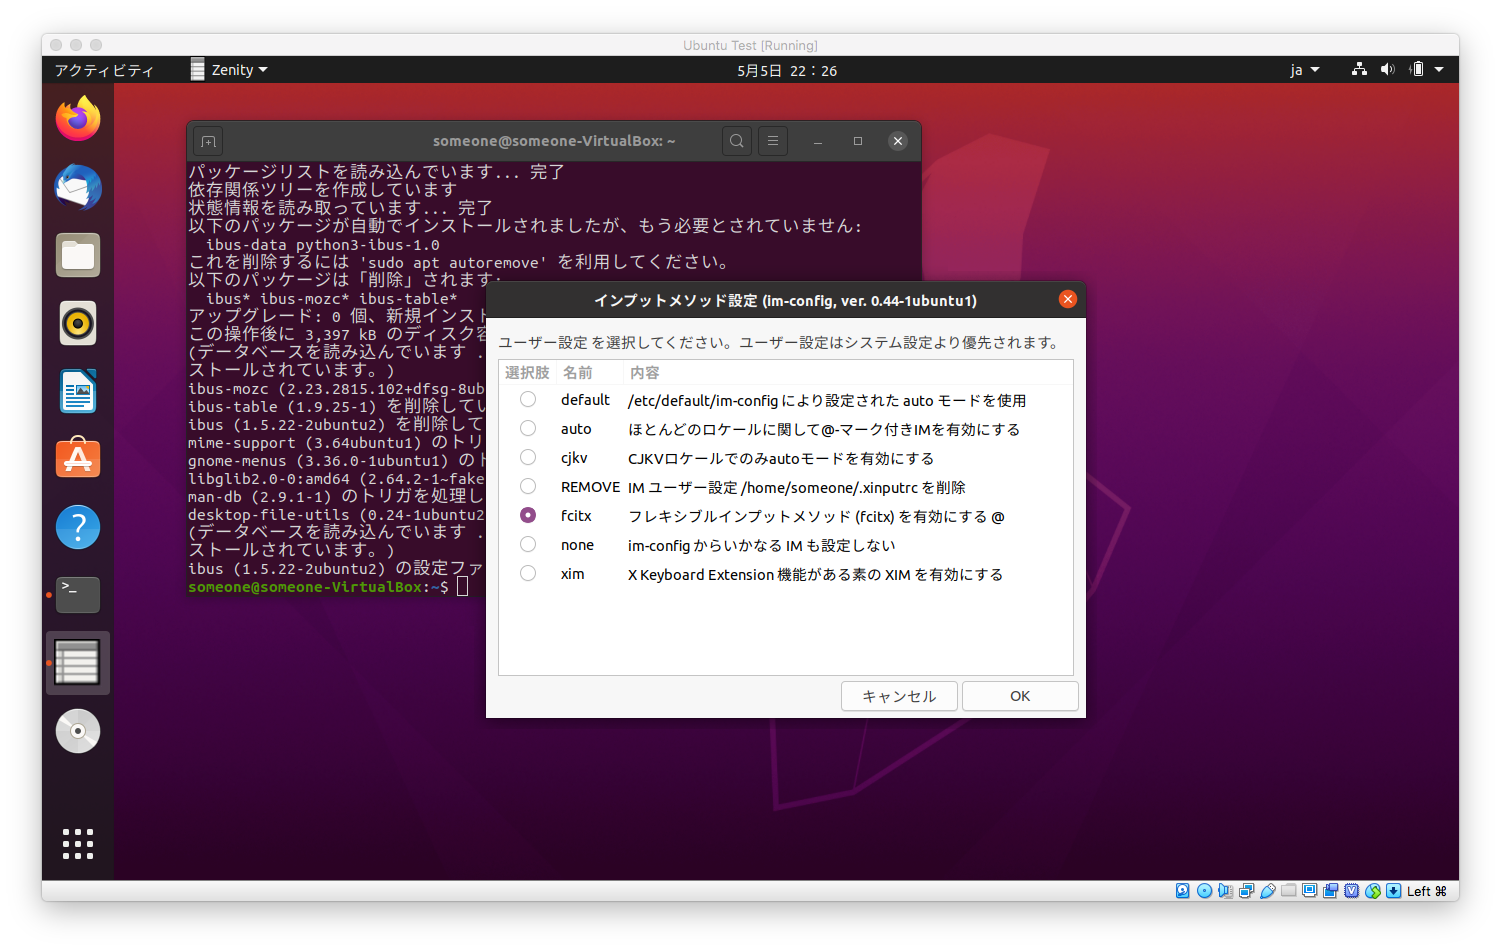
$ sudo apt-get install fcitx fcitx-mozc -y
$ sudo apt-get purge ibus
After executing the above command, open the input tool, press OK and select fcitx.
Reboot once here. Then, I think that you can enter Japanese with ctrl + space.
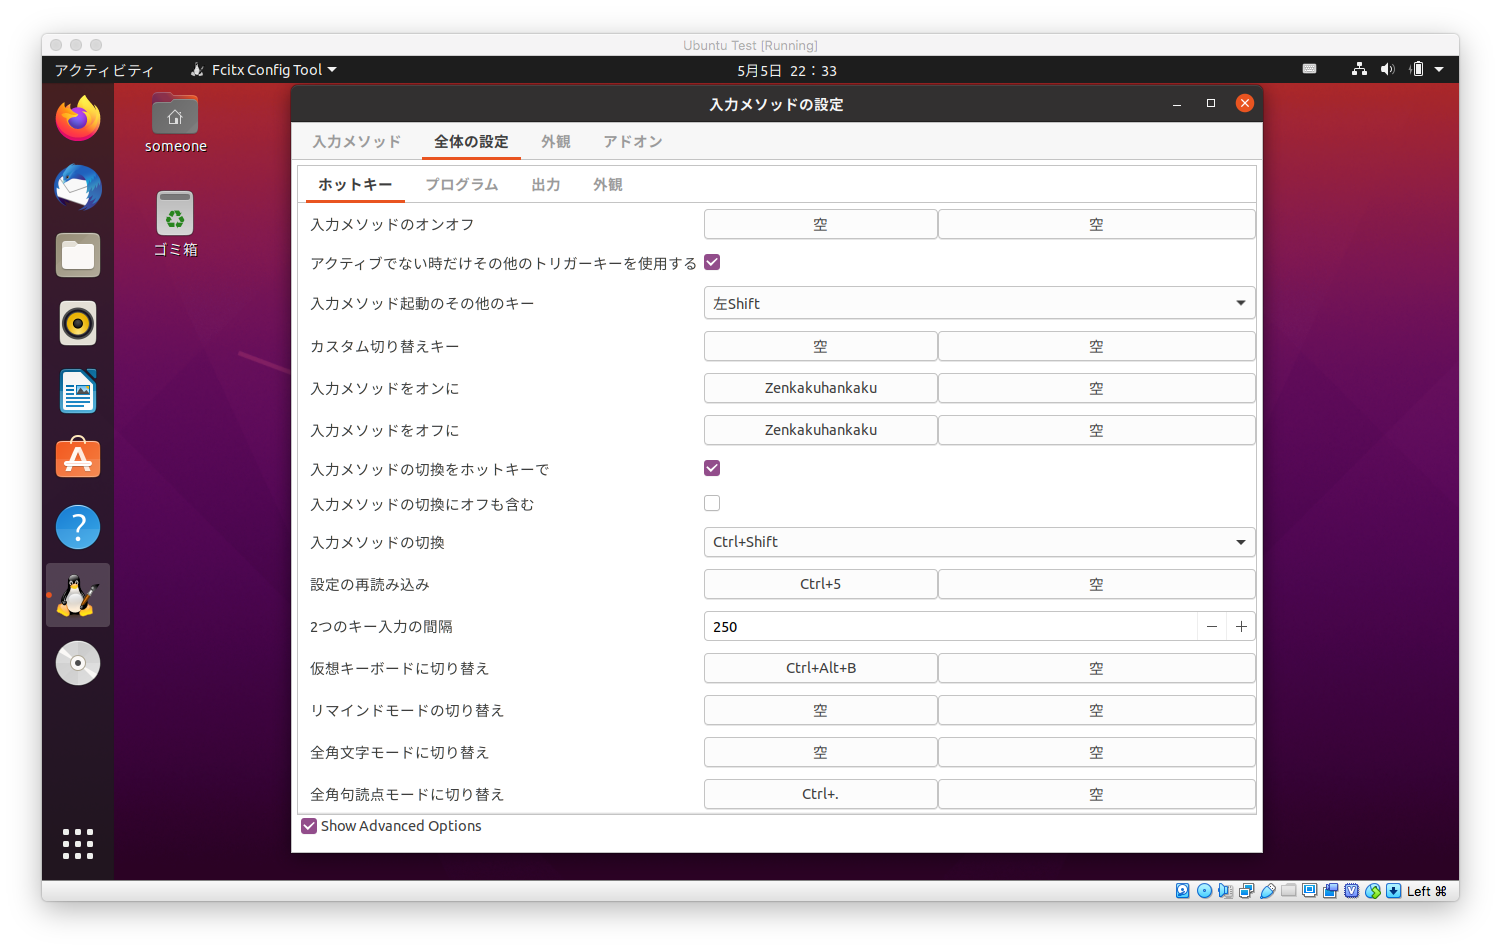
I like the feeling of using a Mac, so from Fcitx Settings, go to" Global Settings "->" Hotkeys "->" Show Advanced Options "->" Turn Input Methods On / Off ", but with the conversion key A non-conversion key is set.
In Virtualbox, for some reason in my environment, even if I press the conversion key and the non-conversion key, they are all recognized as full-width and half-width keys. If you install it directly, it will be recognized properly, so I think that either the Mac or Virtualbox settings are bad, but I have not found it yet.
(Figure where conversion / no conversion is not recognized)
Crush caps lock and change to ctrl
I'm not using the CapsLock key, so I'll crush the CapsLock key so that it can be used as a Ctrl key.
$ sudo vi /etc/default/keyboard
Rewrite the line XKBOPTIONS =" " to XKBOPTIONS = "ctrl: nocaps" `.
Now when you reboot, you should see the Caps Lock key treated as the Ctrl key.
In my environment, for some reason, only Google Chrome does not recognize Caps Lock as Ctrl at the time of tab transition with Ctrl + Tab. I am looking for an expert.
Install Regolith Linux and try using i3
On my Mac, I use a software called Alfred to open and switch apps. https://www.alfredapp.com/
I also use software called Spectacle to display the window in full screen or split it into left and right. https://www.spectacleapp.com/
Ubuntu wants a similar feeling of operation, and a similar one is called a tiled window manager. This time I would like to try out i3, which seems to be particularly famous.
You can do the initial settings yourself, but the default settings are published as a distribution under the name Regolith Linux, so I will try using this. https://regolith-linux.org/
It's a distribution, so you can install it from the beginning instead of Ubuntu, but this time I'll add it later. You can add it to Ubuntu later with the following command.
$ sudo add-apt-repository ppa:regolith-linux/release
$ sudo apt install regolith-desktop i3xrocks-net-traffic i3xrocks-cpu-usage i3xrocks-time
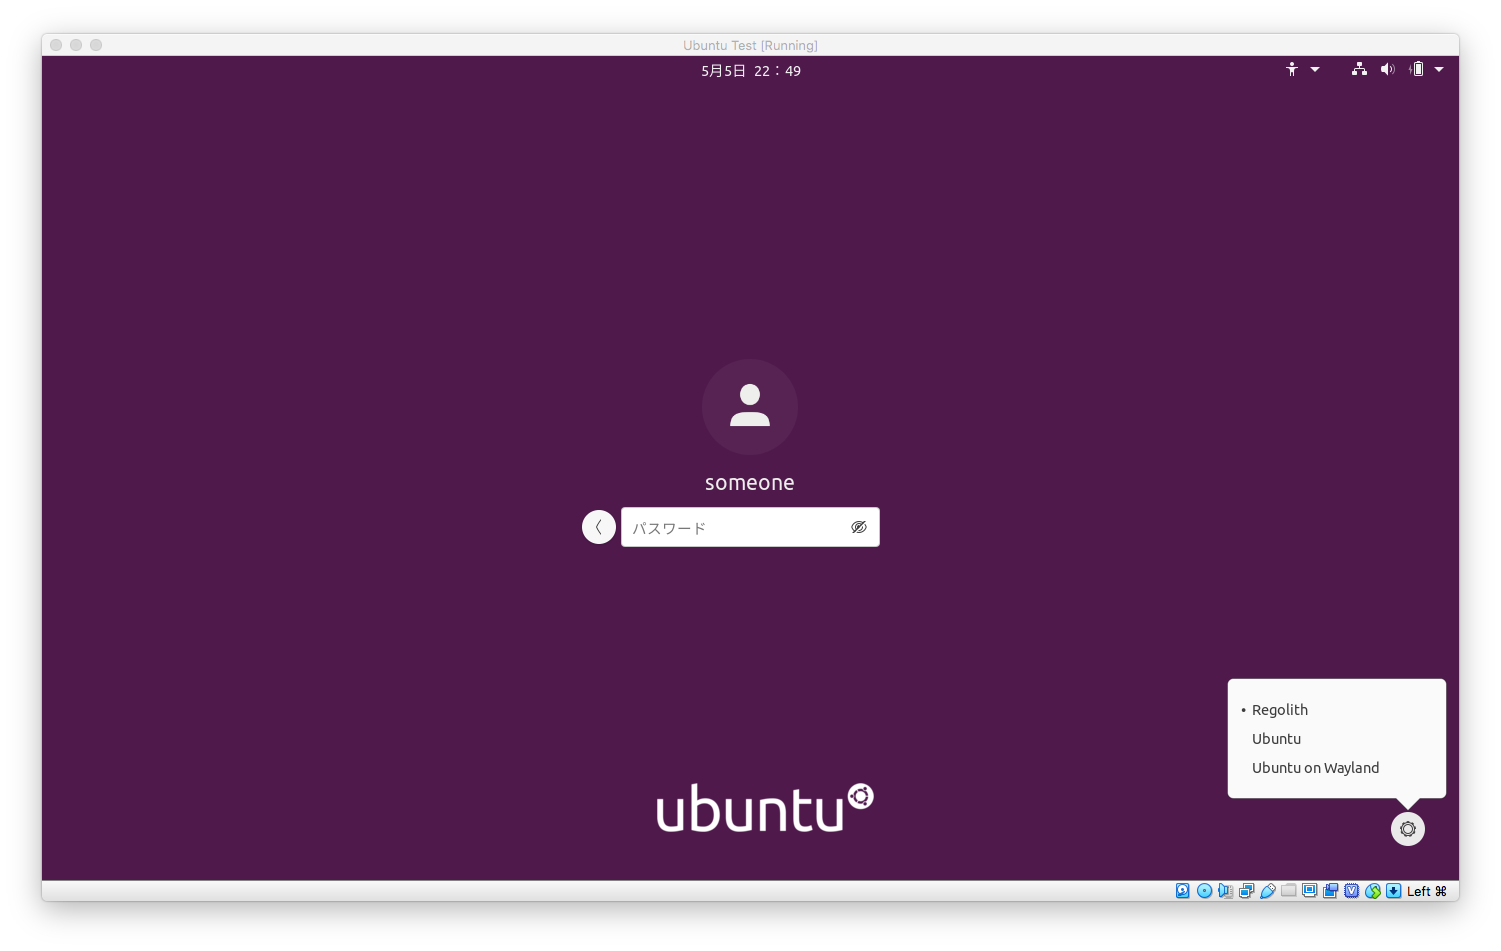
Reboot and log in by selecting Regolith from the bottom right when logging in.
Almost nothing is displayed when you start it, but please read the following pages etc. to learn how to use it. I'm sure it's fun. Or I think that help is on the right side of the screen, so even if you read it, you can understand how to use it. https://regolith-linux.org/docs/getting-started/basics/
The minimum usage is as follows, using the Mod key as the Windows key.
Mod + Space :Open Launcher
Mod + Enter :Open Terminal
Mod + 1,2... :Switch Workspace
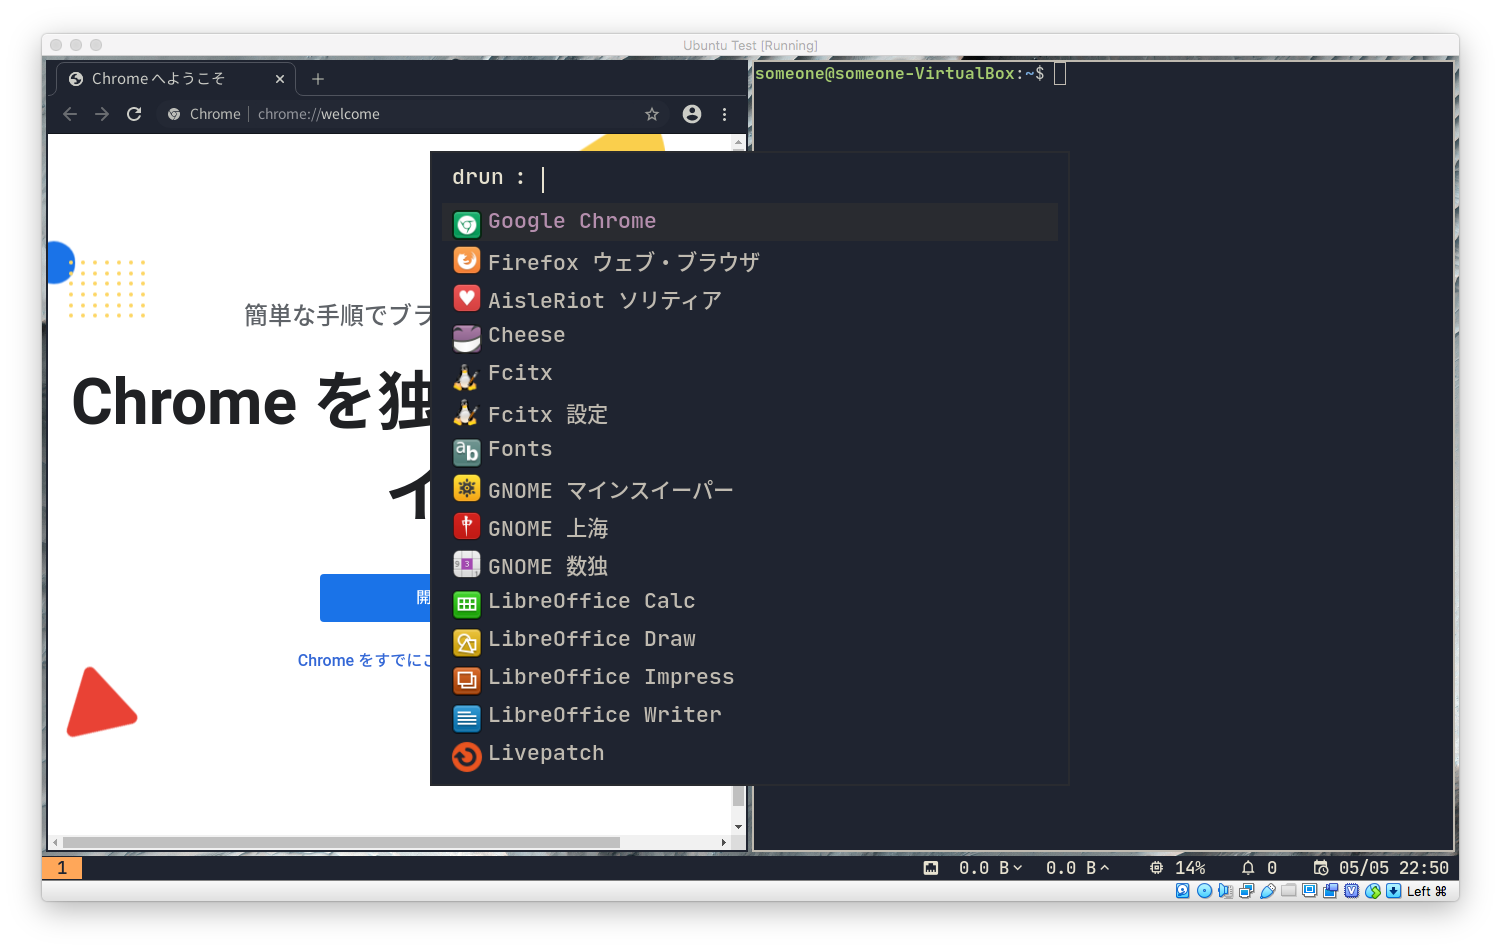
The following is the Launcher displayed with Google Chrome and Terminal open. It's very cool.
Summary
I think that the environment where Ubuntu can be used is somehow created.
After that, please install your favorite language, insert VS Code, and install IntelliJ IDEA.
Recommended Posts