How to prepare Python development environment [Mac]
procedure
- Preparation to start building the environment
- Check the environment
- Install Homebrew
- Install pyenv
- Python installation
Preparing to start building the environment
To start building the environment, use a tool called "Terminal". A terminal is a tool for operating a computer.
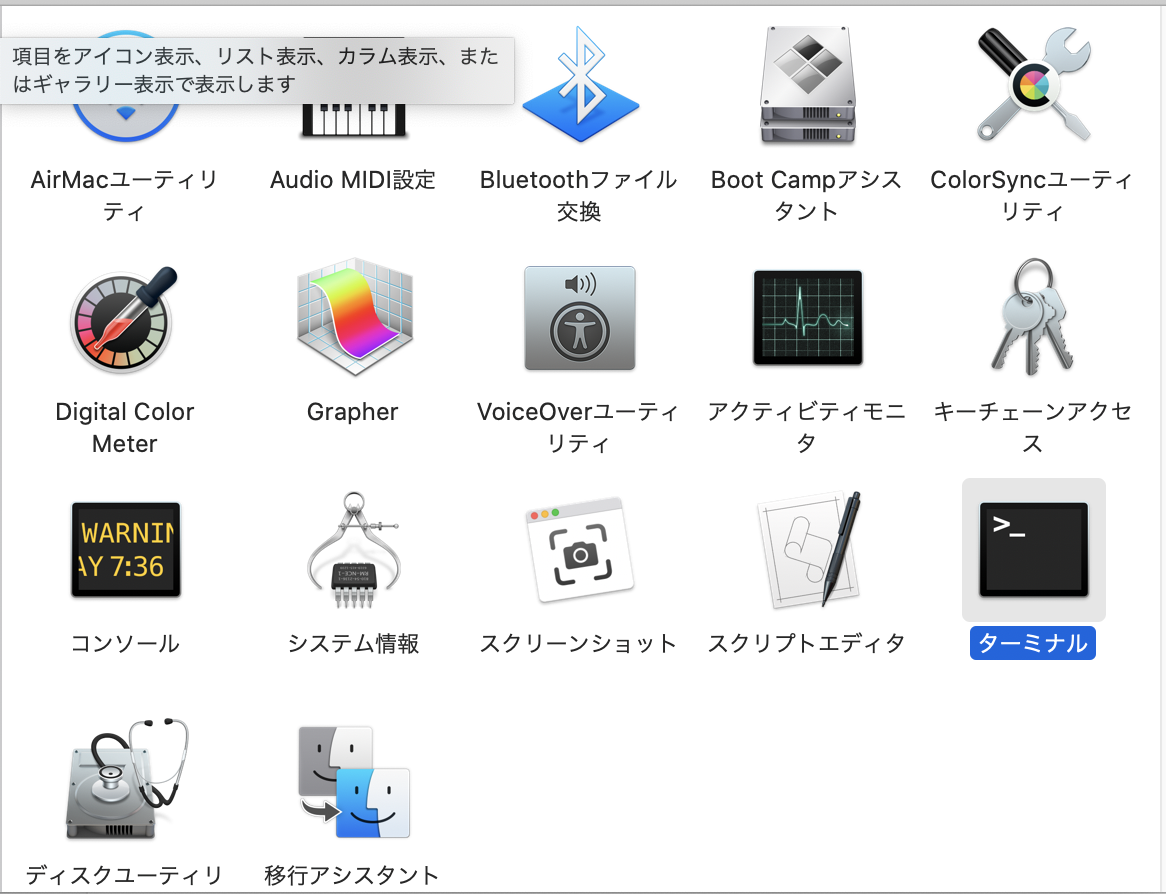
The terminal is installed by default on Mac. Open "Finder", open "Utilities" folder in "Applications", There is an item called "Terminal" in it, so please check it!
The icon is the black square at the bottom right.
Checking the environment
From here, we will work using the terminal, so
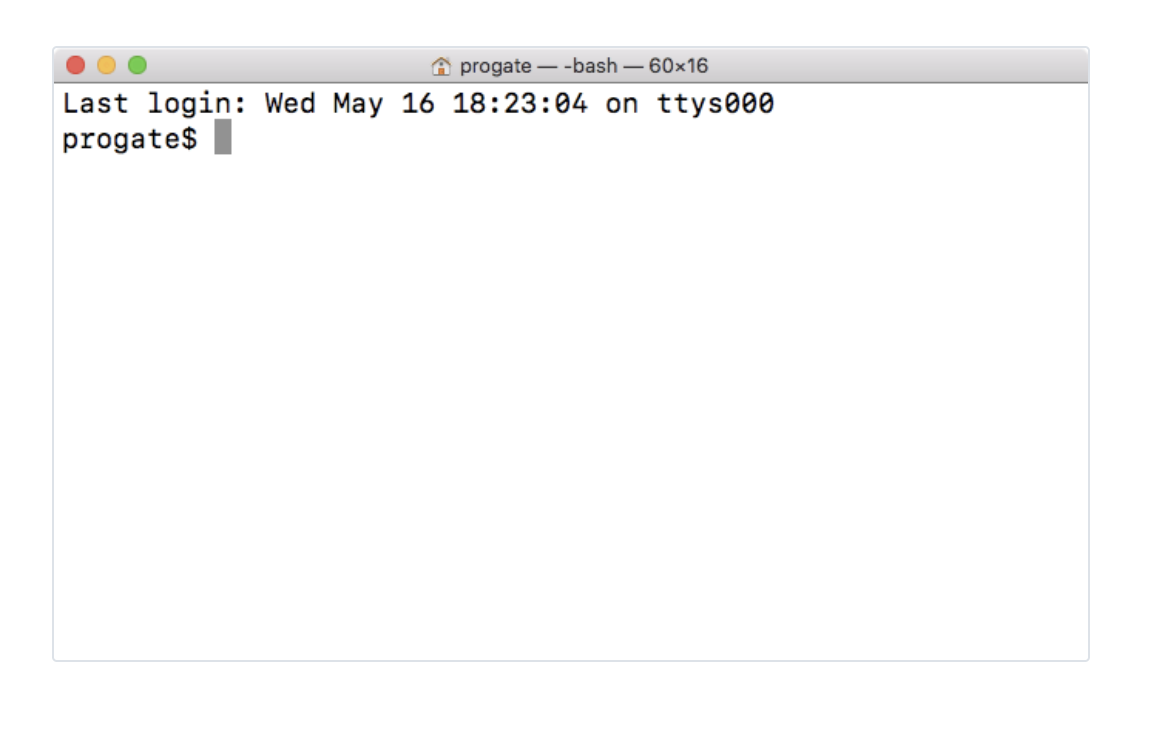
Double-click the icon to open it.
I think I was able to open the screen below.
(If you take a screenshot of yourself, your personal name etc. will be lost, so this time I will post what I picked up on the net)
 Python is installed by default on Mac.
Let's check!
Type the following command in the terminal.
Python is installed by default on Mac.
Let's check!
Type the following command in the terminal.
% python --version
Did you see the numbers below?
Last login: Thu Oct 15 12:52:51 on ttys000
sample@sampleMBP ~ % python --version
Python 2.7.16
sample@sampleMBP ~ %
Python 2.7.16 → I think the numbers are probably different.
In any case, I think the very first number starts with "2".
The one with the first number displayed is the version.
Those starting with "2" are called "2 series". Currently, the version has been upgraded and there is something called "3 series".
There are many differences in how to write the code, so unless you have a specific reason, you should use "3 series".
Homebrew installation
I'm going to install Python using a tool called "pyenv". You can easily manage multiple versions of Python by using pyenv.
In order to install that "pyenv", you need to prepare a tool called "Homebrew".
Many people say that it is already installed, so let's check it with the following command!
% brew -v
Did you see the numbers below?
sample@sampleMBP ~ % brew -v
Homebrew 2.5.6
Homebrew/homebrew-core (git revision 34b5b6; last commit 2020-10-25)
sample@sampleMBP ~ %
No one still sees brew: command not found in the terminal
Homebrew is not installed, so let's install it now!
The end is long, but please copy and execute everything. You will be asked to press the "Enter key" during the installation. In that case, press Enter. You will also be asked to enter the password you used to log in to your PC on the way. Type and press Enter.
% cd  #Move to home directory
% pwd #Check if you are in your home directory
% /bin/bash -c "$(curl -fsSL https://raw.githubusercontent.com/Homebrew/install/master/install.sh)"
Let's check if the installation was successful!
% brew -v
Homebrew 2.5.6 If you see these characters, Homebrew has been successfully installed!
Install pyenv
Now that Homebrew has been installed, let's finally install pyenv.
First, make sure that pyenv is not installed.
Please check with the following command.
% pyenv -v
If you see pyenv: command not found, pyenv is not installed yet.
On the other hand, if you see the numbers below, the installation is complete.
sample@sampleMBP ~ % pyenv -v
pyenv 1.2.21
sample@sampleMBP ~ %
For those who have not completed the installation Run the following command in your terminal to install pyenv! `% brew install pyenv`
Let's check if the installation was successful!
% pyenv -v
pyenv 1.2.21 If you see these characters, pyenv has been successfully installed!
Next, set to pass the path of pyenv.
First, type in the following command.
% echo $SHELL
If the execution result is / bin / bash </ b>, execute the following four commands.
Nothing is displayed when I execute each, but there is no problem.
% echo 'export PYENV_ROOT="$HOME/.pyenv"' >> ~/.bash_profile
% echo 'export PATH="$PYENV_ROOT/bin:$PATH"' >> ~/.bash_profile
% echo 'eval "$(pyenv init -)"' >> ~/.bash_profile
% source ~/.bash_profile
If the execution result is / bin / zsh </ b>, execute the following four commands.
Nothing is displayed when I execute each, but there is no problem.
% echo 'export PYENV_ROOT="$HOME/.pyenv"' >> ~/.zshrc
% echo 'export PATH="$PYENV_ROOT/bin:$PATH"' >> ~/.zshrc
% echo 'eval "$(pyenv init -)"' >> ~/.zshrc
% source ~/.zshrc
This completes the settings for passing the path of pyenv!
Python installation
Let's install Python using the installed pyenv.
First, let's check what version of Python can be installed.
Try running the following command in your terminal.
% pyenv install --list
I think that a tremendous amount of characters like the following were displayed.
Those that start with numbers like "3.6.5" and "3.4.8"
A list of Python versions that can be installed.
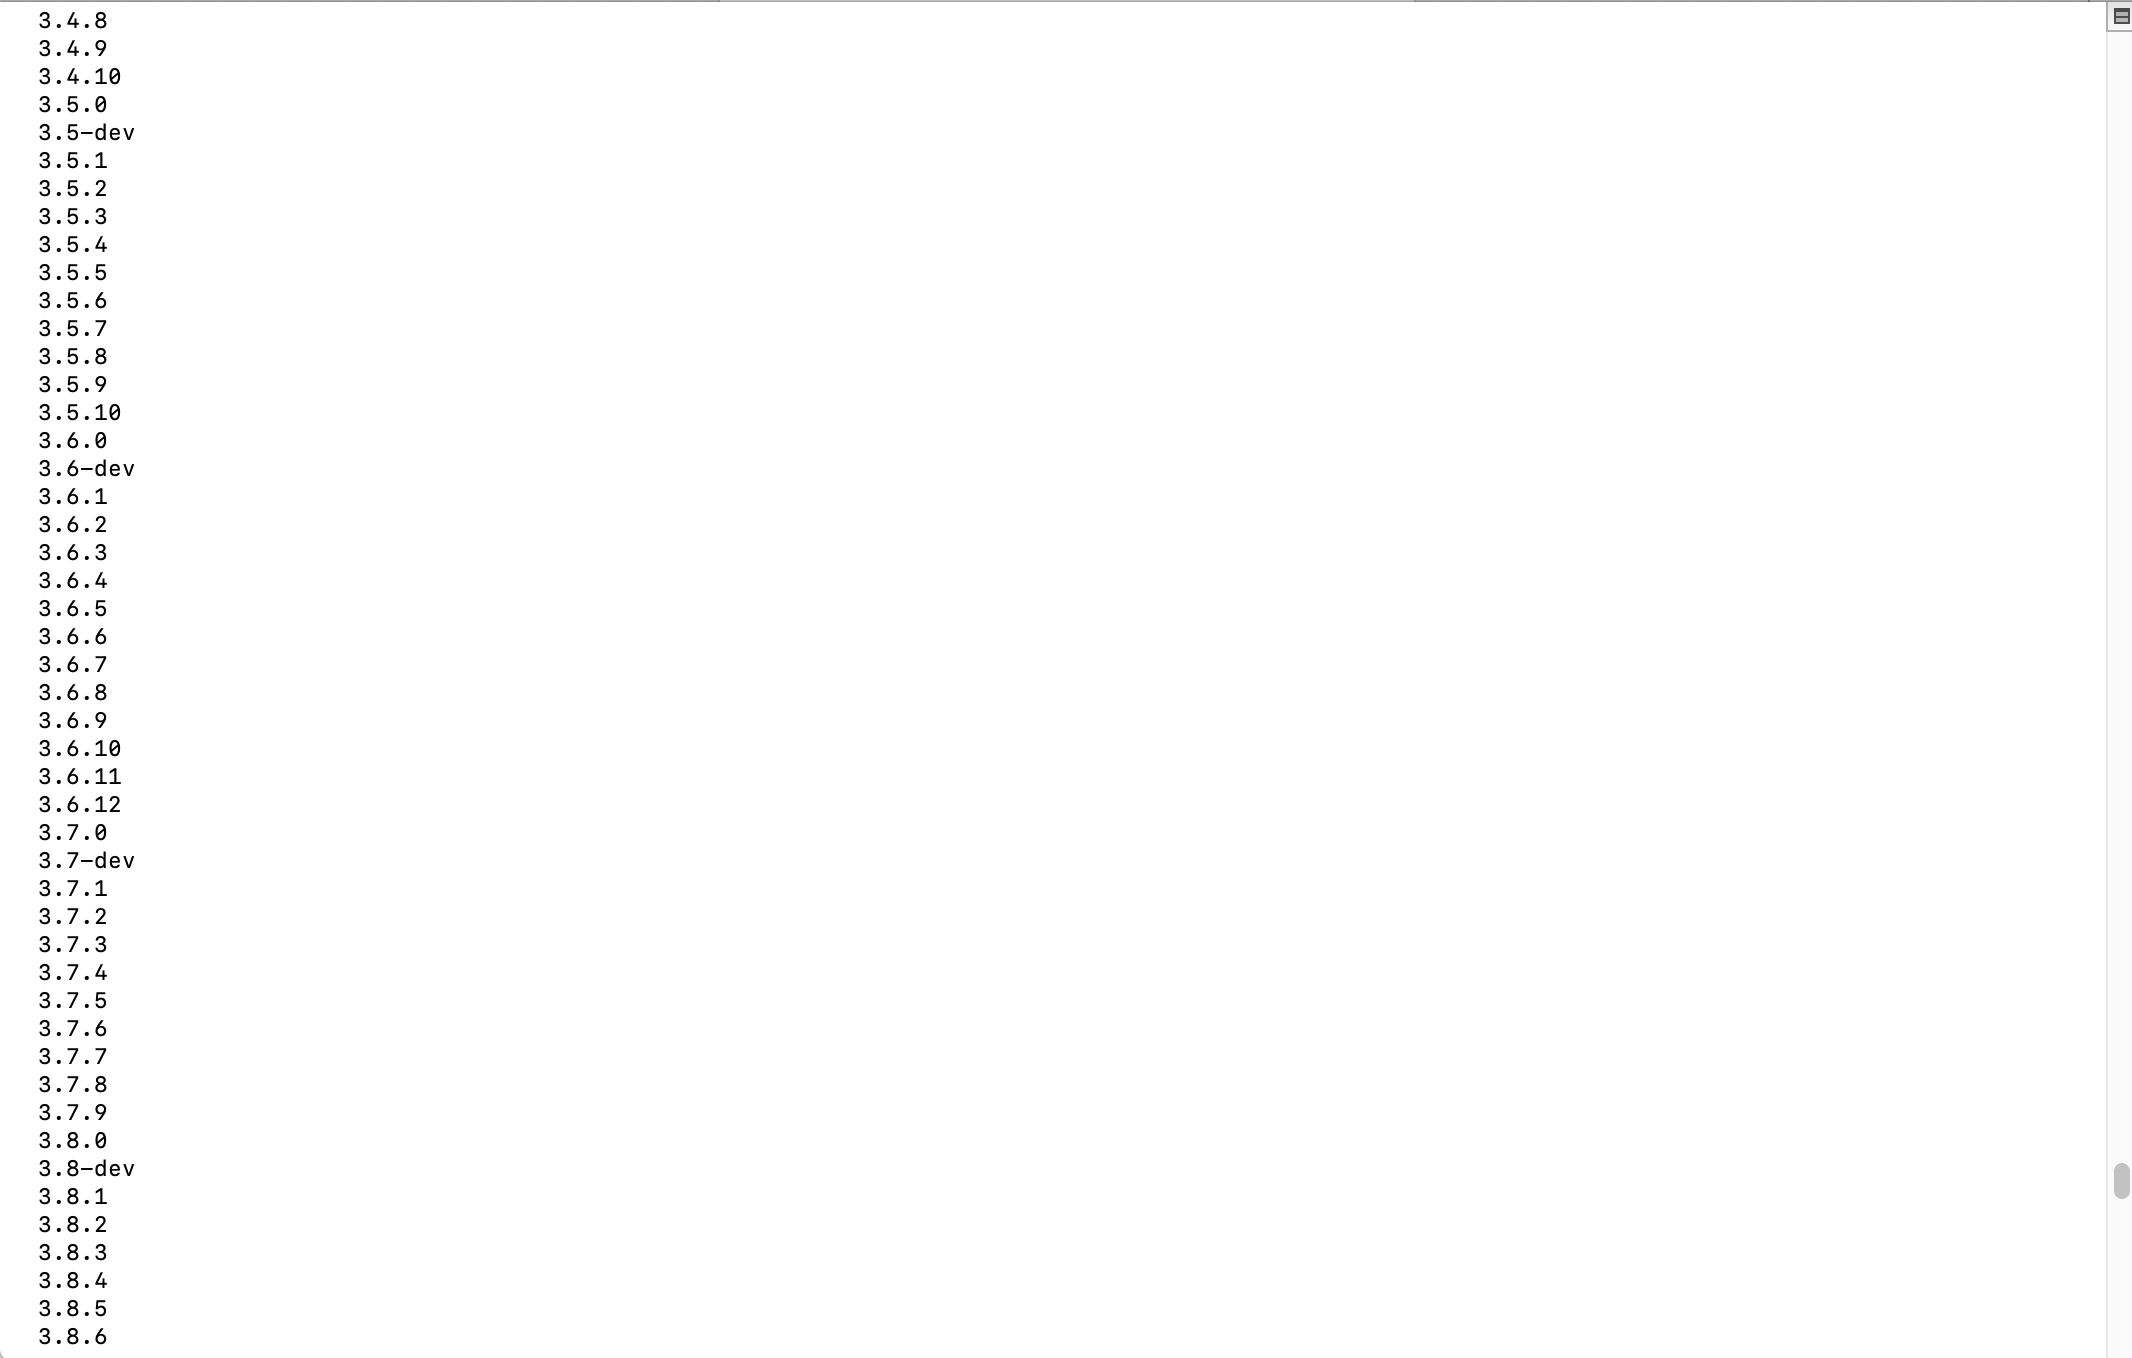
Let's install the relatively new "3.6.5" this time.
Execute the following command.
% pyenv install 3.6.5
Let's check if the installation was successful!
Execute the following command.
% pyenv versions
If 3.6.5 is displayed as shown below, You can confirm that it was installed properly.
sample@sampleMBP ~ % pyenv versions
* system (set by /Users/kawaiyasuhiro/.pyenv/version)
  3.6.5
sample@sampleMBP ~ %
However, in this state, it is not 3.6.5, but the version installed by default on the Mac.
I end up using Python.
Change the settings to use the version of Python installed this time.
Execute the following command.
% pyenv global 3.6.5
You are now ready to use Python with 3.6.5.
Execute the following command to check.
% python --version
If it is displayed as below, it is successful!
sample@sampleMBP ~ % python --version
Python 3.6.5
sample@sampleMBP ~ %
That's all!
Recommended Posts