[PYTHON] I made an anomaly detection model that works on iOS
background
I want to create an application for agriculture x deep learning!
Based on this motive, I think we can create an app that diagnoses the health condition of crops by inputting images of them, for example.
Even if you make an app with a great model that can judge diseases, whether or not the user correctly inputs the image of the target crop is an important issue in ensuring the reliability of the app.
For example, if you make an app that diagnoses the above rice diseases, even if the user inputs an image of weeds, if you output a result like that, the diagnosis result of that app itself will be suspicious. I will end up.
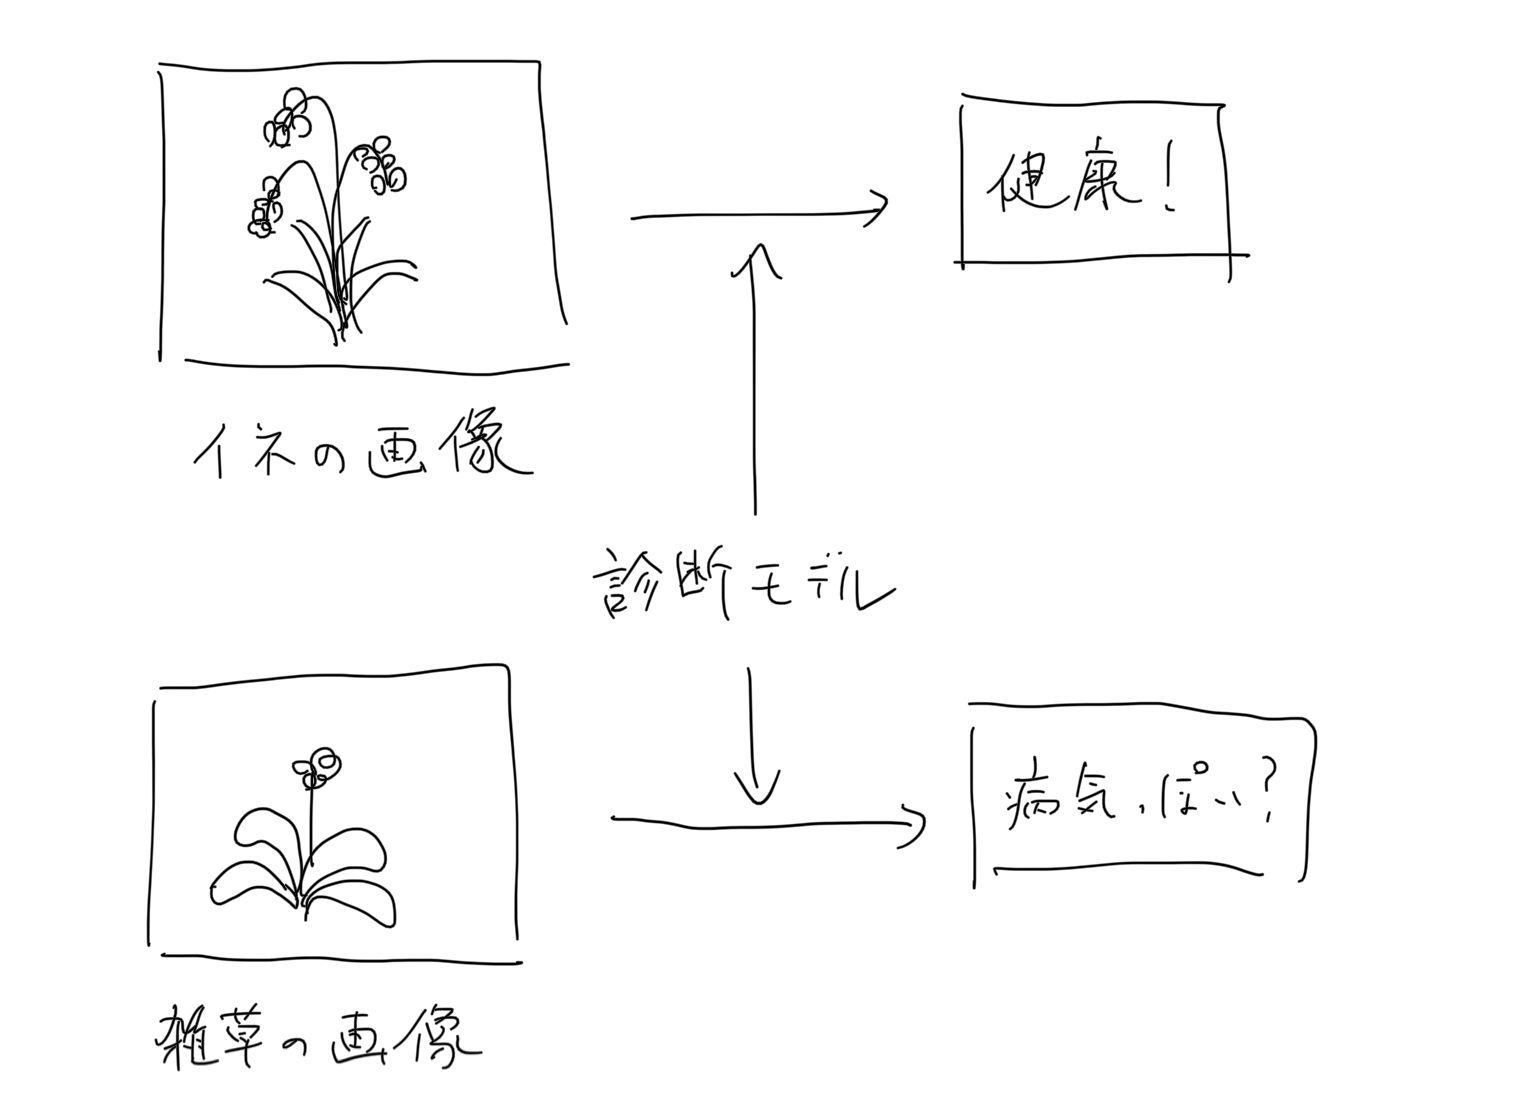
In order to deal with this problem, I thought that it would be better to put an abnormal image detection model of the input image in front of the main model.

If only the images judged to be normal in the anomaly detection model are passed to the main model, it seems that highly reliable results can be output.
What was made
I installed the app on an iPhone X that I bought three years ago, displayed an image of rice and weeds on my laptop, and took a picture of it. If you pay attention to the circular gauge on the upper right, you can see how rice and weeds are somehow distinguished.

Below, I will write down what I did.
Metric learning
Metric learning is a technique used to create a model that determines if a pair of images is the same. For this requirement, we used this technique to determine if the input image is the same as the trained normal image.
I referred to the following article. https://qiita.com/shinmura0/items/06d81c72601c7578c6d3
model
I used Pytorch to create the model.
Since our goal is to put it on a smartphone, we will use the lightweight MobileNet V2 as a feature extractor. MobileNet V2 is provided by default in torchvision.
This time, the image size is 128x128. Shapes the output of the features layer nicely and makes the final output a 512-dimensional vector.
from torchvision.models import MobileNetV2

class MobileNetFeatures(nn.Module):
    def __init__(self):
        super(MobileNetFeatures, self).__init__()
        self.head = MobileNetV2().features
        self.pool = nn.AvgPool2d(4, 4)
        self.flat = nn.Flatten()
        self.fc = nn.Linear(1280, 512)

    def forward(self, x):
        x = self.head(x)
        x = self.pool(x)
        x = self.flat(x)
        x = self.fc(x)
        return x
Learning
data set
As training data, it is necessary to give a random abnormal image at the same time as a normal image. Therefore, we randomly extracted the same number of images as normal images from the open data set COCO data set, and used this as a set of abnormal images.
Loss function
I used the relatively new Loss function ** Arcface **. As for the explanation of Arcface, the following article was insanely easy to understand. https://qiita.com/yu4u/items/078054dfb5592cbb80cc
Also, in the following repository, the latest paper implementation of such metric learning is provided as a library, so I used this. https://github.com/KevinMusgrave/pytorch-metric-learning
Abnormality measurement
The output of the trained model is a 512-dimensional vector (embedding). In order to determine whether the input image is abnormal, it is necessary to take ** cosine similarity ** with the embedding obtained from the normal image.
Therefore, in the training phase, save the average vector of embedding of validation data at the same time as saving the model.
Then, at the time of inference, this can be read and the cosine similarity with the input image can be taken to determine whether or not it is abnormal.
train.py
    if save_interval > 0 and epoch_id % save_interval == 0:
        model.eval()
     #Measure the cosine similarity between normal and abnormal images.
        positive_dist = []
        negative_dist = []
        for batch in valid_loader:
            images = batch[0].to(device)
            labels = batch[1].numpy().tolist()
            labels = [bool(i) for i in labels]
            with torch.no_grad():
                embeddings = model(images).cpu().numpy()

            positive_embeddings = embeddings[labels]
            negative_embeddings = embeddings[[not i for i in labels]]

            mean_embedding = np.mean(positive_embeddings, axis=0)
            for pe in positive_embeddings:
                cos_sim = np.dot(mean_embedding, pe) / (np.linalg.norm(mean_embedding, ord=2) * np.linalg.norm(pe, ord=2))
                positive_dist.append(cos_sim)
            for ne in negative_embeddings:
                cos_sim = np.dot(mean_embedding, ne) / (np.linalg.norm(mean_embedding, ord=2) * np.linalg.norm(ne, ord=2))
                negative_dist.append(cos_sim)
        mean_positive_dist = sum(positive_dist) / len(positive_dist)
        mean_negative_dist = sum(negative_dist) / len(negative_dist)

        print(f"epoch{epoch_id}: {mean_positive_dist} {mean_negative_dist}")
        model.train()

        #Save embedding
        features_save_path = f"../saved_features/embedding.txt"
        np.savetxt(features_save_path, mean_embedding, delimiter=",")
Conversion to a smartphone model
This time, I used coreML, assuming that it will be installed on iOS.
For conversion from Pytorch model to coreML, we will go through conversion to ONNX format once. (The latest version of coremltools seems to be able to convert without going through ONNX, but this time I will follow the old method due to lack of research.)
See the script below.
- Pytorch -> ONNX
- https://github.com/fltwtn/light_weight_annomaly_detection/blob/main/src/save_onnx.py
- ONNX -> CoreML
- https://github.com/fltwtn/light_weight_annomaly_detection/blob/main/src/save_coreml.py
Please note that as of November 14, 2020, a Protocol Buffer-related error occurred in the Python 3.8.2 environment, and the conversion to ONNX-> CoreML did not work. This can be solved by using 3.7.7.
All you have to do is embed the generated .mlmodel into Swift.
At the end
The entire project is located in the following repository. https://github.com/fltwtn/light_weight_annomaly_detection
When I actually operated it on my smartphone, I realized the speed of MobileNet V2 again. Maybe it's over 30fps. .. .. Recently, high-precision and high-speed models have been released one after another, so I will continue to try converting various models to smartphone models.
Recommended Posts