Python with eclipse + PyDev.
As for the Python development environment, eclipse + PyDev is quite powerful. For the time being, in this post I will write about the introduction of eclipse and PyDev.
What you can do with this combination. ・ Code completion ・ Display of code document -Debugging with interactive console -Update variable values at run time · Conditional breakpoints ・ Exception breakpoint -Context switching while stopping at a breakpoint ・ Automatic source code format ・ Code coverage measurement ・ Code evaluation (PyLint) ・ Profiling (cProfile) ・ Source code control with Git (Git)
Java is required to run eclipse, but this post uses the Java execution environment that comes with CentOS by default. Python also lays sideways and uses the execution environment that is included in CentOS by default.
-
- install eclipse
Download the package from the eclipse site.
http://eclipse.org/downloads/
There is no package for Python, so download it for Java. (Eclipse is based on Java, so this is like a minimal package)

- install eclipse
Download the package from the eclipse site.
http://eclipse.org/downloads/
There is no package for Python, so download it for Java. (Eclipse is based on Java, so this is like a minimal package)
Download from the nearest server.

For now, extract it to / usr / local.
tar zxvf / home / \ 
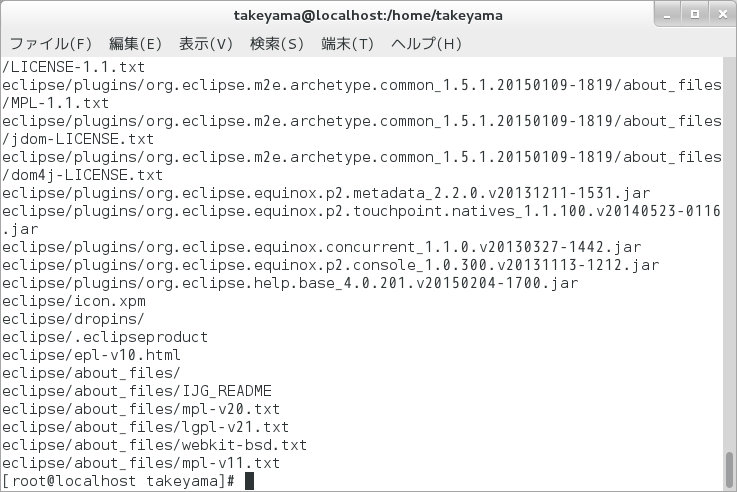
You can now start eclipse by running / usr / local / eclipse.

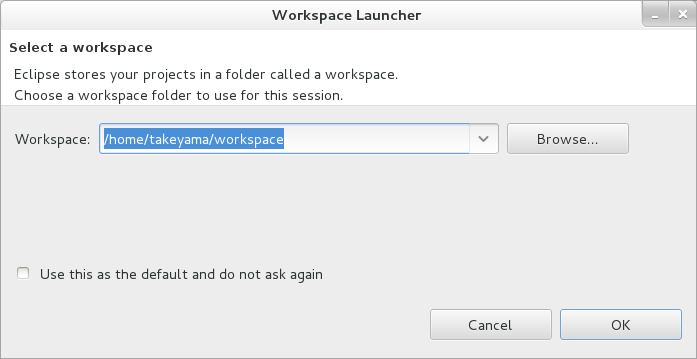
The first time you start it, you will be asked where to save the project.
I think there is no problem by default. It is annoying to ask for the location every time you start up, so check "Use this as the default and do not ask again" and press the OK button.
(You can change the location of the workspace later)
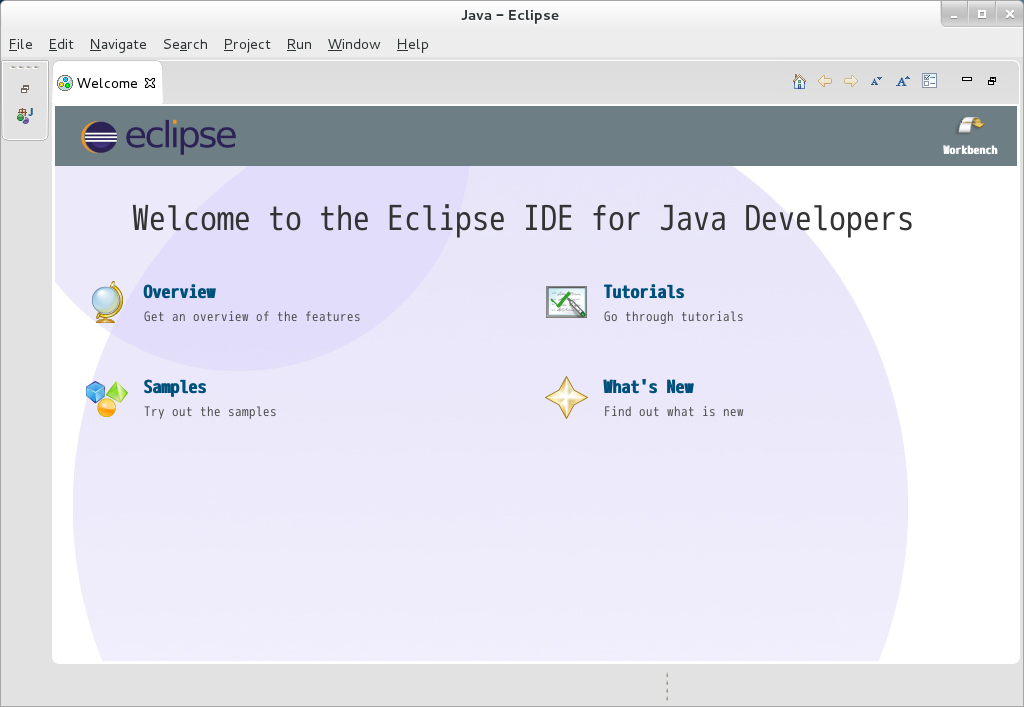
 Please close the Welcome tab.
- Install PyDev in eclipse.
Select "Help"-> "install New Software ..." from the menu.

Enter "http://pydev.org/updates" in "Work with:" and press the Enter key.

Select PyDev and press the "Next" button.

Just press the "Next" button.

The license details will be displayed. Select "I accept the terms of the license agreements" and press the "Finish" button.

A confirmation of the certificate will be displayed on the way, so check it and press the OK button.

You will be asked if you want to restart eclipse, so press the "Yes" button.

-
- Set up PyDev.
First, close the Java perspective (a perspective is literally a "perspective", but it's more like a workspace).
Right-click Java in the upper right and select Close.

- Set up PyDev.
First, close the Java perspective (a perspective is literally a "perspective", but it's more like a workspace).
Right-click Java in the upper right and select Close.
Click the "+" -like icon in the upper right to add a perspective.
 Select PyDev and press OK.
 The PyDev perspective has opened.

Next, select the menu "Windows"-> "Preferences" to display the settings dialog.

Select PyDev → Interpreters → Python Interpreter.
Click the "New ..." button on the upper right to register the Python interpreter (executable file).

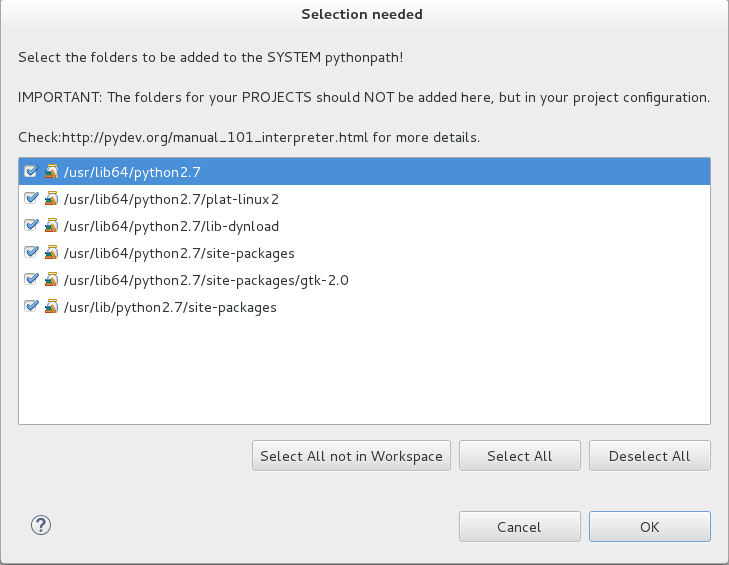
For "Interpreter Name:", enter an arbitrary name (enter Python27 here), and for "Interpreter Executable:", enter the Python executable path "/ usr / bin / python" that is included by default in CentOS. Press the OK button.

The Python path will be detected automatically, so press the OK button.
Press the OK button to close the setting screen.

This completes the basic settings.
-
- Create a Python project and execute the code.
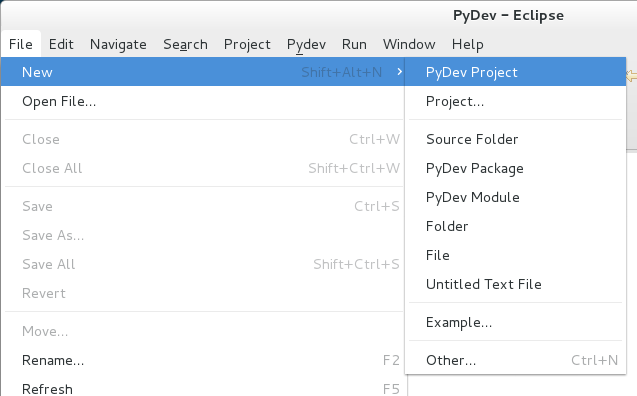
Select the menu "File"-> "New"-> "PyDev Project".
- Create a Python project and execute the code.
Select the menu "File"-> "New"-> "PyDev Project".
Enter any project name in "Project name:".
"Grammar Version" selects the Python version to use. Here, the version of Python that is included in CentOS 7 by default is selected. This version includes syntax checks during development and more.
"Interpreter" selects the Python execution module that you registered yourself. Since you can register multiple Python interpreters, do not leave it as Default in consideration of the future, but select it properly.
(For example, you can register Python2.7 and Python3.4 and use them properly depending on the project.)
Press the "Finish" button.

Next, create the module.
Select the menu "File"-> "New"-> "PyDev Module".

Enter any package name in "Package" and any module name in "Name" and press the "Finish" button.

When creating the module for the first time, the following confirmation screen will be displayed. There is no problem if you press the OK button as it is.
-Wait for build process before execution: Do not wait
-Build if necessary before execution: Do not build
-Recheck every time the PyDev editor is opened.

You can select the template registered in PyDev. Here, select "Module Main" and press the OK button.
(You can edit the template yourself or add a new one. If you do not want to apply the template, select "Empty")

When you create the module for the first time, you should see this screen as well.
This is a message from Fabio, who is currently maintaining PyDev. Click the read "Read it" button to close it.

Rewrite the "pass" part to "print'Hello egg!'" And save.

Select the menu "Run"-> "Run As"-> "Python Run".

You should see "Hello egg!" In the console below.
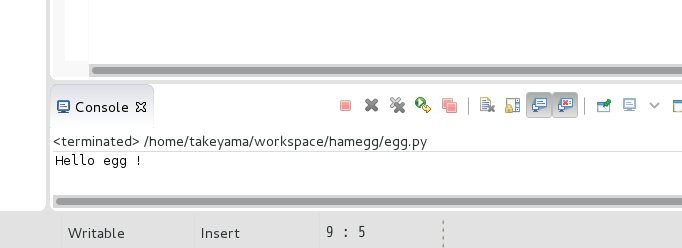
Thank you for your hard work.
Recommended Posts