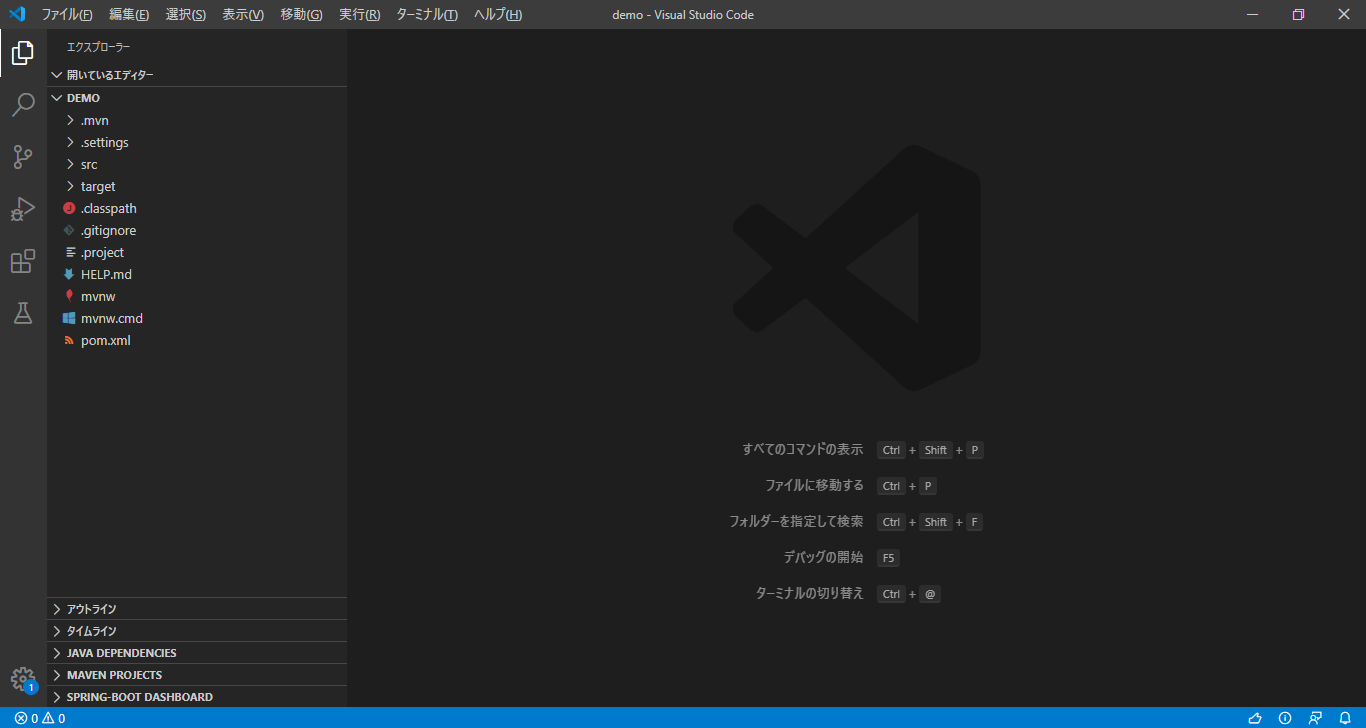
Build WebAPP development environment with Java + Spring with Visual Studio Code
Build WebAPP development environment with Java + Spring with Visual Studio Code
In this article, I will explain how to build a Spring Web application development environment using VS Code. The procedure is as follows.
1. Java execution environment construction
As a prerequisite, VS Code requires a Java runtime environment, so if you haven't done so yet, please refer to the article Building a Java program development environment with Visual Studio Code.
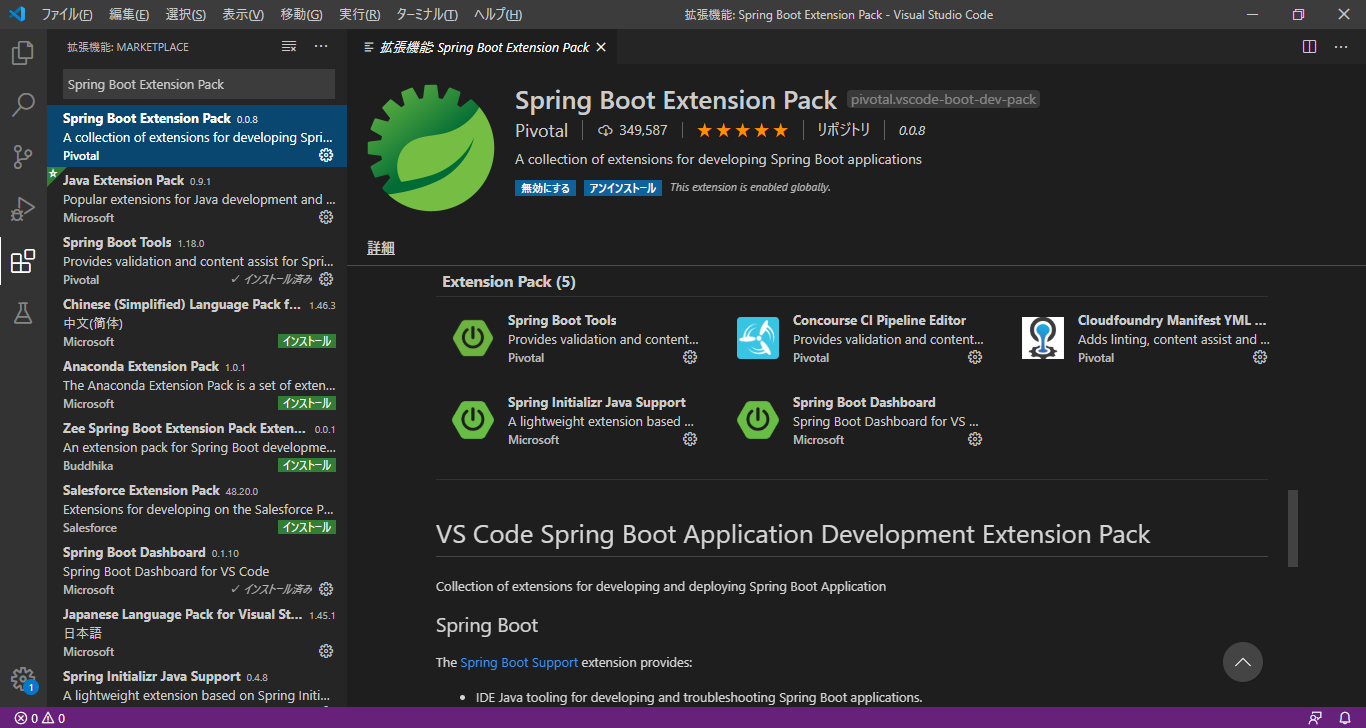
2. Extension installation
Open the extension search screen with Ctrl + Shift + x, search for and install the Spring Boot Extension Pack extension.
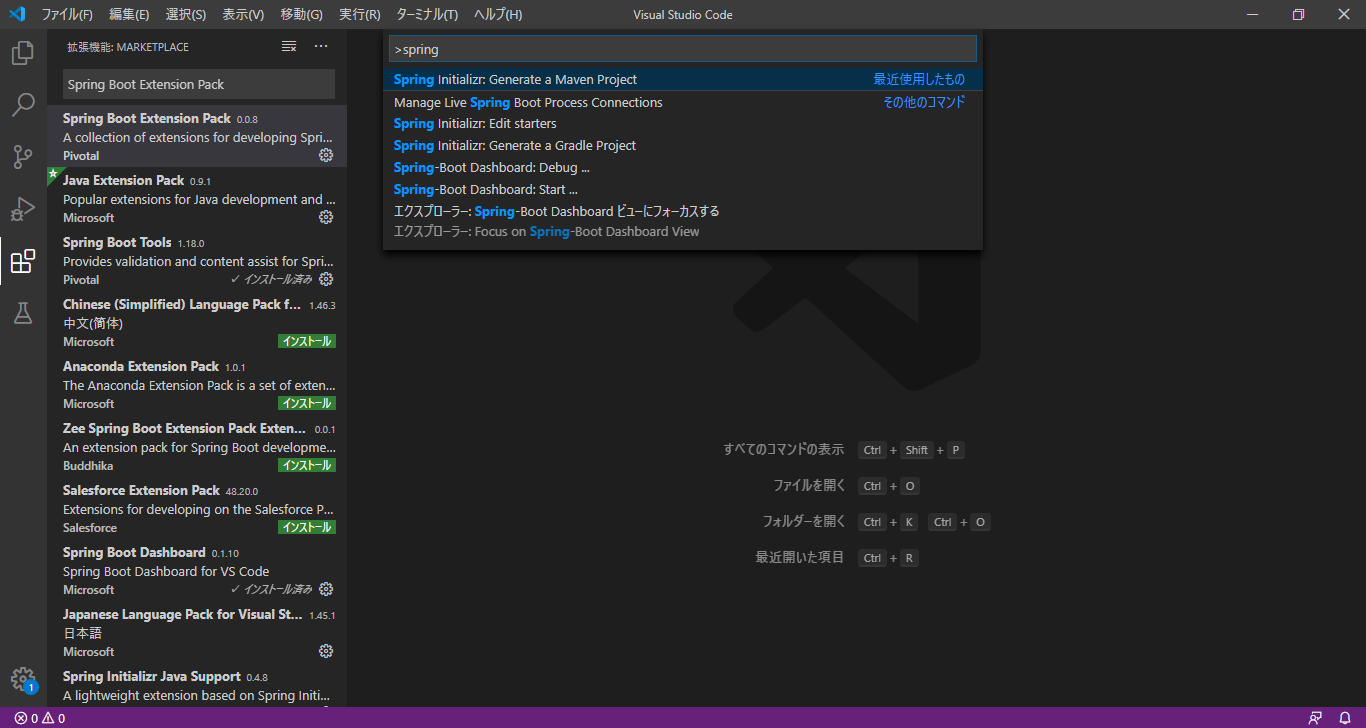
3. Spring Maven project creation
Open the command palette in the order of display-> command palette in VS Code
Shortcut key: Ctrl + Shift + P
Type spring: and select Spring Initializr Generate a Maven Project
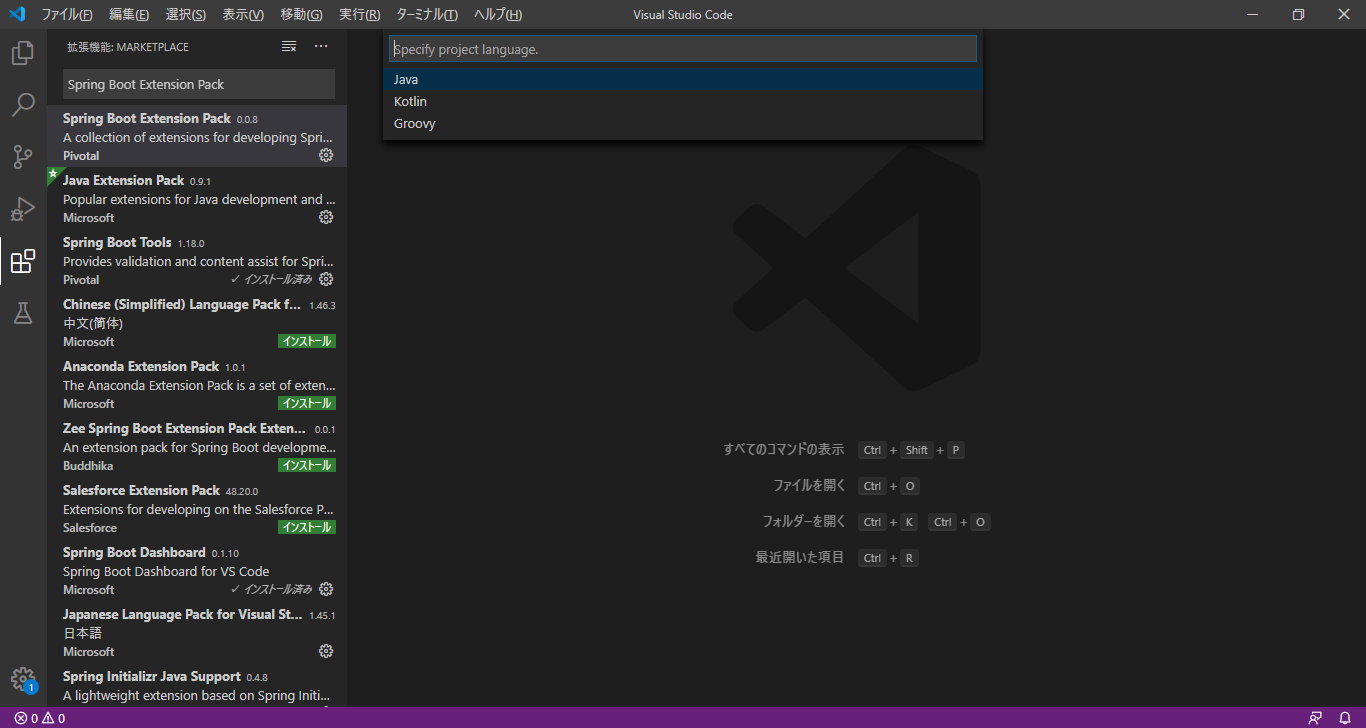
Select Java
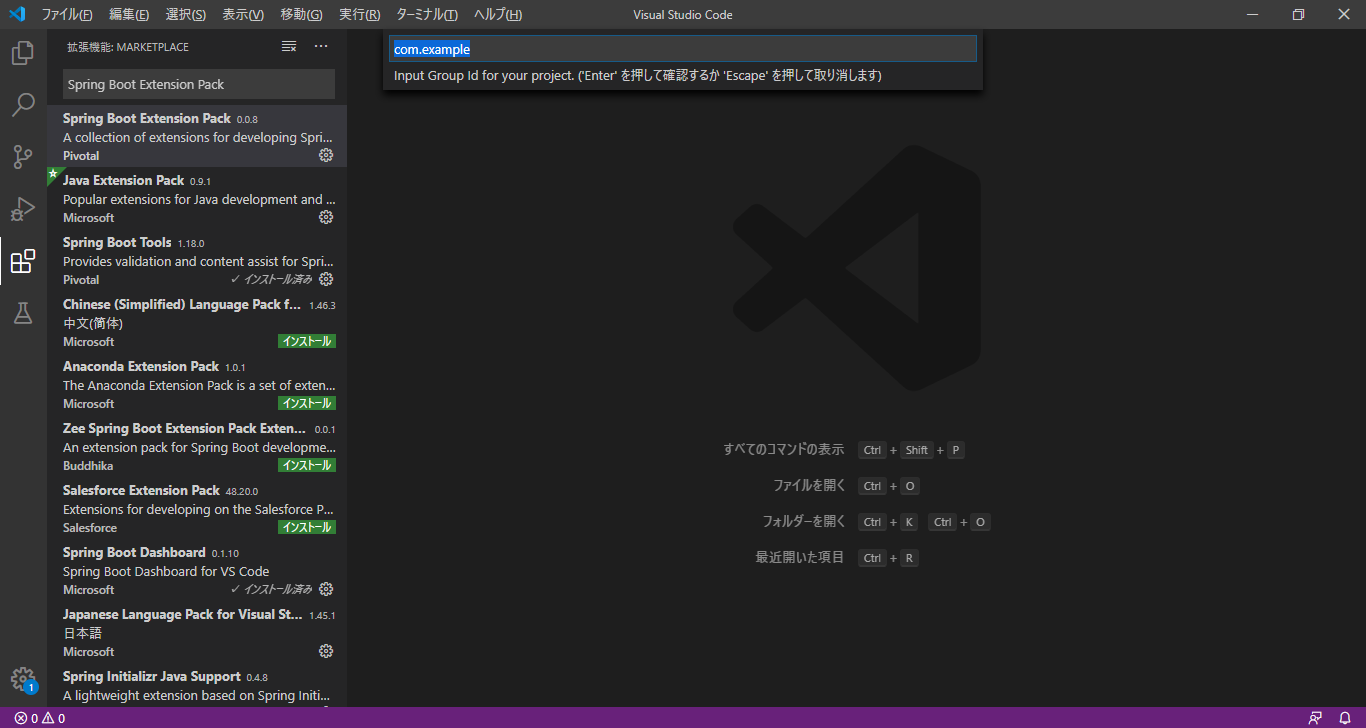
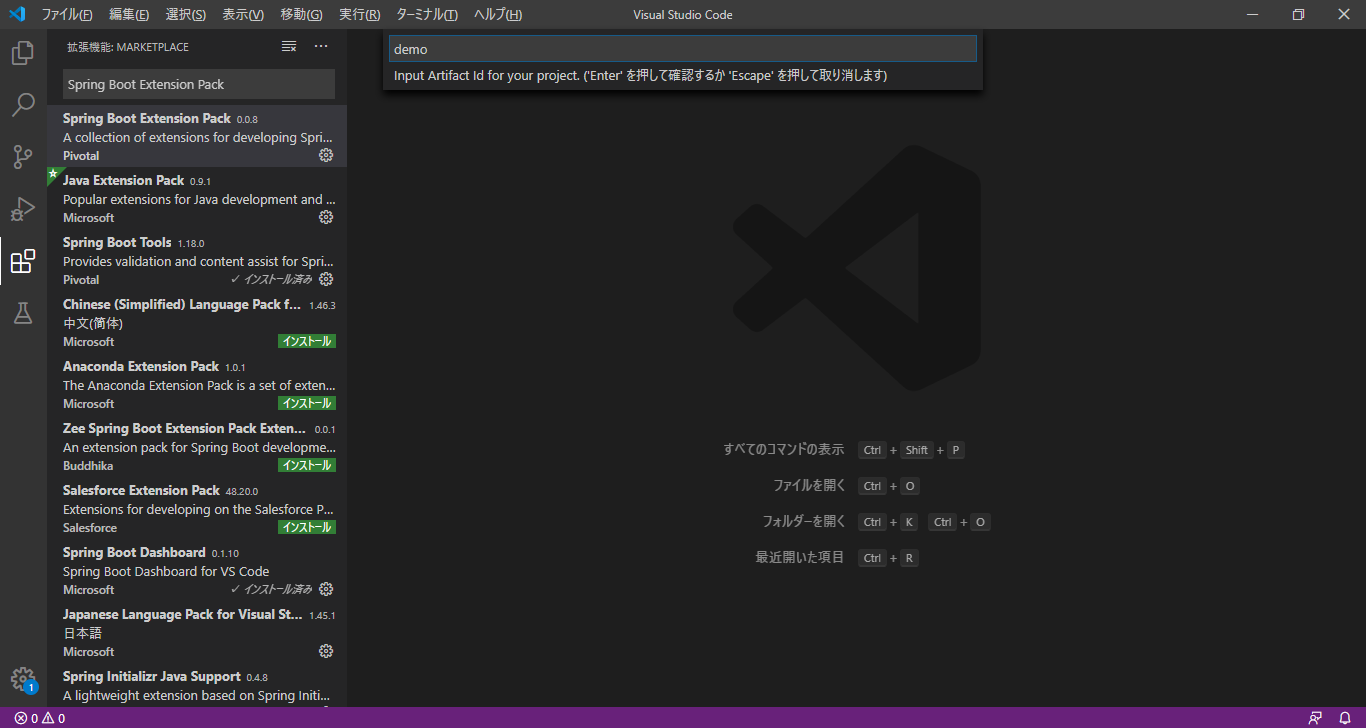
Enter the package name-> ʻEnter`
Enter the project name-> ʻEnter`
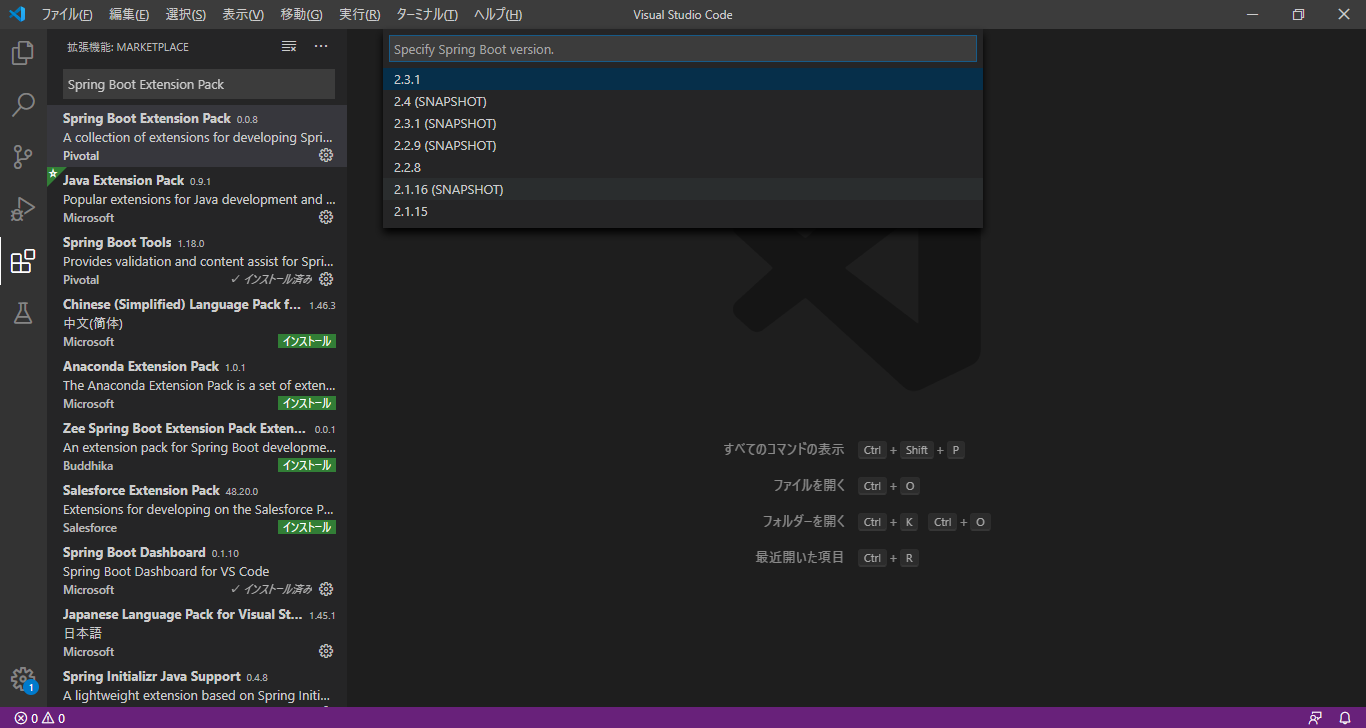
Select Spring Boot version
Select the dependencies required for Spring web application development here
Since this article explains it as a simple example, add only Spring Web and Thymeleaf.
--Add Spring Web
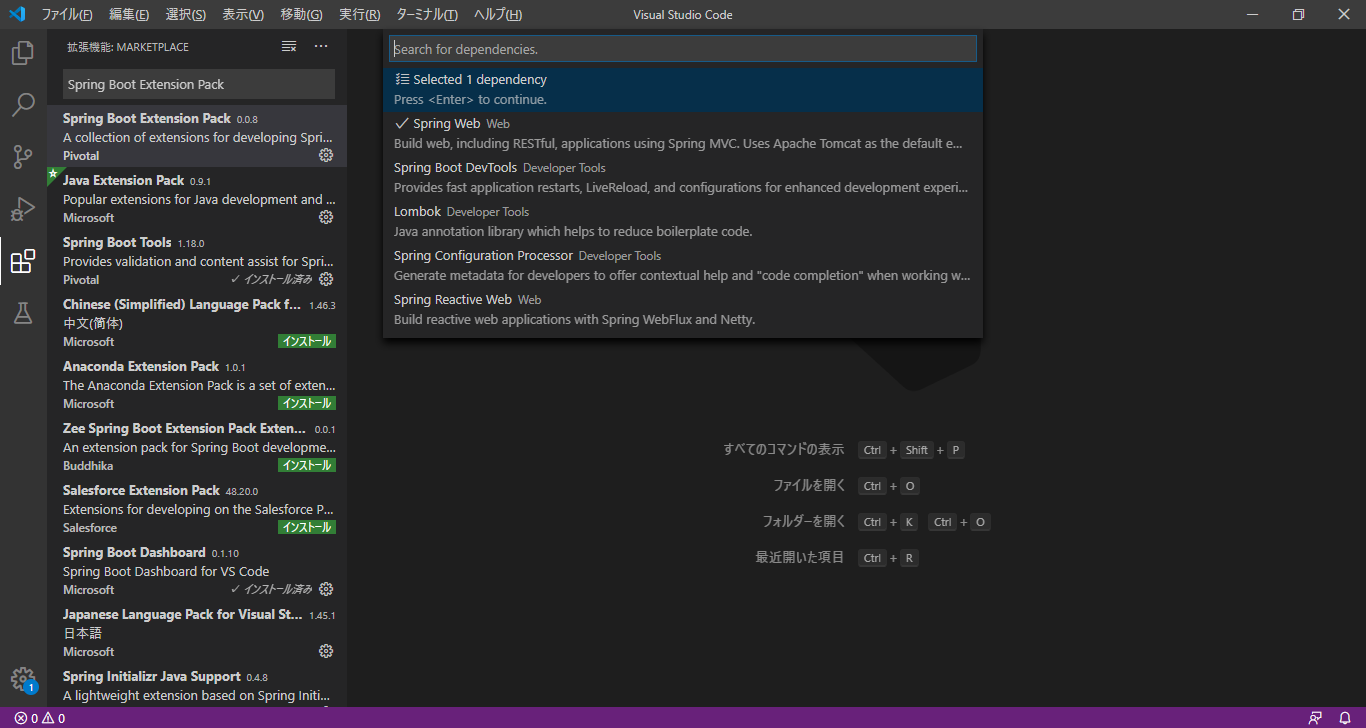
--Add Thymeleaf

After adding the above two dependencies, it will be selecled 2 dependencies, click on it
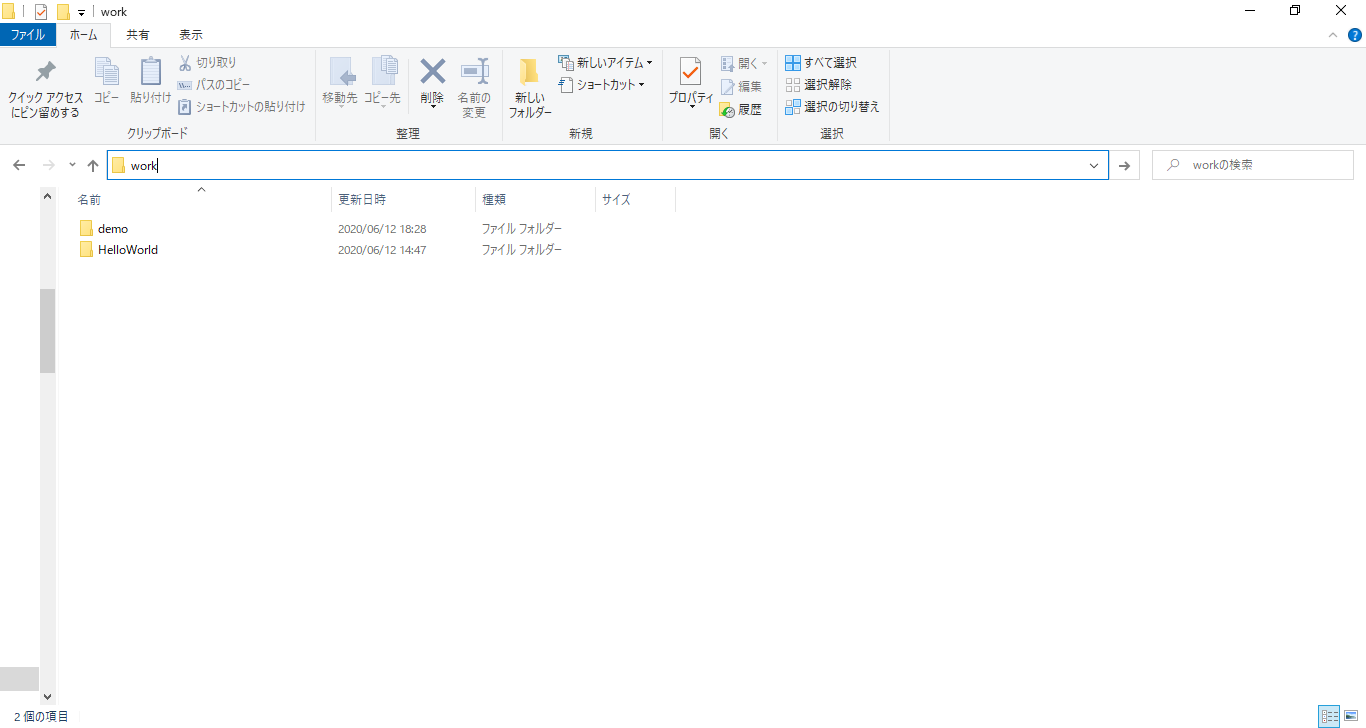
Select a save destination
 A Spring project named
 demo has been created
4, project implementation
Create Controller class in package with XXApplication.java
In my case: src / main / java / com / example / demo / DemoApplication.java
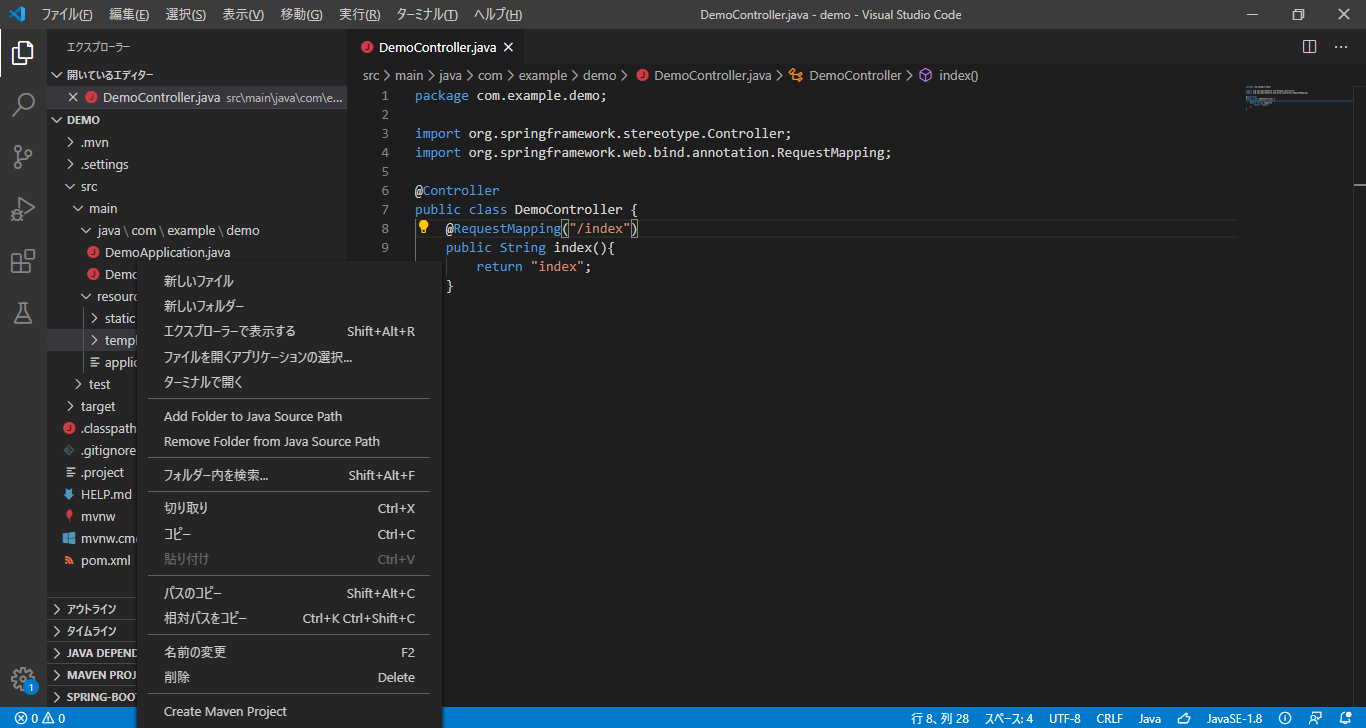
Select Package-> Right Click-> New File-> DemoController.java-> ʻEnter`
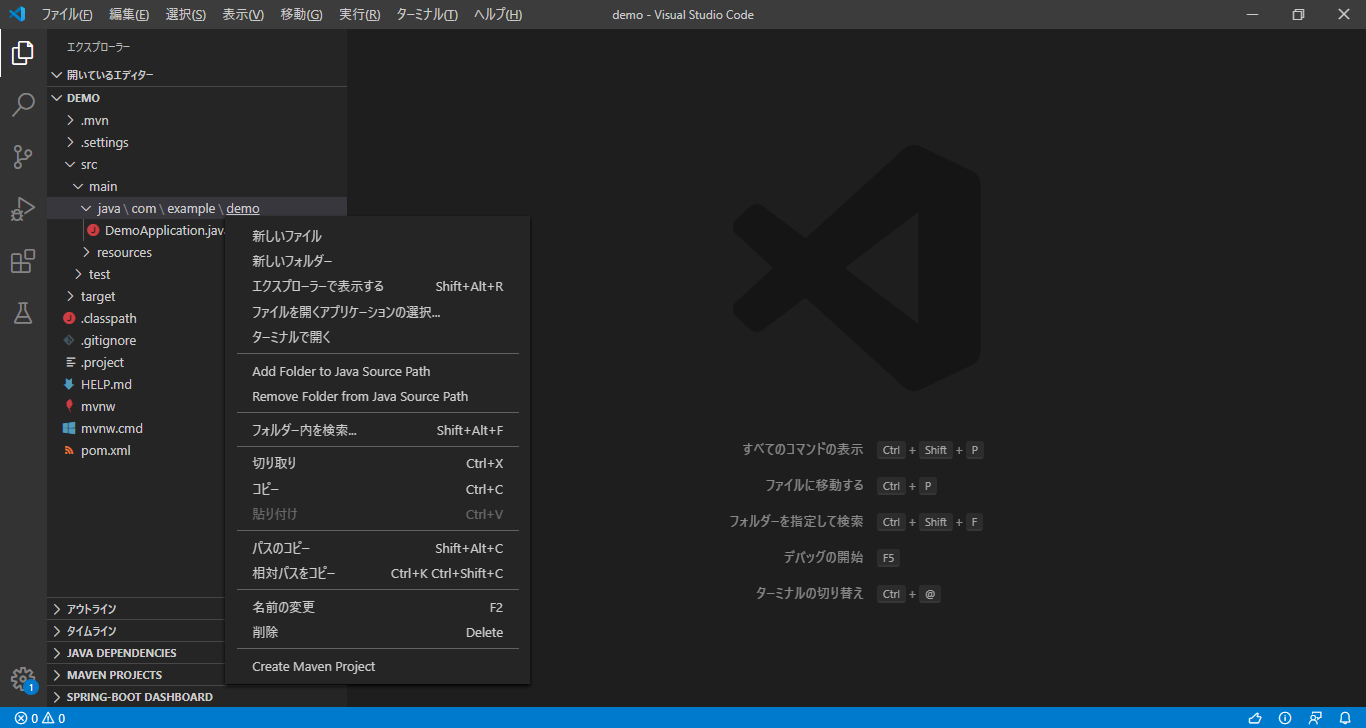
DemoController class is created
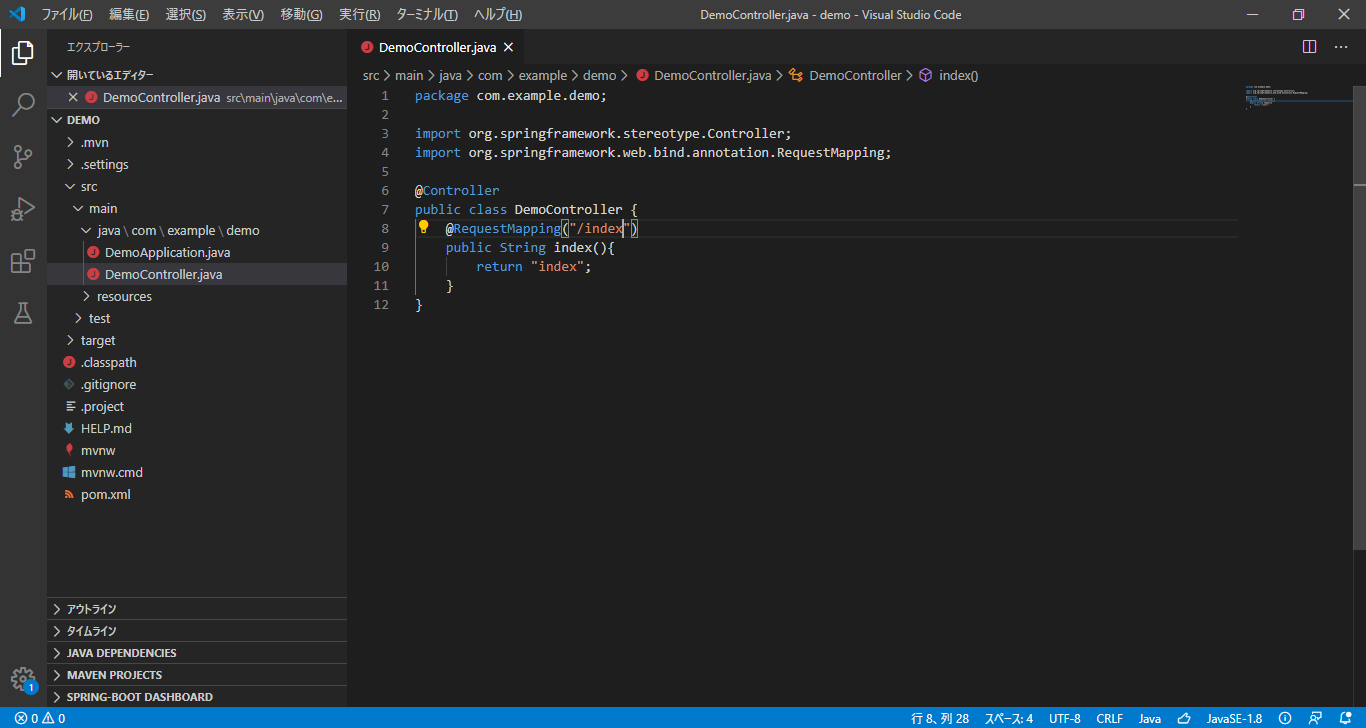
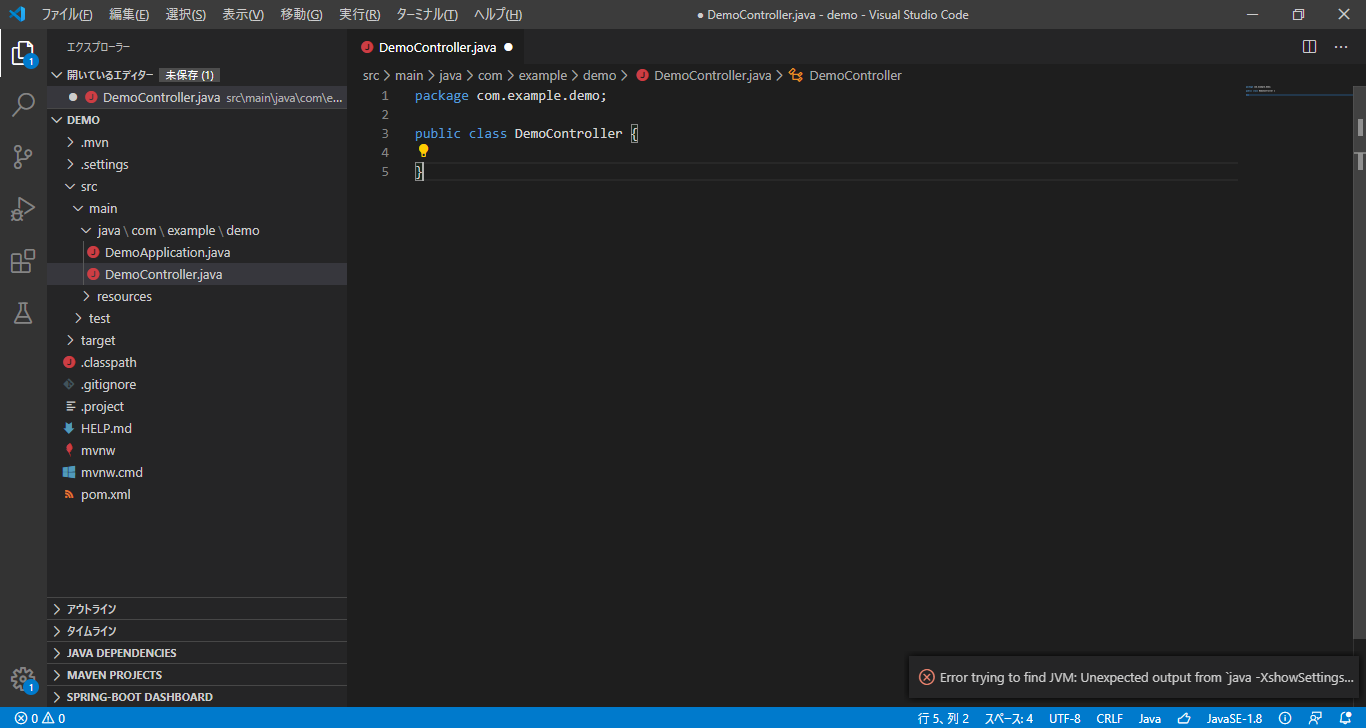 Edit the contents of DemoController.java
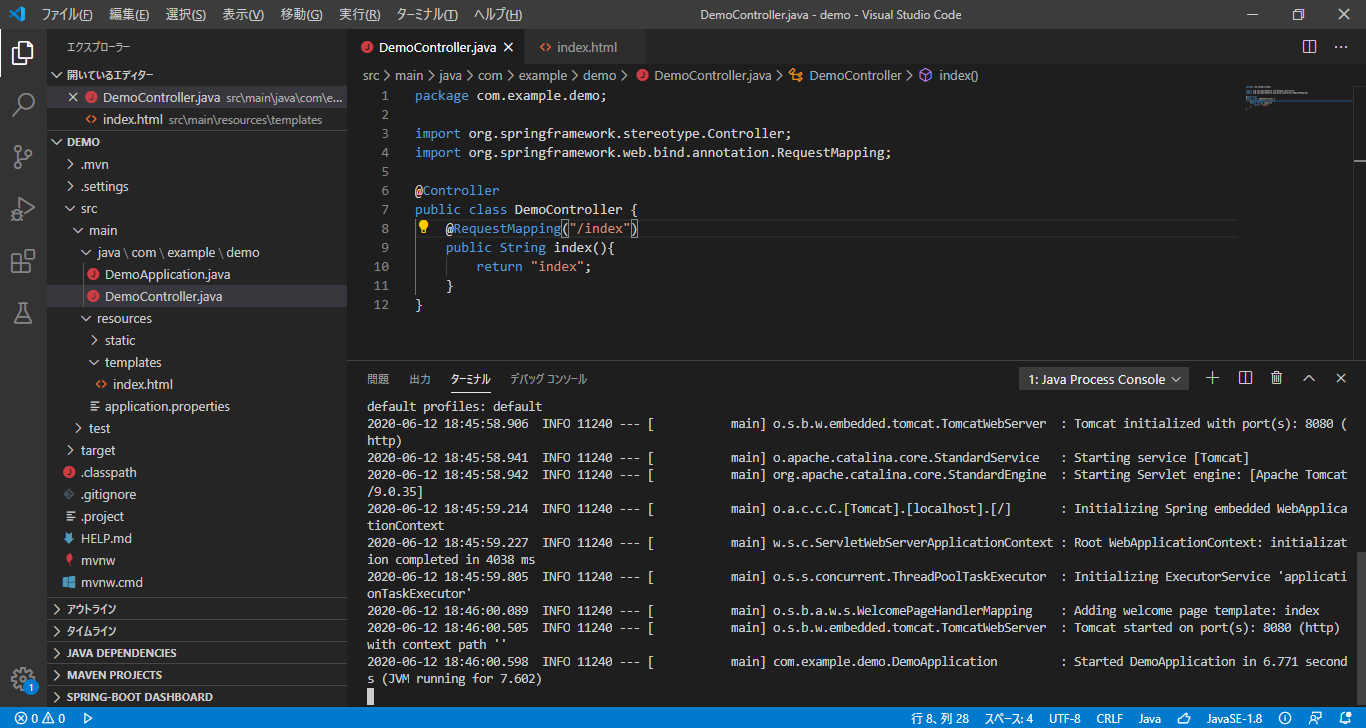
Create HTML file under resources / templates
Right click on templates-> New file-> index.html-> ʻEnter`
Edit the contents of html appropriately
Example:
If you want to create HTML using bootstrap4, refer to How to write html + bootstrap4 in Visual Studio Code.
 Open screen: http: // localhost: 8080
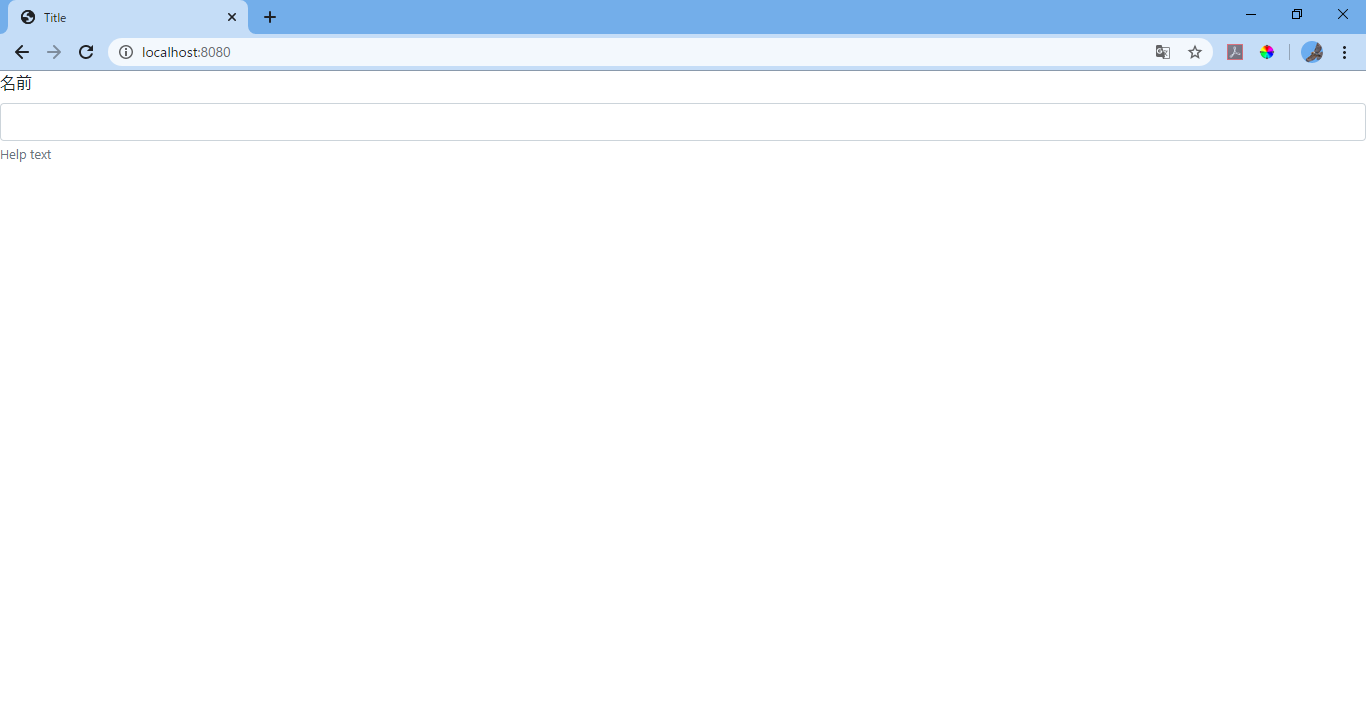 The index method of the control class is called and the contents of index.html are displayed on the screen, right?
With this, the Spring Web development environment construction is successful.
The index method of the control class is called and the contents of index.html are displayed on the screen, right?
With this, the Spring Web development environment construction is successful.
the end
In future articles, I will write about DB connection, adding other dependencies, editing design files, etc.