[PYTHON] Tabpy 1.0 (2020-01 version) How to install
Tabpy 1.0 announced at 2020-01 to support Tableau It is said that it has become possible to receive it, so it seems that the use will spread in earnest. So, I will summarize how to install Tabpy (very easy) from the introduction of Python environment (Windows). rest assured. It will end soon.
-
Tabpy 1.0 is powered up by using pre-installed machine learning functions (endpoints), logging functions, and flexible security configuration.
-
Tabpy is also required when calling Python from Tableau Prep Builder, so I think that the usage scene will increase.
① First, we will introduce Anaconda. </ strong>
Download from here . Select Python Version 3.7.
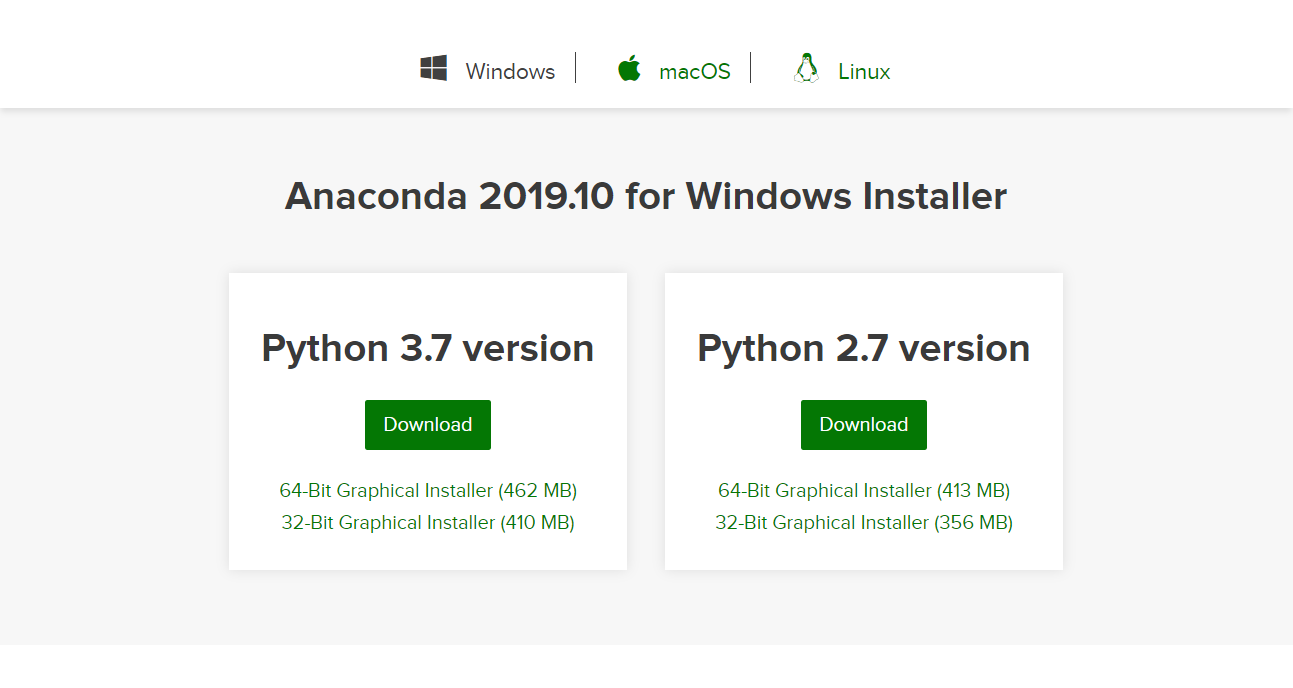
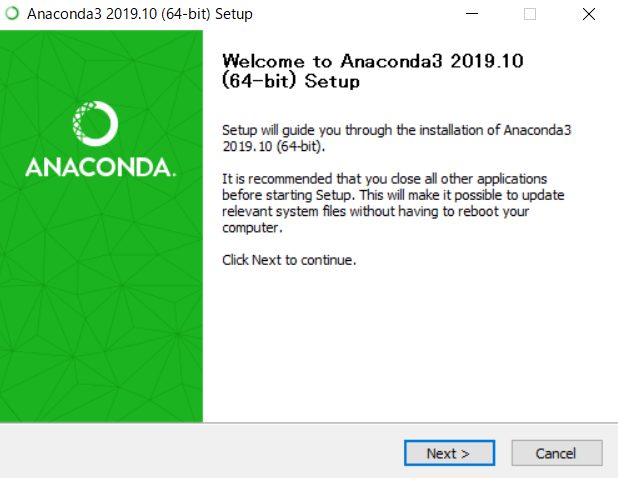
Follow the instructions on the screen to install. All are defaults.
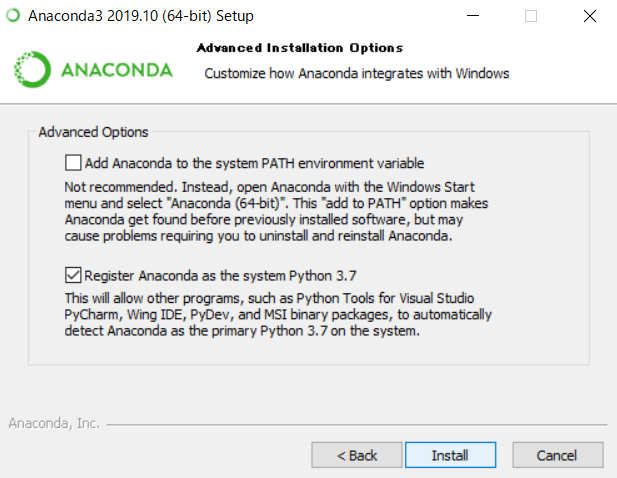
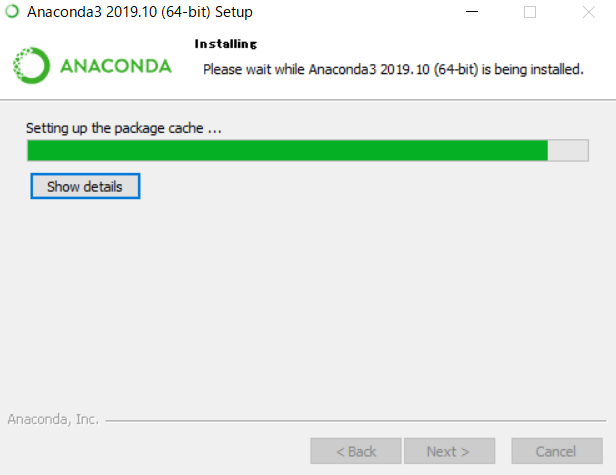
Has completed.
② Introduce Tabpy with pip. </ strong>
Launch "Anaconda Powershell Prompt" from the start menu
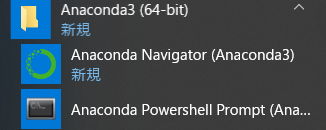
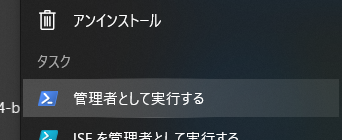
Right-click and "Run as administrator", installation and configuration may fail unless you "Run as administrator".
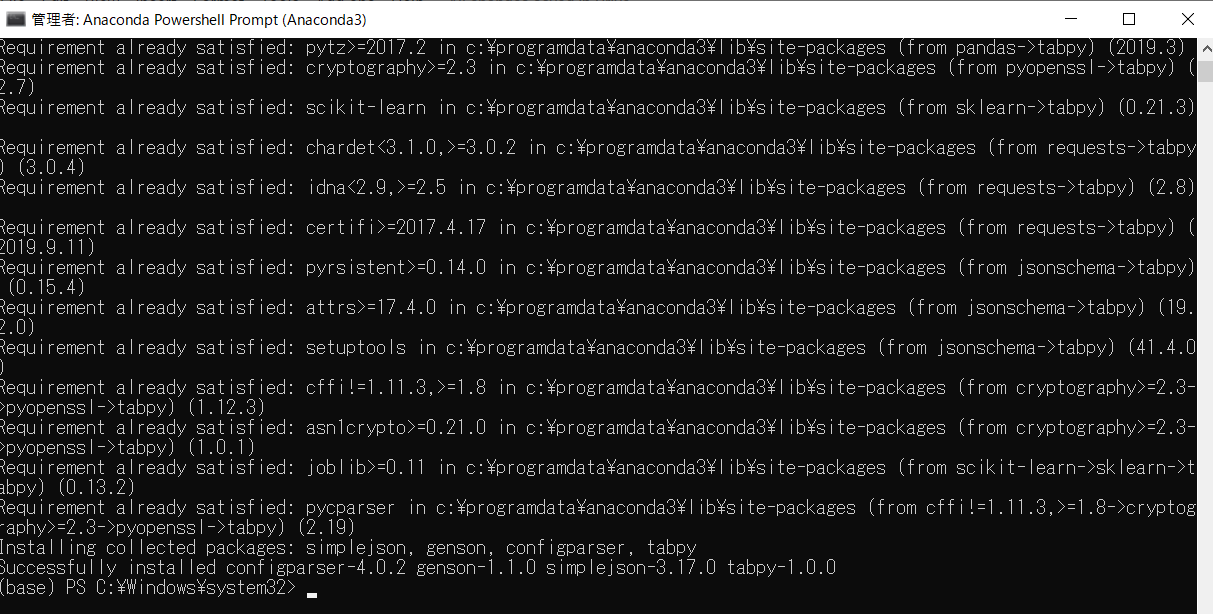
Run “pip install tabpy”.
Finally, "Successfully Installed" is displayed.
③ Start Tabpy. </ strong>
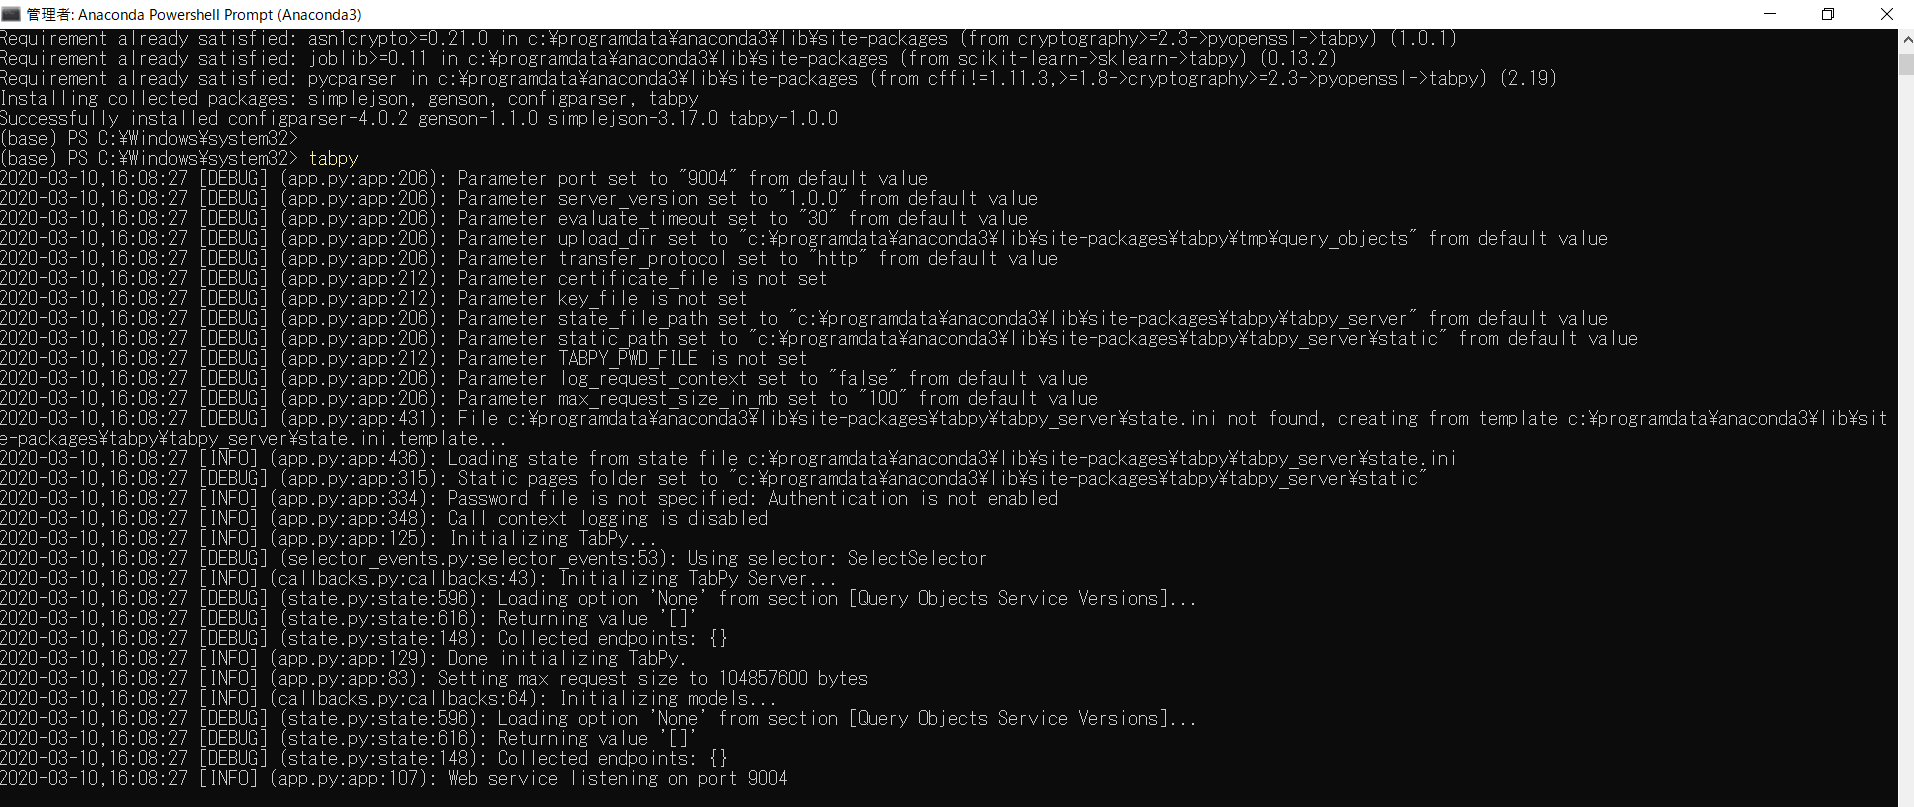
Execute “tabbpy”.
When the characters "[INFO](app.py: app: 107): Web service listening on port 9004" are displayed, the process is complete.
This is the end of the introduction of Tabpy.
④ Let's check the connection from Tableau Desktop. </ strong>
Select Help → Settings & Performance → Manage External Service Connections.
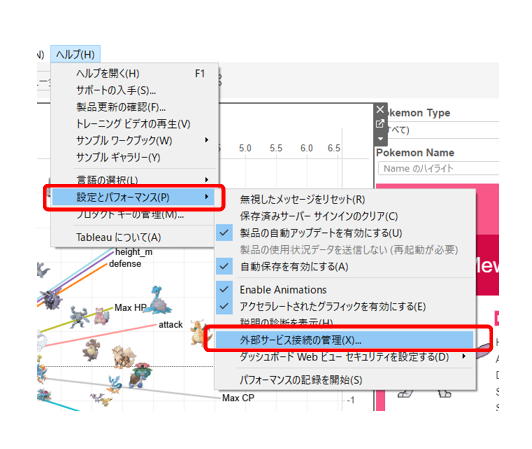
Specify localhost / port 9004 for the server and click Test Connection.
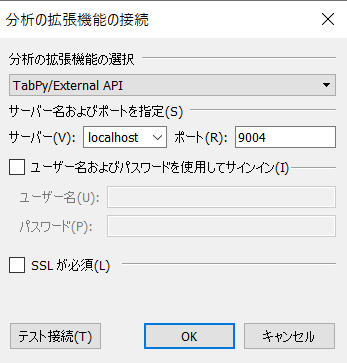
Now you're ready to go.

After this, please see the continuation for how to use Tabpy.
Bonus: It is convenient to install Tabpy client at this point. </ b>
Here's how to install tabpy_client:
① pip install tabpy_client
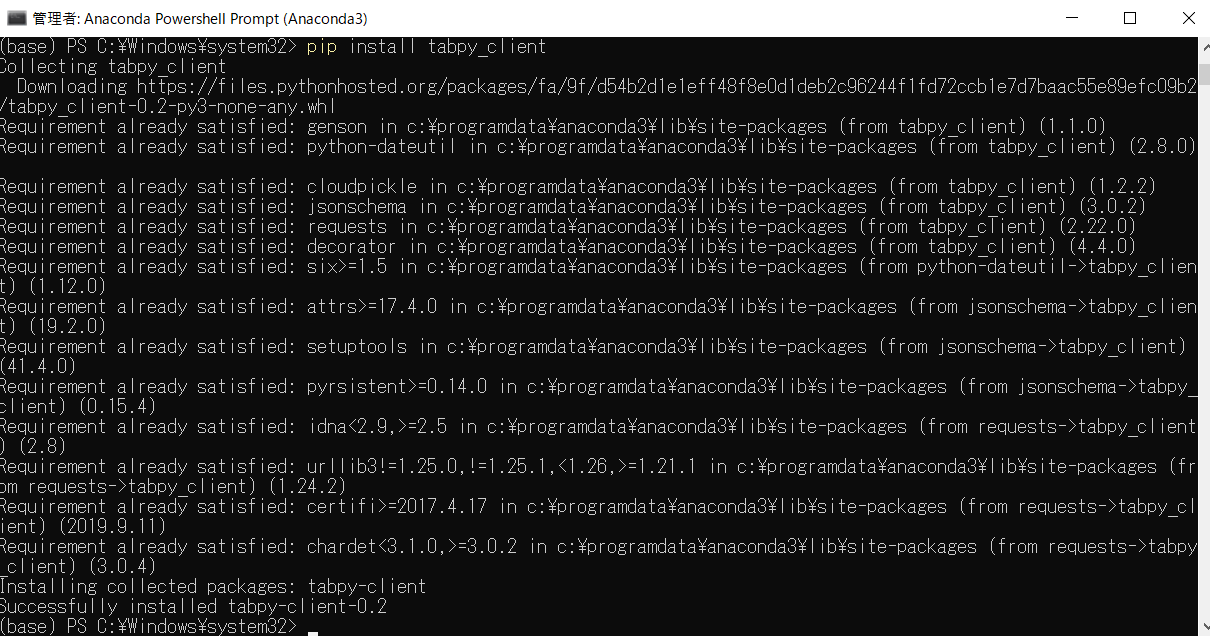
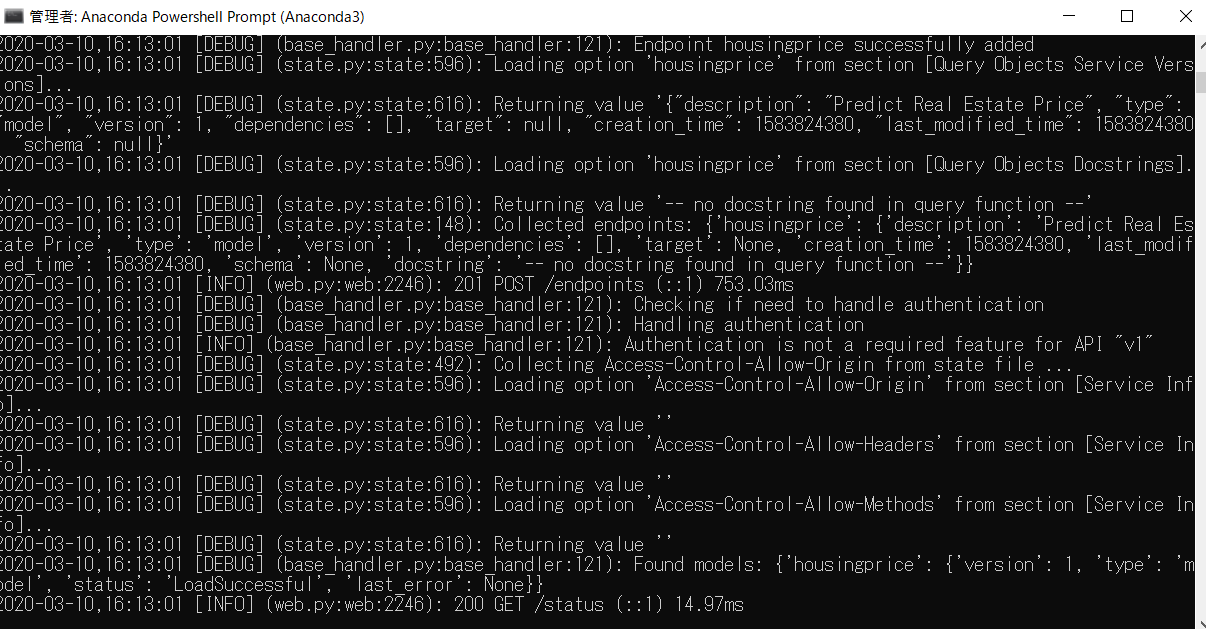
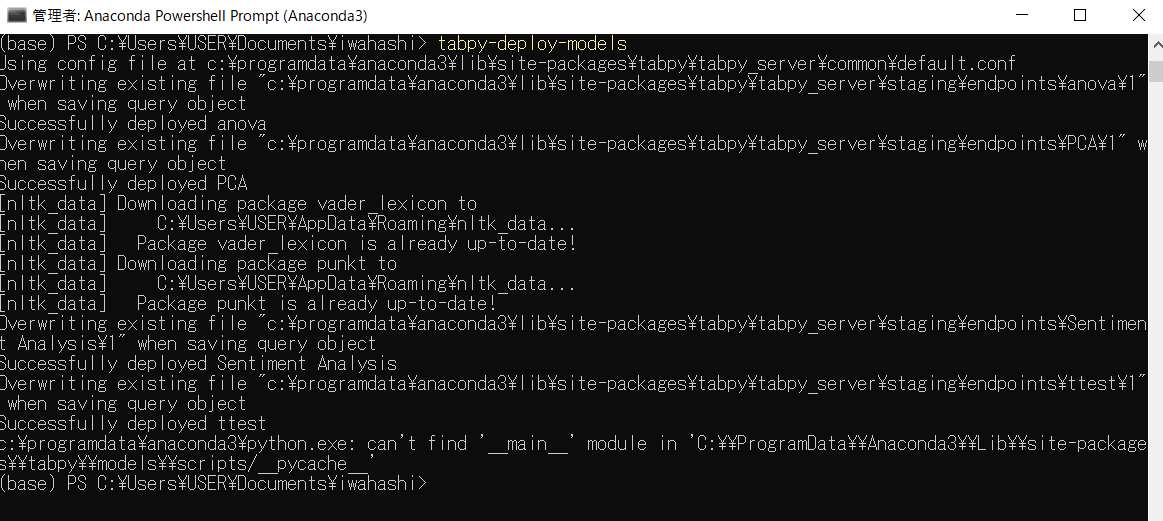
② Execute tabpy-deploy-models to use the built-in machine learning functions.
With Tabpy running as an administrator
Execute the tabpy-deploy-models command on the other screen. (Both will fail unless run as administrator.)
Thanks to Nathan Manheimer for announcing Blog !
Recommended Posts