How to add help to HDA (with Python script bonus)
This article is the 8th day article of ** Houdini Advent Calender 2019 **.
Nowadays, Houdini is used in various industries, and I think that various HDAs are being developed by each company. On the other hand, if management and documentation are not maintained **, you will not know how to use HDA made by others, and you will not be able to understand what kind of HDA exists **.
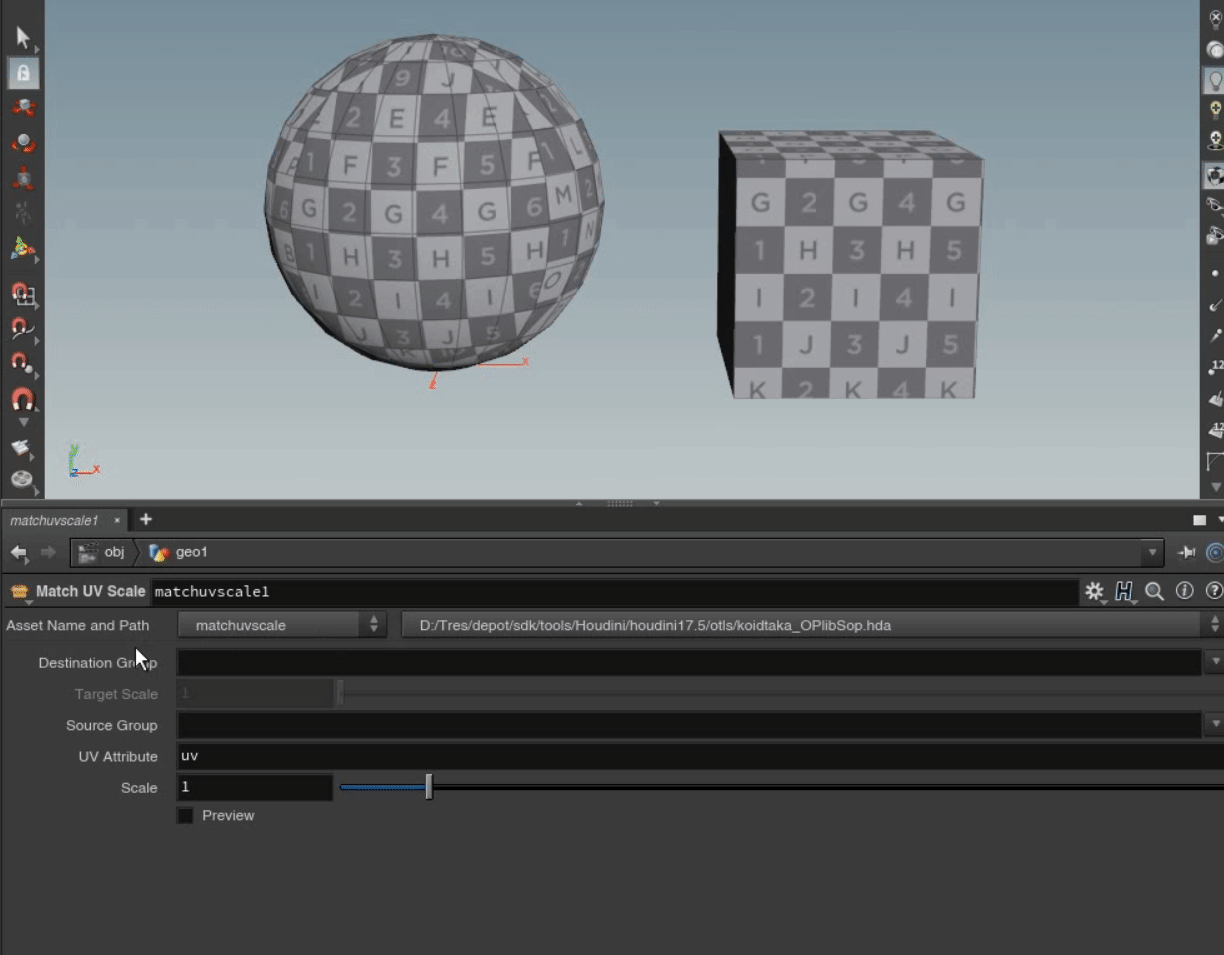
This article will show you how to create tooltips and your own documentation for the parameters shown below.
** * Please note that I only have a Windows environment, so there may be slight differences in directories etc. on different platforms. </ font> **
Where to write help
Help can be written in either of the following two places.
-** Help tab in Type Properties window ** -** $ HOUDINI_PATH / help / nodes / category / operator type name.txt **
 |
 |
|---|---|
| Help tab | text file |
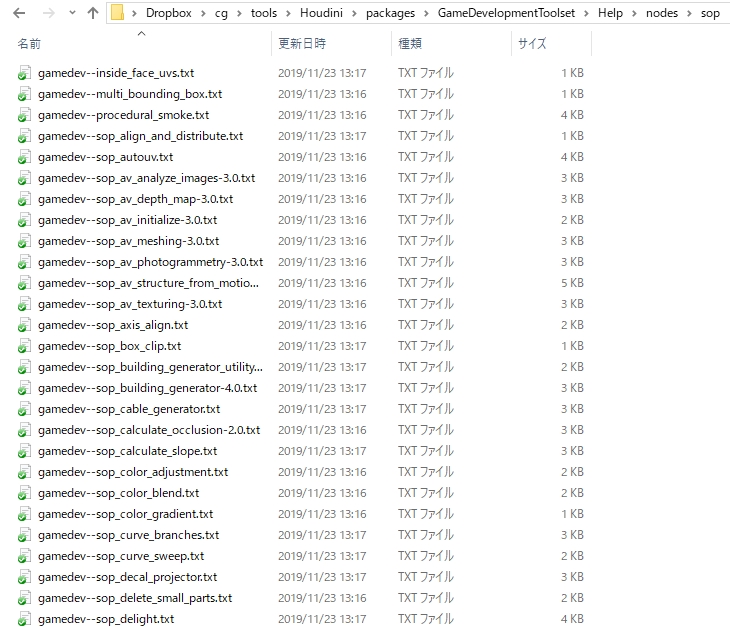
Which one to write depends on the studio's style and preferences, but I'm writing a text file because I want to manage help and HDA separately. By the way, standard nodes and Game Development Toolset are managed in the same way.
The Help format can be written using ** Wiki Markup **. Please see the following document for details.
As you can see in the documentation, this Wiki markup format is pretty sophisticated. However, for those who are accustomed to it, the threshold is a little high for those who are not. Those people can see the help source for Houdini standard nodes, so I think it's better to modify it from there.
View standard node markup
There are two ways to look at the standard node markup.
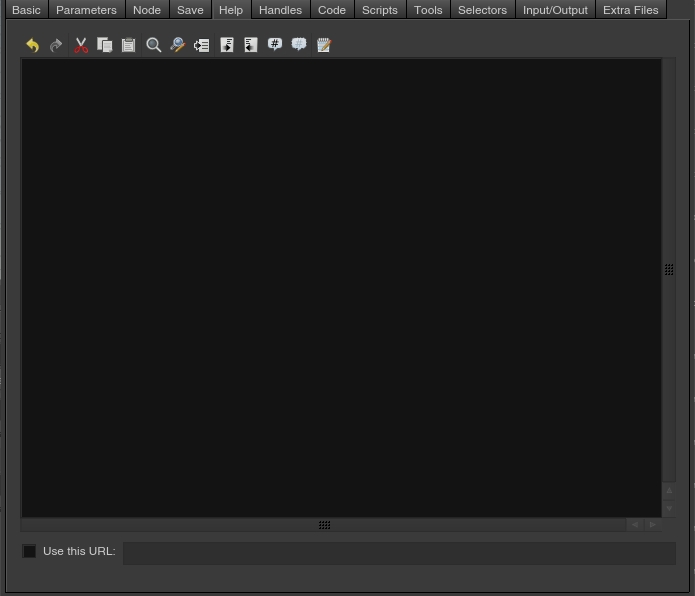
-** Press the help button in the parameter editor and add .txt at the end of the URL field. ** **
Bring up the node you want to see the source of, click the help button in the parameter editor, and add ** \ .txt ** after the URL that appears (it won't display properly until you wait a while) You can see the markup of.

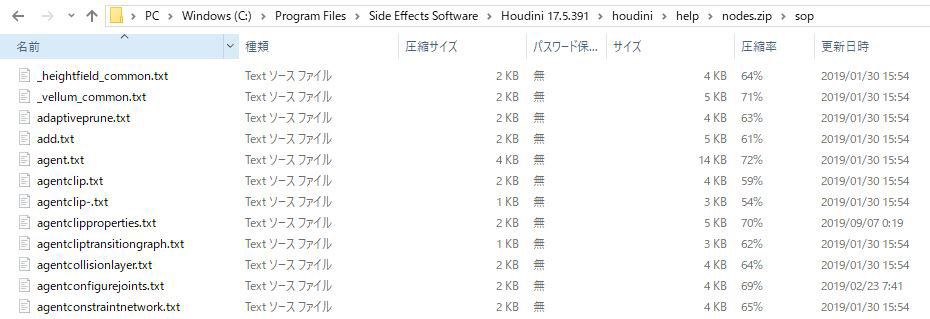
-** View a local text file. ** **
The local text file resides in ** $ HH / help / nodes.zip / category / operator type name.txt **.
** * $ HH is the Houdini installation directory / houdini </ font> (eg C: / Program Files / Side Effects Software / Houdini 17.5.391 / houdini **)
Frequently used formats for asset help
Now that you know how to read the source, let's take the source of Align Sop as an example to summarize the asset format.
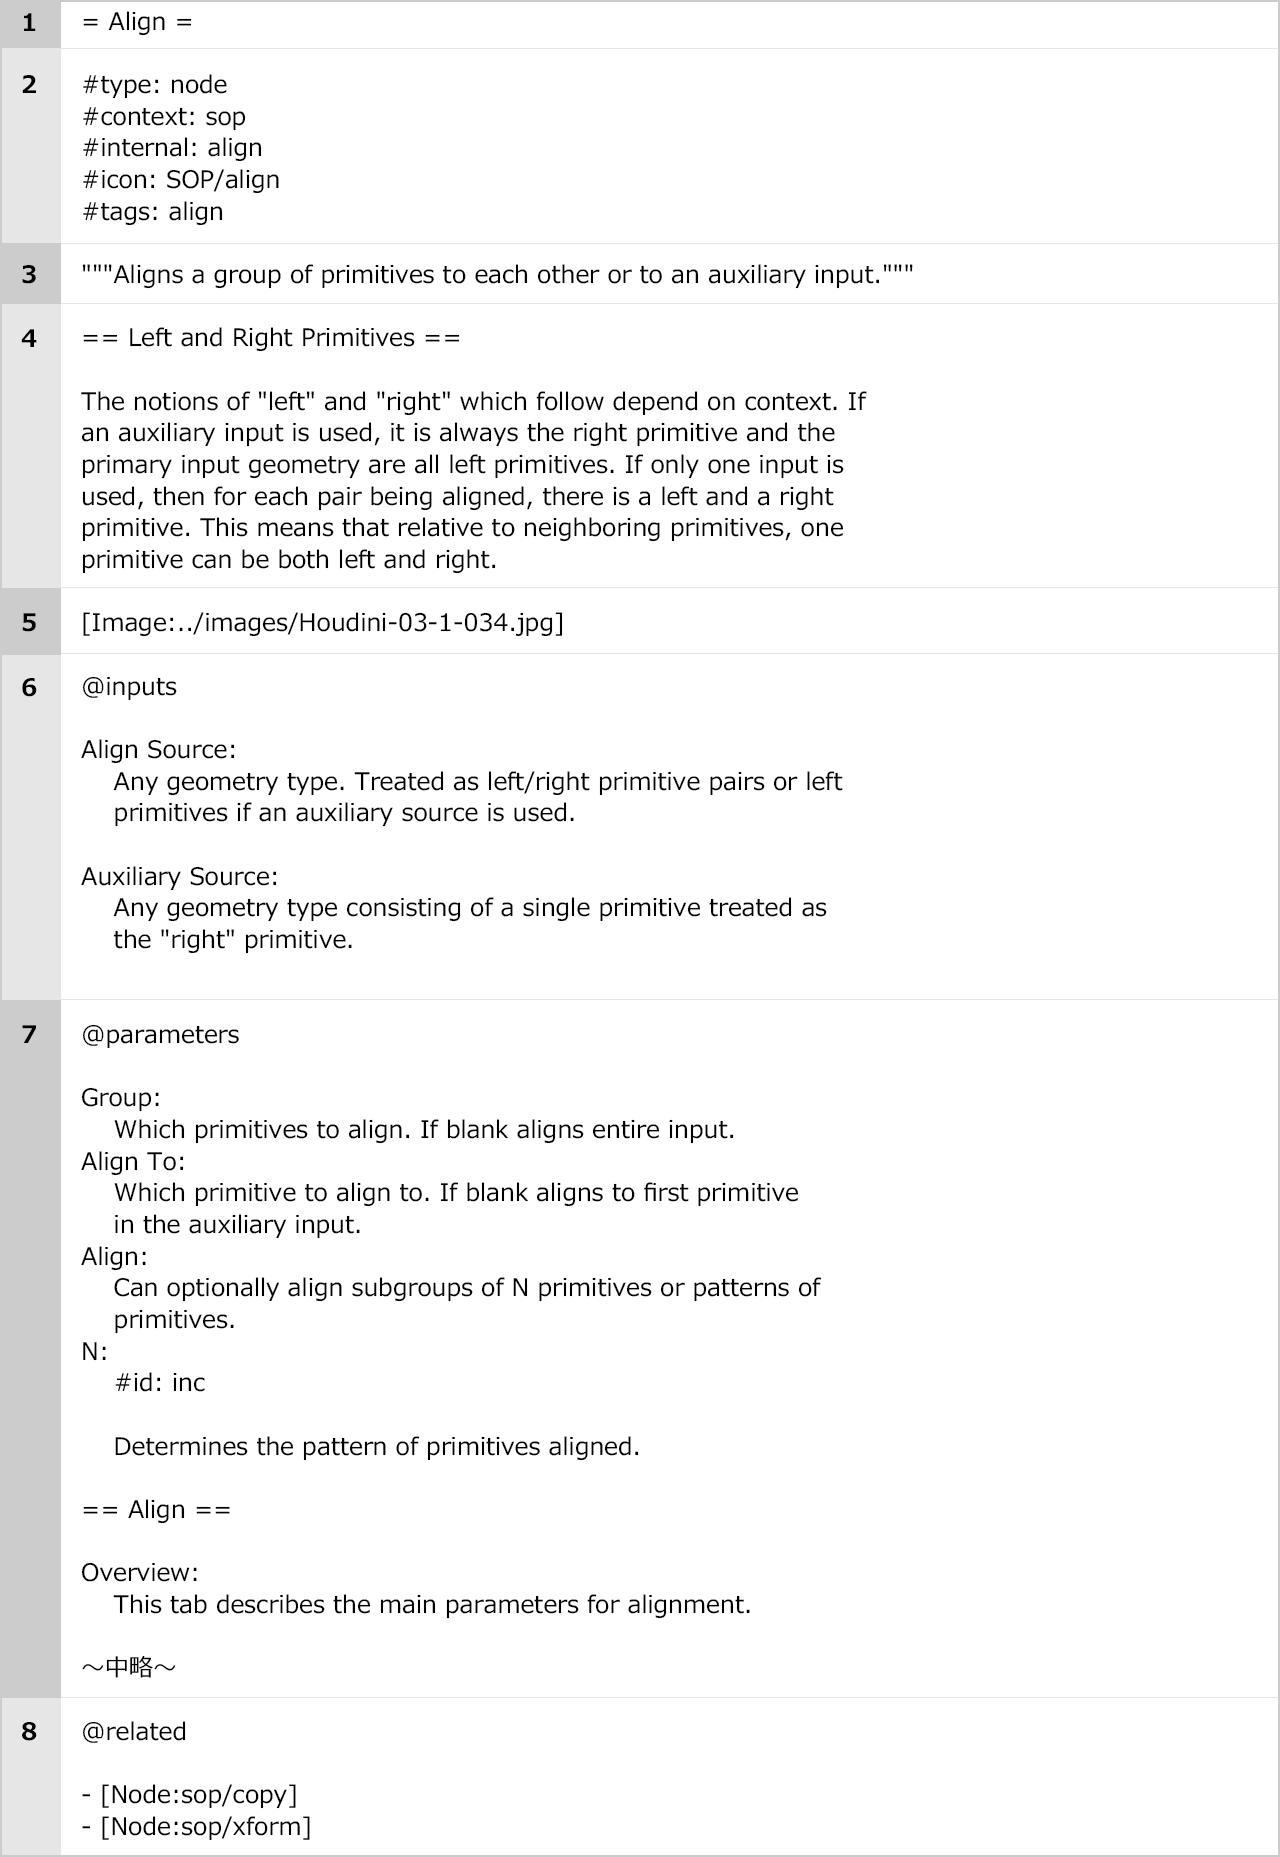
-
The title. Enclose in ** = ** </ font> Basically, the operator label is written.
-
icon is the setting of the node icon, and the other parts describe information to be used for filtering etc., and it does not affect the appearance of help.
-
Summary. Enclose it in ** "" "** </ font>. A simple explanation that fits within the basic two lines is written.
-
A description of the purpose and operation of the node. Enclose it in ** == ** </ font>, write the title, and write the description with a line break.
-
Insert the image. ** ../ ** stands for ** $ HOUDINI_PATH / help / **. To load an animated gif, use ** [Anim: file path.gif] ** </ font>.
-
This is an input explanation. ** @ inputs ** </ font> starts the section that describes input. Write a colon (:) after the input label for each input. Below that, describe the behavior of the node with respect to the input with indentation.
-
Start the section that describes the parameters in ** @paramters ** </ font>. If you want to separate the parameters by folder, you can separate them by setting ** == folder label == ** </ font>. If you have not set a tooltip for the parameter, it will automatically extract the first paragraph of this parameter description and use it as the parameter tooltip. ** # id: </ font> ** If you did not add the property and parameter name, it will try to match the parameter using the parameter's label. However, it is better to add the ** # id: </ font> ** property to all parameters. That way, even if some parameters have duplicate labels, those parameters will be linked properly.
-
You can create a section with links to related pages with ** @ related ** </ font>.
** See the document below for more details. ** **
Creating a custom sample
You can also add a custom sample to the help. To create a sample, you need to put the following two files in place.
-** .hda file created in object network ** -** Text file with sample description **
** * If the .hda file is other than the object network, for example, if it is Dop, you need to create a Dop Network and include it in the object network. ** </ font>
Make the above two files the same file name and place them in the following directory.
-** $ HOUDINI_PATH / help / examples / nodes / Category / Operator Type Name / **
For example, if you want to display a custom sample named ** MyNodeExample ** </ font> on the HDA of Sop named ** mynode ** </ font> Place the sample file below.
- $HOUDINI_PATH/help/examples/nodes/sop/mynode/MyNodeExample.hda
- $HOUDINI_PATH/help/examples/nodes/sop/mynode/MyNodeExample.txt
Once the file is ready, you can display the custom sample by adding the following description to the help.
:load_example: My Node Example
    #examplefile: /examples/nodes/sop/mynode/MyNodeExample.hda
    #path: /examples/nodes/sop/mynode/MyNodeExample
    #include: yes
** Custom sample example **

Semi-automated by script
So far we've shown you how to create a document, but setting it up every time is pretty tedious. Especially when it comes to HDA with many parameters, a lot of effort is required. Therefore, use a Python script that can list and edit the parameters shown below to make it easier to write help.

The script can be downloaded and used from the GitHub repository below.
Summary
This is the introduction of how to write HDA help and scripts. If you have any mistakes or unclear points in the article, I would appreciate it if you could write them down. Until the end Thank you for reading.
reference
SideFX Official Document (Japanese Version)
-Wiki Markup Reference -How to use help --Documenting Assets --Create Custom Sample
Recommended Posts