[PYTHON] # 1 Until you deploy Django's web application (instance construction with EC2 on AWS)
Introduction
I am a beginner in programming languages. Therefore, I think there are some misreading and lack of understanding. In that case, I would appreciate it if you could let me know in the comments.
The "goal" wants to go as far as deploying a pre-created Python web application. I will write for beginners as much as possible.
Creation procedure
- After building an instance on AWS EC2, perform SSH communication ← ** Currently here. ** **
- Build a Python environment inside the built instance
- Build a virtual environment in the instance and install Django etc. (framework)
- Set up PostgreSQL (database)
- Set up the application to connect to the Internet (first half of deployment)
- Set Nginx and Gunicorn (second half of deployment)
How to create an instance
Step 1 (Create Instance)
Select EC2 on AWS and go to this screen. Click where the arrow is at the top right of the screen. (This is where you select a region.)
- If you are not particular about it, you can go anywhere, but be sure to check here before using EC2.
Click Create Instance.

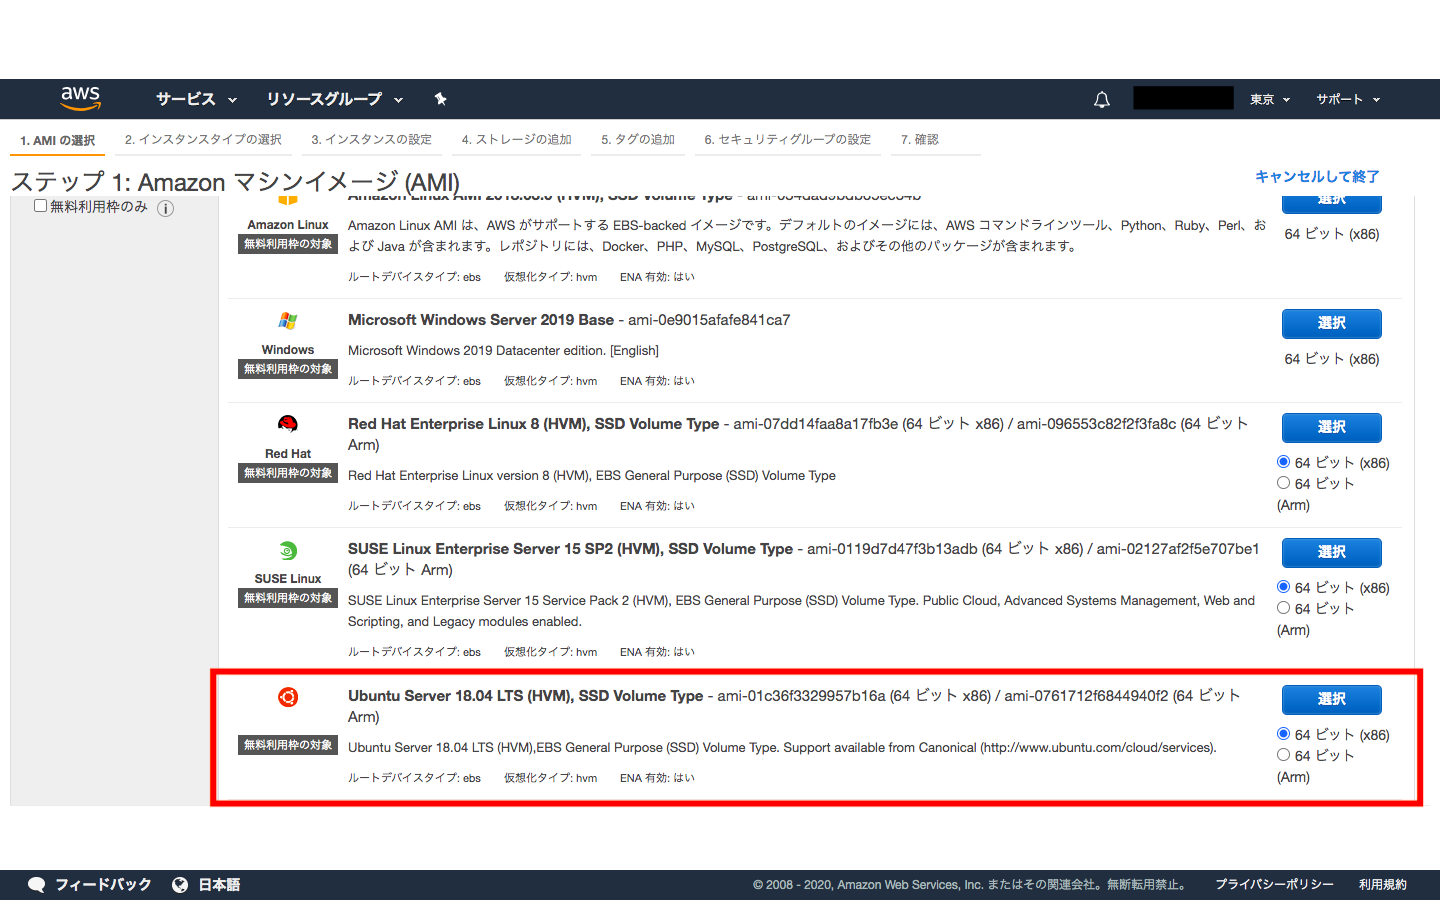
Step 2 (Select Amazon Machine Image)
Clicking "Create Instance" will take you to this screen.
Decide on a virtual server here.
This time, we will use Ubuntu Server 18.04 LTS (HVM), SSD Volume Type-ami-0bcc094591f354be2 (64-bit x86) / ami-0bc556e0c71e1b467 (64-bit Arm).
Step 3 (select instance type)
Select "t2.micro free usage tier target" as the instance type
- If you do not select the item that is eligible for the free usage tier here, it will cost you money.

Step 4 (Storage settings)
Click the "Next" button without thinking about "Step 7: Confirmation of instance creation".
- If necessary, I think you can change it even after creating it.


Step 5 (Create key pair + Download)
Click "Launch" on the "Step 7: Confirm Instance Creation" page. Then, this screen will appear, so select "Create new key pair". Please use any name you like for the "key pair name".
- Here, set it to [test]. And download it.
- Please do not delete this instance while using it. Also, please do not give it to anyone.
By the way, when it is downloaded, it will be downloaded in the filder, so please move it to Desktop. I will use it later.

Step 6 (Try SSH communication)
Make sure the key pair has been downloaded. After that, it is assumed that you have moved to Desktop. I think the key pair is downloaded as a file called XXX.pem, but I can't SSH into this file without changing the permissions with the chmod command.
*'Hostname', but the public DNS in the instance description: xxx.amazonaws.com. *'XXX' in XXX.pem will be the "key pair name" determined in step 5.
- ubuntu will be the default name.
For permissions, type the code below.
$ chmod 400 XXX.pem

Check if you can connect with SSH.
$ ssh -i XXX.pem 'user name'@'hostname'

In this article:
$ ssh -i test.pem [email protected]
You will be asked (yes / no) in the terminal, so type yes. Then You should be prompted with ubuntu @ ip-000-00-00-000: ~ $.
I will write the continuation in the next article.
Recommended Posts