[LINUX] Deploy CentOS 6.10 x86_64 on VMware vSphere ESXi 5.5
Deploy CentOS 6.10 x86_64 on VMware vSphere ESXi 5.5
Prerequisites
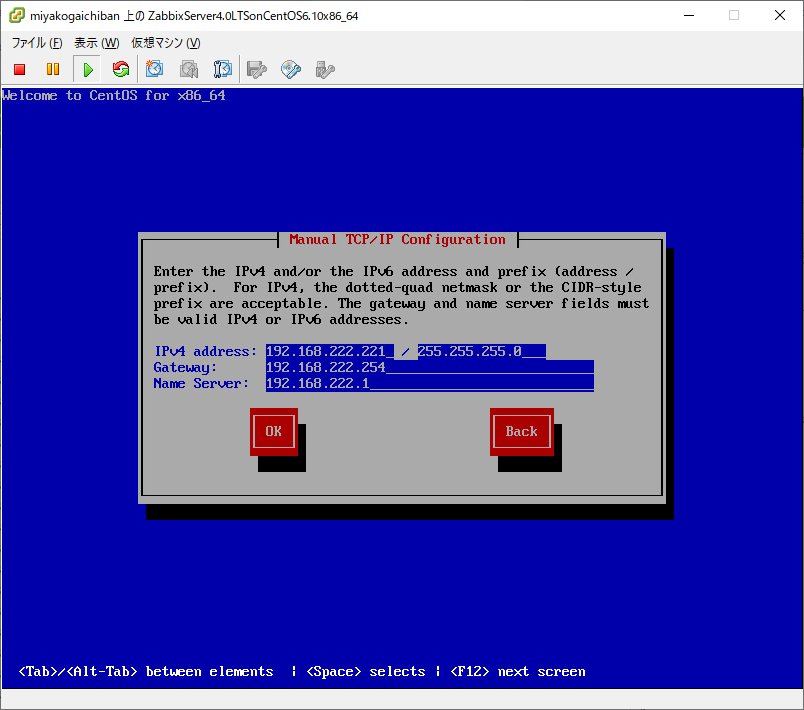
--The network address is 192.168.222.0/24 --The gateway is 192.168.222.254 --DNS server is 192.168.222.1 --VMware vSphere ESXi 5.5 can be used
My policy (very personal)
--When installing CentOS, net install. --The image data acquisition destination used for netinstall should be ftp.riken.jp. RIKEN, Banzai. --LANG should be en_US.UTF-8. --The keyboard layout should be jp106.
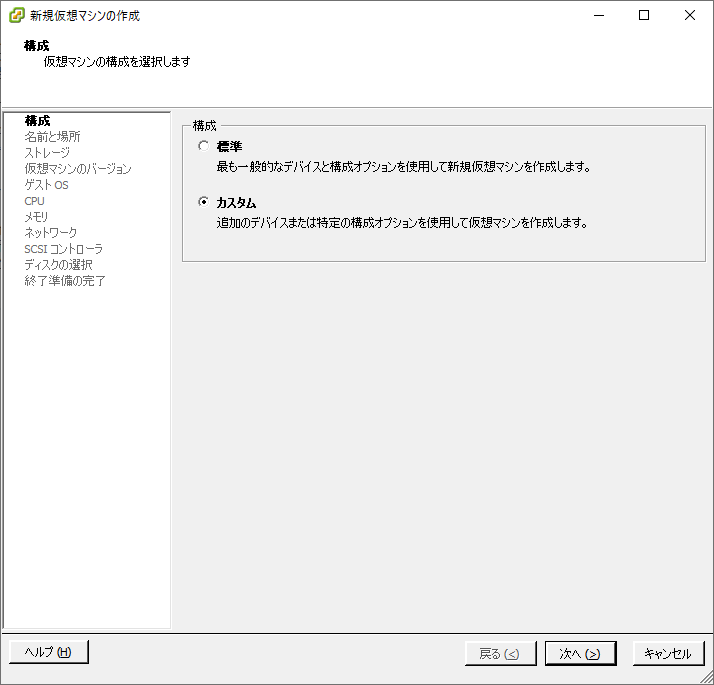
Create a new virtual machine
For the configuration, I chose Custom.
Enter name and location
Enter the virtual machine name as you like. I made it ZabbixServer4.0LTSonCentOS6.10x86_64.
In the verification environment, you will want to find the target virtual machine at a glance, so it is better to write the purpose, function name / OS, and 6432bit rather than entering the host name.

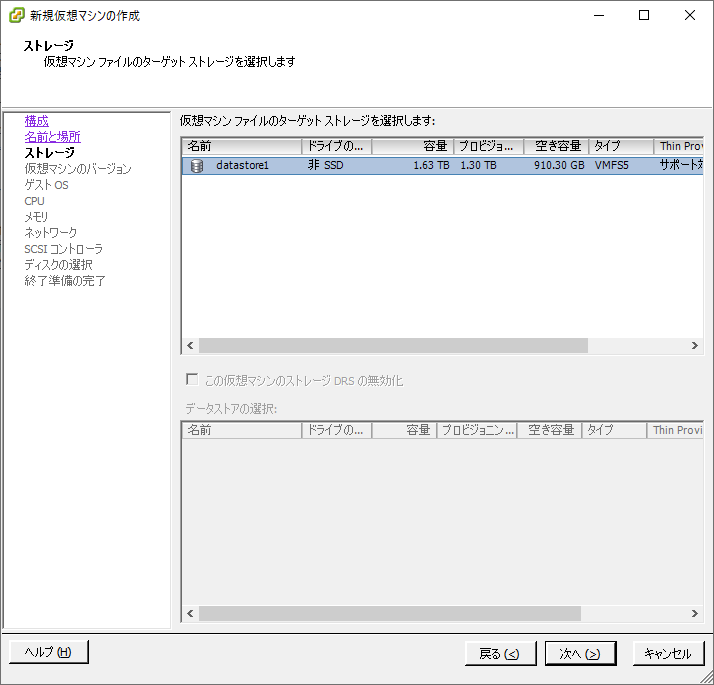
Storage selection
The image has only local storage, so I chose that.
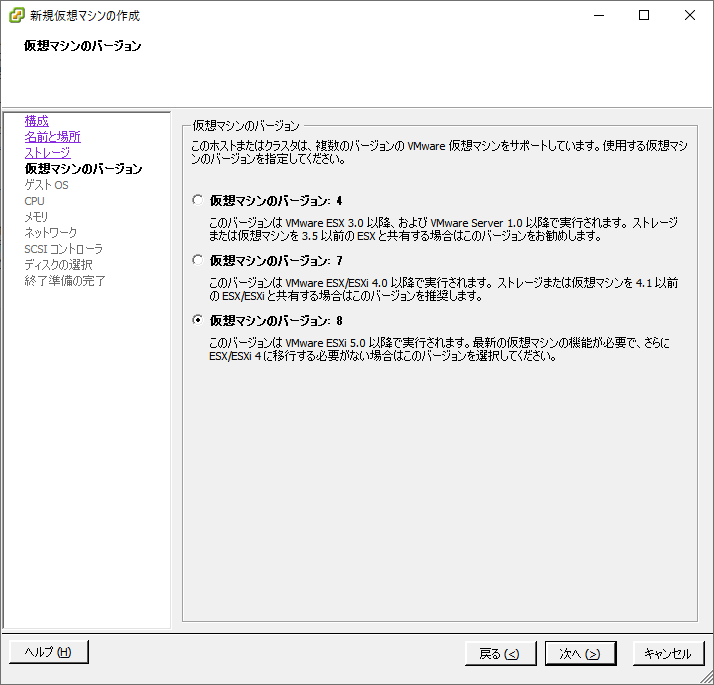
Select virtual machine version
For the virtual machine version, select the latest version (ver8) that can be selected with ESXi 5.5.
With the current latest ESXi (as of February 19, 2020), it will be 6.7 series and will be in the support category.
Reference: List of hardware versions of ESXi / ESX hosts and compatible virtual machines (2007240)
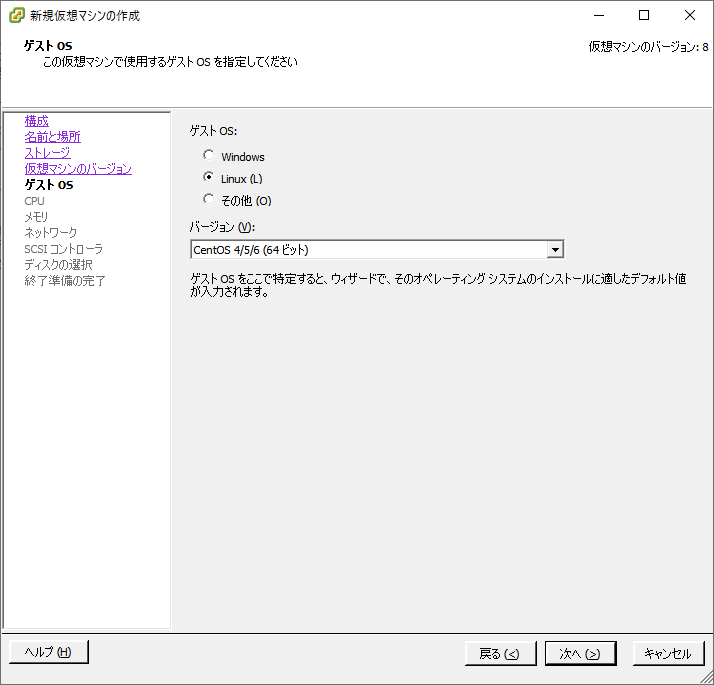
Guest OS selection
For Linux, selectCentOS 4/5/6 (64-bit).
CPU selection
Set as appropriate in consideration of the resource status of the physical environment you are using.

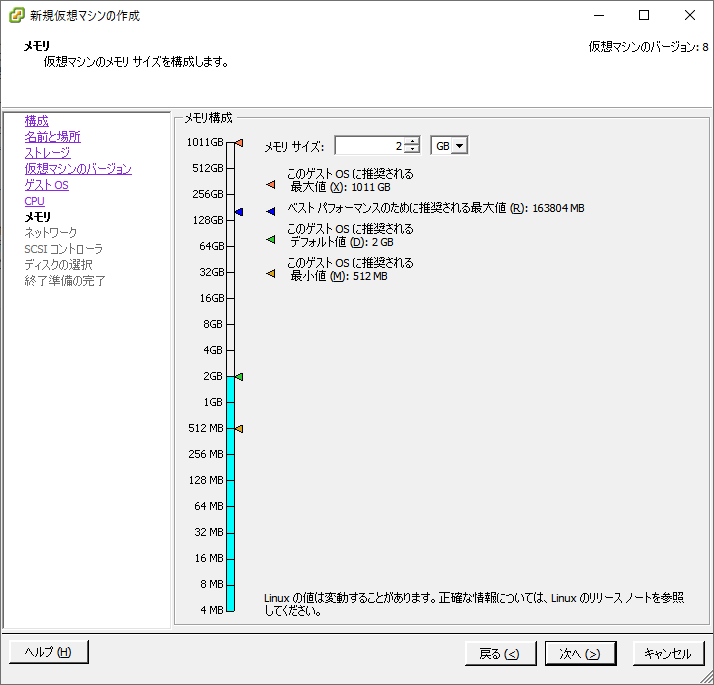
Memory settings
Set the memory size. This time, the purpose was to set up a small Linux server, so I made it about 2GB. 512MB might have been fine.
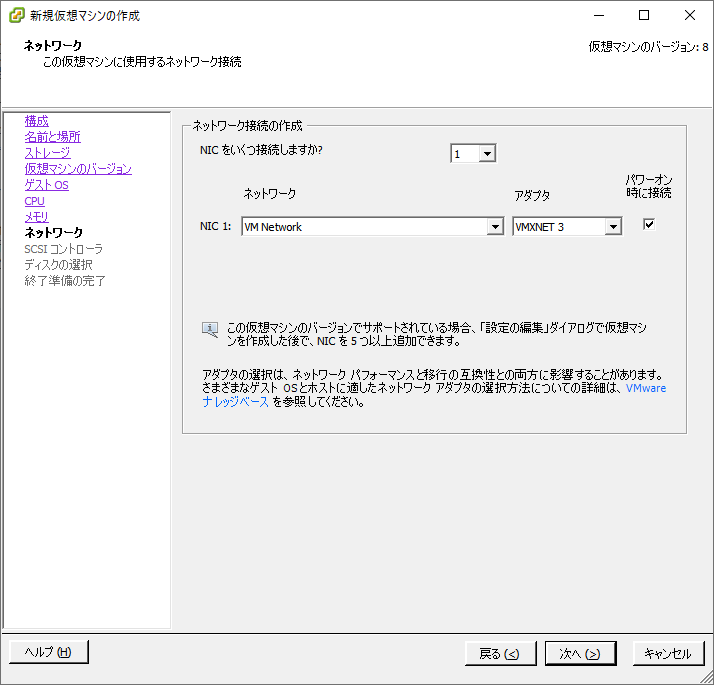
Network selection
Select the appropriate network accordingly.
For the adapter, select VMXNET3. It should be selected by default.
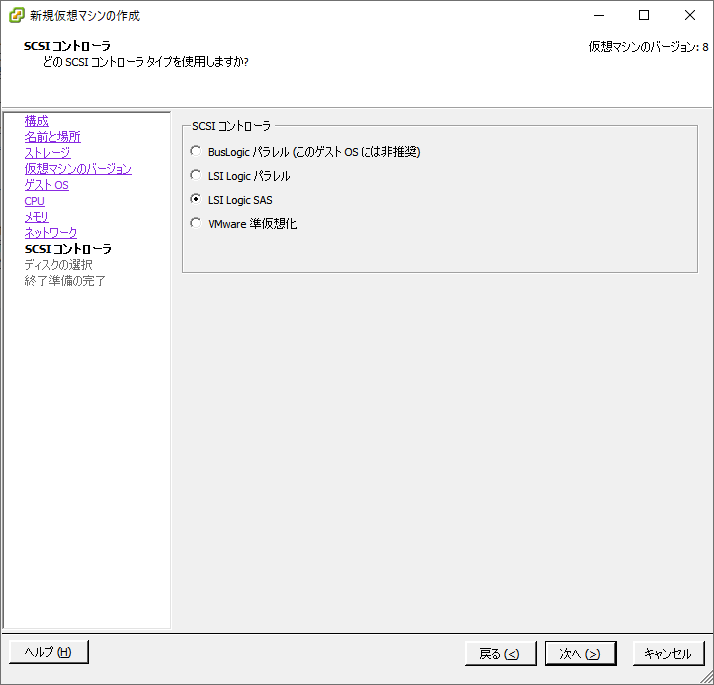
SCSI controller settings
Set LSI Logic SAS.
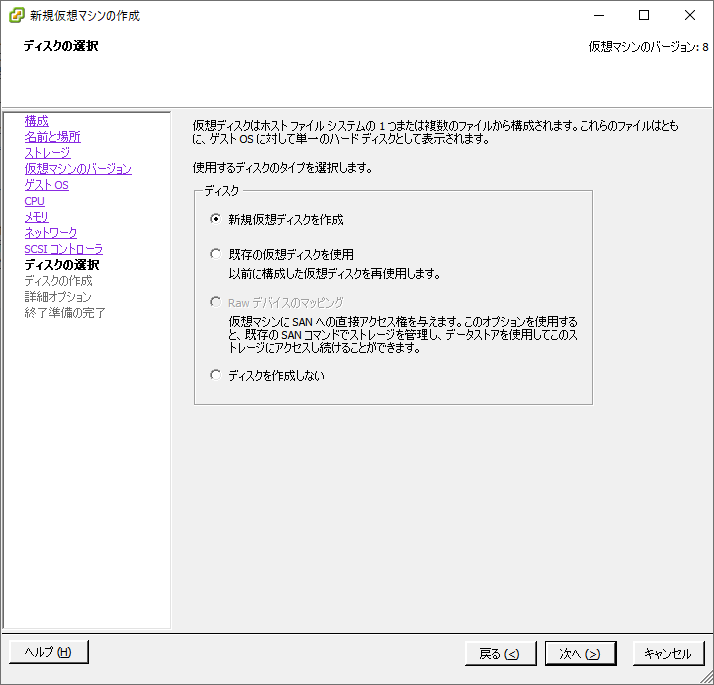
Disk selection
Select Create a new virtual disk.
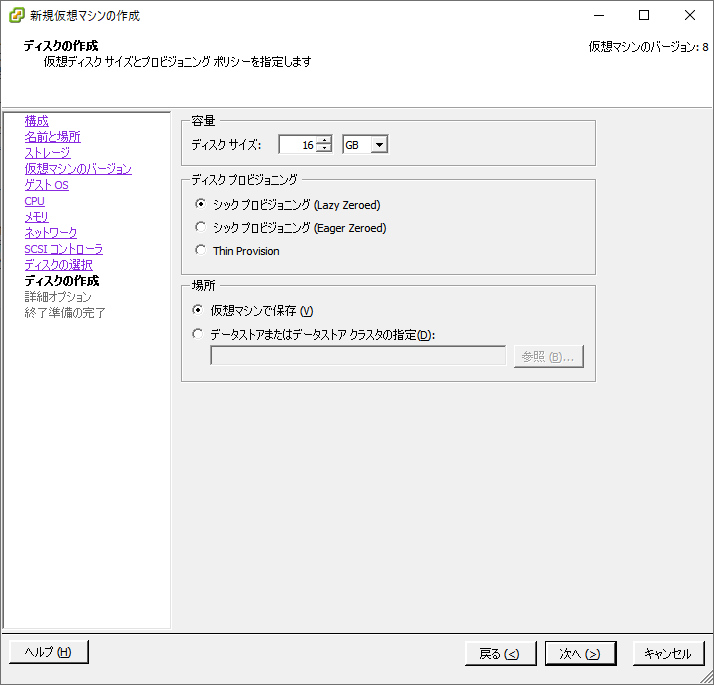
Burn disc
Set the HDD size. This time, it was a small size, so I made it chic.
Depending on the case, judge whether it is thin or chic.
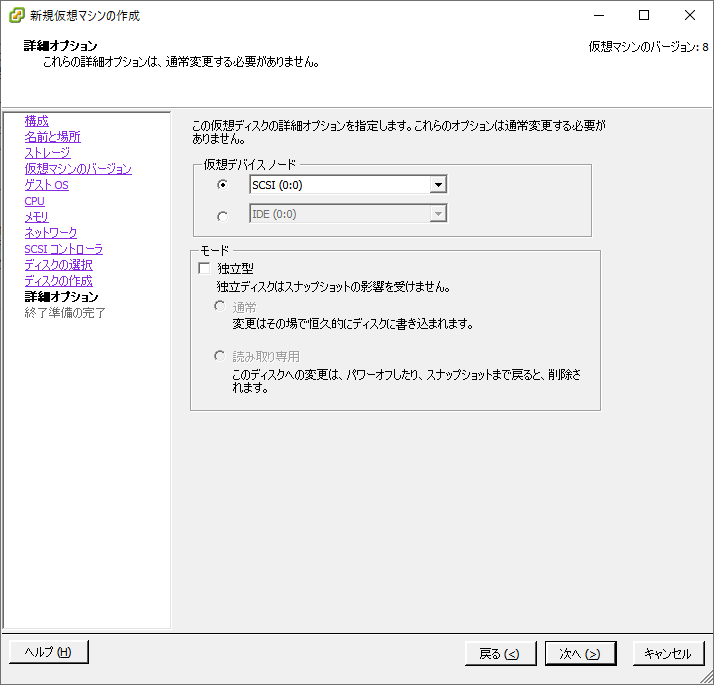
Advanced options
As per the message, there is no particular change.
Ready to finish
Nothing in particular. You can see the setting summary so far.
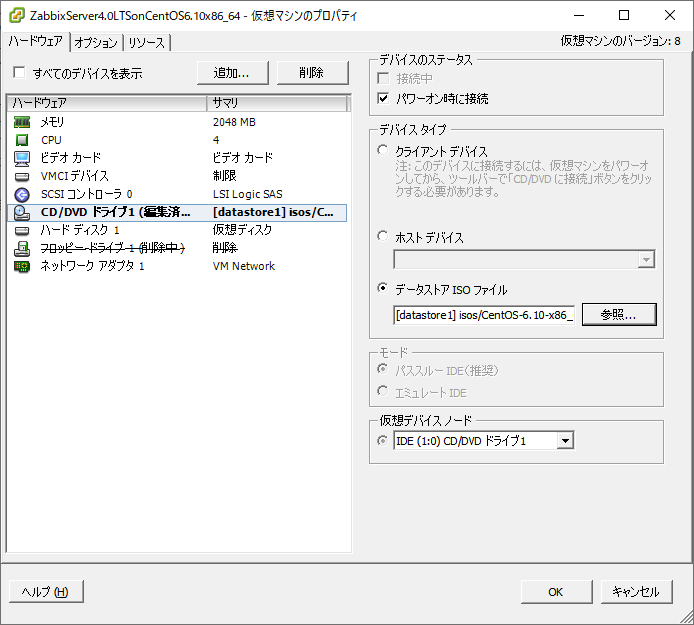
If you check Edit virtual machine settings before completion at the bottom, you can see the screen of the following image. 
Virtual machine properties
Mount the ISO for netinstall.
Also, FDD is not used, so delete it from the device. (* This part is my favorite.)
Start of installation of CentOS
Select ʻInstall or upgrade an existing system. It is a timed expression, and if left unchecked, ʻInstall or upgrade an existing system will be selected.

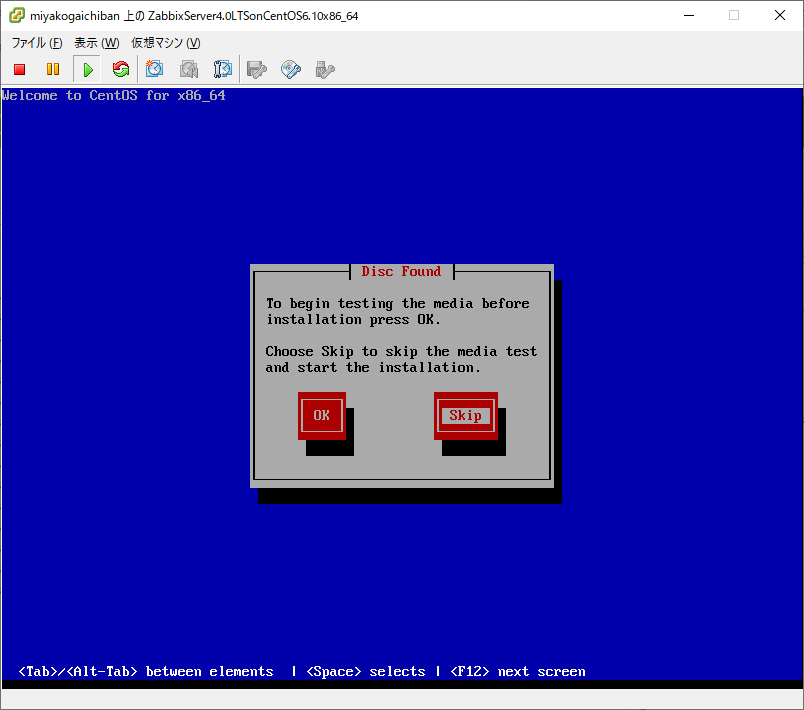
Media test
When it detects bootable media (ISO media), you will be asked if you want to test it.
Do not check.
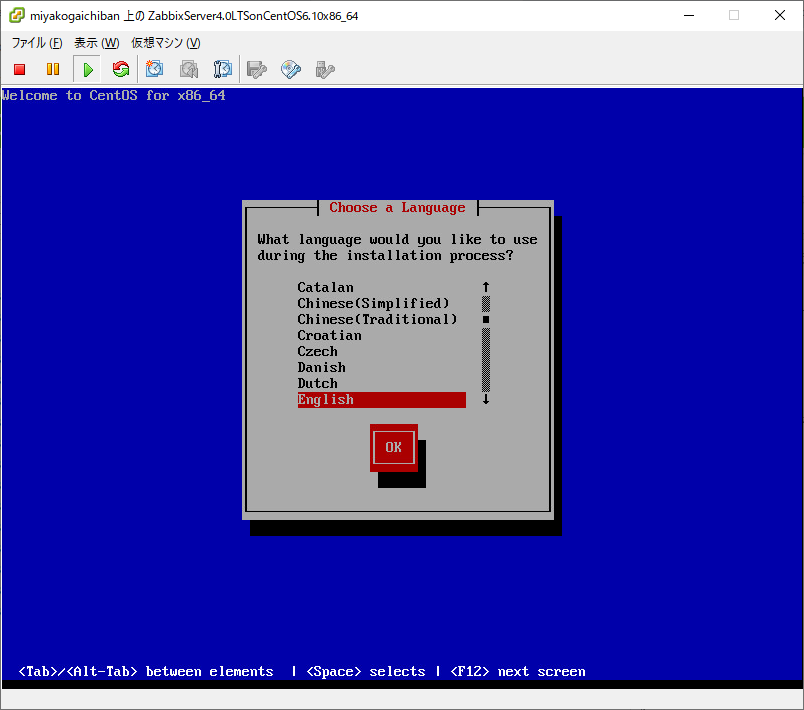
Language selection
As I wrote at the beginning, I will select English-speaking countries, so select ʻEnglish`.
Keyboard selection
As I wrote at the beginning, select jp106.

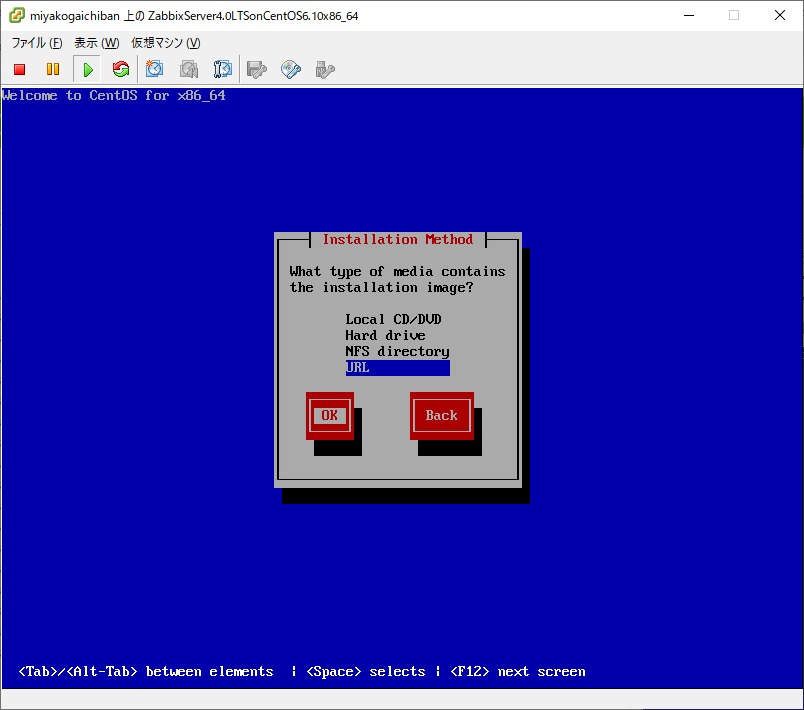
Specify installation media
Since we will do netinstall, specify ʻURL`.
The reason why I personally like this is that CentOS starts by inheriting the set IP as it is, so you can move to ssh connection as it is.
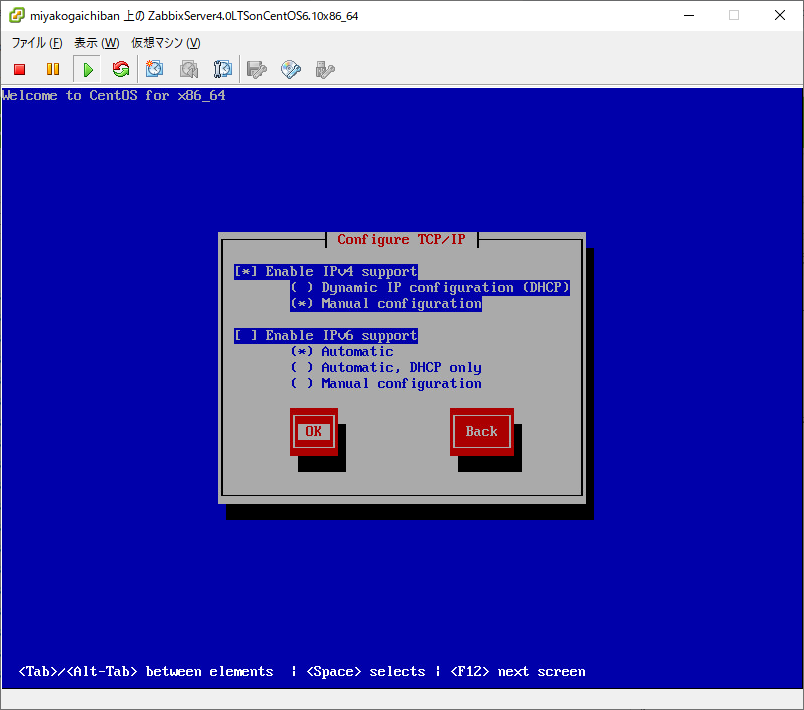
TCP / IP settings
Disable IPv6 and manually configure IPv4.
That is, check out ʻEnable IPv6 Support, check in ʻEnable IPv4 Support, and check in Manual Configuration.
IP settings
As mentioned at the beginning, set up the network.
URL setting
Specify the URL of RIKEN's ftp server.
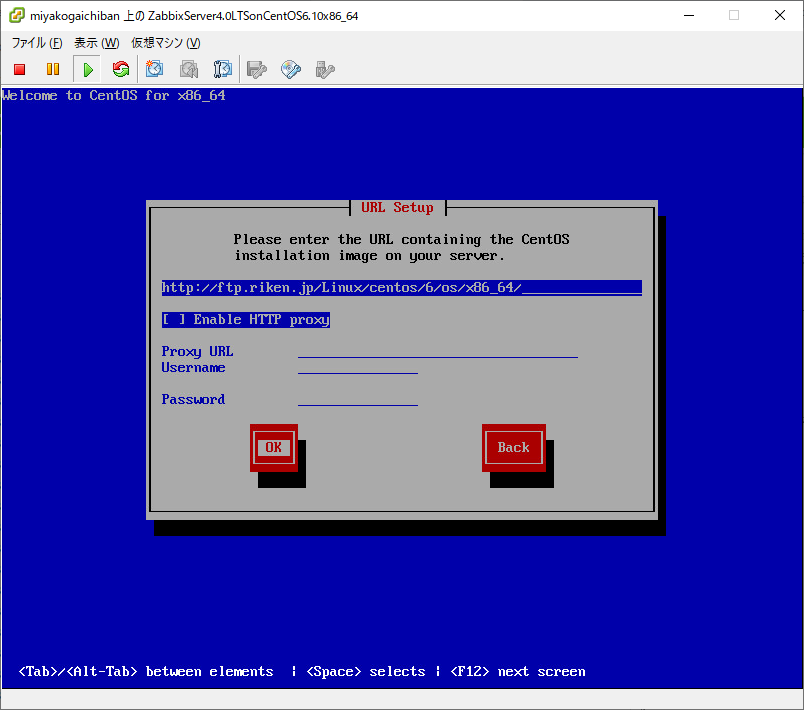
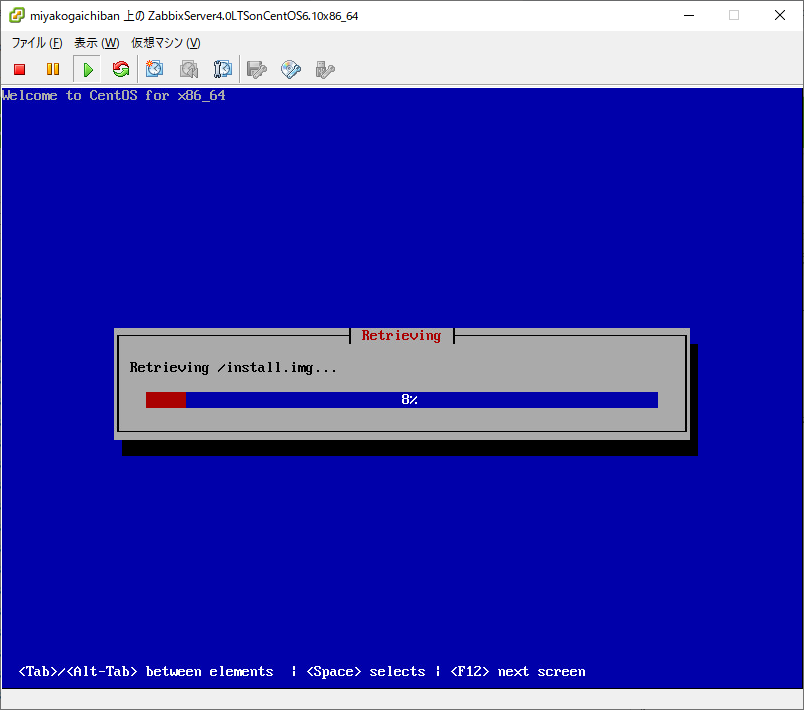
Image loading
The Image is loaded. At this time, if it cannot be loaded, check the network (IP, GW, DNS). After that, double-check the URL.
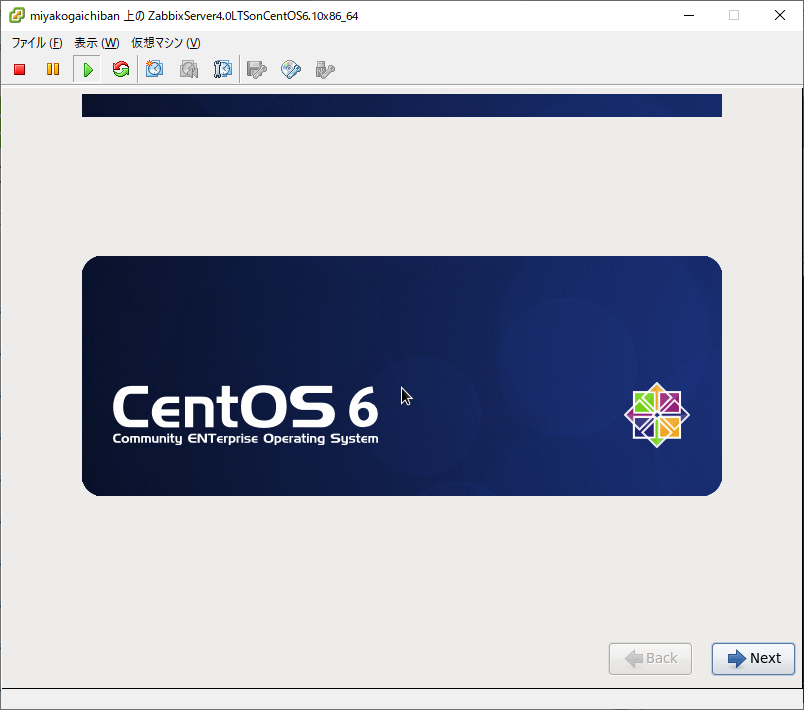
GUI-based installation wizard started
Press Next.
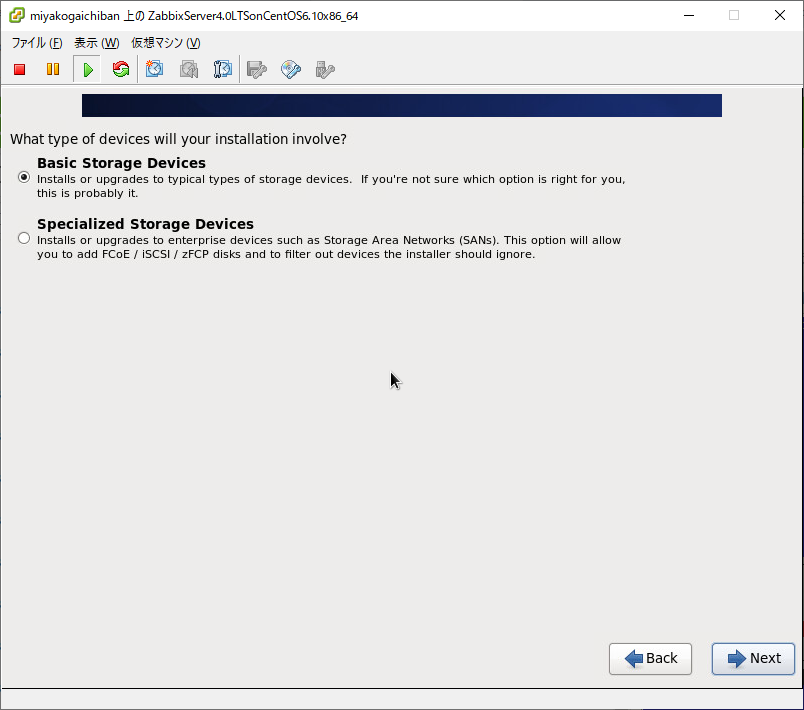
Specify the installation destination
Select either a local disk or a disk on your network.
This time, it's a local disk. So select Basic Storage Device.
Format confirmation
You will be asked if you want to format the specified disk.
Format.
Host name setting
Specify the host name as appropriate.

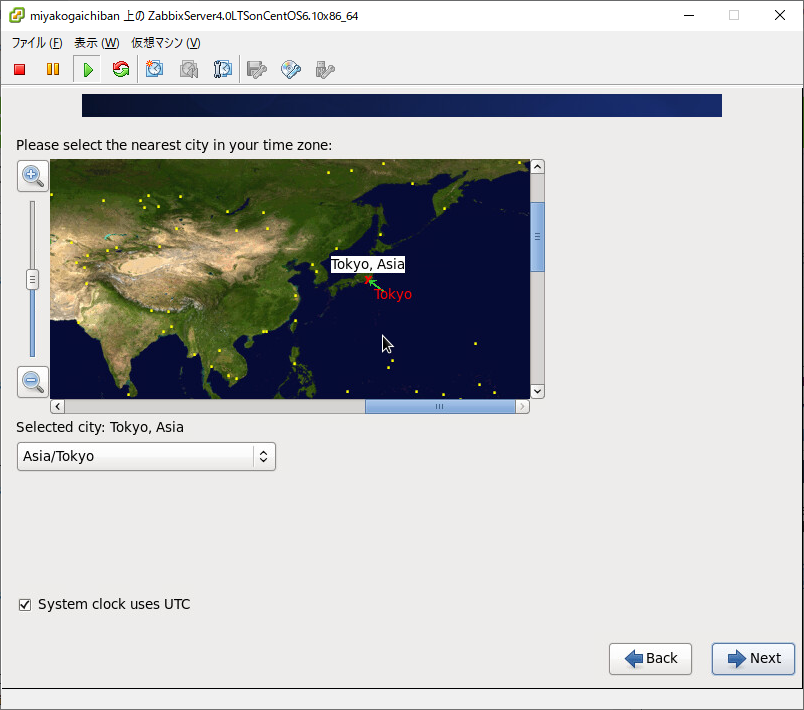
Time zone setting
Since the server will be Japan, specify Tokyo, Asia.
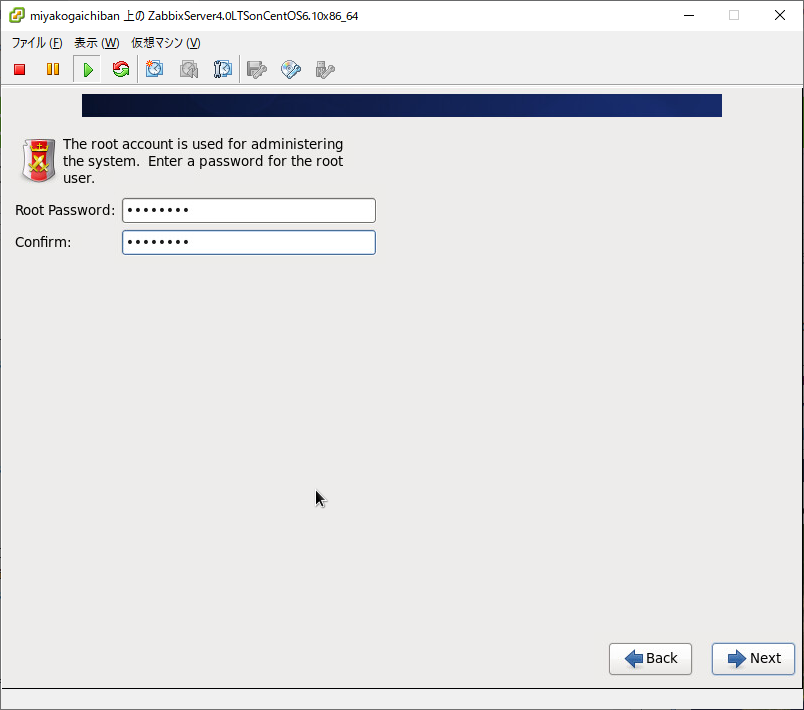
Setting root password
Set the root password.
If your password strength is low or if it violates your password policy, you will be asked "What about it? Do you do it? Really?"
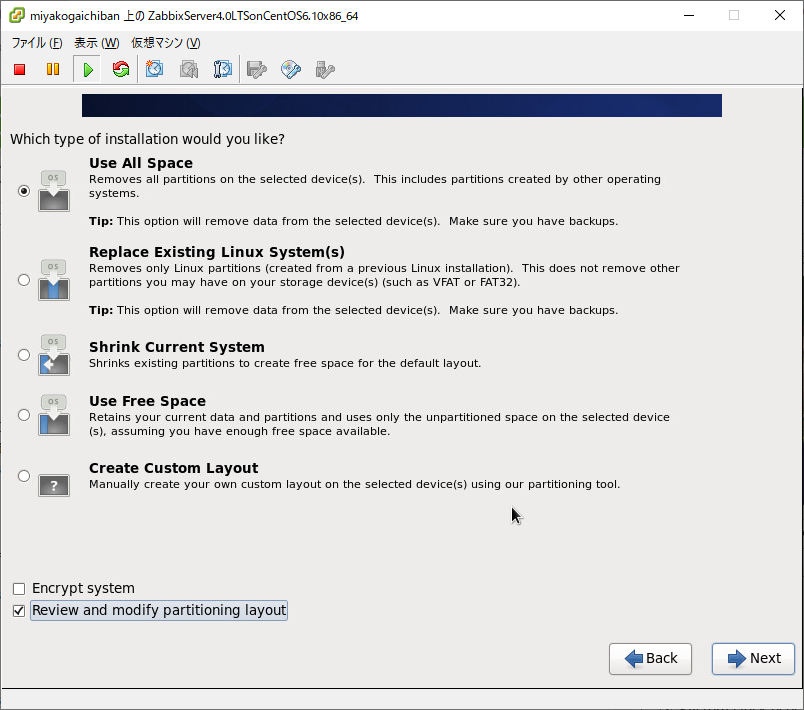
Partition settings
It will automatically create a partition, but it will determine the scope of its application.
This time, it is a new disk, so specify ʻUse All Space. If you want to see the partition layout, check Review and modify partitioning layout` before proceeding.
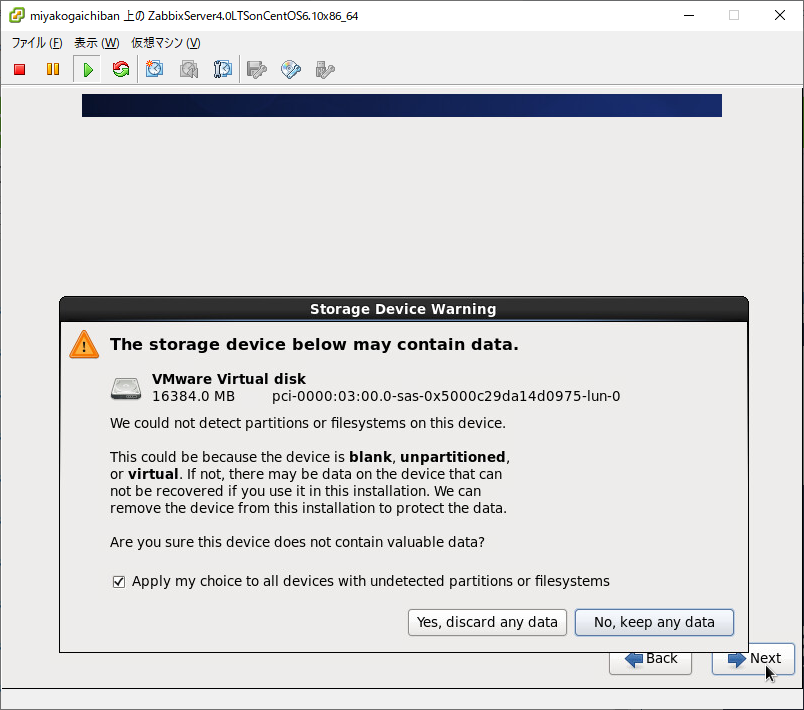
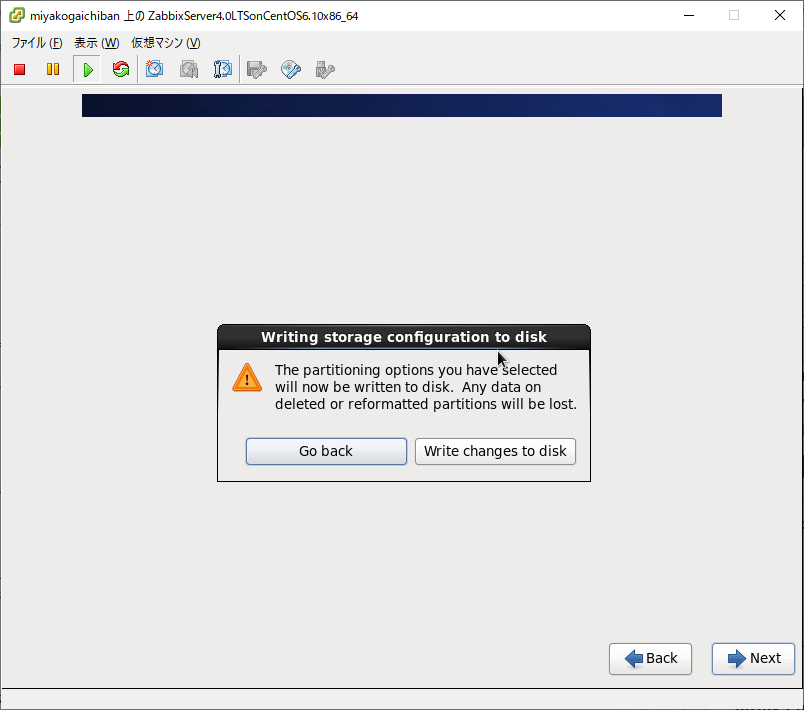
Partition write confirmation
Is it okay to write a partition? I am asked, so I will proceed as it is.
That is, press Write changes to disk.
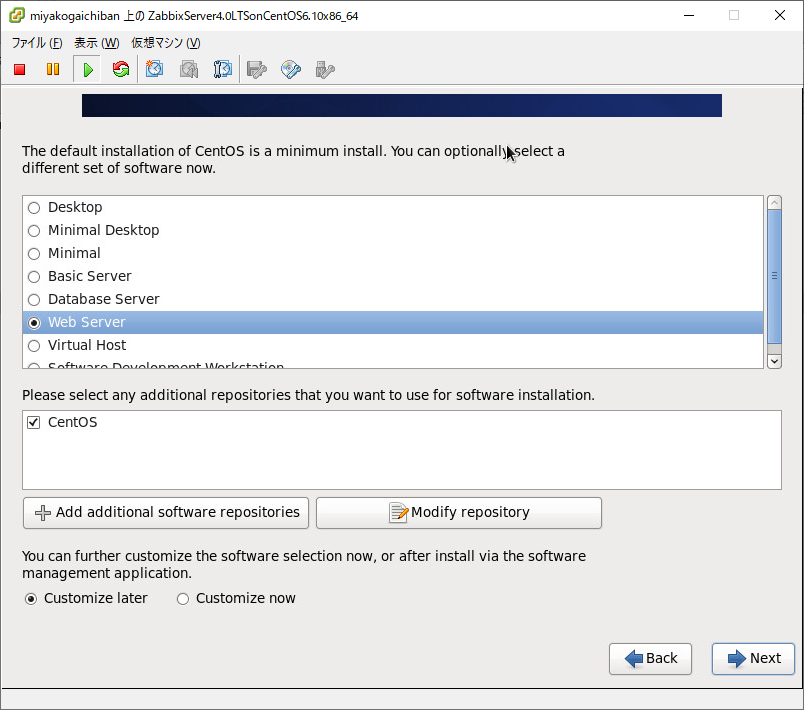
Select default installation
I hate GUI so I try to make it CLI based.
However, Minimal can be disastrous, so select Web Server.
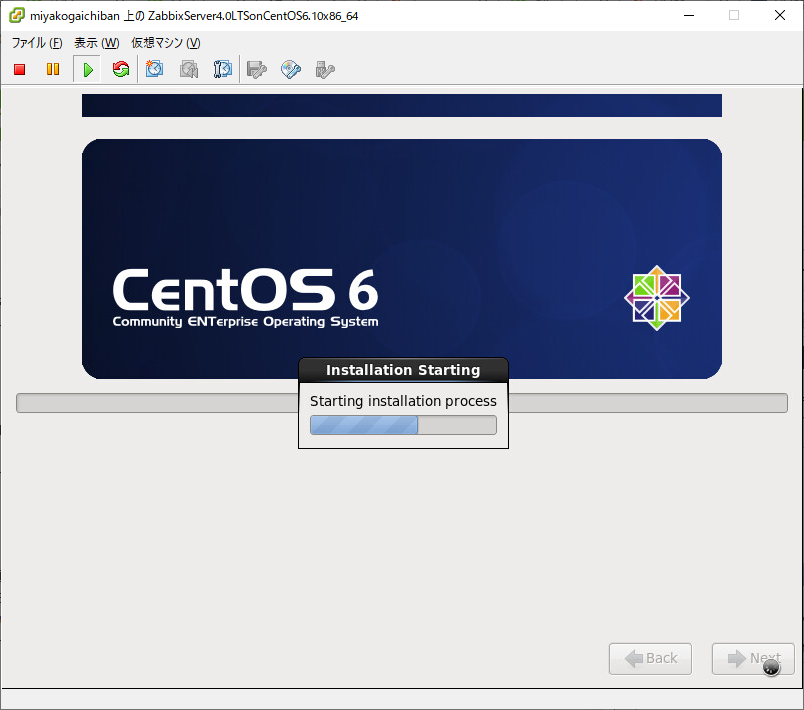
Start installation
The installation has started. let's wait.
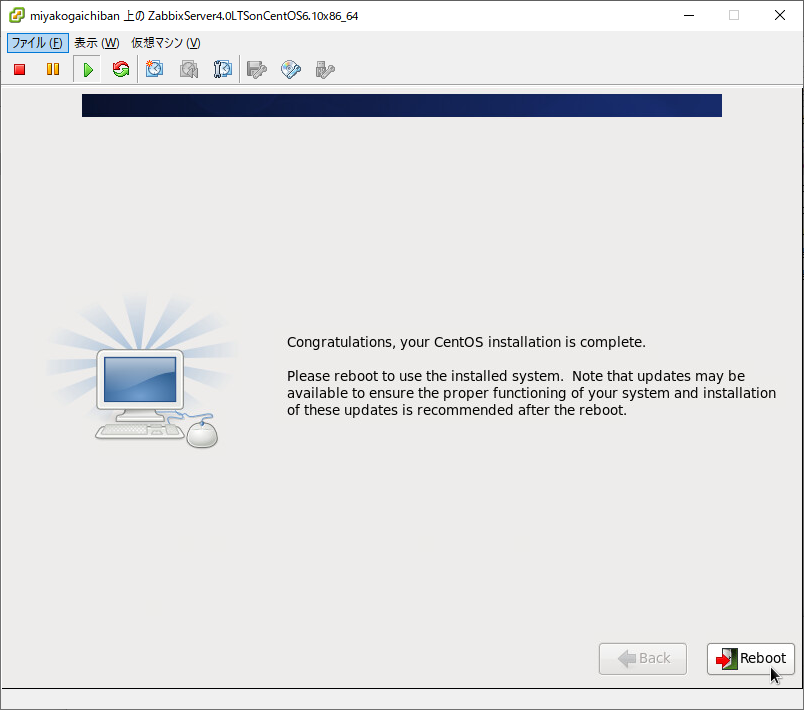
Done
accomplished.
Recommended Posts