Compactly build an Oracle database (19c) on Linux on VirtualBox
Compactly build an Oracle database (19c) on VirtualBox
If you build multiple virtual machines in VirtualBox, it will consume a lot of resources on your terminal's personal computer. If the purpose of creating a virtual machine is "operation check", you don't store a lot of data, and you don't run heavy processing, you don't want to spend too much resources. So I tried to wake it up in the procedure.
However, if the focus is on logical design and SQL operation check rather than DB physical design, It is recommended to easily create a DB from the VirtualBox image by referring to the following.
- Effortlessly build an Oracle DB 19c environment with OTN's VirtualBox image
https://qiita.com/ora_gonsuke777/items/b41f37637e59319796b4
- When I wanted to try various physical designs, I personally found it difficult to use the above method because the name was decided arbitrarily and there was a missing library. The multi-tenant architecture also felt a bit rich for a local environment. Local likes a simple structure. However, I feel that it is the best if it is used for checking the operation of SQL (*'ω' *)! !!
Constitution
| Host OS | Virtualization software | Guest OS | DB | DB Remarks |
|---|---|---|---|---|
| Windows10 Pro | VirtualBox6.1 | Oracle Linux 7.8 | Oracle Database 19c | Non-CDB, Enterprise Edition |
Download Oracle Linux
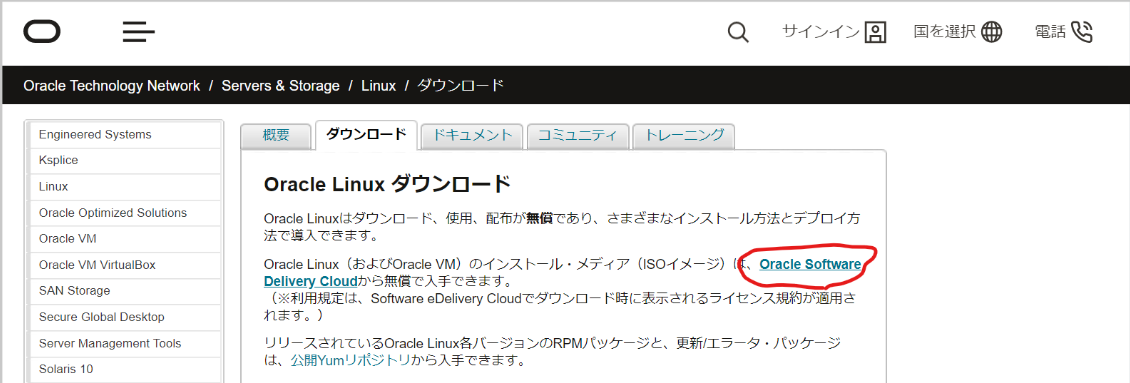
- Go to the download page and sign in on the next page
https://www.oracle.com/technetwork/jp/server-storage/linux/downloads/index.html
- Search for the word "Oracle Linux", add to cart, and press checkout

- Select 64bit, press Continue, and agree to the license on the next page

- Select only "V995537-01.iso" and press the download button. Then, the download manager (exe) will be downloaded and executed. As a result, "V995537-01.iso" is downloaded.

Build Oracle Linux (Create Virtual Machine)
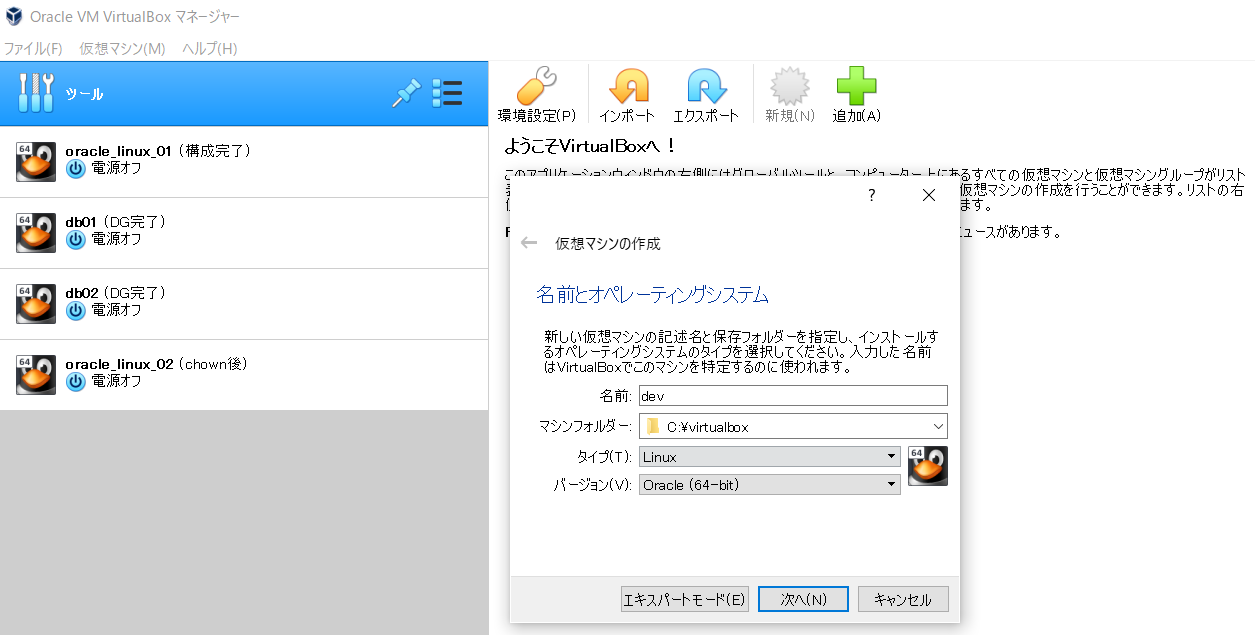
- After launching VirtualBox, press a new button, enter an arbitrary (example: dev) name, select Linux as the type and Oracle (64bit) as the version
- Machine folder is optional. You can set the default settings in Preferences.
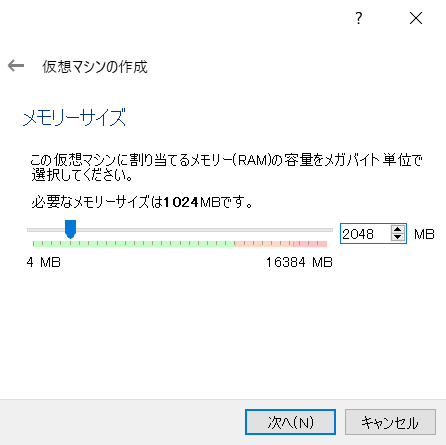
- Set the memory to "2048MB". * After construction, set it to 1024MB to save money. * Since it can be easily changed later, recently set 4096MB
- Select "Create a virtual hard disk"

- Select "VDI"

- Select "Variable size"

- Set "30G". * With the default "12G", in my case I ran out of disks while building the DB. * 30G is relatively expensive, so if you want to put data in the DB, it is better to match about 40G.

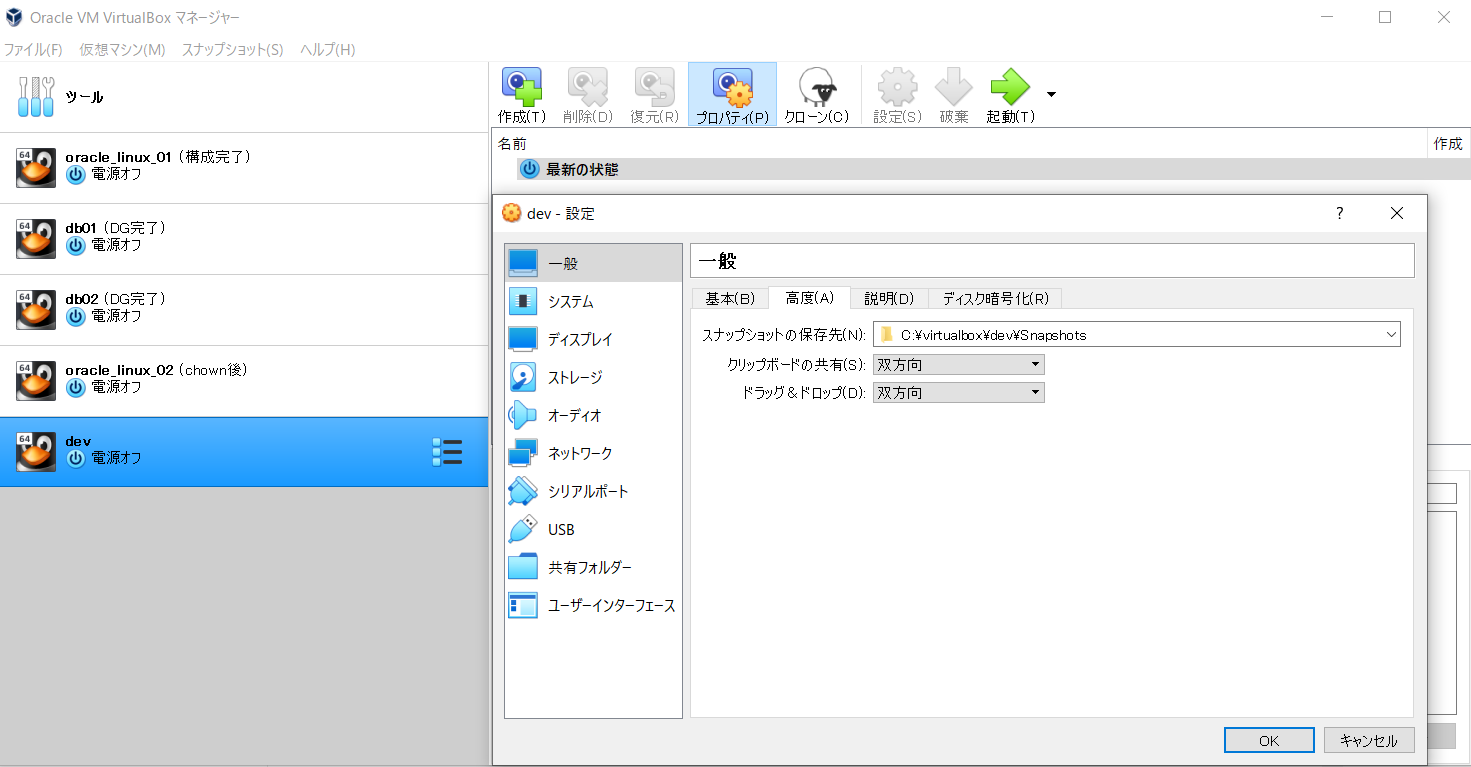
- While selecting the created virtual machine, press the setting button, then select the "Advanced" tab and set "Bidirectional" for "Clipboard sharing" and "Drag and drop".
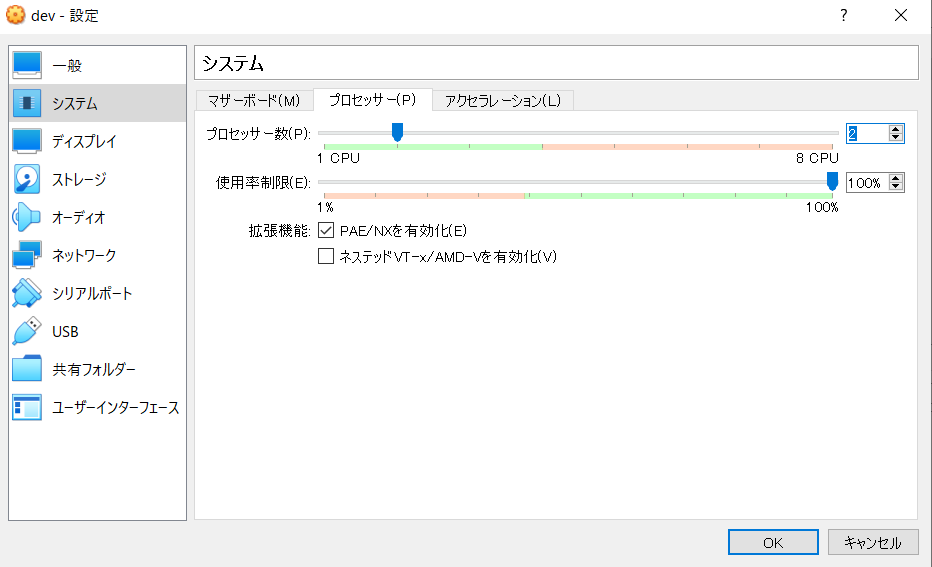
- Set the number of processors to "2". * After construction, set to "1" to save money. * Since it can be easily changed later, 4 has been set recently.
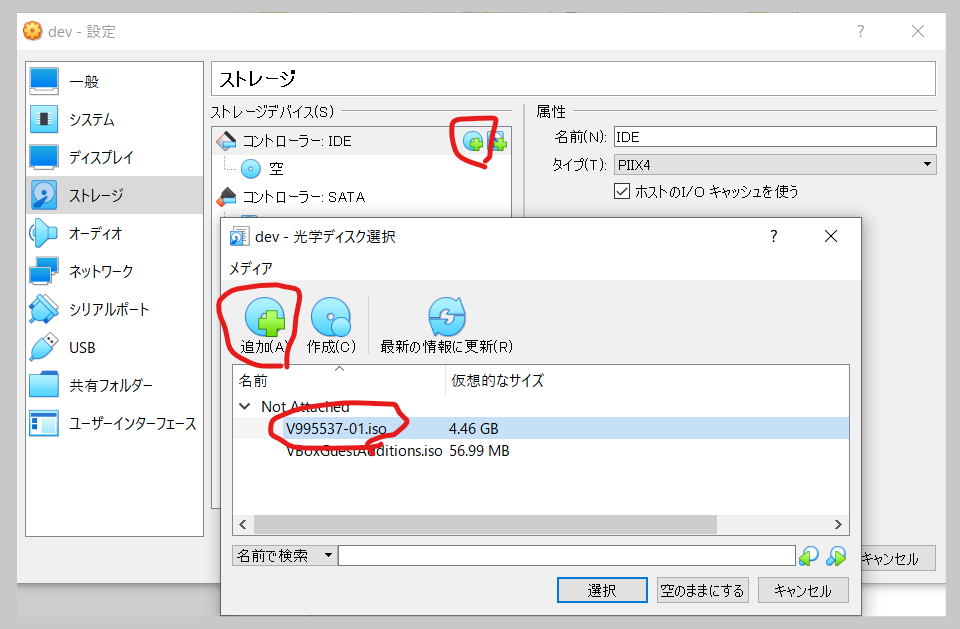
- Add the iso file downloaded from the Oracle page to the optical driver
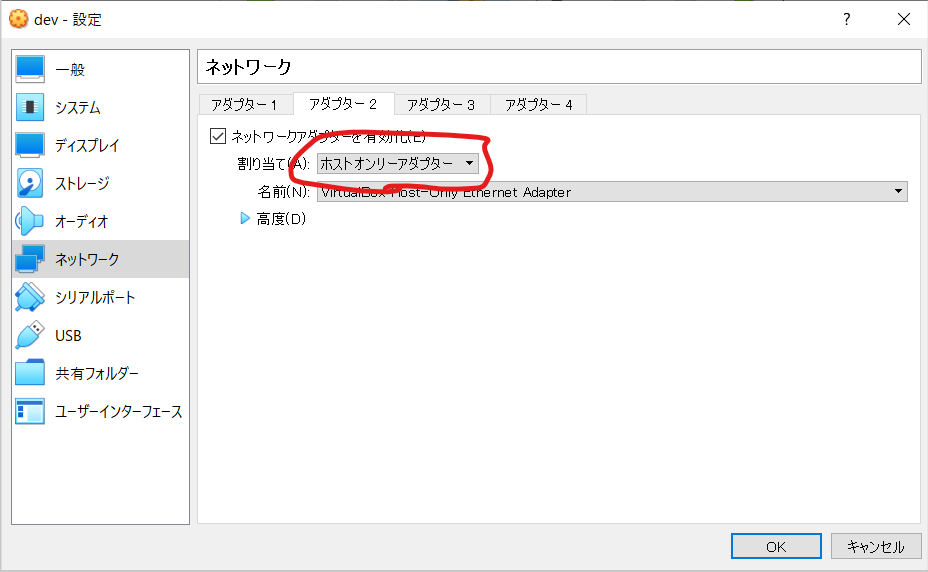
- Select "Host Only Adapter" for Adapter 2. Adapter 1 is OK with the default "NAT"
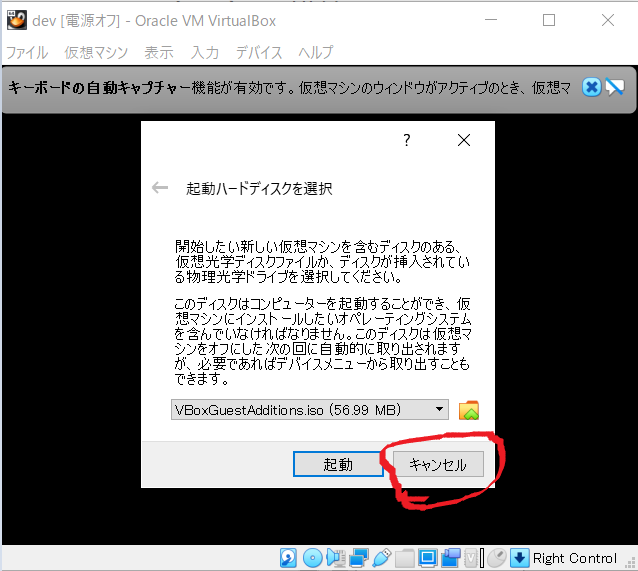
- If you press the "Start" button or the "Select boot hard disk" dialog appears (it should not appear the first time), you can cancel it.
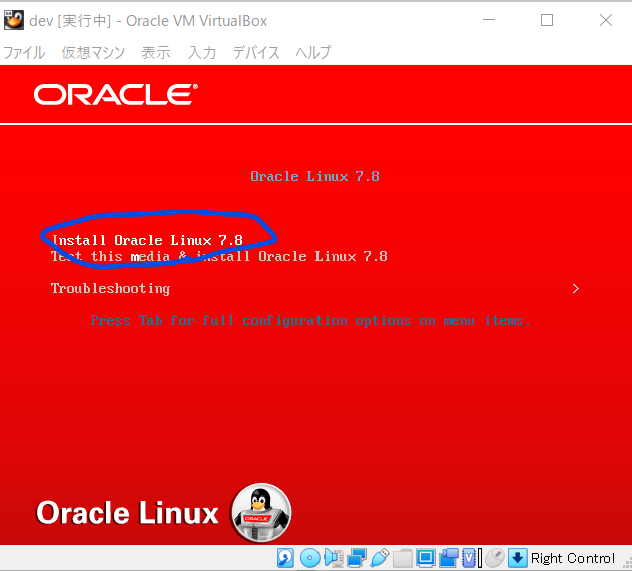
- When a red screen appears, select "Install Oracle Linux 7.8" with the arrow keys and press the "Enter" button.
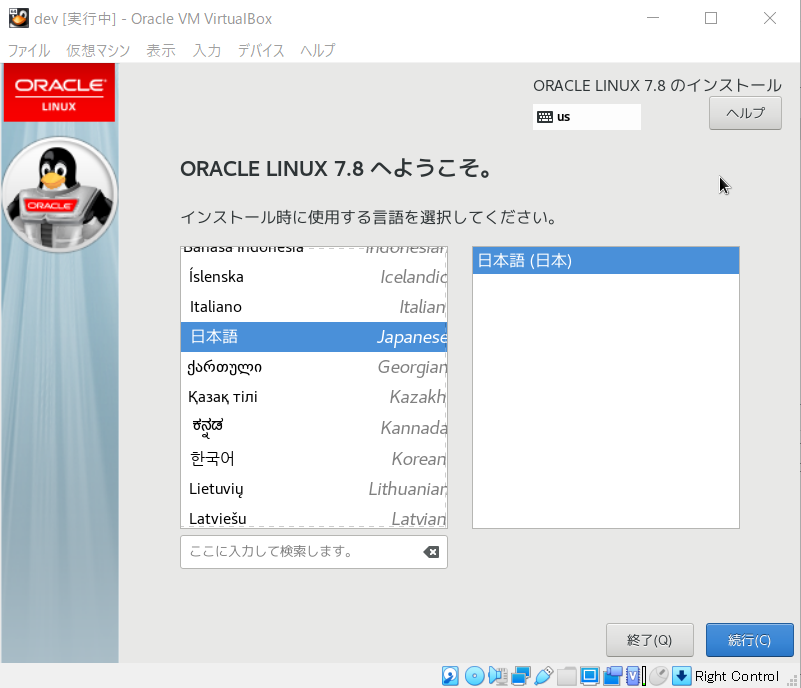
- Select "Japanese" and press the "Continue" button
-
To switch the mouse cursor between the guest OS and the host OS, press the "Ctrl" (right side of the two) button.
-
If the button is cut off, review the display settings of the host OS. In my case, set as follows.

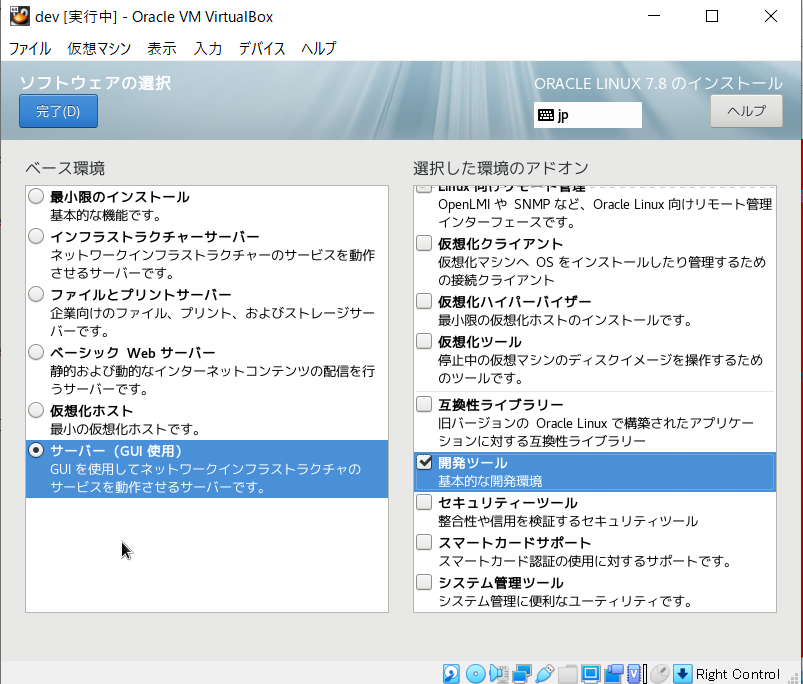
- Click "Select Software", set as shown in the image below, and click the "Finish" button.
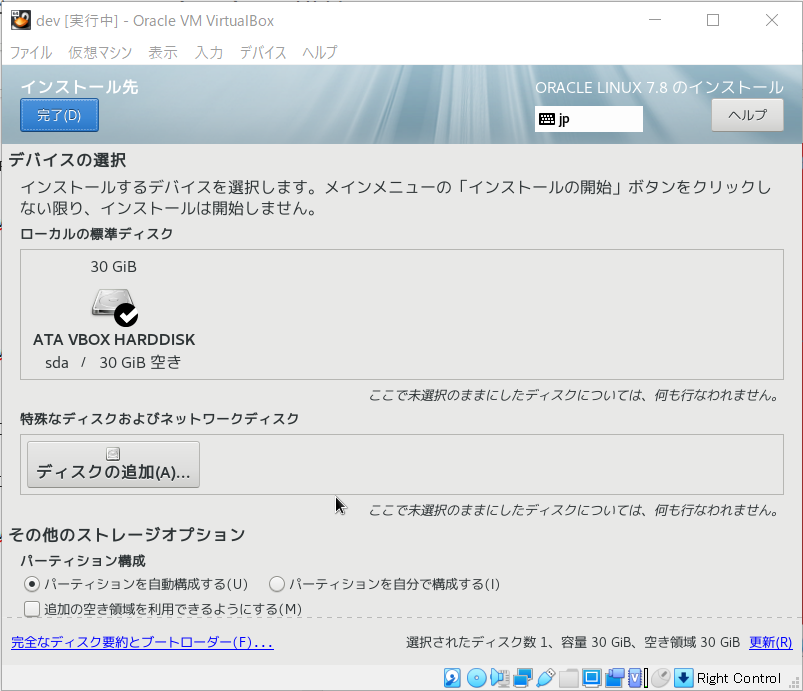
- Click "Installation destination" and keep the default, and click the "Finish" button.
- Press "KDUMP", uncheck it, disable KDUMP, and press the "Finish" button.
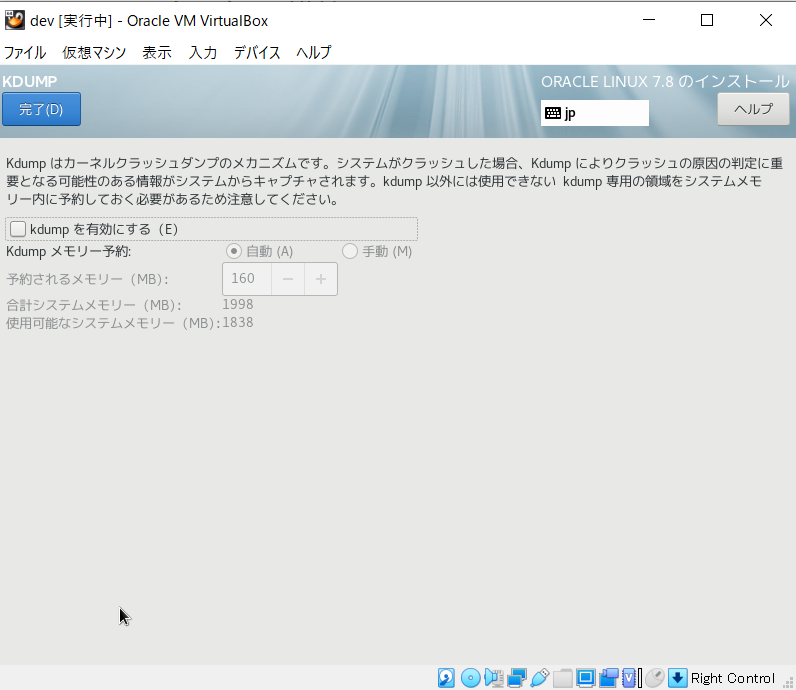
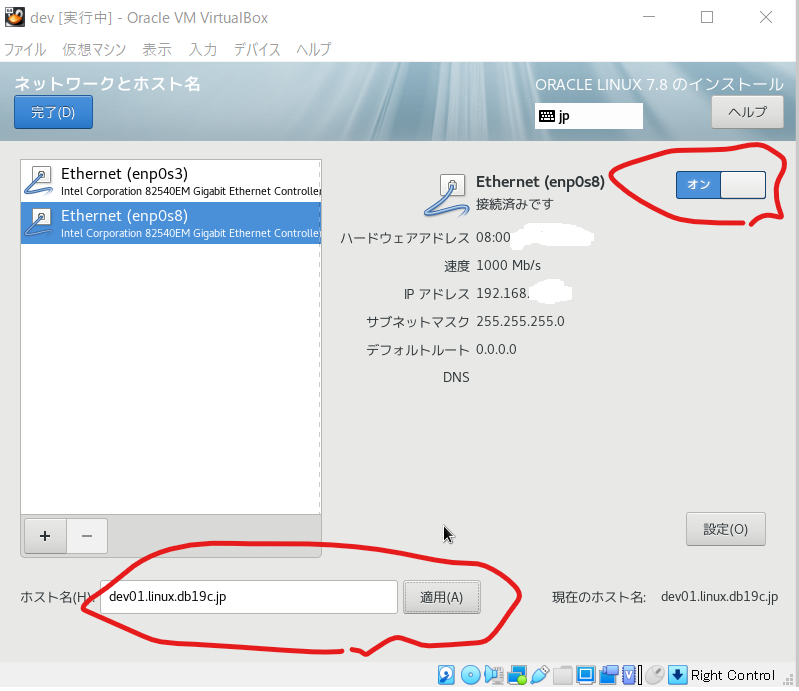
- Press "Network and Hostname", connect the two Ethernets, change the host name to any name, and press the "Finish" button.
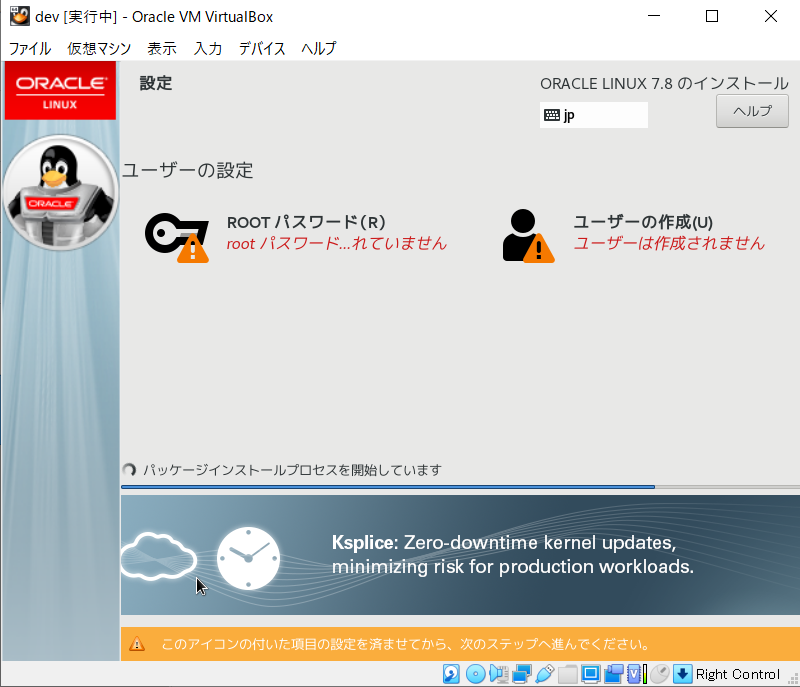
- Press the installation start button and set the root password during installation
- If the password is too easy, you will have to press the Finish button twice.
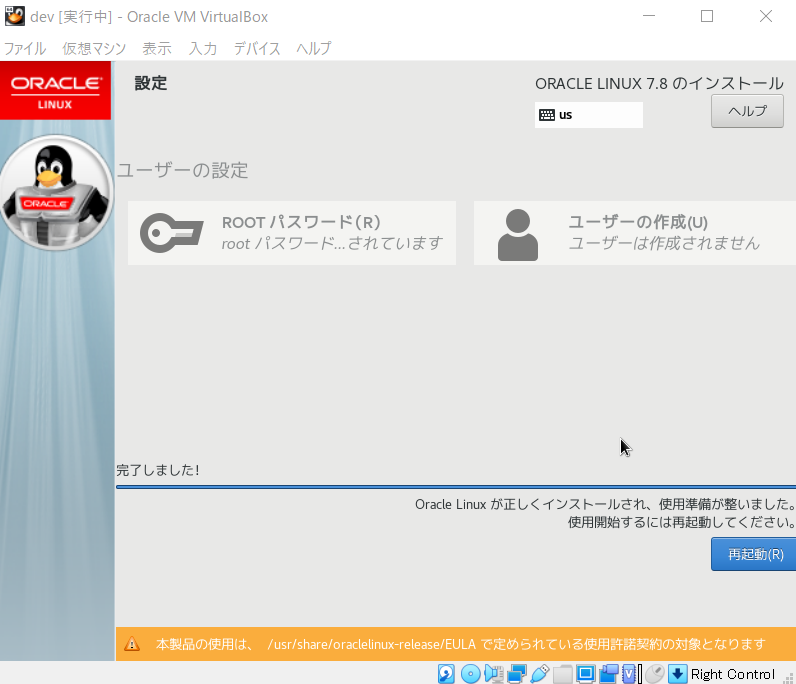
- Reboot
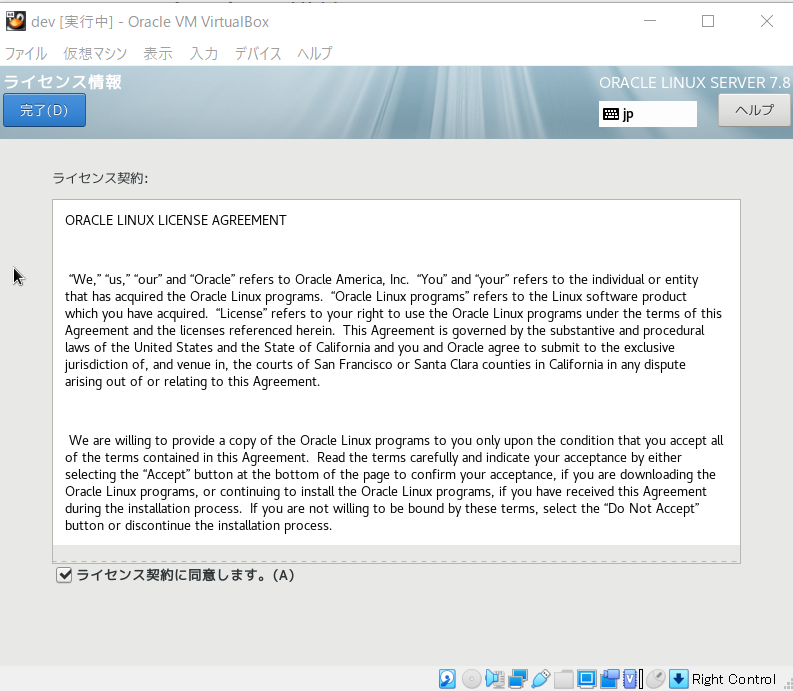
- Press the license information, check the agreement, and press the "Finish" button.
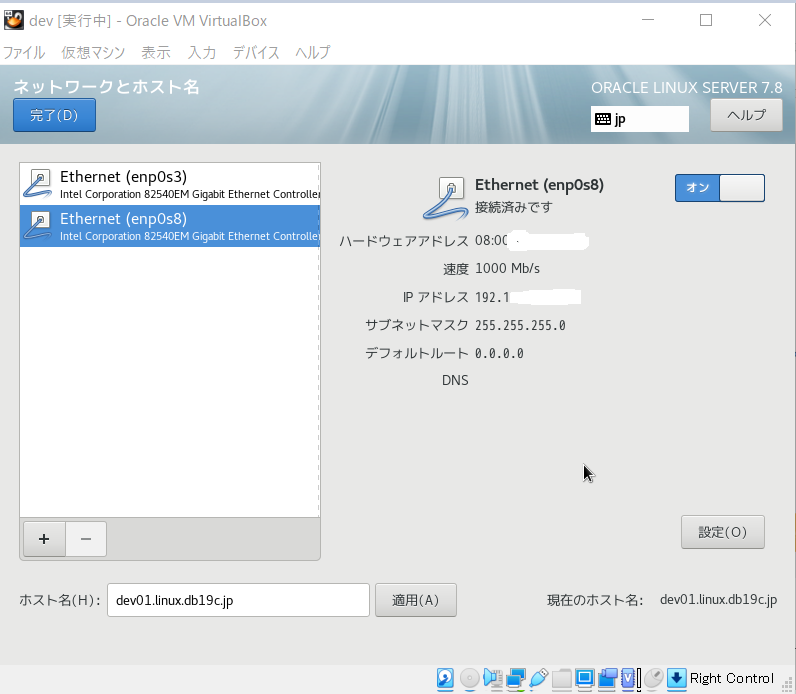
- Press "Network and Hostname", connect the two Ethernets, and press the "Finish" button.
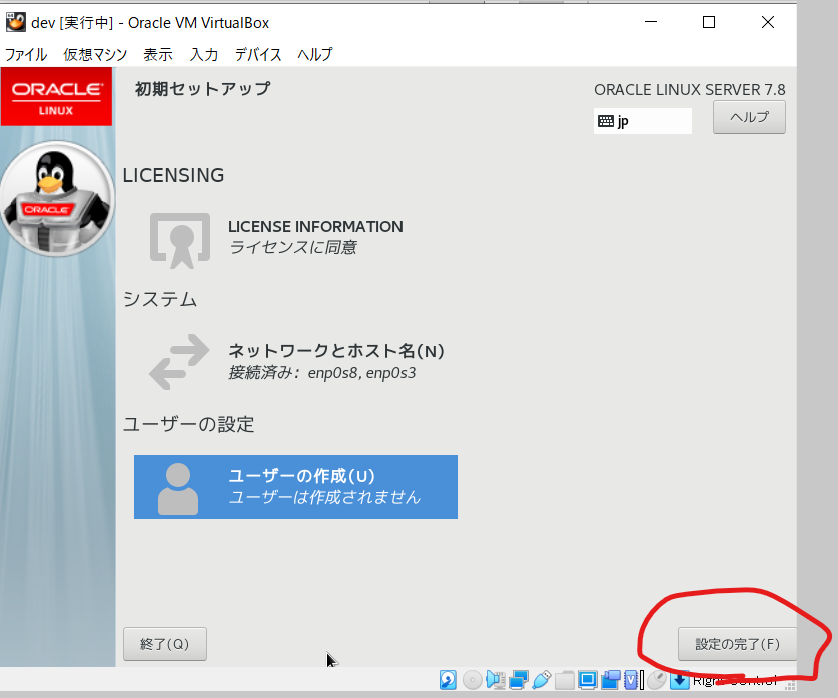
- No need to create a user, press Finish
- Select Japanese and Next
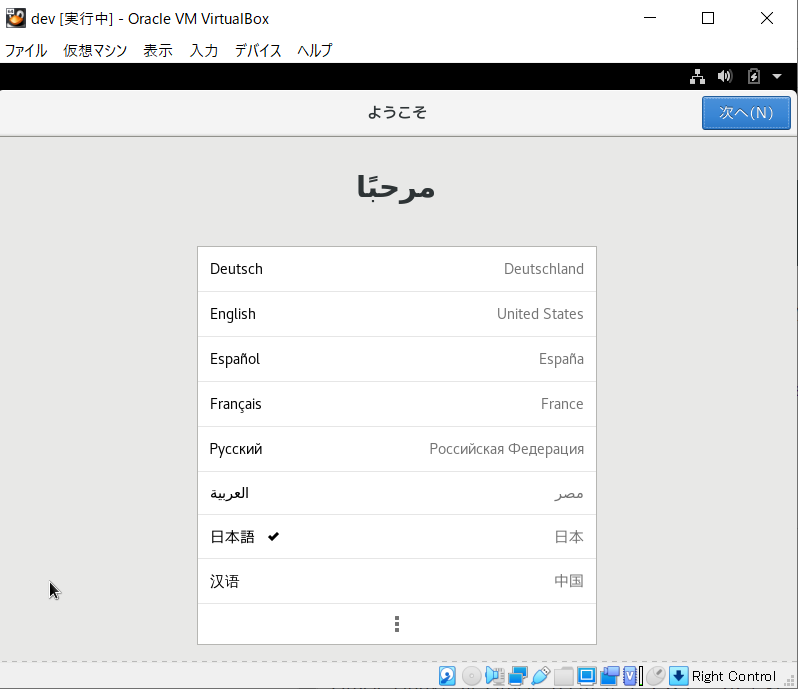
- Select "Japanese" and go to the next
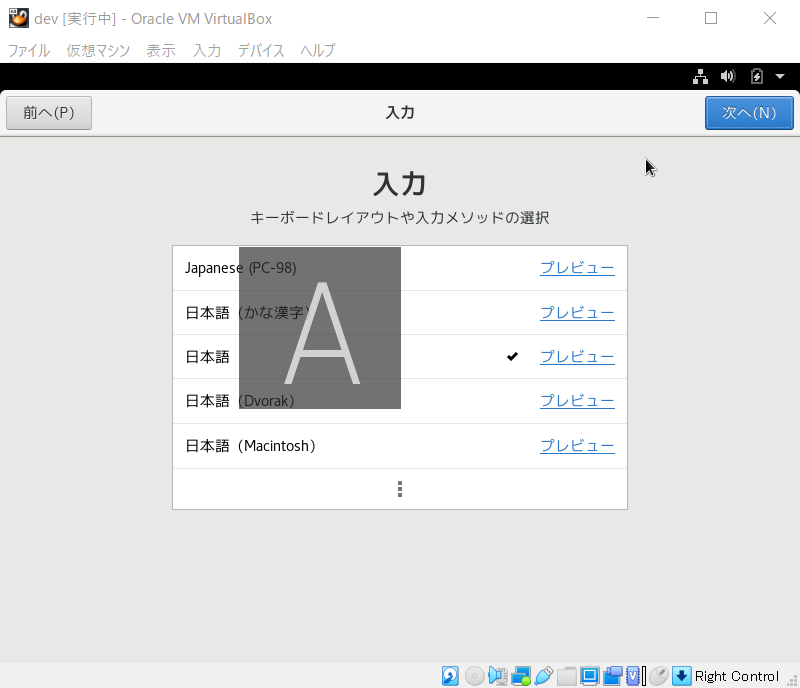
- Turn off location information and go to the next
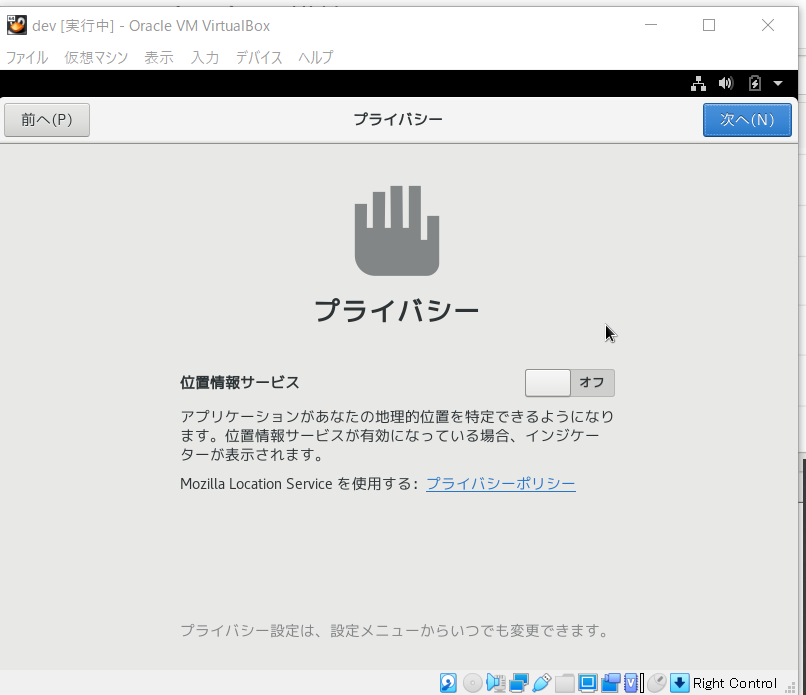
- The time zone is "Tokyo, Japan", next
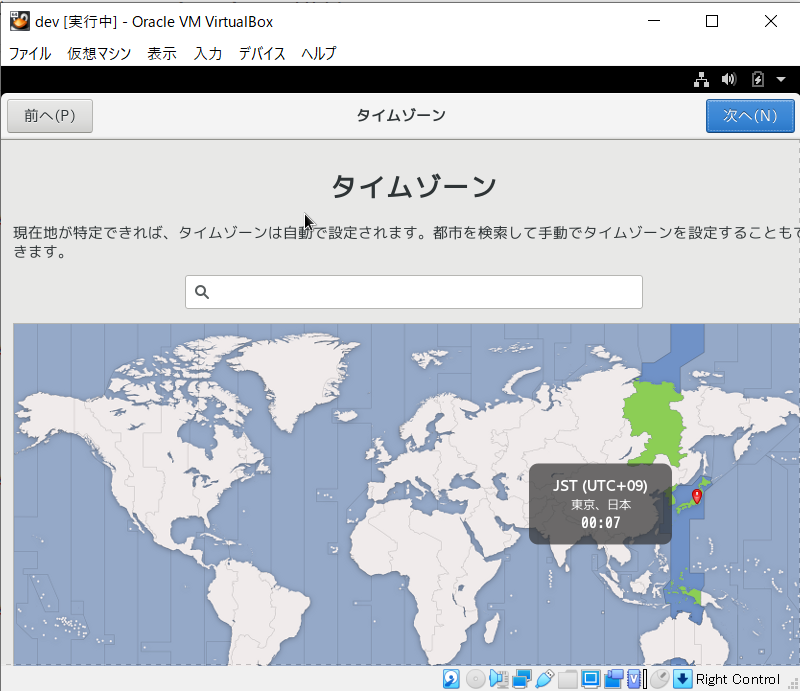
- Press the skip button without connecting to the online account
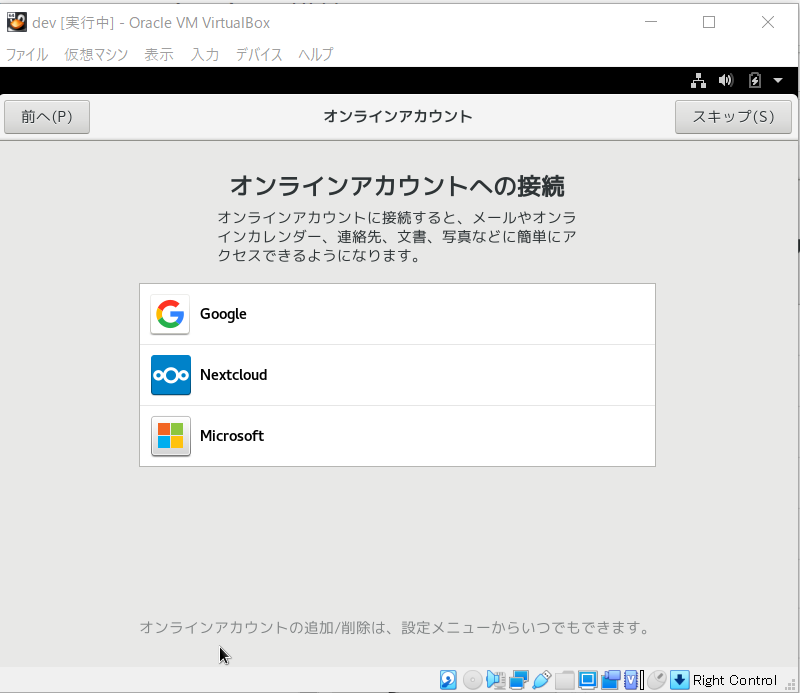
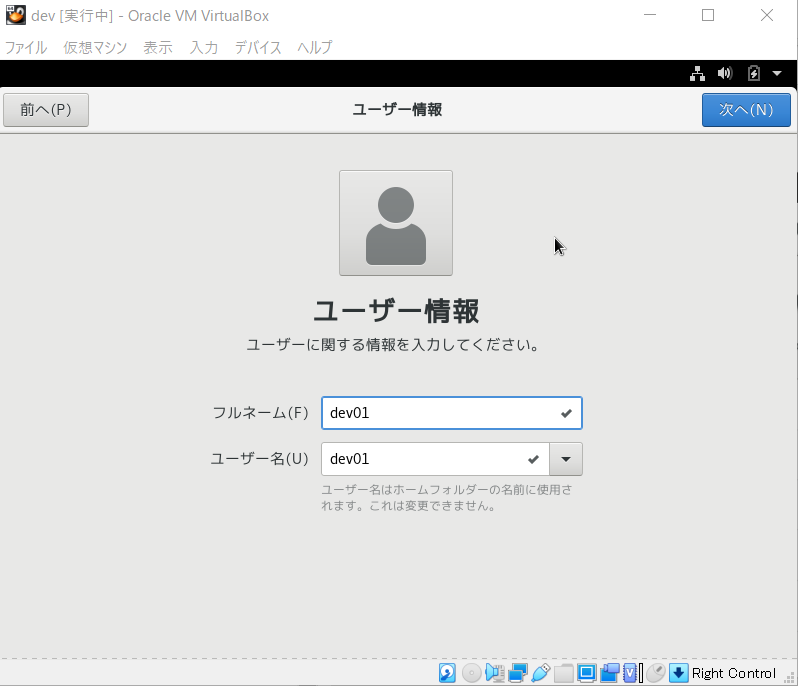
- Enter any user name
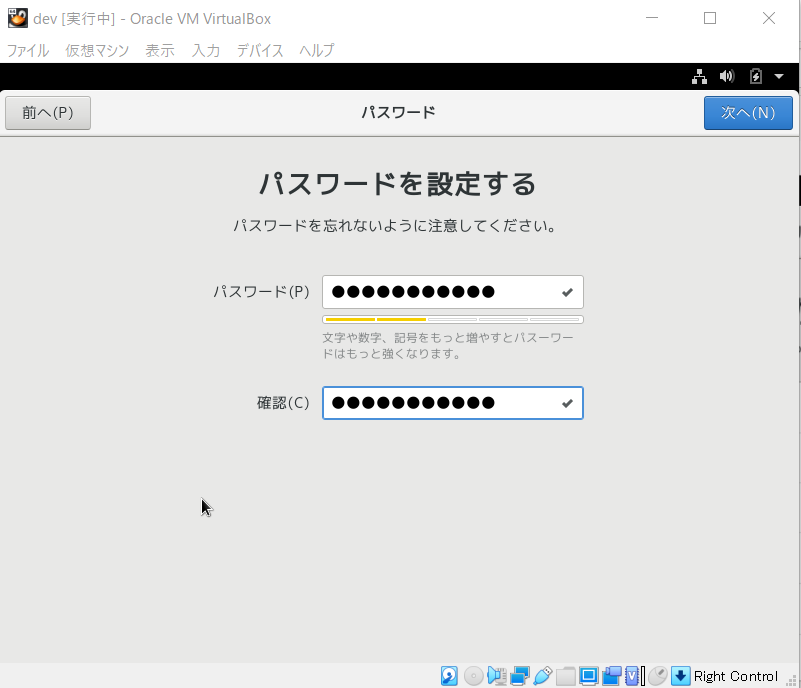
- Set any password
- Help can be closed by pressing the "x" button.

- Log out
- To update the package.
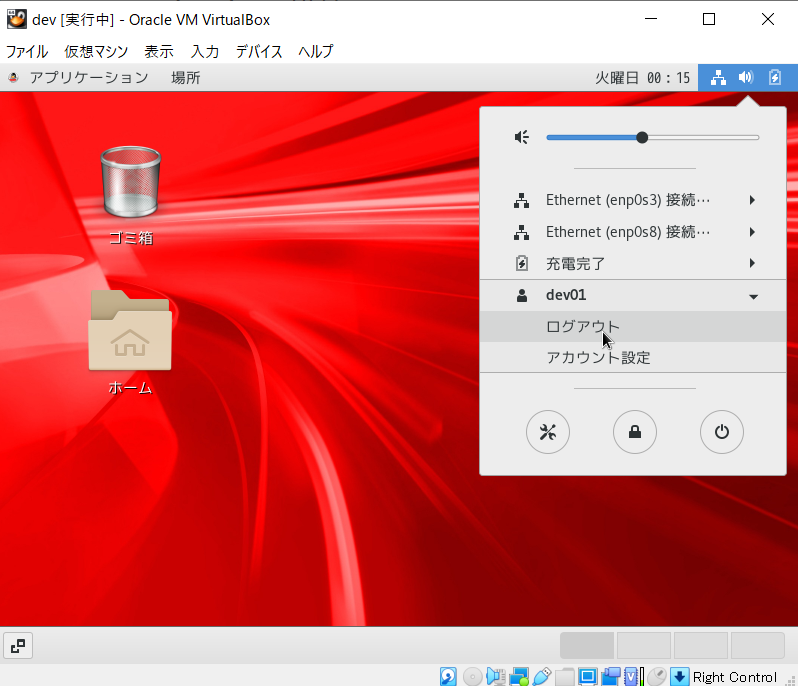
- Click "Cannot find account?" And log in as root
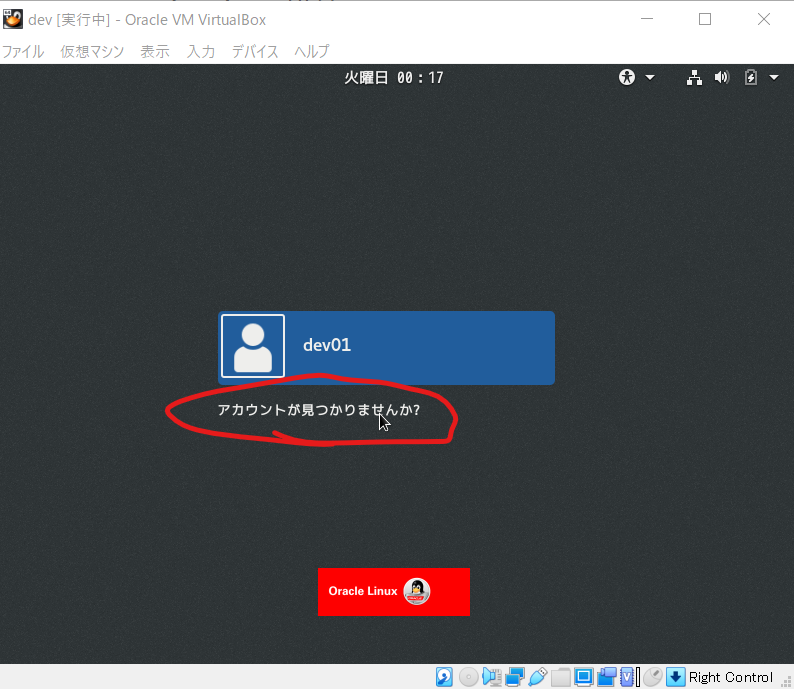
- Click the terminal
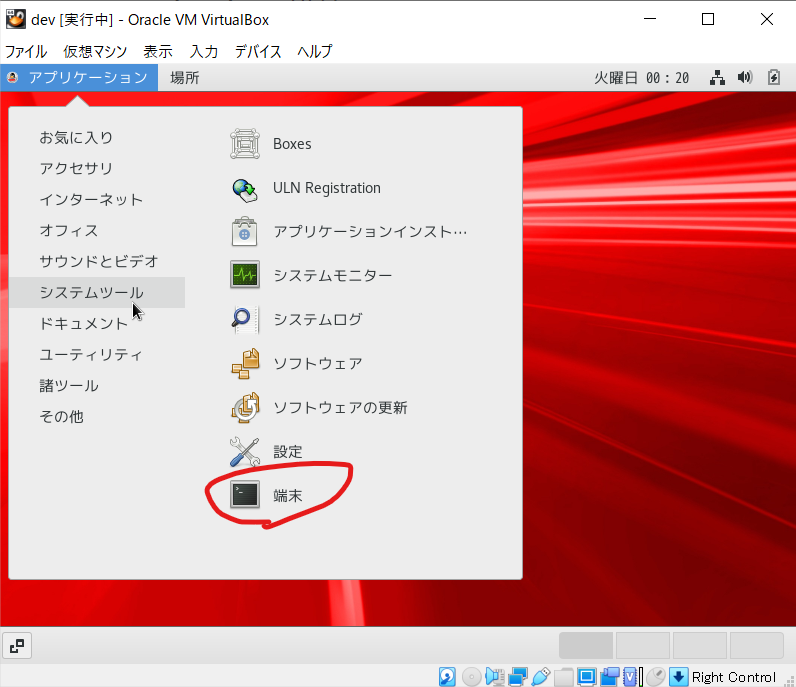
- Update execution
yum -y update
- Reboot when complete
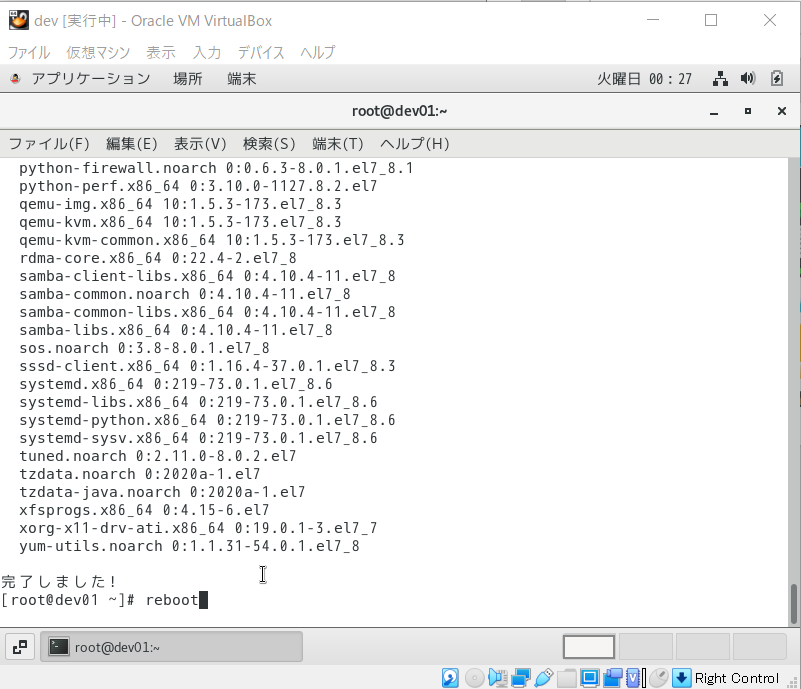
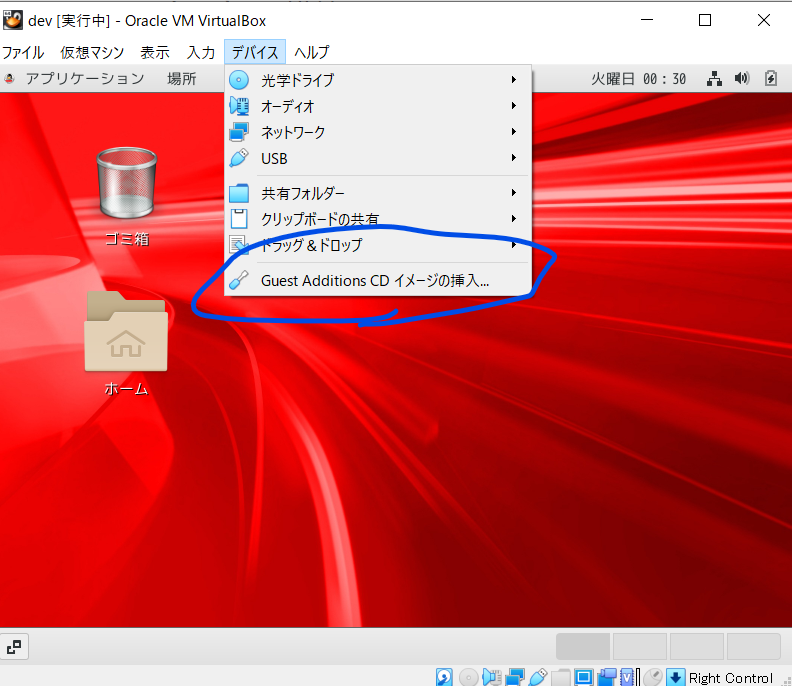
- Install Guest Additions * The mouse cursor automatically switches without pressing the ctrl button.
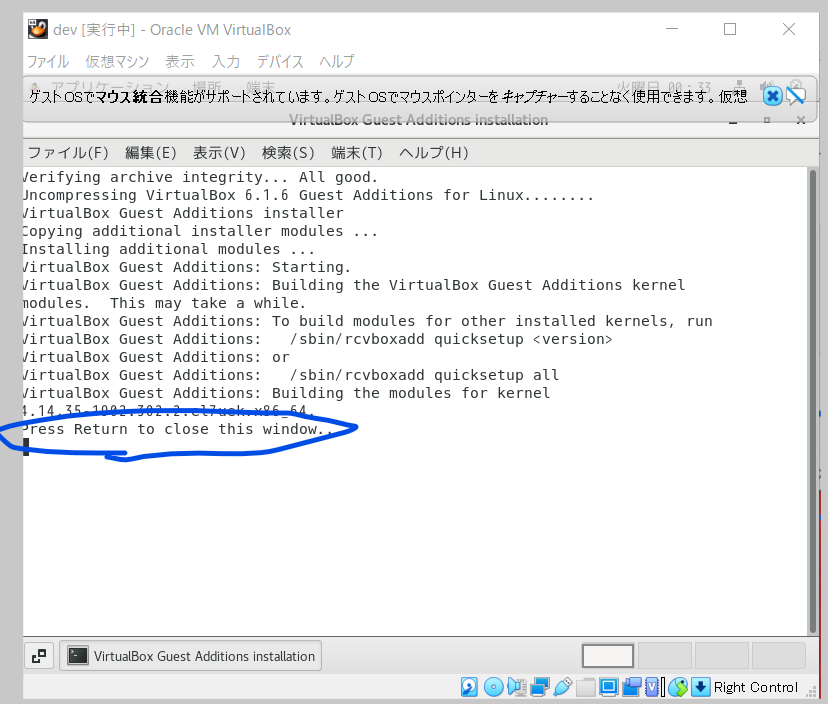
- When completed, press "enter"
- Media eject * The mouse cursor should switch automatically even if you do not press the ctrl button.

-
From this point onward, it is convenient to take snapshots (Vritual Box function) at any time, as it will be easier to redo.
-
Network reconnection
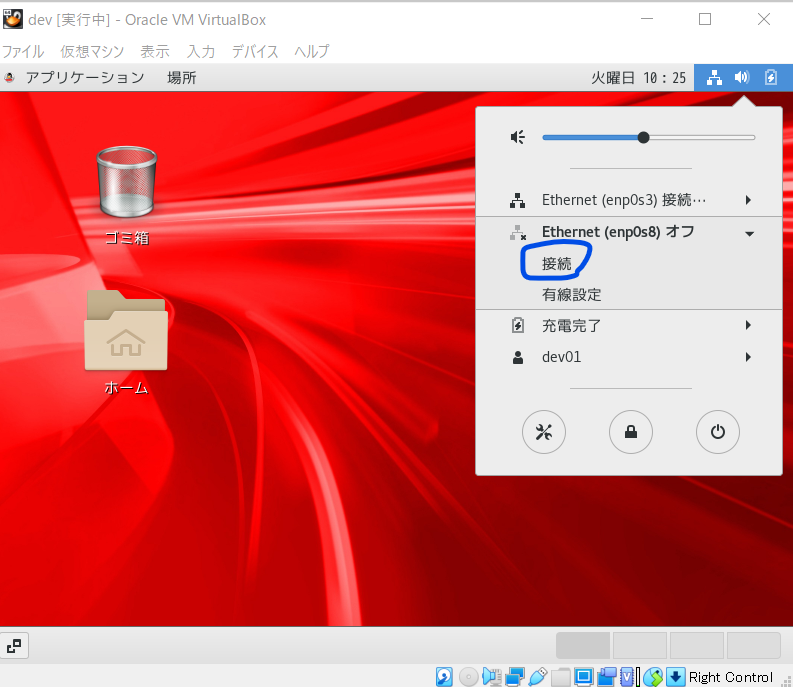
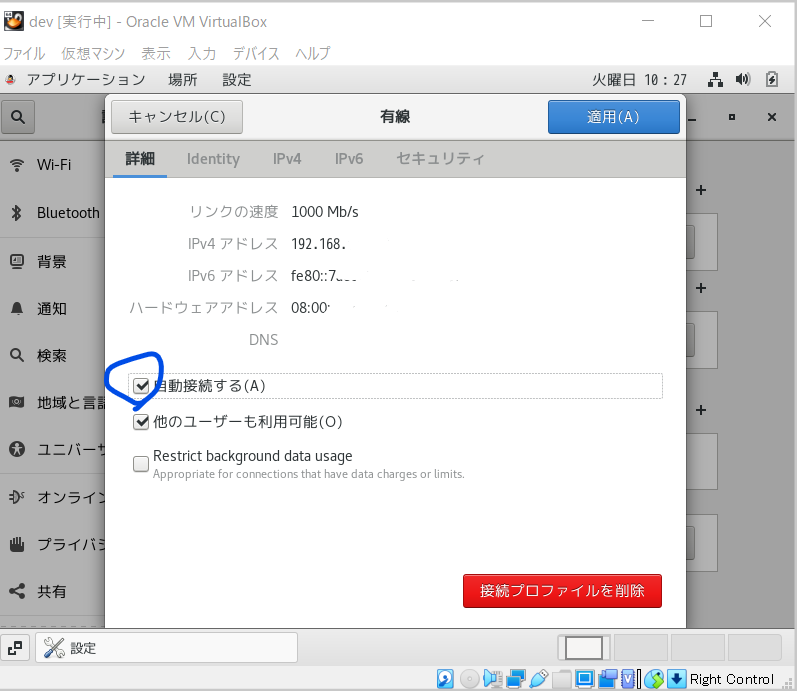
- Change network wired settings to automatic connection
- Stop the firewall so that you can connect from the host OS to other than port 22
#Stop
systemctl stop firewalld
#Status check
systemctl status firewalld
#Automatic start / stop
systemctl disable firewalld
#Check settings
systemctl is-enabled firewalld
-
SSH connection from the host OS with TeraTerm * Check the connection IP with ifconfig etc.
-
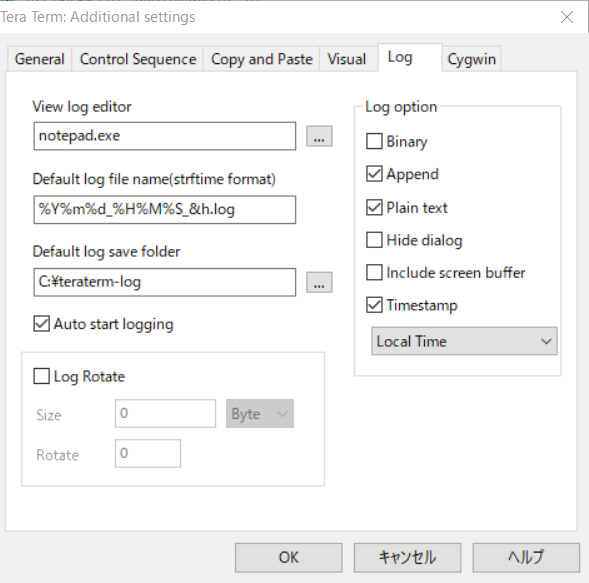
It is convenient to set TeraTerm to auto log because a trail will remain. * Don't forget to "Save setup" after setting.
Download Oracle Database
- Access the download page and get the zip (LINUX.X64_193000_db_home.zip) of "Linux x86-64" of "Oracle Database 19c (19.3)" * Oracle ID is required
https://www.oracle.com/technetwork/jp/database/enterprise-edition/downloads/index.html
Pre-work
- Execute oracle-database-preinstall-19c * Create an oracle user or something
#Installation
sudo yum -y install oracle-database-preinstall-19c
#Run
export LANG=C
sudo oracle-database-preinstall-19c-verify
- oracle user password setting
sudo passwd oracle
- Create directory * Execute after "su root"
mkdir -p /u01/app/oracle/product/19.3.0/dbhome_1
chown -R oracle:oinstall /u01
chmod -R 775 /u01

mkdir -p /u01/app/oraInventory
chown -R oracle:oinstall /u01/app/oraInventory
chmod -R 775 /u01/app/oraInventory
Oracle Database installation
- Place the downloaded oracle database under tmp
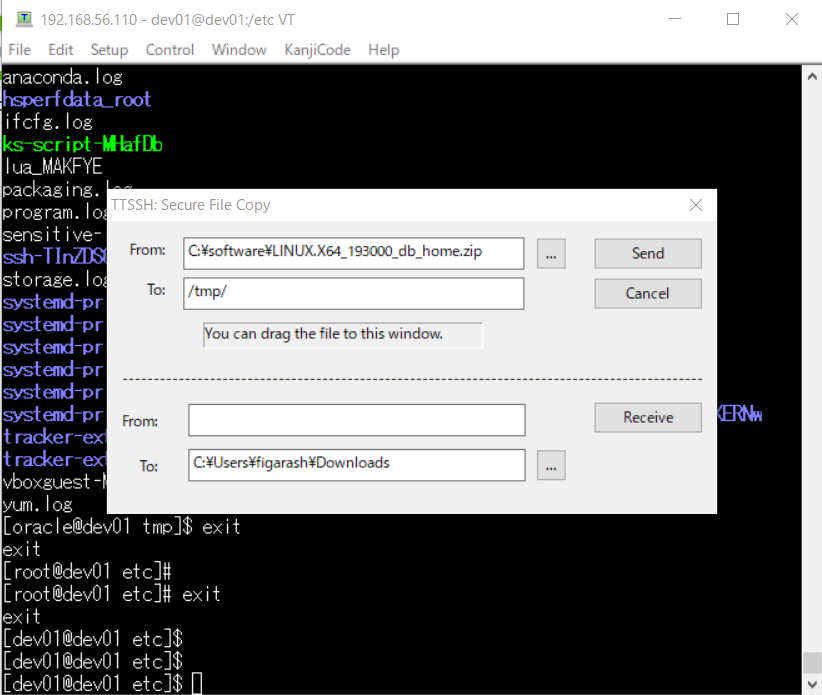
#Privilege
chmod 777 LINUX.X64_193000_db_home.zip
- Switch to oracle user, unzip zip
su oracle
unzip -d /u01/app/oracle/product/19.3.0/dbhome_1/ LINUX.X64_193000_db_home.zip
-
Log in directly to the guest OS as an oracle user instead of an SSH connection
-
Run installer
cd /u01/app/oracle/product/19.3.0/dbhome_1/
./runInstaller
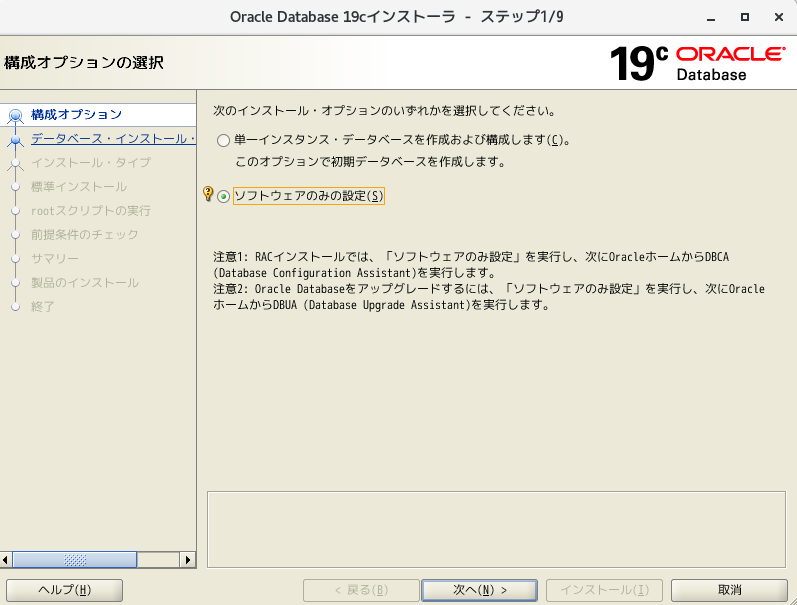
- Select "Software Only Settings" and Next
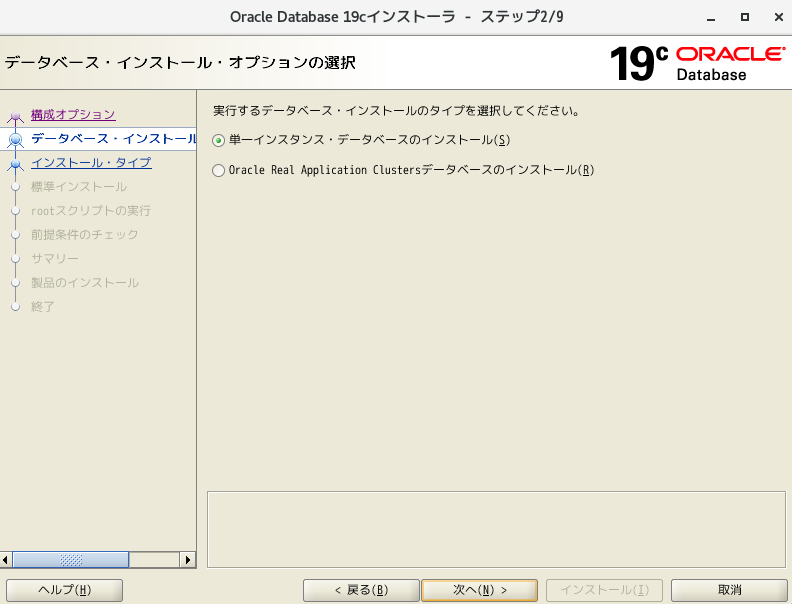
- Select Install Single Instance Database and Next
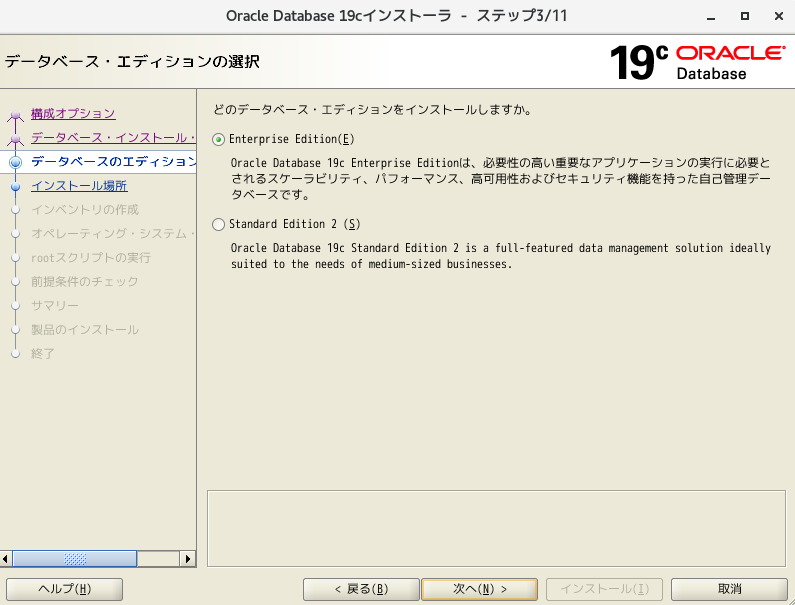
- Select "Enterprise Edition" and Next
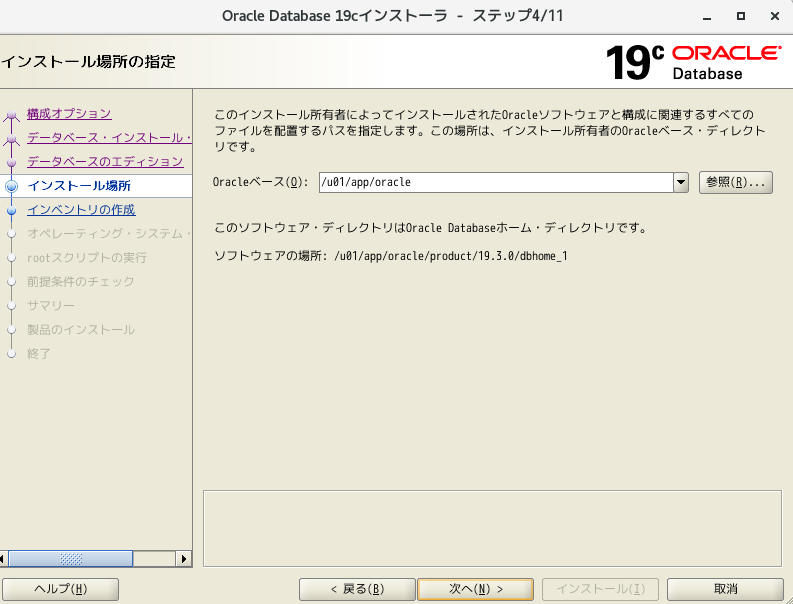
- Continue as it is
- Continue as it is
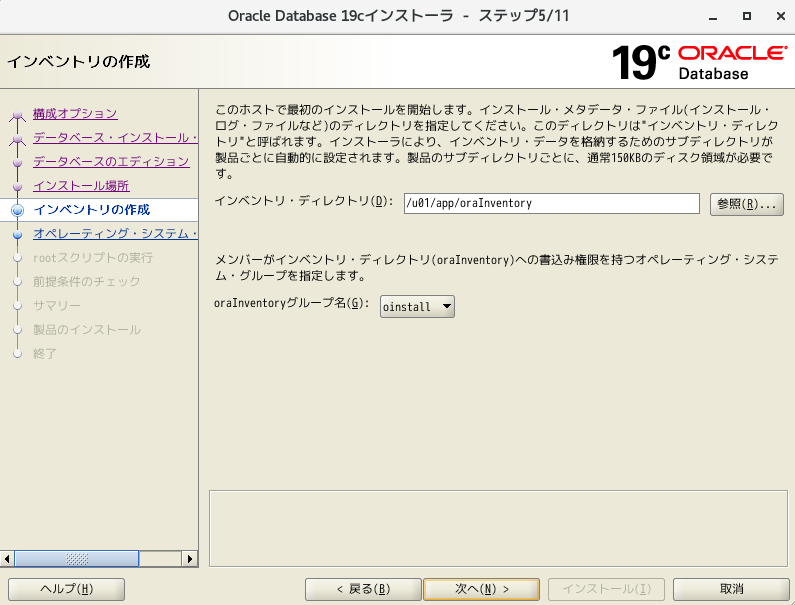
- Continue as it is
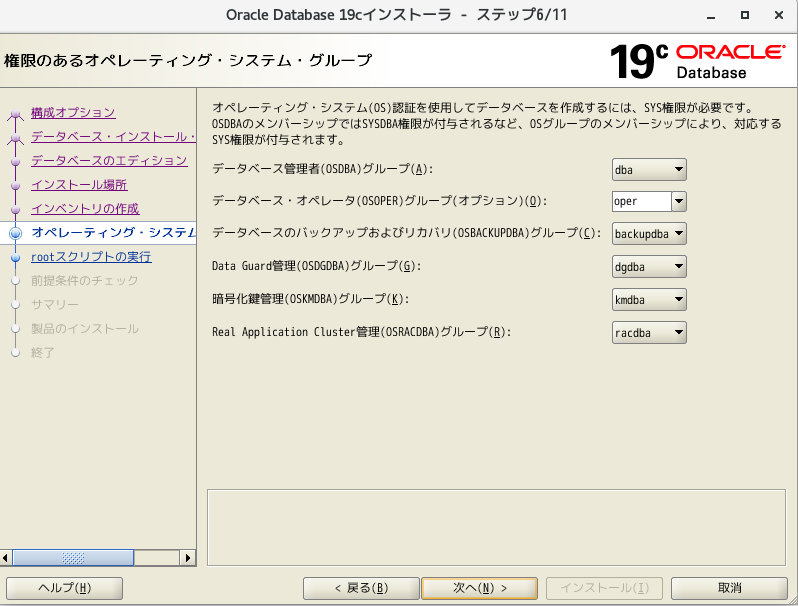
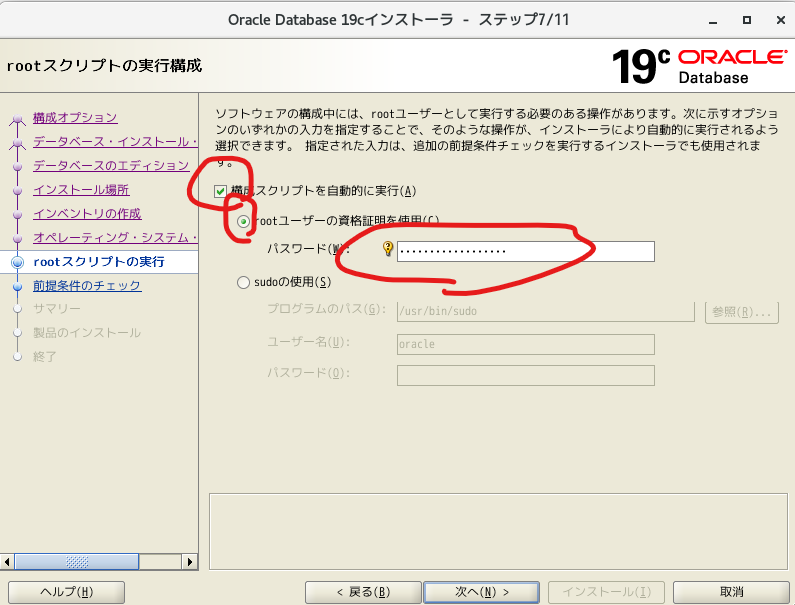
- Check Execute configuration script and enter credentials
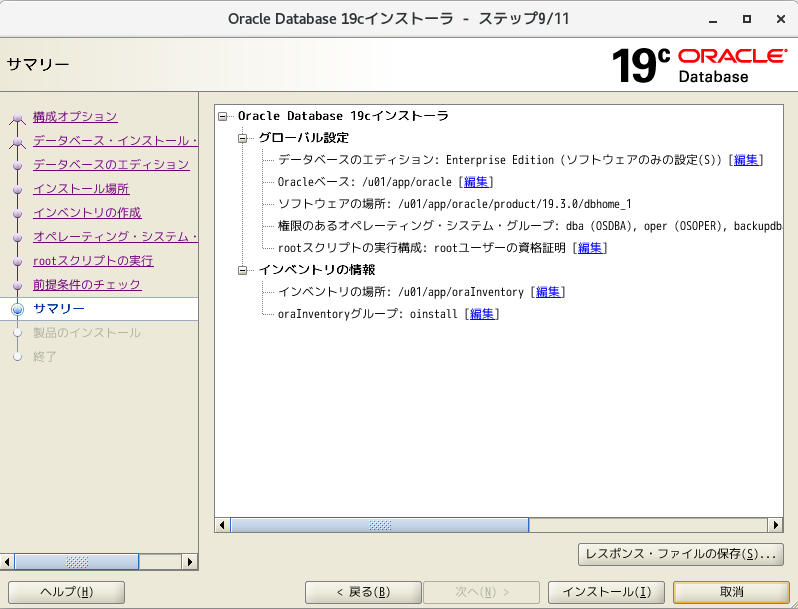
- Installation
- Execution of configuration script
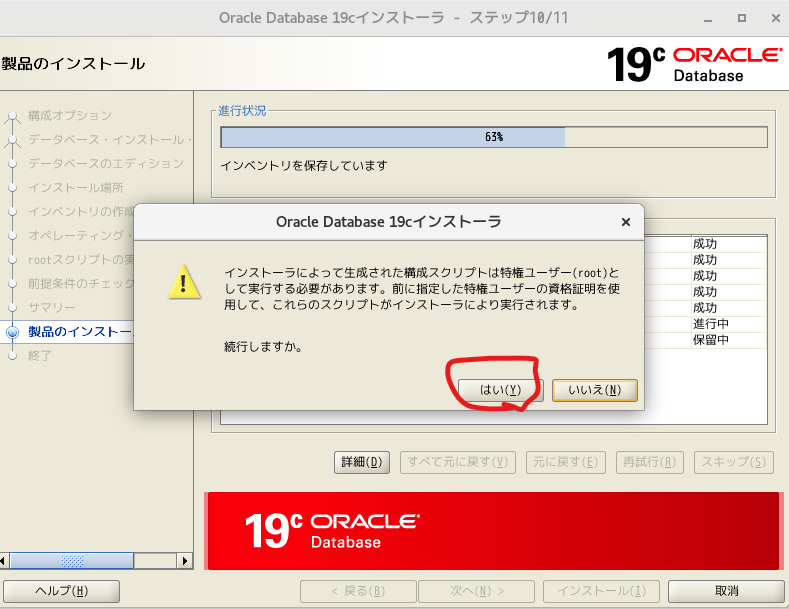
- Installation complete
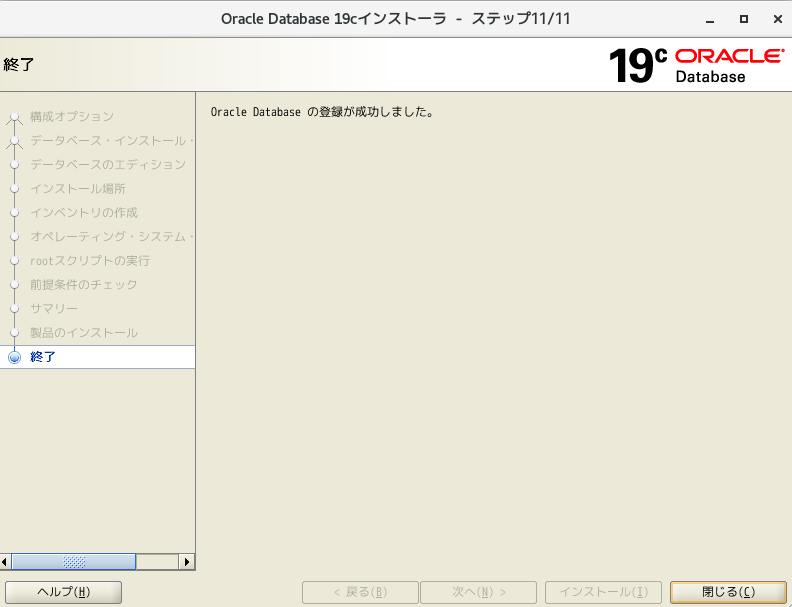
Create database (using dbca) * Execute as oracle user
- Set environment variables * Set the database name to "ora01"
export ORACLE_BASE=/u01/app/oracle
export ORACLE_HOME=/u01/app/oracle/product/19.3.0/dbhome_1
export PATH=$ORACLE_HOME/bin:$ORACLE_HOME/jdk/bin:${PATH}
export LD_LIBRARY_PATH=$ORACLE_HOME/lib
export NLS_LANG=JAPANESE_JAPAN.UTF8
export LANG=ja_JP.UTF-8
export ORACLE_SID=ora01
- Write the above export statement in ".bash_profile" so that the environment variables will be reflected even if you restart.
vi $HOME/.bash_profile
- Host settings * If not set, the following error will occur even though the port is open in the listener settings.

vi /etc/hosts
#Reboot for the time being
reboot
#Setting Example
# 192.168.XX.XXX dev01 dev01.XXX.XXX.XX
- Start dbca
$ORACLE_HOME/bin/dbca
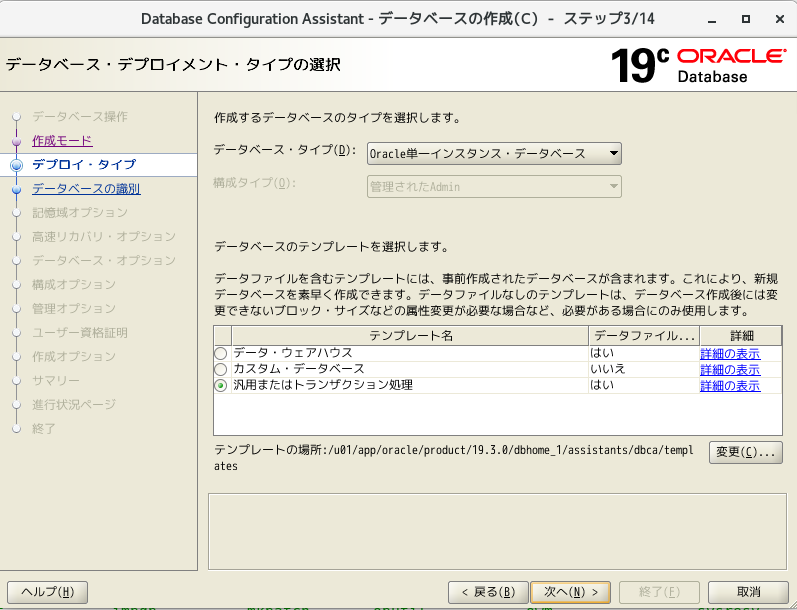
- Select "Create Database"
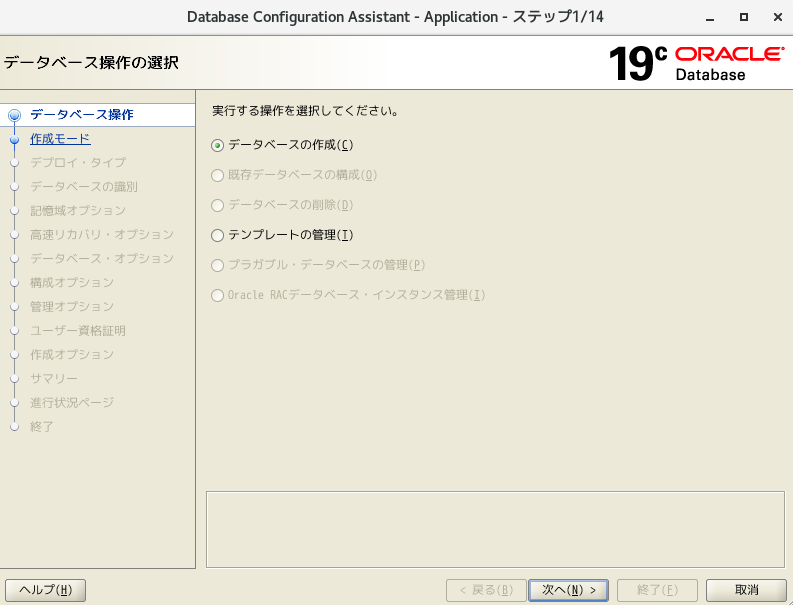
- Select "Extensibility Configuration"
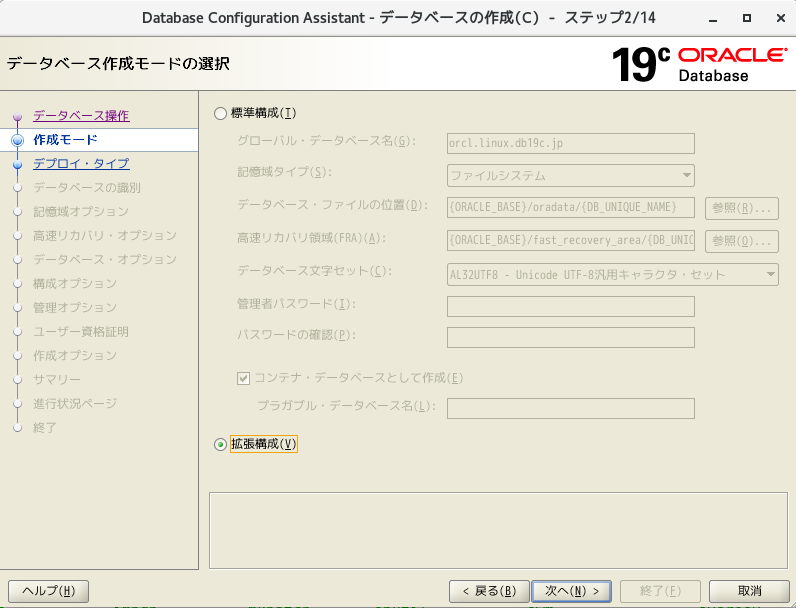
- Continue as it is
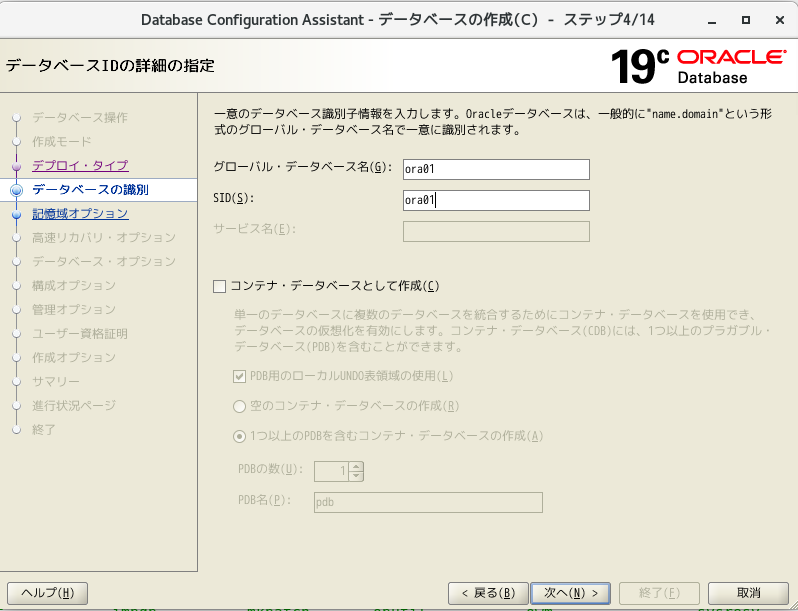
- Specify "ora01" for the global database name and SID. Uncheck "Create as container database" and go to the next
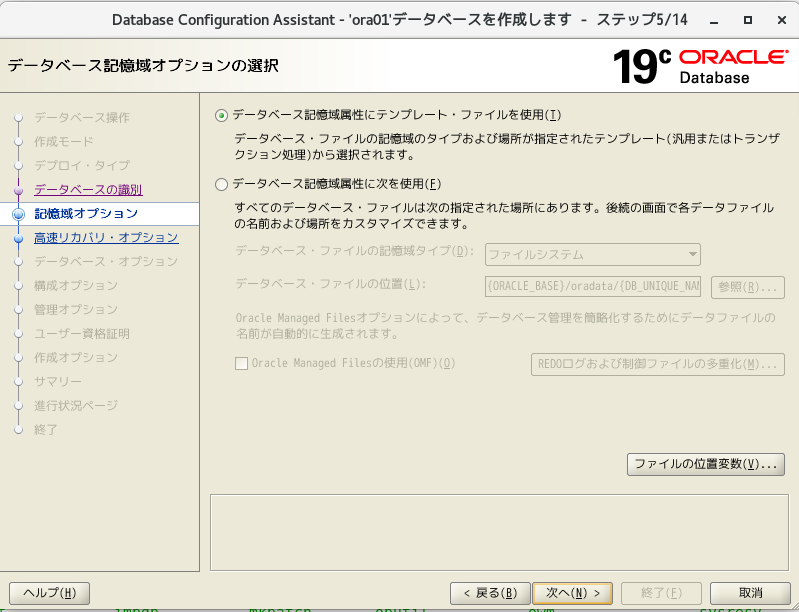
- Continue as it is
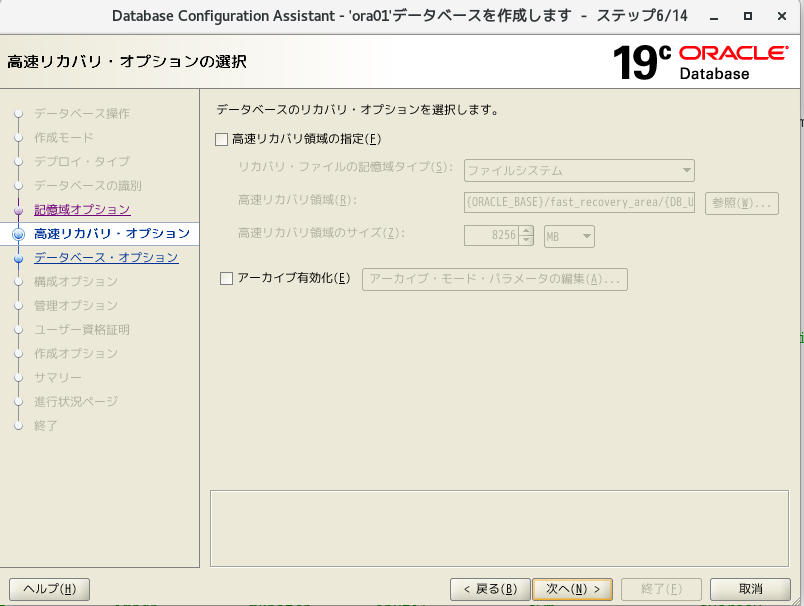
- Continue as it is
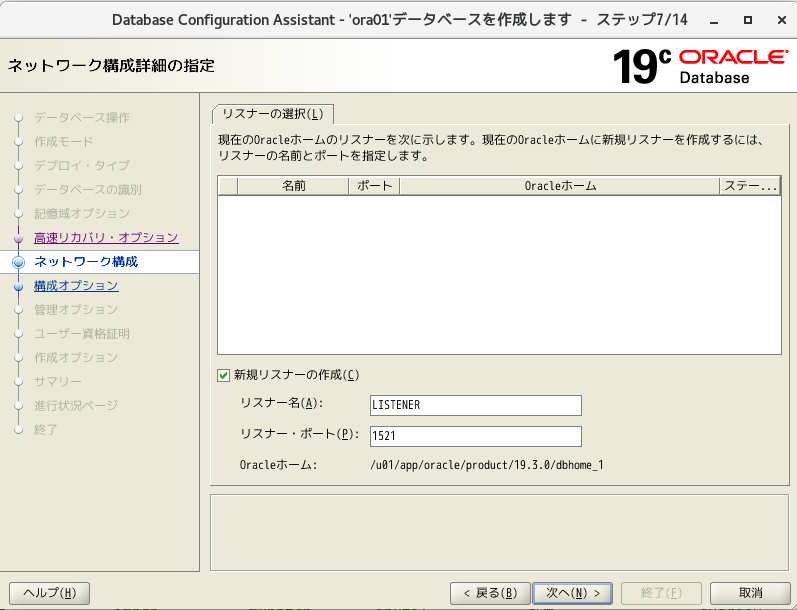
- Select "Create new listener", specify any listener name & port name, and then Next
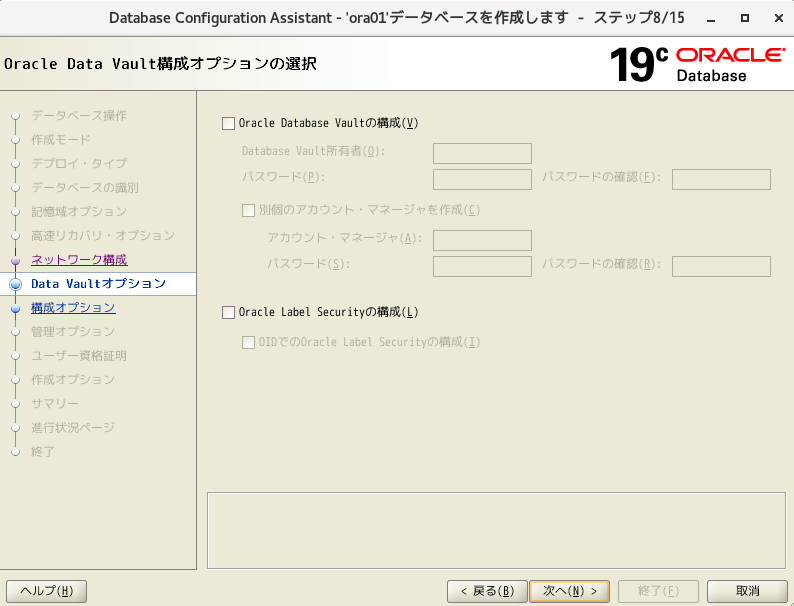
- Continue as it is
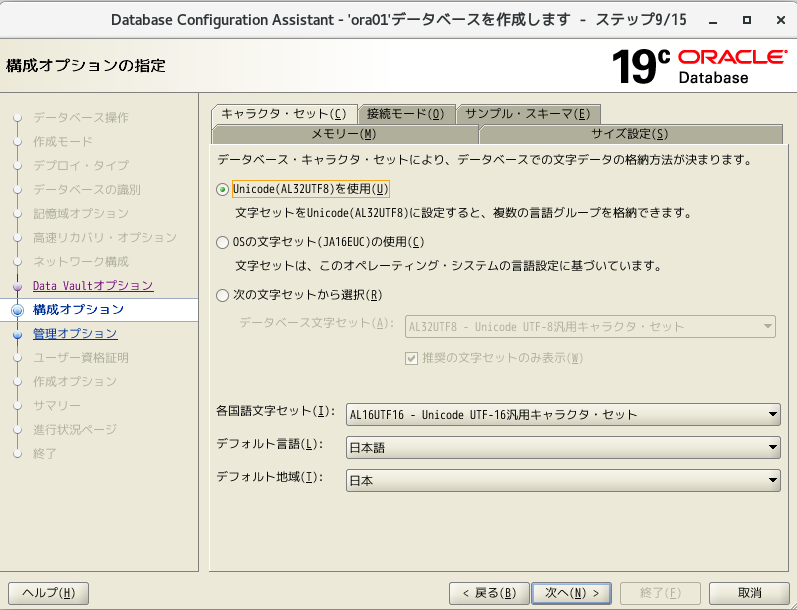
- Continue as it is * Change the memory settings later
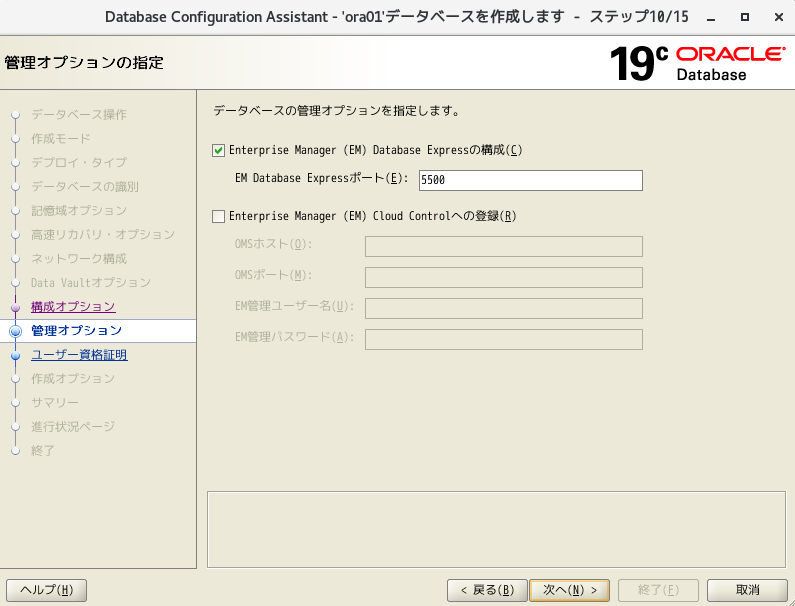
- Continue as it is
- Select "Use same admin password" and enter any password
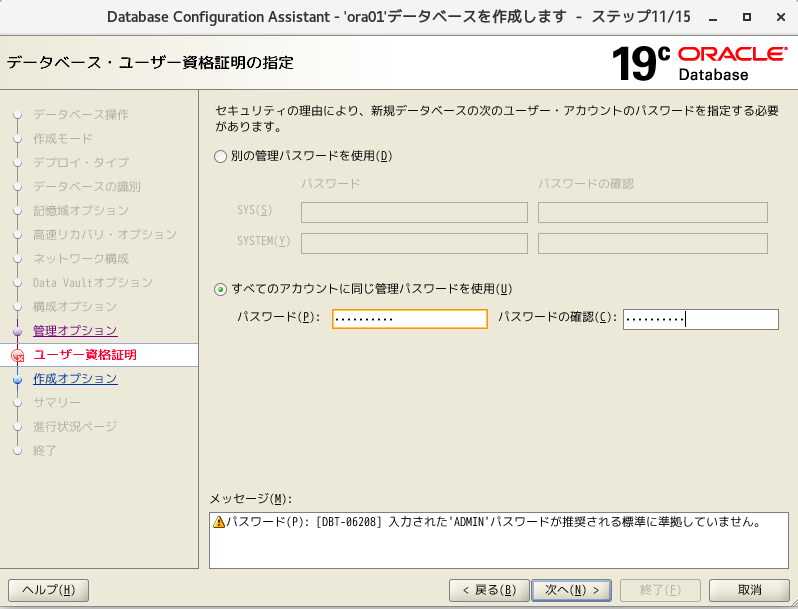
- Continue as it is
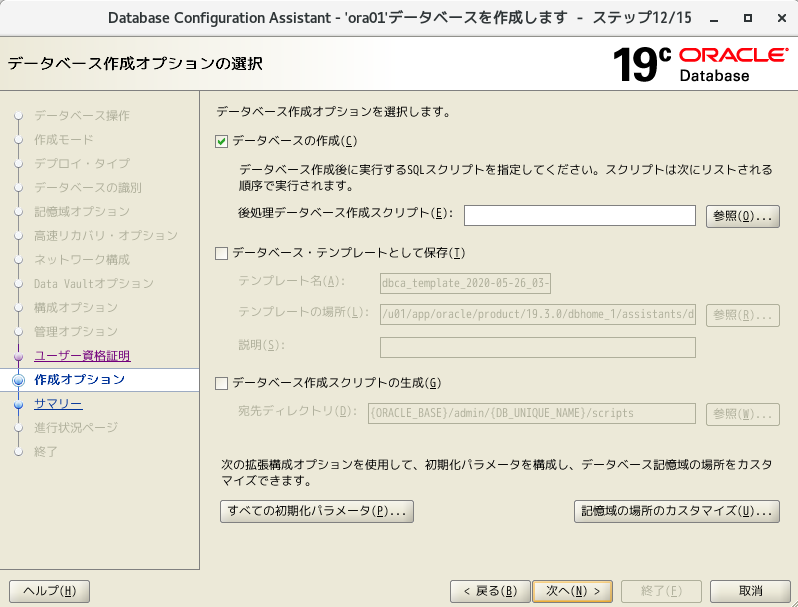
- Press the "Finish" button
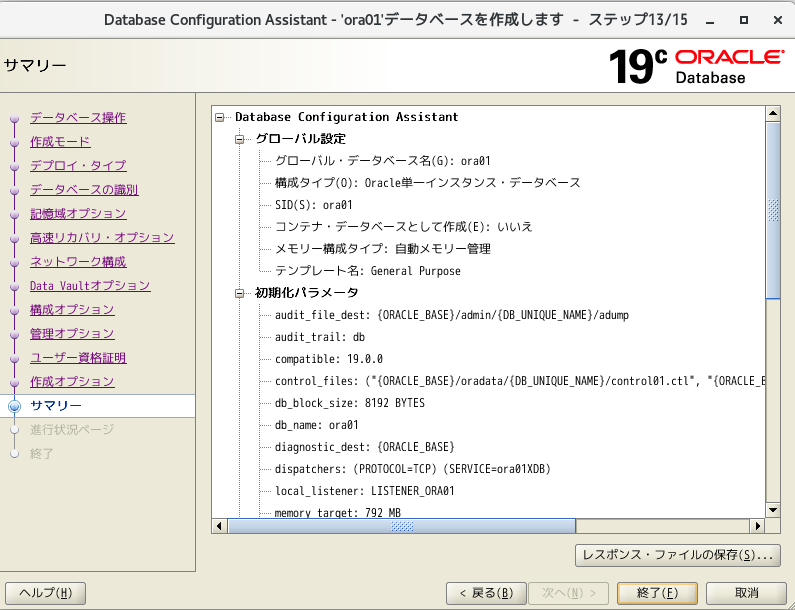
- Database creation completed! !! Press the close button
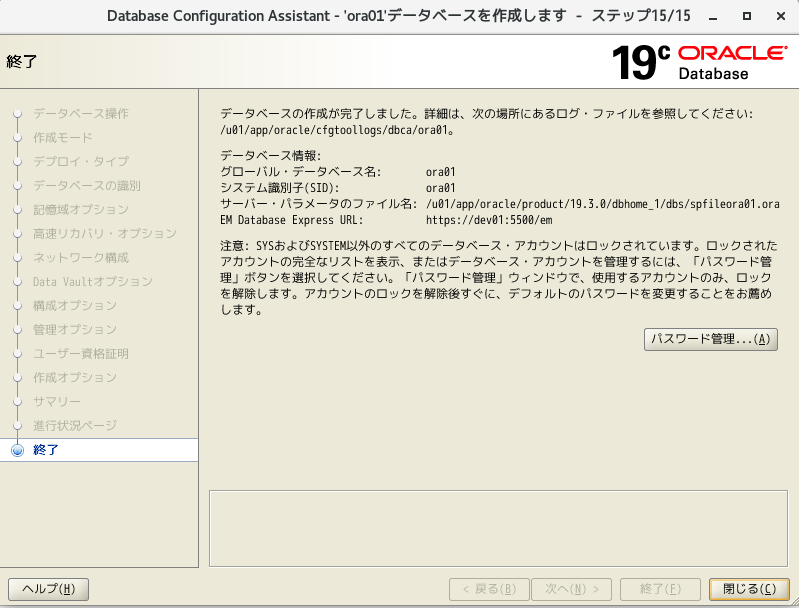
- Connect with guest OS sqlplus
sqlplus / as sysdba
#After restarting linux, start DB
# startup
#Connect as system user
connect system/XXXX
#SQL execution
SELECT INSTANCE_NAME FROM V$INSTANCE;
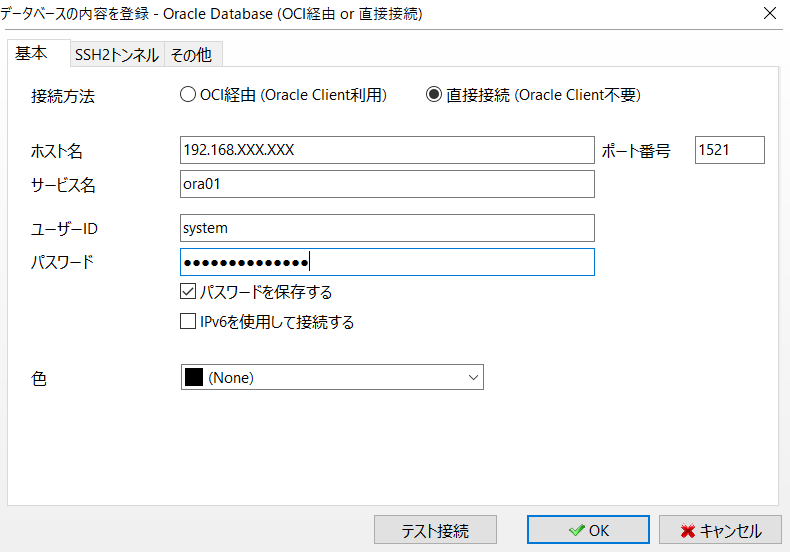
- Connect from the SQL client (a5m2) of the host OS
#Check the status of the listener
#If it doesn't work, start it
lsnrctl status
- Change memory settings to save money
#Connect
sqlplus / as sysdba
#Status quo confirmation
show parameter memory
show parameter sga
#Memory size change
alter system set memory_target = 0 scope = spfile;
alter system set memory_max_target = 0 scope = spfile;
alter system set sga_target = 512m scope = spfile;
alter system set pga_aggregate_target = 128m scope = spfile;
#DB restart (setting reflection)
shutdown immediate
startup
#Status quo confirmation
show parameter memory
show parameter sga
#This time, to change the Linux settings, stop the DB
shutdown immediate
#Listener stopped after exit from sqlplus
lsnrctl stop
#Stop linux * After su root
shutdown now
- Change memory to 1024M
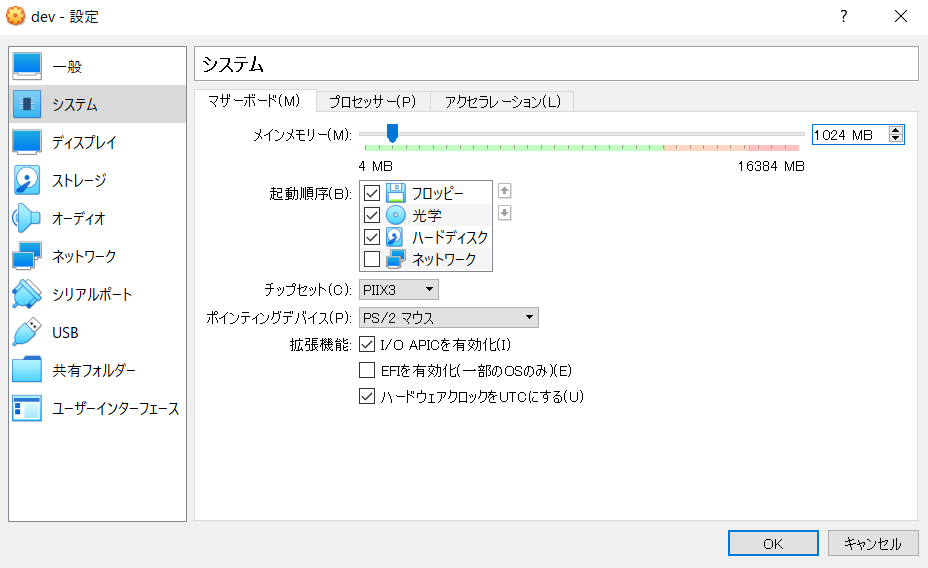
- Change processor to 1
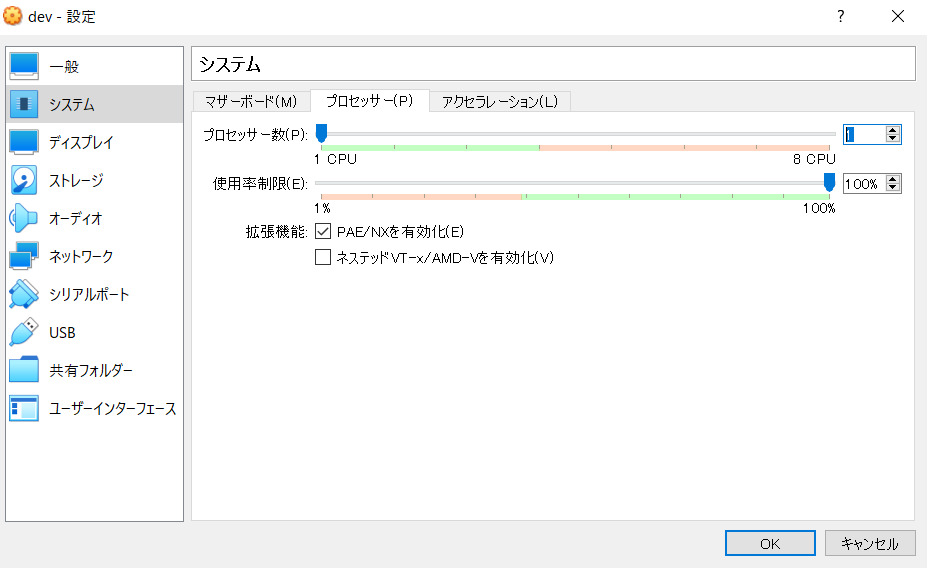
-
Linux boot & DB boot & listener boot
-
Connect to DB, check operation (SQL execution), and if there is no problem, database construction is completed.
Connecting to EM Express
- Connect with the following URL * Operation can be confirmed using sys or system users
https://[OracleサーバのIPアドレス]:5500/em/login
User creation * Schema is also created at the same time
- "User and schema" is the relationship of "people and bags"
--See which tablespace the user uses by default
select property_value from database_properties where property_name ='DEFAULT_PERMANENT_TABLESPACE';
--Make sure it is created in the user tablespace
--User created
create user test identified by test;
--Check if it was created
--Names are managed in uppercase.
select username,default_tablespace,created from dba_users where username = 'TEST';
Granting authority * You do not even have the authority to connect just by creating a user
--DBA authorization
grant DBA to test;
--Permission confirmation
select * from dba_role_privs;
Reference URL
Install Oracle Linux on a VirtualBox virtual machine https://dbalone.com/oracle-linux-install
Install Oracle 12c R2 on Oracle Linux 7.5 https://qiita.com/mkyz08/items/945cdf72597b0e044b14
Install Oracle DB 19c on-premise https://infrasenavi.com/gijutsuroku/2266
How to stop the CentOS7 firewall https://www.server-memo.net/centos-settings/centos7/firewalld-stop.html
What is the difference between an Oracle schema and a user? https://sql-oracle.com/?p=110
Recommended Posts