[PYTHON] Recognize your boss and hide the screen with Deep Learning
background
When you're at work, everyone is browsing non-business information, right?
At that time, I feel awkward that the boss is creeping behind me. Of course, you can switch screens in a hurry, but that kind of behavior can be suspicious, and you may not notice it when you are concentrating. So, in order to switch screens without being suspicious, I created a system that automatically recognizes that the boss is approaching and hides the screen.
Specifically, Keras </ font> is used for machine learning of the boss's face, and the camera is used to recognize that it is approaching and switch screens.
Mission
The mission is to switch screens automatically when the boss approaches.
The situation is as follows.
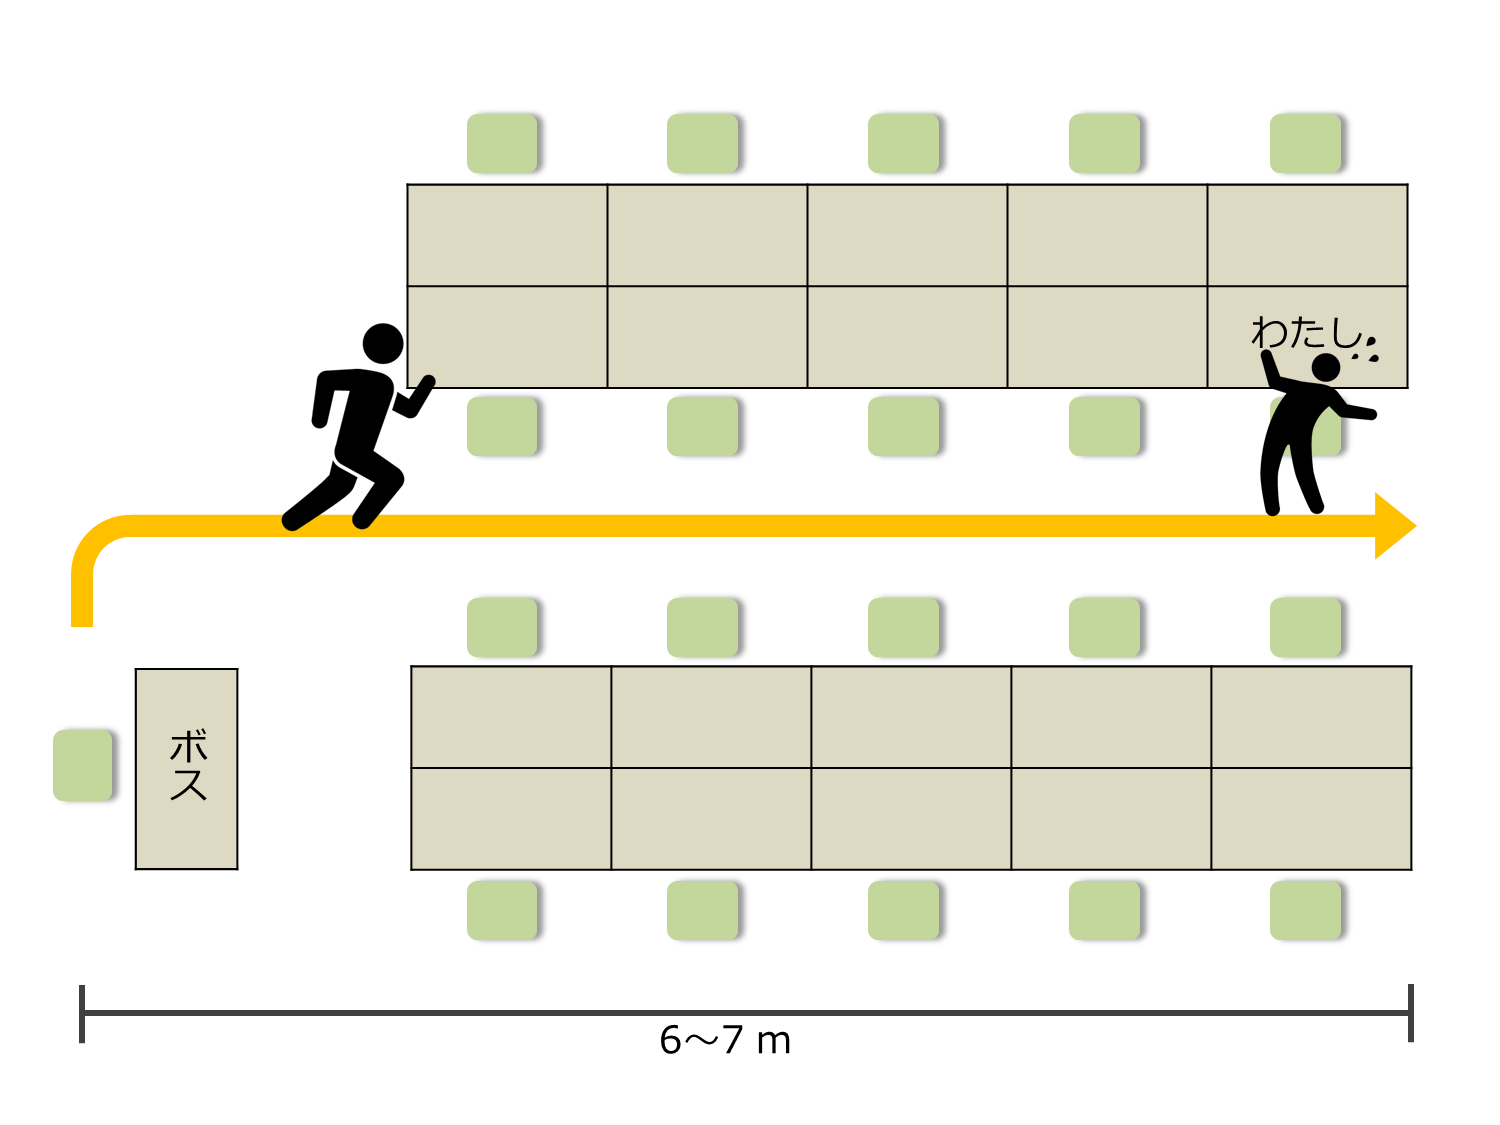
The distance from the boss's seat to my seat is about 6,7m. It takes 4,5 seconds after the boss leaves my seat to reach my seat. Therefore, it is necessary to hide the screen during this time. I don't have much time to spare.
Strategy ~ How to hide the screen? ~
I think there are many possible strategies, but this is the one I thought of.
First, use machine learning to let the computer learn the boss's face in advance. Then, install a webcam in your seat and switch the screen when the webcam catches the boss's face. The perfect strategy. Let's call this wonderful system "** Boss Sensor **".

Boss sensor system configuration
The super-simple system configuration of the boss sensor is as follows.

- Acquire images in real time using a webcam.
- Face detection and face recognition are performed on the acquired image using the learning model.
- If the recognition result is the boss, switch the screen.
The following techniques are required to do these:
- Get face image
- Face image recognition
- Screen switching
Let's examine them one by one and finally integrate them.
Get face image
First, get the image from the webcam.
The Web camera used this time is [BUFFALO BSW20KM11BK](https://www.amazon.co.jp/%E3%83%90%E3%83%83%E3%83%95%E3%82%A1%E3 % 83% AD% E3% 83% BC-BSW20KM11BK-iBUFFALO-% E3% 83% 9E% E3% 82% A4% E3% 82% AF% E5% 86% 85% E8% 94% B5200% E4% B8% 87% E7% 94% BB% E7% B4% A0WEB% E3% 82% AB% E3% 83% A1% E3% 83% A9-120% C2% B0% E5% BA% 83% E8% A7% 92% E3% 82% AC% E3% 83% A9% E3% 82% B9% E3% 83% AC% E3% 83% B3% E3% 82% BA% E6% 90% AD% E8% BC% 89% E3% 83% A2% E3% 83% 87% E3% 83% AB / dp / B008AO4KXQ).
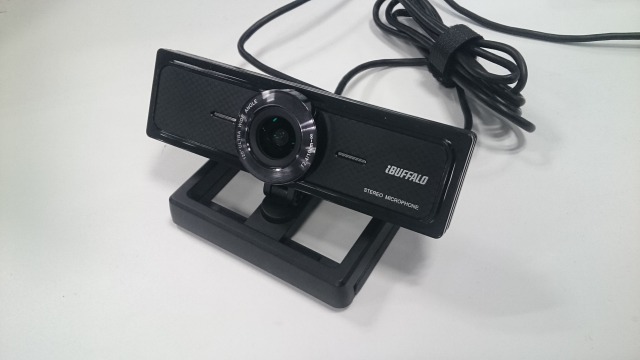
I think that any webcam can be used as long as it has some performance.
You can get the image from the camera with the attached software, but considering the later processing, it is better to get it from the program. In addition, since face recognition is performed in the subsequent processing, it is necessary to cut out only the face image. So I decided to get the face image using Python and OpenCV. Here is the code for that:
I was able to get a better face image than I expected.

Learning and recognizing the face of the boss
Then use machine learning to allow the computer to recognize the boss's face. The following three points are a rough procedure:
- Image collection
- Image processing
- Build a machine learning model
Let's look at these one by one.
Image collection
First of all, you need to get an image for learning. I used the following collection method:
- Google image search
- Collect images on Facebook
- Taken with a camera
At first I collected images from web search and Facebook, but I didn't get enough images. Therefore, I used a video camera to shoot a video and decomposed the video into images.
Image processing
By the way, I was able to get a large number of images with faces, but I can't put them on the learning device as they are. This is because the part that has nothing to do with the face occupies a large part of the image. Therefore, I will cut out only the face image.
I mainly used ImageMagick for cutting out. You can get only the face image by cutting it out using ImageMagick.
A lot of face images were collected like this:

Perhaps I am the person who possesses the most boss's face image in the world. Must have more than parents.
Now you are ready to study.
Building a machine learning model
Learning is done by building a convolutional neural network (CNN) in Keras. We use TensorFlow for the Keras backend. If you just want to recognize the face, you can hit the Web API for image recognition, but this time I decided to make it myself in consideration of real-time performance.
The network has the following configuration. Keras is convenient because you can easily output the configuration.
____________________________________________________________________________________________________
Layer (type)                     Output Shape          Param #     Connected to
====================================================================================================
convolution2d_1 (Convolution2D)  (None, 32, 64, 64)    896         convolution2d_input_1[0][0]
____________________________________________________________________________________________________
activation_1 (Activation)        (None, 32, 64, 64)    0           convolution2d_1[0][0]
____________________________________________________________________________________________________
convolution2d_2 (Convolution2D)  (None, 32, 62, 62)    9248        activation_1[0][0]
____________________________________________________________________________________________________
activation_2 (Activation)        (None, 32, 62, 62)    0           convolution2d_2[0][0]
____________________________________________________________________________________________________
maxpooling2d_1 (MaxPooling2D)    (None, 32, 31, 31)    0           activation_2[0][0]
____________________________________________________________________________________________________
dropout_1 (Dropout)              (None, 32, 31, 31)    0           maxpooling2d_1[0][0]
____________________________________________________________________________________________________
convolution2d_3 (Convolution2D)  (None, 64, 31, 31)    18496       dropout_1[0][0]
____________________________________________________________________________________________________
activation_3 (Activation)        (None, 64, 31, 31)    0           convolution2d_3[0][0]
____________________________________________________________________________________________________
convolution2d_4 (Convolution2D)  (None, 64, 29, 29)    36928       activation_3[0][0]
____________________________________________________________________________________________________
activation_4 (Activation)        (None, 64, 29, 29)    0           convolution2d_4[0][0]
____________________________________________________________________________________________________
maxpooling2d_2 (MaxPooling2D)    (None, 64, 14, 14)    0           activation_4[0][0]
____________________________________________________________________________________________________
dropout_2 (Dropout)              (None, 64, 14, 14)    0           maxpooling2d_2[0][0]
____________________________________________________________________________________________________
flatten_1 (Flatten)              (None, 12544)         0           dropout_2[0][0]
____________________________________________________________________________________________________
dense_1 (Dense)                  (None, 512)           6423040     flatten_1[0][0]
____________________________________________________________________________________________________
activation_5 (Activation)        (None, 512)           0           dense_1[0][0]
____________________________________________________________________________________________________
dropout_3 (Dropout)              (None, 512)           0           activation_5[0][0]
____________________________________________________________________________________________________
dense_2 (Dense)                  (None, 2)             1026        dropout_3[0][0]
____________________________________________________________________________________________________
activation_6 (Activation)        (None, 2)             0           dense_2[0][0]
====================================================================================================
Total params: 6489634
The code is here:
If you can do so far, you can recognize it as a boss when the boss appears on the camera.
Screen switching
Now, after recognizing the boss's face using the learned model, we need to switch screens. This time, let's simply prepare and display an image of the work style. Since I am a programmer, I prepared the following images.

It's like working. All you have to do is display this image.
I want to display the image in full screen, so I will display it using PyQt. Here is the code for that:
Now everything is ready.
Complete
It is completed when the technologies verified so far are combined. I actually tried it.
"The boss has left his seat. He is approaching my seat."

"OpenCV has detected the face. It throws the image into the learning model."

"The screen was switched after recognizing that it was a boss. ヽ (‘∇’) Now

Reflection
With self-discipline.
Although the accuracy was high for the images in the test set, the images acquired by the webcam were sometimes difficult to recognize. It seems that it was related to the degree of light hitting and the blurring of the image. I have to do image normalization properly.
The classification was a binary classification of boss or another person, but when an image other than the face image was input, it was sometimes classified as a boss. If anything, it was a boss. It may have been better to recognize using the probability of being a boss rather than binary classification.
Image processing is difficult.
Source code
You can download the source code from the following repositories.
in conclusion
This time, I tried to recognize the boss and hide the screen by combining real-time image acquisition from the webcam and face recognition using Keras.
Currently, face detection is done with OpenCV, but I feel that the accuracy of face detection with OpenCV is not good, so I would like to improve that area by using Dlib. I would like to use a face detection model that I trained myself.
I used to use PyQt to display the wind image that I was working on, but it takes a long time to display it after I ordered it, so I need to improve that area.
The recognition accuracy of the image acquired from the webcam is not good enough, so I would like to improve it from time to time.
The reality was not sweet
Recommended Posts