Deploy Java Servlet app locally on Tomcat
How to deploy a Servlet app on tomcat
The thing to do is simple, but surprisingly, even though I read various articles, I didn't write the important part, and I had a headache, so I wrote it as a memorandum.
1. Preparation
Export your Servlet app from Eclipse etc. in war file format
From Eclipse, right-click and select Export> Export in War format, and export to any directory in war file format.

b. Installing tomcat
These are not needed if you originally started Tomcat from Eclipse and are trying it on your local server, but if you don't have them you will need to install them.
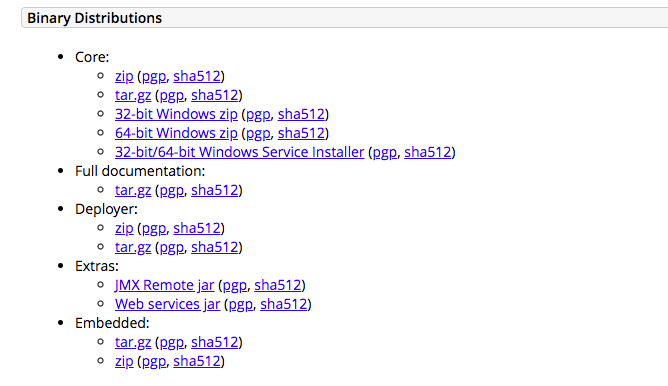
Install it on your PC with a zip file etc. from this site. http://tomcat.apache.org/download-80.cgi
In the case of Windows, the installation file seems to be different according to the number of bits, so please install the one that suits your environment. (For Mac, you can download the zip file.)

c. Unzip the installed files
Open the downloaded file and go to the webapps file.
The contents of the file are as follows. From here go to web apps.

Place the war file exported in a in this webapps directory.
d. Change tomcat permissions
After that, I start the shell file or batch file in the installed Tomcat folder, but the permission is 644 by default and it may not be able to start, so in that case change it with the following command.
$ cd /Applications/apache-tomcat-8.5.57
$ chmod 755 *.sh
2. Start tomcat
Start the tomcat shell file with the following command.
$ ./startup.sh
Then, the war file in the webapps directory will be compiled and the file with the same name will be created under webapps.
https://localhost:8080/app名
If successful, you will be able to access it from this URL.
To exit, enter the following command.
$ ./shutdown.sh
Recommended Posts