[Java] Throw a request and display the screen (GET / POST)
Screen transition to hello.html with GET method
- Enter the URL in the browser and press enter to call the GET method and get the HTML page in the browser
- Use the getHello method to process the GET request to localhost: 8080 / hello.
- Specify the html file name without extension in the return value of the method
- For the html file, specify the path from the resources / templates folder
- Display hello.html when GET request comes to localhost: 8080 / hello
@Controller
- Controller class
- Can be used in DI by adding @Controller annotation
@GetMapping
- Add @GetMapping to the method to handle the GET method of HTTP request
- Use GetMapping when returning the Web UI
HelloController.java
package com.example.demo.trySpring;
import org.springframework.stereotype.Controller;
import org.springframework.web.bind.annotation.GetMapping;

@Controller
public class HelloController{
    @GetMapping("/hello")
    public String getHello(){
        return"hello";  //hello.Screen transition to html
    }
}
hello.html
<!DOCTYPE html>
<html xmlns:th="http://www.thymeleaf.org"> <!--Described to use Thymeleaf-->
<head>
<meta charset="UTF8"></meta>
<title>Hello World</title>
</head>
<body>
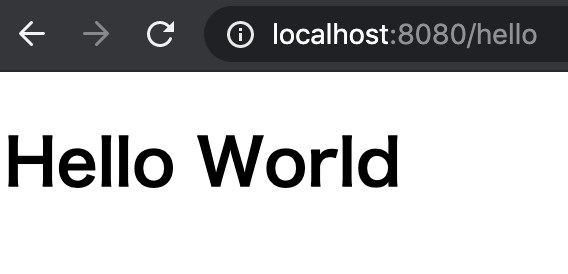
<h1>Hello World</h1>
<body>
</html>
Access the URL and check!
- URL:http://localhost:8080/hello
Pass the value from the screen with the POST method
Namespace
- Namespace is for surely identifying and identifying the target object with a certain name.
- For HTML / XML, use parentheses to write tags and titles (
<h1> <TITLE>, etc.) - Thymeleaf has its own namespace as below,
- If you define a Schema (representing the structure of a system) contained in a namespace, you can use a Thymeleaf-specific namespace **
- You can pass a value from the screen to the controller class by using the th: value attribute.
//Xmlns:th = “URL” //Definition destination
<input type="text" name="text1" th:value="${text1_value}"/>
- Added form tag to hello.html
hello.html
<!DOCTYPE html>
<html xmlns:th="http://www.thymeleaf.org">
<head>
<meta charset="UTF8"></meta>
<title>Hello World</title>
</head>
<body>
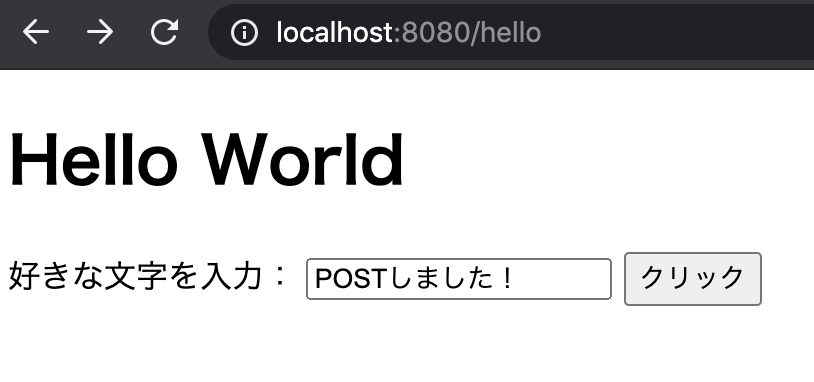
<h1>Hello World</h1>
<form method="post" action="/hello">
Enter your favorite characters:
<input type="text" name="text1" th:value="${text1_value}"/>
<input type="submit" value="click"/>
</form>
<body>
</html>
Specify the method to be used in the method attribute of the form tag
- Added processing for POST method to HelloController class
@PostMapping
- Process when sent by POST method
@RequestParam
- Receive input contents from the screen by annotating @RequestParam in the method argument
- Specify the value of html name attribute in the argument of annotation
model.addAttribute
- Set key and value in model.addAttribute
- You can receive the specified key value from the screen (html)
- For Model in this case, refer to the following (Note)
- It is not necessary to create a specific class in advance by passing data with key value = high versatility
In the example below
- Click Form to fly POST (postRequest)
- By annotating @RequestParam,
" text1 "can be received by the specifiedstr. - Set
strwith the attribute name"sample"
HelloController.java
package com.example.demo.trySpring;
import org.springframework.stereotype.Controller;
import org.springframework.ui.Model;
import org.springframework.web.bind.annotation.GetMapping;
import org.springframework.web.bind.annotation.PostMapping;
import org.springframework.web.bind.annotation.RequestParam;

@Controller
public class HelloController{
    @GetMapping("/hello")
    public String getHello(){
        return"hello";
    }
    @PostMapping("/hello")
    public String postRequest(@RequestParam("text1")String str, Model model){
        model.addAttribute("sample",str); //Register the character string received from the screen in Model
        return "helloResponse"; //helloResponse.Screen transition to html
    }
}
Receives a value from the controller class
- Create
helloResponse.htmlundersrc / main / resources / templates - Specify the key registered in
model.addAttributein theth: textattribute. - ** As a rule of Spring Boot, add the data you want to display on the screen in the form of Attribute in the Model class in common, and change the template **
- ** Returns the result of merging the template and model **
helloResponse.html
<!DOCTYPE html>
<html xmlns:th="http://www.thymeleaf.org">
<head>
<meta charset="UTF8"></meta>
<title>Response Sample</title>
</head>
<body>
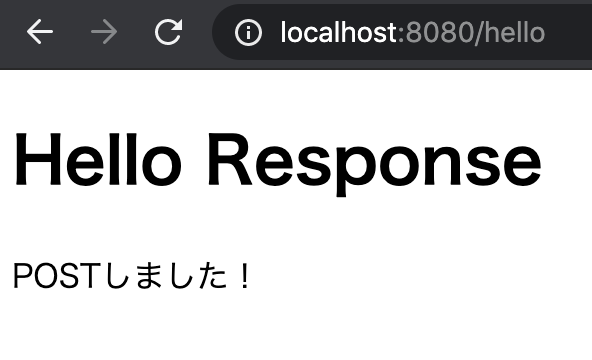
<h1>Hello Response</h1>
<!--Receives the value from Model and displays the received characters-->
<p th:text="${sample}"></p><body>
</html>
Access the URL and check!
- URL:http://localhost:8080/hello
(Note) What is Schema?
- The schema is in the namespace
- ** Data structure **
- Generally, DB name and size combination * bigint userId * Varchar[50] username
- HTML itself is also a schema
- The standard tag structure is called HTML schema
- Example: A tag creates an external link / Div general-purpose range, etc.
- Schemas can be added to the XML standard namespace
- Schema can be extended by expanding the namespace with th: labe etc. (It can be said to be metaDB)
(Note) What is the Thymeleaf model?
- Model is a Data Transfer Object (only data is passed like this time = data object)
- Accessing data with Java code / When you want to embed a class representing Java data in an Html template, it is the role of Model to create and pass a Jaba Object containing only Data.
Recommended Posts