[LINUX] Easy verification series on Katacoda "Installing and using Cockpit"
In this article, I will explain how to easily try "Cockpit", which is software for managing Linux with GUI, on a learning service called "Katacoda".
Target audience of this article
People who don't have a Linux environment at hand but want to try Cockpit
What is Cockpit
A UI tool that allows you to monitor Linux single and multiple systems through a web browser.
There are many types of functions used to monitor Linux, and the CLI is often used to see the details.
https://cockpit-project.org/running.html

This time, we are focusing on the procedure to easily implement the same function on Katacoda, so please check separately what you can do with Cockpit and how to use it.
What is Katacoda?
Currently, it is a free learning demo environment for open source software provided by O'Reilly.
You can also access major Linux distributions and recently popular Docker, Kubernetes, Ansible, etc. from your browser to learn.

Flow to access Cockpit on Katacoda
1. Create an account and log in to use Linux with Katacoda (free of charge)
2. Rent a CentOS environment and change the root password to any password
3. Install the package "Cockpit"
4. Start "Cockpit" in CentOS
5. Use a browser to access CentOS and log in
1. Create an account and log in to use Linux with Katacoda (free)
Go to [Katacoda](https://www.katacoda.com/) and create an account. (Upper right in the figure)

2. Rent a CentOS environment and change the root password to any password
On the top page of [Katacoda](https://www.katacoda.com/), the menu of available lab environments is displayed as an icon.
Since we will be using CentOS this time, select "Linux & Operating Systems".

Select "Learn CentOS" in the middle.

Select "Playground" on the left.

On the next page, click "Start" and the CLI screen will appear as shown below. First, set the root administrator password here.
passwd
 The warning is due to the use of weak security strings. This time it's for learning purposes, so you can set a temporary one that is easy for you to understand.
3. Install package "cockpit"
Then install "cockpit" with the yum command.
yum install cockpit (User manually approves Yes response to installation)
Or
yum -y install cokpit (Automatically responds Yes to the installation)
yum install cockpit (User manually approves Yes response to installation)
Or
yum -y install cokpit (Automatically responds Yes to the installation)

The installation was completed in a few seconds.

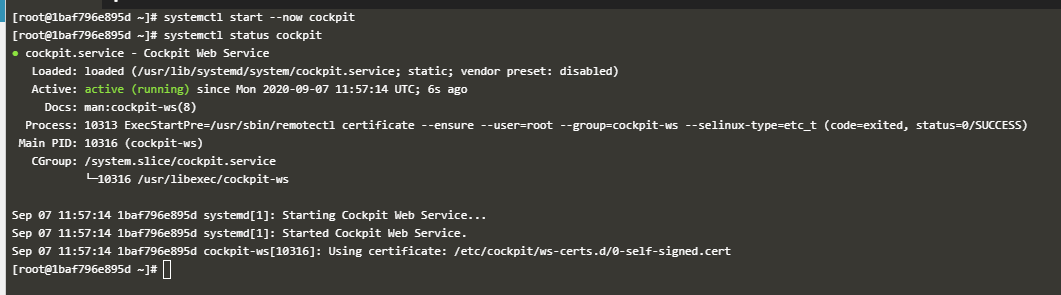
4. Start "cockpit" in CentOS ``` #Start cockpit service(Automatic startup is also implemented when the system starts) systemctl start --now cockpit
#Check the startup status of the cockpit service systemctl status cockpit
Active was confirmed in green letters. Cockpit is now working.
Originally, it is also necessary to open the firewall port here. For Cockpit, TCP 9090 must be Open.
However, since firewalld is not running in the Katakoda environment, it is possible to use Cockpit without setting it.
If you want to check the procedure for opening the firewall port, refer to the [Cokpit](https://cockpit-project.org/running.html) page for the firewall port opening command for each distribution. Please give me.
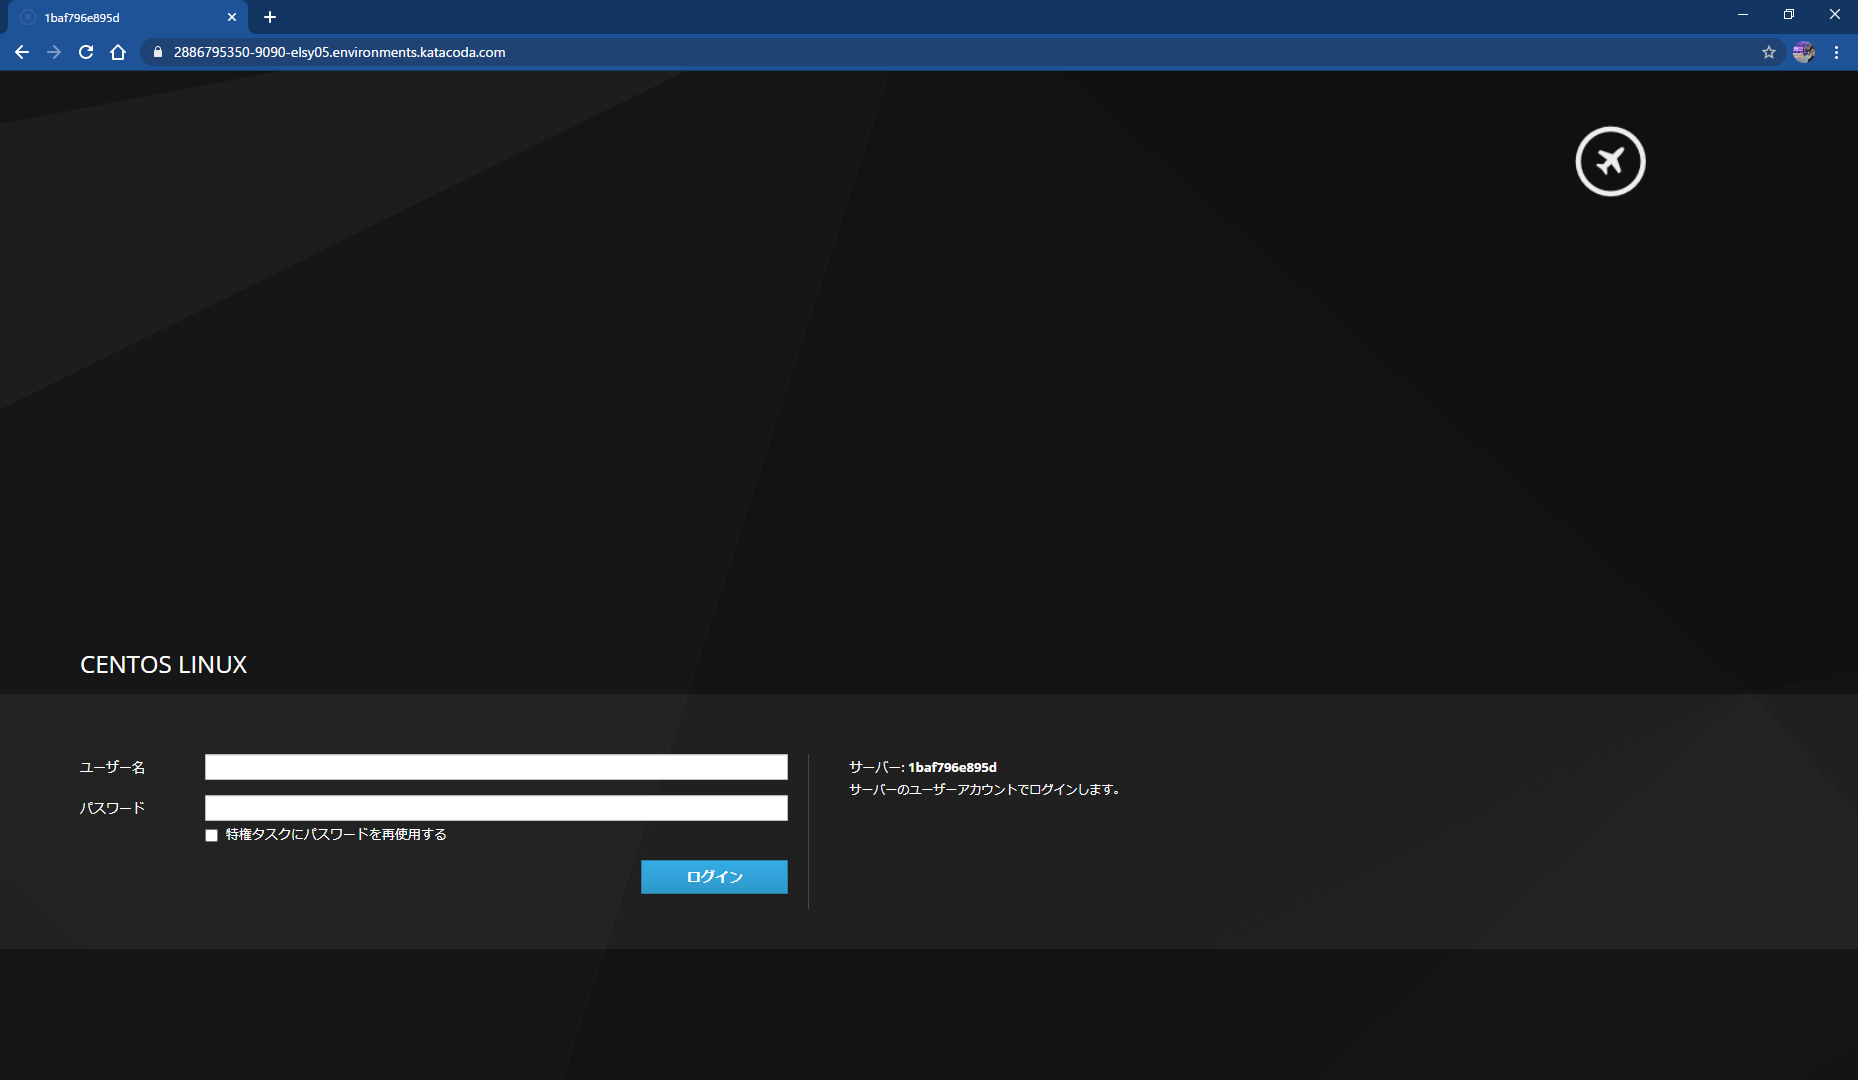
<H2> 5. Use a browser to access CentOS and log in </ H2>
There is a "+" icon at the top of the CLI screen in Katacoda.
Click here to display a menu that allows you to access the Linux.
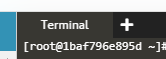
Select the third "Select port to view on Host 1" from the top.
Enter the default port number 9090 used by Cockpit in the port specification field below, and then click "Display Port".
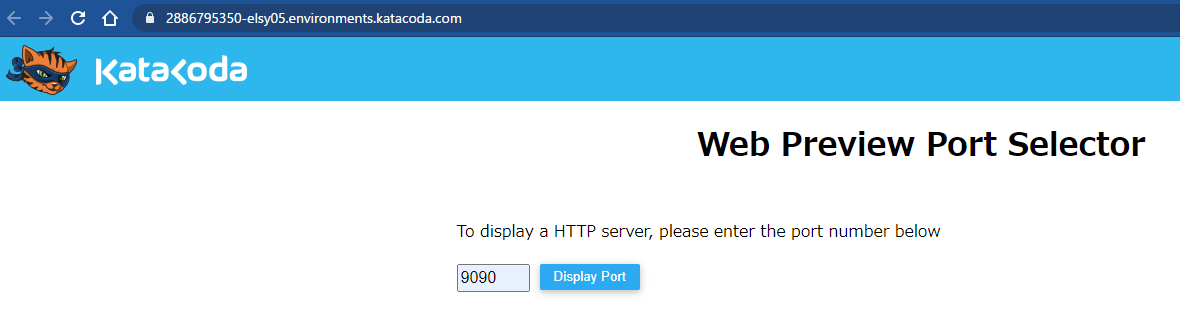
I was able to start Cockpit on the browser.
Enter the following information to log in. (User name root / password value set earlier)
After logging in, you can check the information about the Linux OS graphically as follows.
Performance charts Graphs also move in real time, which is interesting.

<H2> Bonus: Log collection is also possible on katacoda </ H2>
#Install Sosreport(Be sure to carry out because it is not installed on CentOS on Katacoda environment) yum install sos
After performing the above work, you can get the log from the log collection tab.
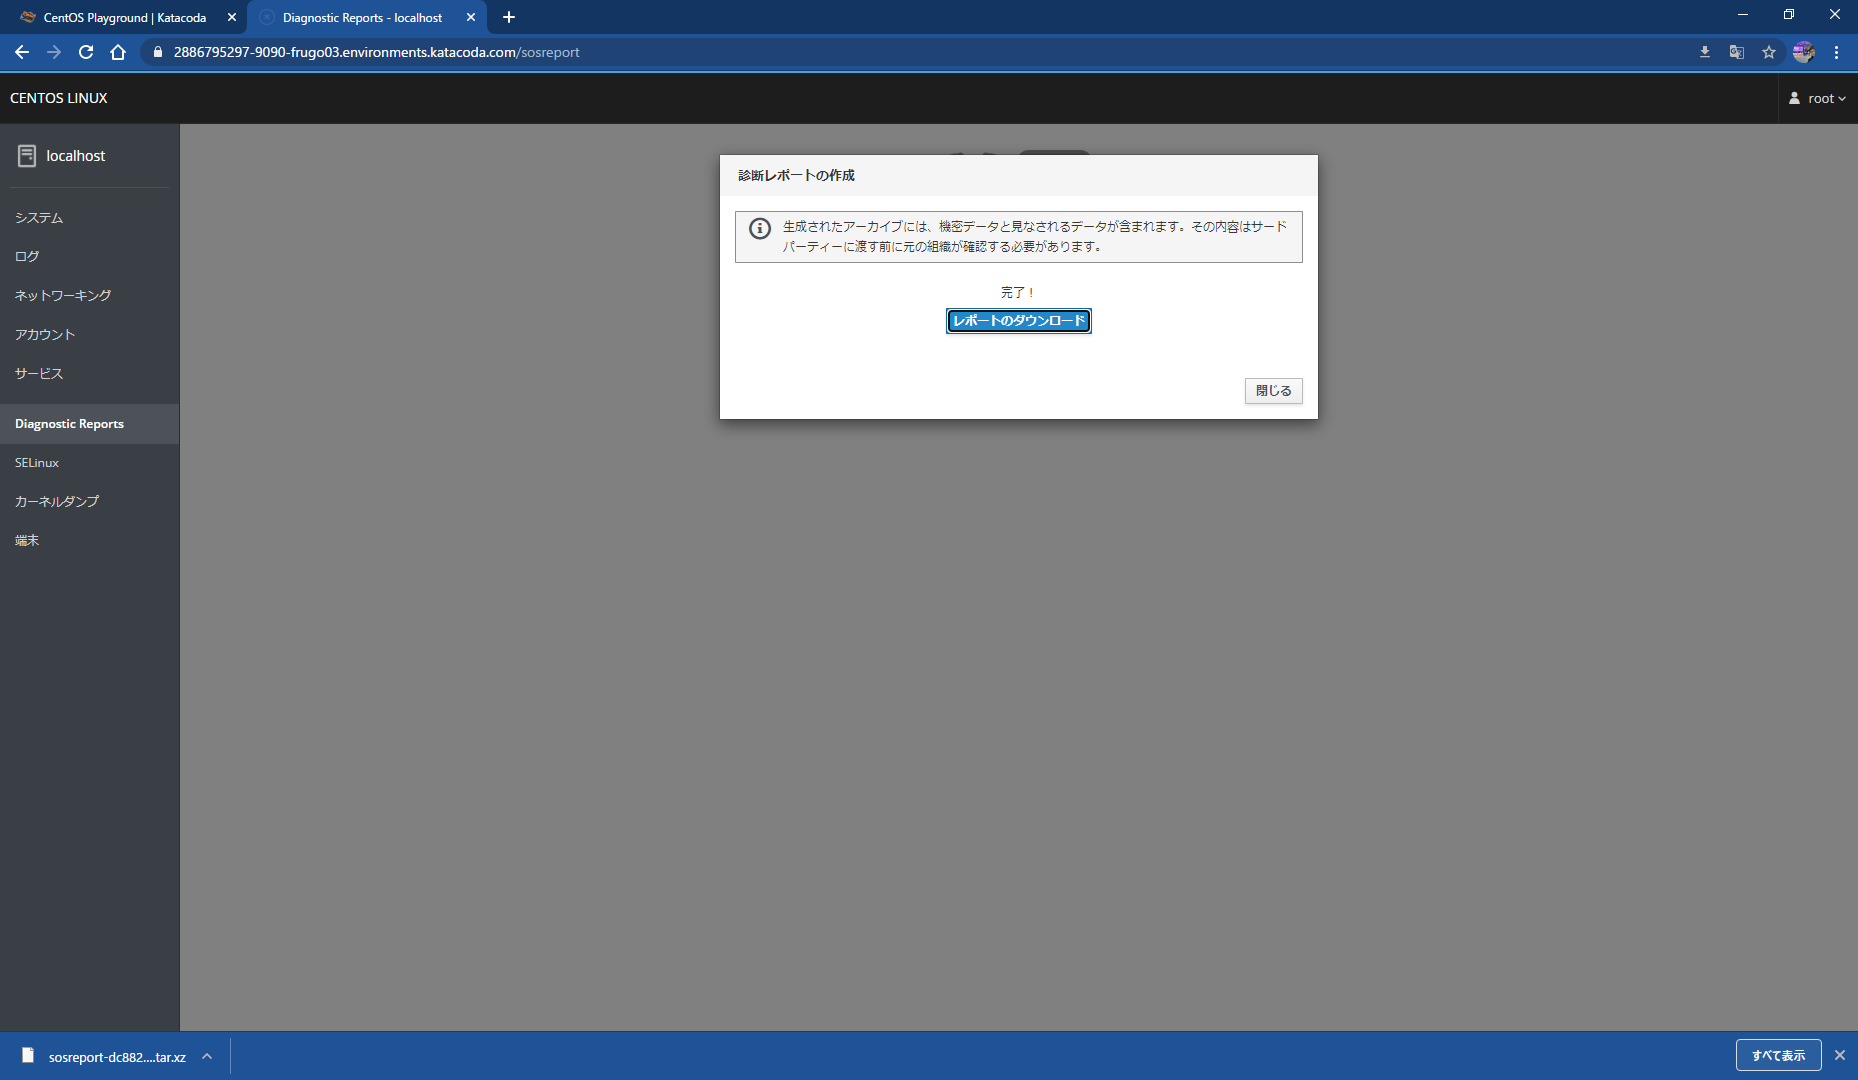
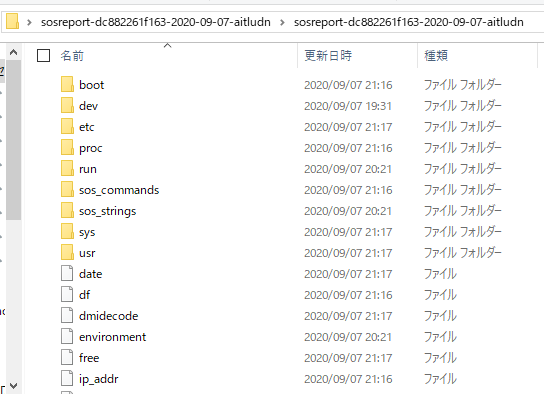
I was able to get the file in tar.xz format from CentOS in Katacoda. Of course, it can be decompressed.
Recommended Posts