Install Cloud9 on Raspberry pi 4 and set up Rails development environment
Greetings
Nice to meet you for the first time! People who know the Hello! It is Atie who masters programming by self-education! Today, I will install Cloud9 on Raspberry pi 4 (hereinafter referred to as Raspberry Pi) and prepare the development environment for Rails Tutorial. Originally, the first chapter was in a cloud development environment, but since it was a free plan, I could only use it a little, and even better, I thought about installing Cloud9 on Raspberry Pi. Then!
environment
Server: Raspberrypi4 4GB model OS: Raspberry Pi OS Lite Release date: December 2nd 2020 Main PC: Surface pro 7 Main PC OS: Fedora32 Workstation
1. Raspberry Pi setup
First of all, I will set up the Raspberry Pi
OS image download
I tried to use RaspiImager, but my OS is Fedora, so I downloaded "Rasbian lite" from Official Site with Torrent.
- If you download it directly like yourself, it is compressed with zip, so please unzip it in the downloaded folder. If you are using windows, mac, ubuntu, etc., it is faster to write Rasbian Lite to Microsd card using Raspi Imager.
writing
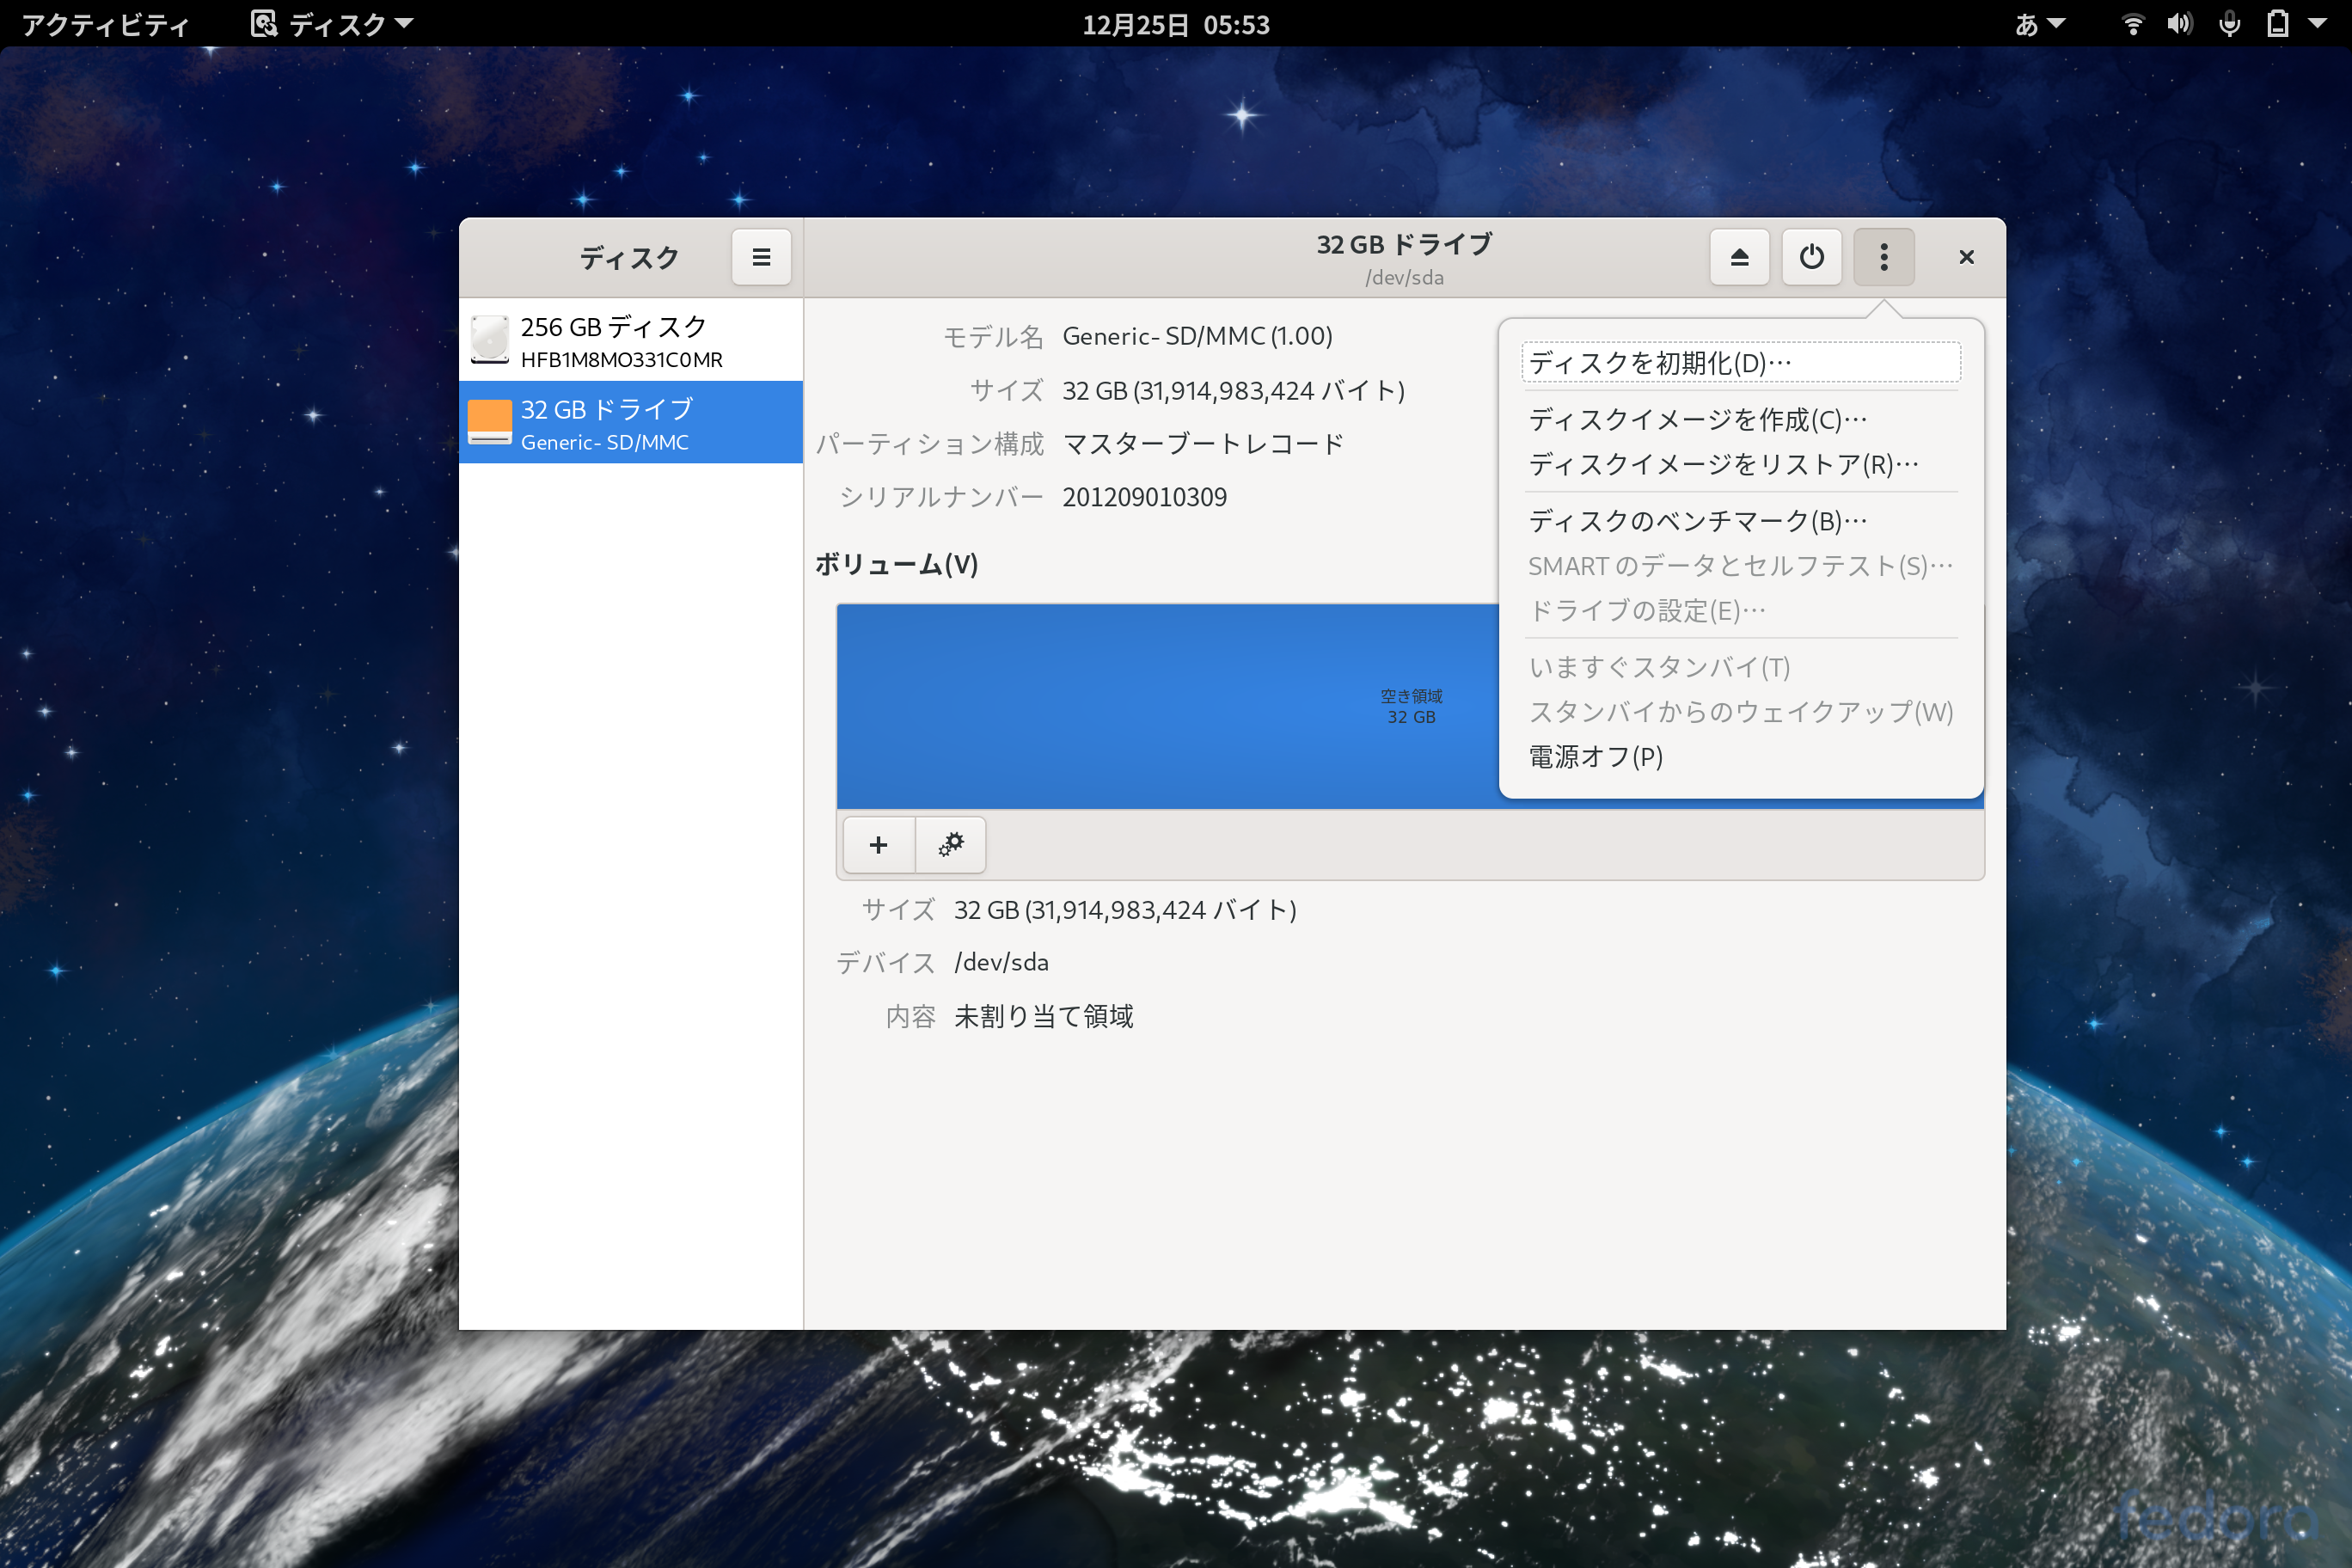
- How to write Fedora completely
I will initialize it for the time being

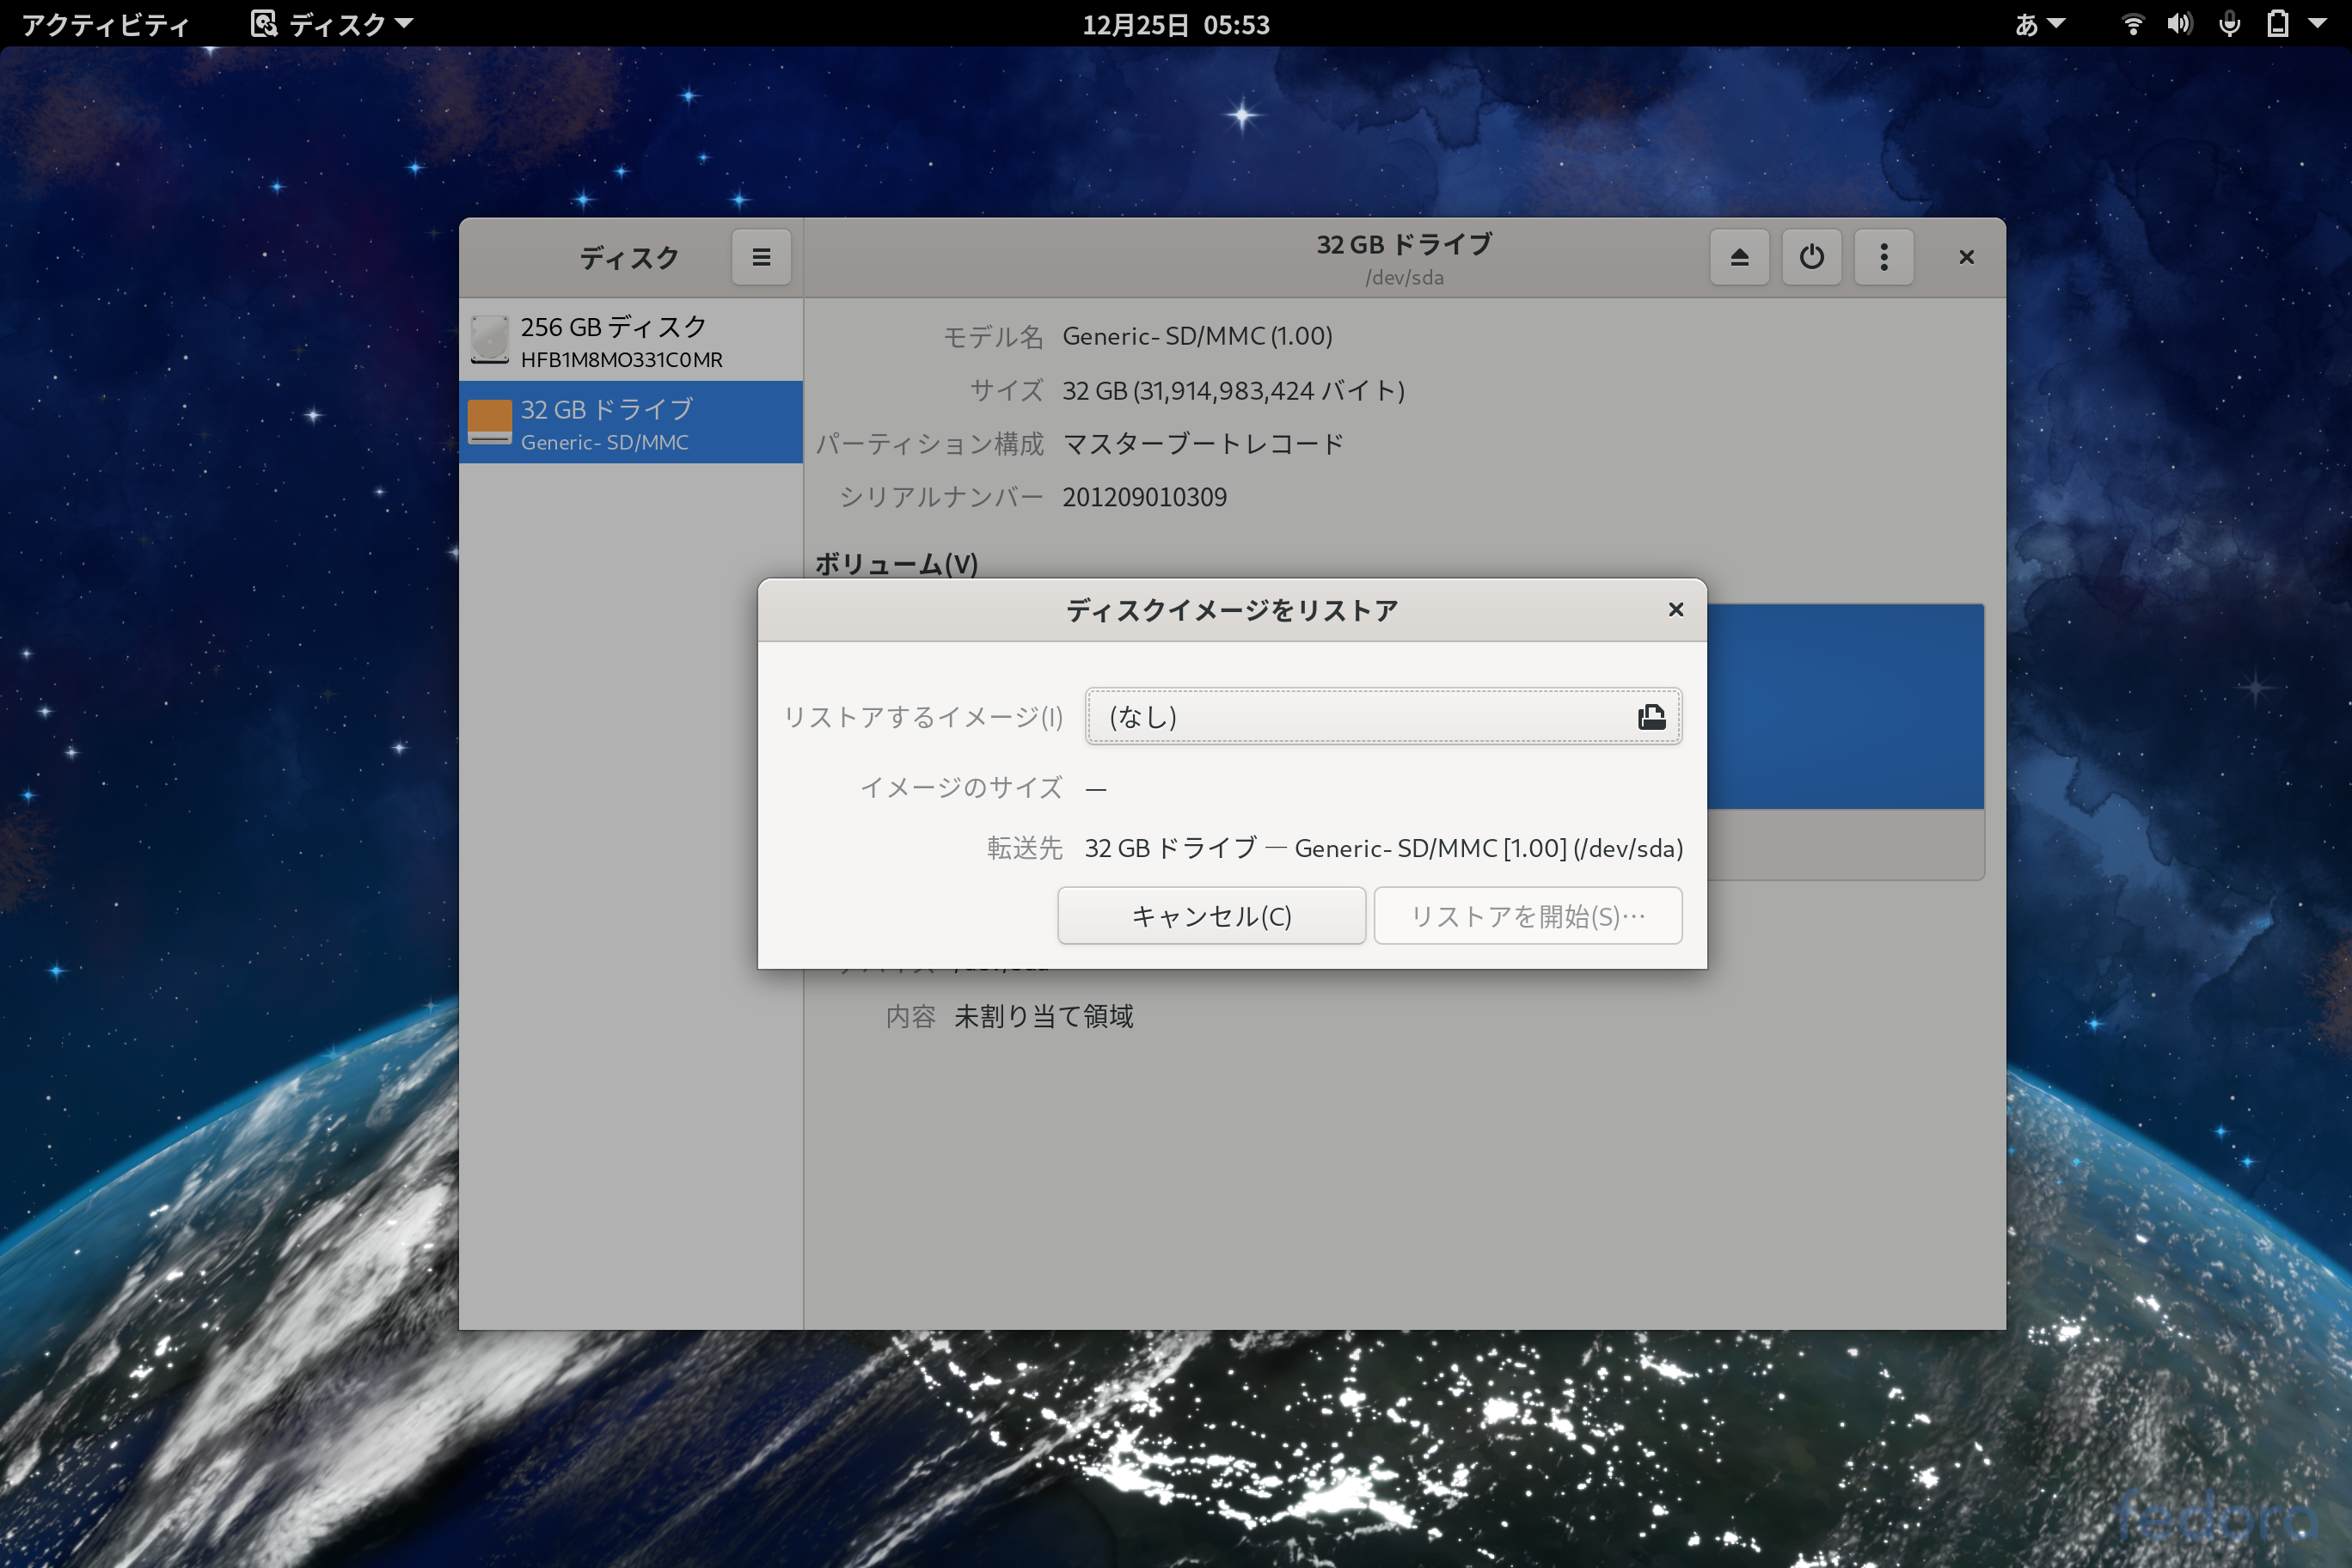
Next, I will write the image

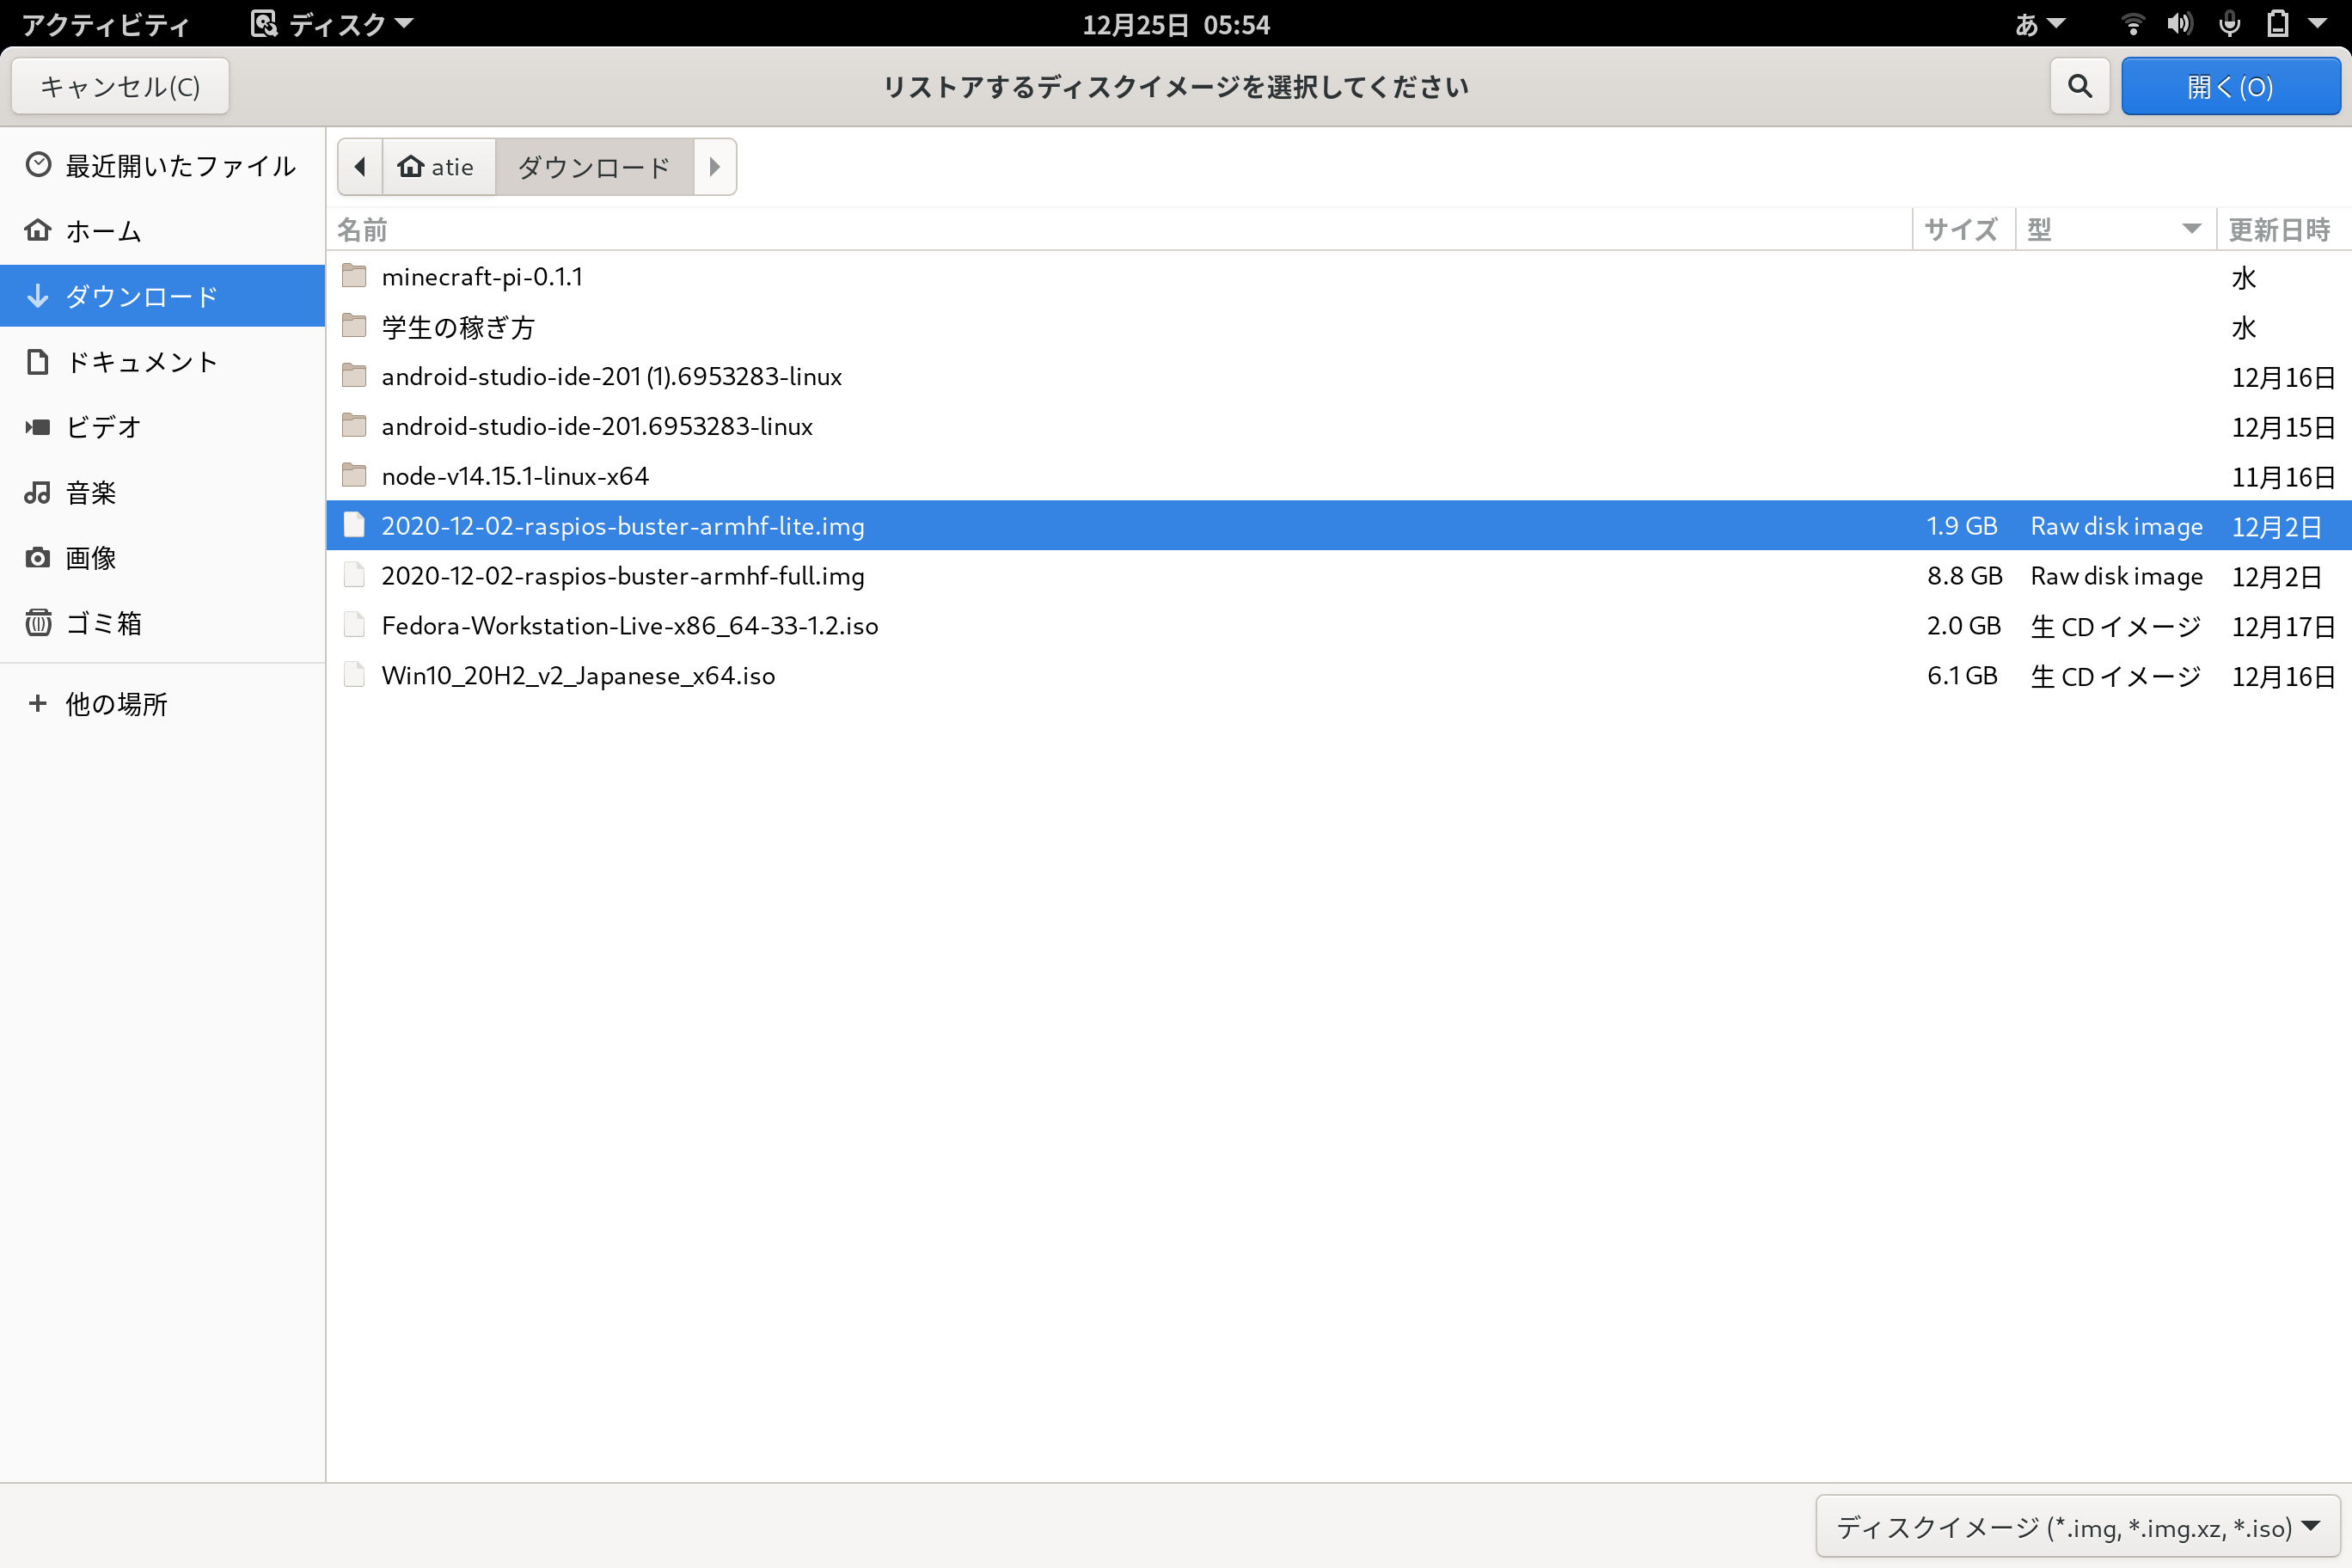
Here, select the Rasbian Lite img that you downloaded and unzipped earlier.

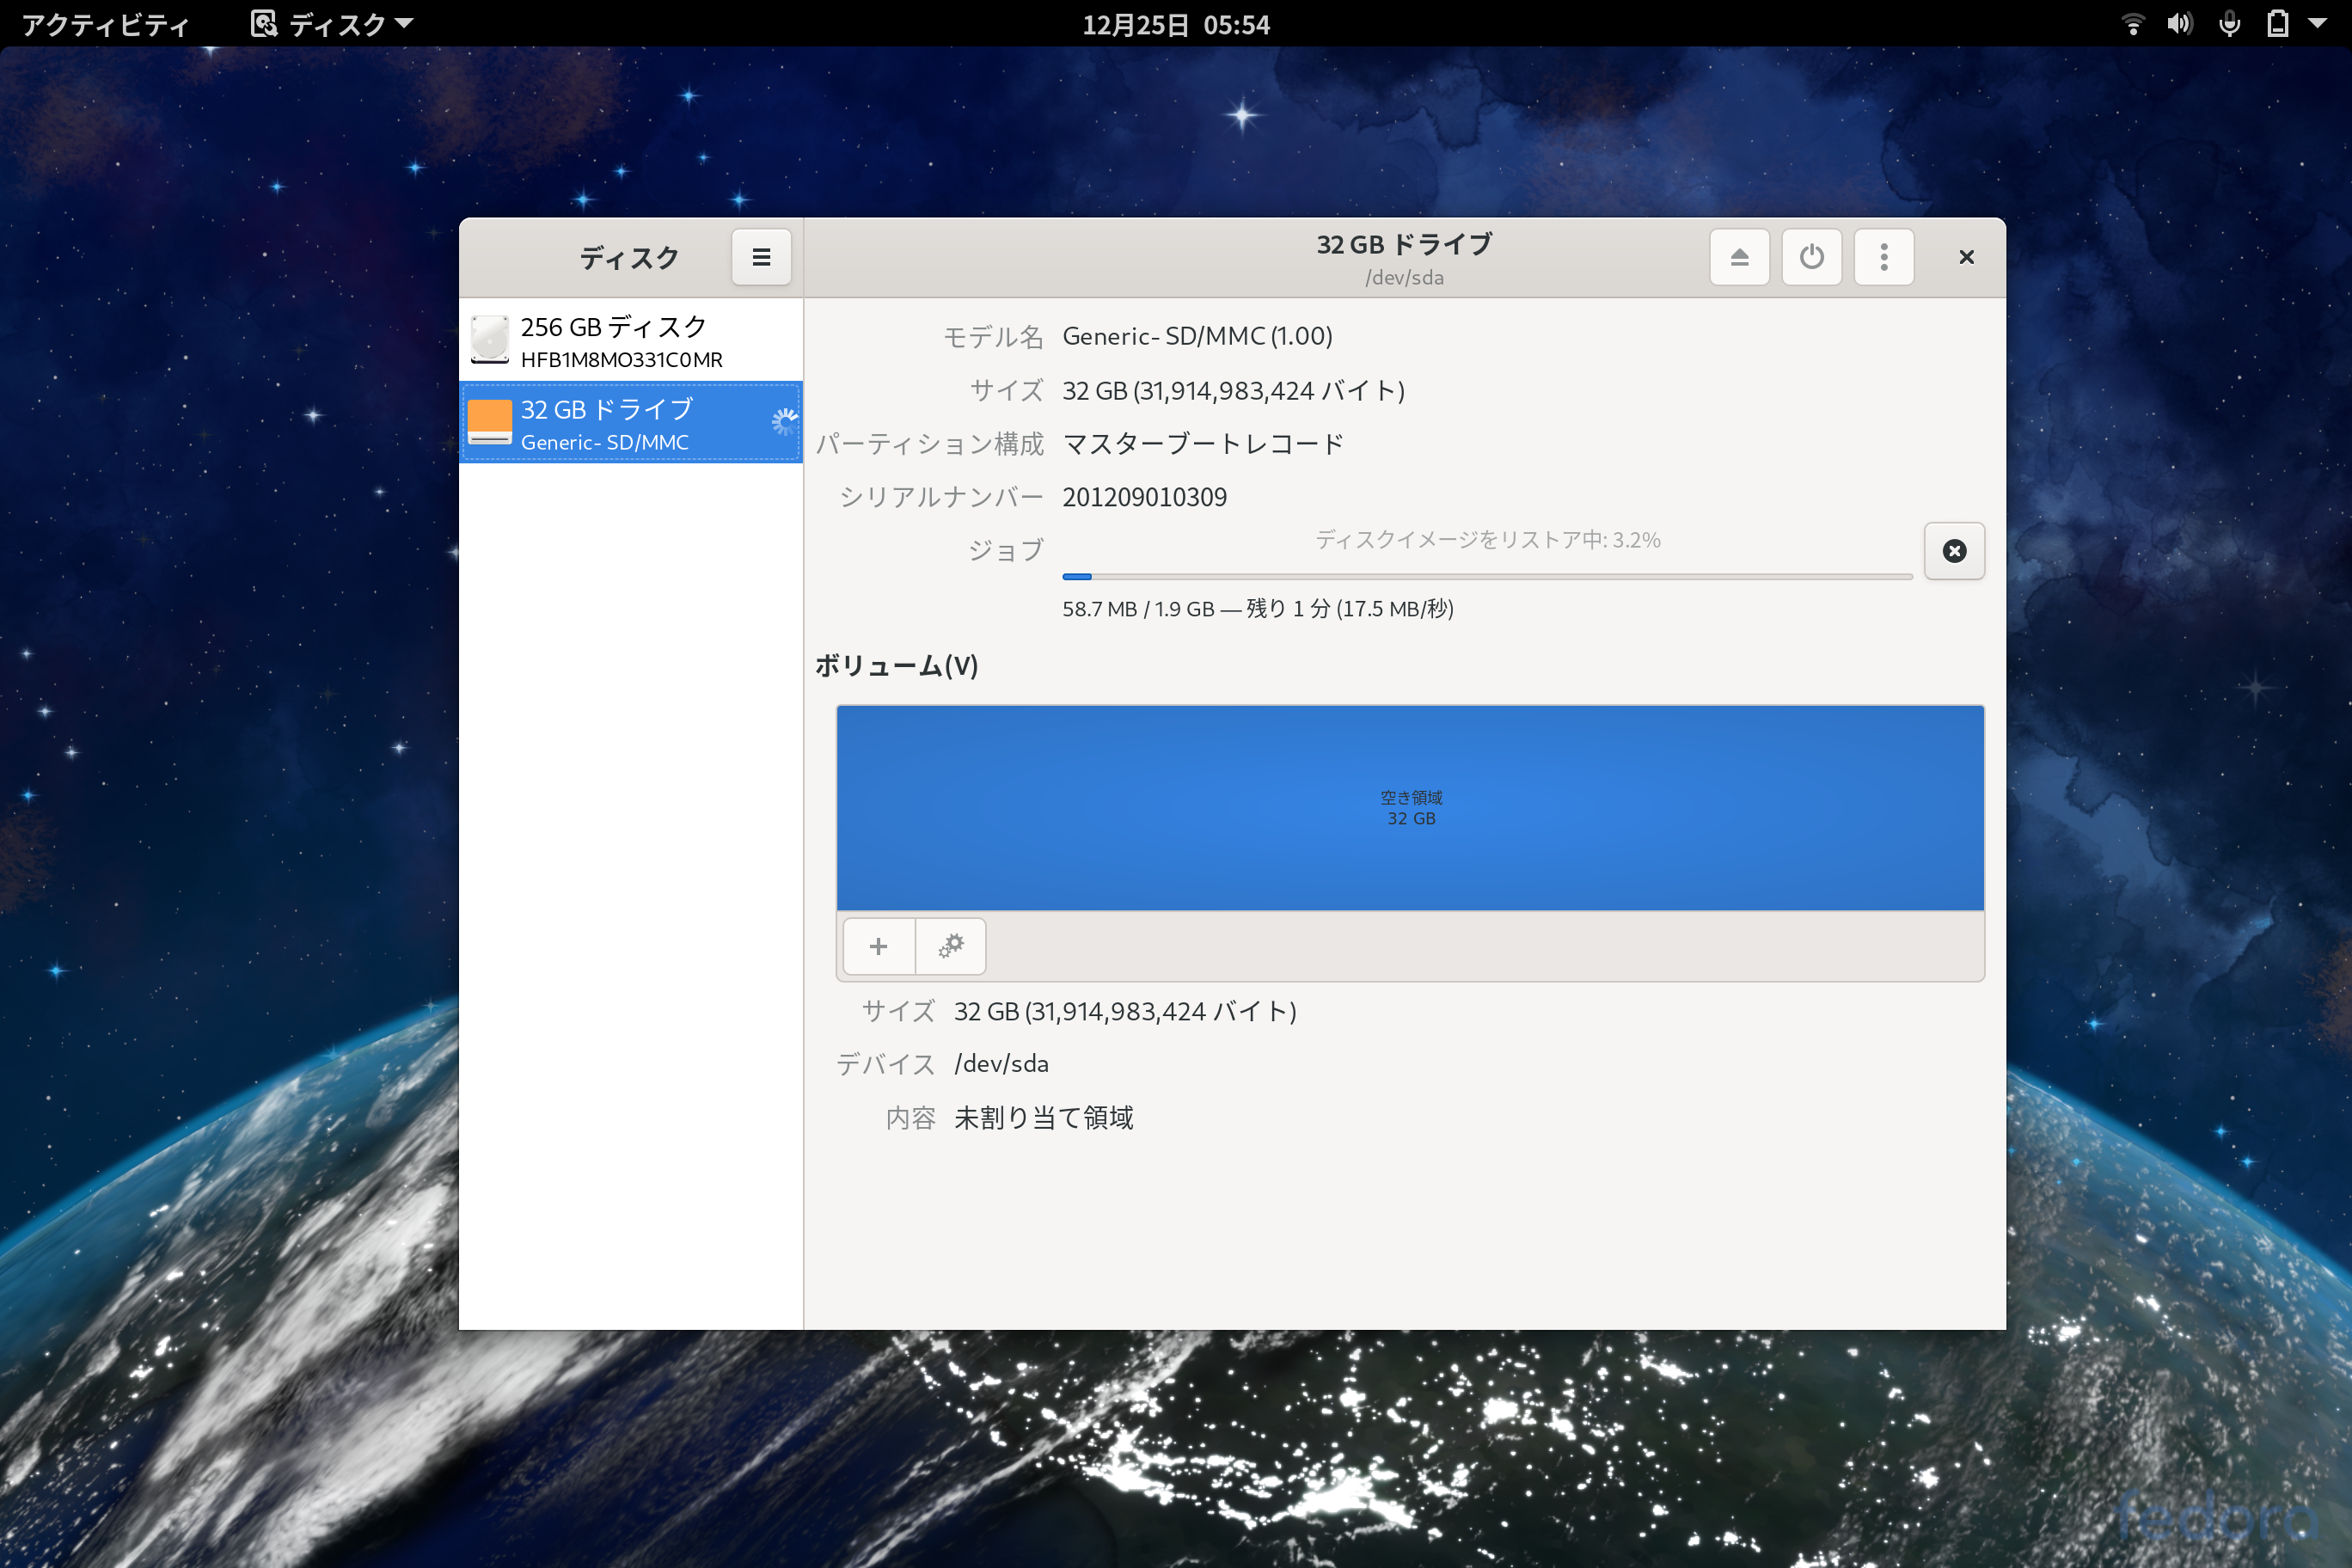
Writing ...

Raspberry Pi startup and initial settings
Since I was able to write, insert the MicroSD card into the Raspberry Pi and start it The username is pi and the initial password is raspberry After logging in, change your password to improve security
$ passwd
#First once the initial password"raspberry"And then enter the new password twice
Then connect to the internet
$ sudo raspi-config
Select S1 Wireless LAN from 1 System Option and then select the country where you live Find Japan and Enter Next, set the wifi ESSID. After entering the ESSID, enter the wifi password next. This completes the internet settings Next, we will set the location etc. Select Locale JP UTF-8 from Localization Option 5 Then select Time Zone from 5 to L2 Select Asia ▶ Tokyo in order I will set the keyboard from 5 to L3 again Select Generic 105-key PC and select Orther, Japanese Select Japanese, default, No compose key in order This completes the location settings Next, we will set up ssh Select P2 ssh from 3 Intertface Options, select Yes I will make an ssh connection
$ ip a
Check the IP address with and make an ssh connection
$ ssh pi@Raspberry Pi ip address
Enter your Raspberry Pi password to log in I will update when I can log in
$ sudo apt update && sudo apt upgrade
It's long, but wait patiently I will install Cloud9 when finished
Cloud9 installation
First, install Git
$ sudo apt install git
Now that Git has been installed, it's time to install Cloud9. It is published on Girhub so it is easy to install Execute the following command
$ wget https://raw.githubusercontent.com/chintanp/Cloud9-on-RPi/master/c9_bash_RPi.sh
$ chmod 755 ./c9_bash_RPi.sh
$ sudo ./c9_bash_RPi.sh
It's quite long, so wait patiently
Installing ...
After installation, you can use Cloud9 by accessing http: // Raspberry Pi IP address: 8181.
Install Ruby, Rails, Python
I will install it at once
$ sudo apt-get install pip3
$ sudo apt-get install libatlas-base-dev
$ cd ~
$ git clone git://github.com/sstephenson/rbenv.git .rbenv
$ echo 'export PATH="$HOME/.rbenv/bin:$PATH"' >> ~/.bash_profile
$ echo 'eval "$(rbenv init -)"' >> ~/.bash_profile
$ cd .rbenv
$ mkdir plugins
$ cd .plugins
$ git clone git://github.com/sstephenson/ruby-build.git
$ cd ~
$ source .bash_profile
$ sudo apt-get install autoconf
$ sudo apt-get install libssl-dev libyaml-dev
$ sudo apt-get install bison build-essential
$ sudo apt-get install libreadline6-dev
$ sudo apt-get install libncurses5-dev
$ rbenv install 2.7.2
$ rbenv rehash
$ rbenv global 2.4.2
The installation is now complete Next is Rails
$ gem install bundler
$ gem install rails
That's all! !!
Finally
Thank you for watching!
This time I installed Rails on Cloud9, but you can also build a development environment by adding C and Go etc.
Twitter
See you in the next article!
References
https://note.com/yuza_cc/n/need631d07a89 https://qiita.com/tyanpey/items/ca086a85d5f7e7ca54ca https://qiita.com/orihomotakanat/items/b4a983617f64d4768b7c
Recommended Posts