Überprüfen Sie die SAML-Authentifizierung von cybozu.com über Python (pysaml2).
0. Einführung
Lassen Sie uns die SAML-Authentifizierung von cybozu.com aus Python (pysaml2) überprüfen.
1. 1. Erstellen Sie eine EC2-Instanz für Amazon Linux
- Wählen Sie auf der E2-Konsolenseite das Amazon Linux AMI aus und erstellen Sie eine EC2-Instanz.
- AMI ID :
- amzn-ami-hvm-2017.03.0.20170417-x86_64-gp2 (ami-923d12f5)
- Instance Type :
- t2.micro
- Security Groups :
- SSH
- HTTPS
- AMI ID :
- Weisen Sie dann eine elastische IP zu.
2. Legen Sie die Anfangseinstellungen und Sicherheitseinstellungen fest
- Nehmen Sie allgemeine Grundeinstellungen und Sicherheitseinstellungen vor.
- Festlegen des Root-Benutzerpassworts
- Ändern Sie den Hostnamen
* /etc/sysconfig/network
* /etc/hosts
*
hostname - Japanische Einstellung * /etc/sysconfig/i18n
- Zeitzoneneinstellung * /etc/cloud/cloud.cfg * /etc/sysconfig/clock * /etc/localtime
- SSH-Einstellungen
- iptables Einstellungen * SSH * HTTPS
3. 3. Installieren Sie pysaml2
-
Laden Sie die Zip-Datei über den folgenden Link herunter.
wget https://github.com/rohe/pysaml2/archive/master.zip
1. Entpacken Sie die heruntergeladene Zip-Datei und wechseln Sie in das entpackte Verzeichnis.
```bash
unzip master.zip
cd ./pysaml2-master
```
1. Installieren Sie pysaml2.
```bash
sudo pip install --upgrade pip
sudo pip install repoze.who
sudo yum install libffi libffi-devel
sudo yum install gcc
sudo python setup.py install
```
4. Starten Sie das Beispielprogramm
-
Wechseln Sie in das Beispielprogrammverzeichnis.
cd ./pysaml2-master/example
1. Installieren Sie die erforderlichen Bibliotheken.
```bash
sudo pip install mako
sudo pip install "cherrypy==7.1.0"
sudo yum install xmlsec1 xmlsec1-openssl
sudo pip install pycryptodomex
```
1. Führen Sie das Beispielprogramm aus.
```bash
./all.sh start
```
Wenn Sie die folgende Meldung sehen, ist dies möglicherweise in Ordnung
```bash
$ SP listening on localhost:8087
$ IDP listening on localhost:8088
```
Beenden Sie das Beispielprogramm.
```bash
./all.sh stop
```
5. Nehmen Sie Einstellungen für die externe Verbindung vor
-
Fügen Sie iptables die folgenden Einstellungen hinzu.
-A INPUT -p tcp -m tcp --dport 8087 -j ACCEPT
-A INPUT -p tcp -m tcp --dport 8088 -j ACCEPT
sudo service iptables restart
1. Fügen Sie der Sicherheitsgruppe die folgenden Einstellungen hinzu. * TCP 8087 0.0.0.0/0 * TCP 8088 0.0.0.0/0
1. Speichern Sie die Serverzertifikatsdatei (öffentlicher Schlüssel, privater Schlüssel) an einem geeigneten Ort für die HTTPS-Verbindung. * Öffentlicher Schlüssel des Serverzertifikats: * .cert * Privater Schlüssel des Serverzertifikats: * .key
1. Erstellen Sie ein neues Zertifikat zur Authentifizierung.
```bash
./create_key.sh

Generating a new test key and certificate.  To change the defaults offered
by openssl, edit your openssl.cnf, such as /etc/ssl/openssl.cnf

Generating RSA private key, 1024 bit long modulus
..................++++++
...........++++++
e is 65537 (0x10001)
You are about to be asked to enter information that will be incorporated into your certificate request.
What you are about to enter is what is called a Distinguished Name or a DN.
There are quite a few fields but you can leave some blank
For some fields there will be a default value,
If you enter '.', the field will be left blank.
-----
Country Name (2 letter code) [XX]:JP
State or Province Name (full name) []:[Präfekturen]
Locality Name (eg, city) [Default City]:[Gemeinde]
Organization Name (eg, company) [Default Company Ltd]:[Name der Firma]
Organizational Unit Name (eg, section) []:
Common Name (eg, your name or your server s hostname) []:[FQDN]
Email Address []:[Mail Adresse]

Please enter the following 'extra' attributes
to be sent with your certificate request
A challenge password []:[Passwort]
An optional company name []:[Name der Firma]
Signature ok
subject=/C=JP/ST=[Präfekturen]/L=[Gemeinde]/O=[Name der Firma]/CN=[FQDN]/emailAddress=[Mail Adresse]
Getting Private key

Now to enable these new keys, do:

    cp server.key idp2/pki/mykey.pem
    cp server.crt idp2/pki/mycert.pem

    cp server.key sp-wsgi/pki/mykey.pem
    cp server.crt sp-wsgi/pki/mycert.pem
```
Kopieren Sie das von Ihnen erstellte Zertifikat.
```bash
cp server.key idp2/pki/mykey.pem
cp server.crt idp2/pki/mycert.pem

cp server.key sp-wsgi/pki/mykey.pem
cp server.crt sp-wsgi/pki/mycert.pem
```
1. Ändern Sie das Beispielprogramm.
* ./pysaml2-master/example/idp2/idp_conf.py
```bash
29c29
< HOST = 'localhost'
---
> HOST = '0.0.0.0'
35c35
<     BASE = "https://%s:%s" % (HOST, PORT)
---
>     BASE = "https://%s:%s" % ("[FQDN]", PORT)
37c37
<     BASE = "http://%s:%s" % (HOST, PORT)
---
>     BASE = "http://%s:%s" % ("[FQDN]", PORT)
40,41c40,41
< SERVER_CERT = "pki/mycert.pem"
< SERVER_KEY = "pki/mykey.pem"
---
> SERVER_CERT = "[Relativer Pfad zum öffentlichen Schlüssel des Serverzertifikats]"
> SERVER_KEY = "[Relativer Pfad zum privaten Schlüssel des Serverzertifikats]"
```
* ./pysaml2-master/example/sp-wsgi/service_conf.py

```bash
4c4
< HOST = 'localhost'
---
> HOST = '0.0.0.0'
20,21c20,21
< SERVER_CERT = "pki/mycert.pem"
< SERVER_KEY = "pki/mykey.pem"
---
> SERVER_CERT = "[Relativer Pfad zum öffentlichen Schlüssel des Serverzertifikats]"
> SERVER_KEY = "[Relativer Pfad zum privaten Schlüssel des Serverzertifikats]"
```
* ./pysaml2-master/example/sp-wsgi/sp_conf.py

```bash
18c18
< BASE = "http://localhost:8087"
---
> BASE = "http://[FQDN]:8087"
21c21
<     "entityid": "%s/%ssp.xml" % (BASE, ""),
---
>     "entityid": "%s/%sp.xml" % (BASE, ""),
```
1. Führen Sie das Beispielprogramm aus.
```bash
./all.sh start
```
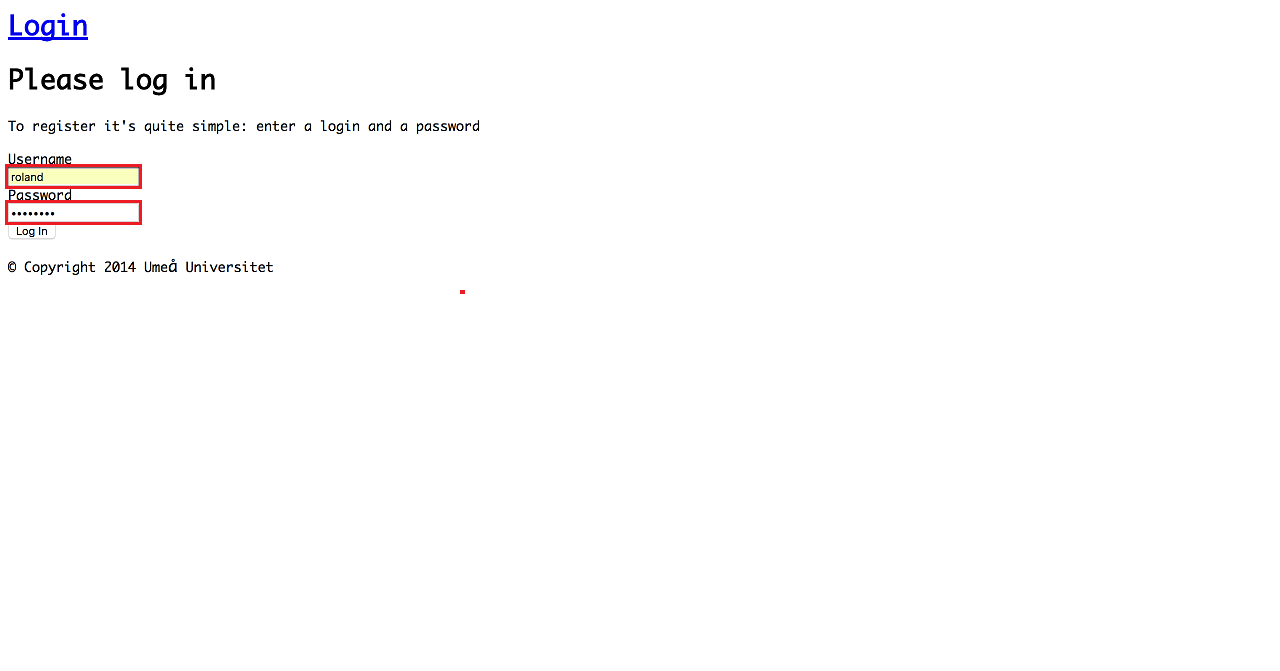
1. Greifen Sie auf die folgende Site zu und melden Sie sich an.
* http://[FQDN]:8087/ * Anmeldeinformationen sind in `. / Pysaml2-master / example / idp2 / idp.py` (Zeile 528) beschrieben. * Verwenden Sie nicht `daev0001`, da dies zu einem Fehler führen kann !!
Beenden Sie das Beispielprogramm.
```bash
./all.sh stop
```
6. Richten Sie auf der pysaml2-Seite ein Linkkonto ein
-
Ändern Sie das Beispielprogramm.
- ./pysaml2-master/example/idp2/idp.py
528a538 > "[Mail Adresse]": "[Passwort]",- ./pysaml2-master/example/idp2/idp_conf.py
37a38,60
>     "[Mail Adresse]": {
>         "sn": "Testsson",
>         "givenName": "Test",
>         "eduPersonAffiliation": "student",
>         "eduPersonScopedAffiliation": "[email protected]",
>         "eduPersonPrincipalName": "[email protected]",
>         "uid": "[Mail Adresse]",
>         "eduPersonTargetedID": "one!for!all",
>         "c": "SE",
>         "o": "Example Co.",
>         "ou": "IT",
>         "initials": "P",
>         "co": "co",
>         "mail": "mail",
>         "noreduorgacronym": "noreduorgacronym",
>         "schacHomeOrganization": "example.com",
>         "email": "[Mail Adresse]",
>         "displayName": "Test Testsson",
>         "labeledURL": "http://www.example.com/test My homepage",
>         "norEduPersonNIN": "SE199012315555",
>         "postaladdress": "postaladdress",
>         "cn": "cn"
>     },
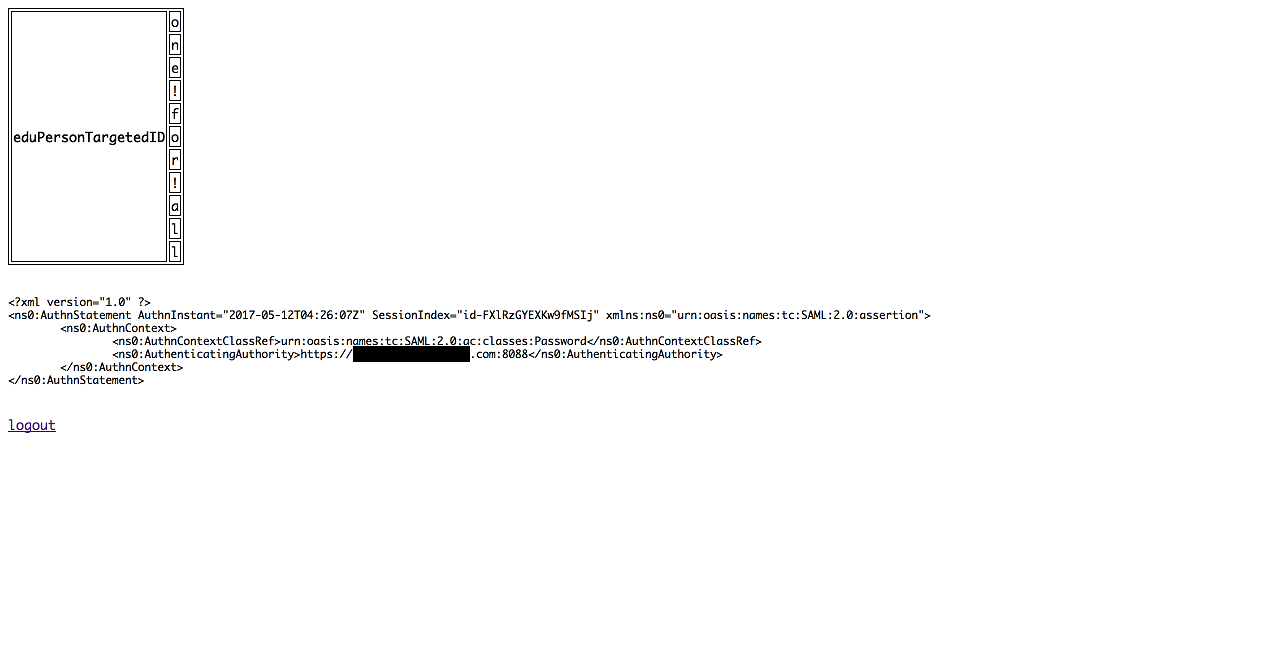
1. Führen Sie das Beispielprogramm aus und überprüfen Sie Ihre Anmeldung an der Site.
7. Nehmen Sie Einstellungen auf der Seite von cybozu.com vor
Die Einstellungen auf der Seite von cybozu.com sind die gleichen wie im vorherigen Artikel.
- Stellen Sie SP auf cybozu.com ein
- Aktivieren Sie die SAML-Authentifizierung: ☑︎
- SSO-Endpunkt-URL des Identitätsanbieters (HTTP-Redirect): https://[FQDN]:8088/sso/redirect
- URL, zu der nach dem Abmelden von cybozu.com gewechselt werden soll: http://[FQDN]:8087/logout?goto=http://[FQDN]:8087/
- Öffentliches Schlüsselzertifikat, das vom Identitätsanbieter zum Signieren verwendet wird: Laden Sie das erstellte Zertifikat (server.crt) hoch.
- Laden Sie die Metadaten des Dienstanbieters herunter
- Klicken Sie auf den Link, um die Datei herunterzuladen, die zum Einstellen des SP von pysaml2 erforderlich ist. (spmetadata.xml)
- Fügen Sie verknüpfte Benutzer zu cybozu.com hinzu
-
- Befolgen Sie die Anweisungen
8. Stellen Sie den SP von cybozu.com auf der pysaml2-Seite ein
-
Speichern Sie die heruntergeladenen Metadaten des cybozu.com-Dienstanbieters (spmetadata.xml) an einem geeigneten Ort.
-
Ändern Sie das Beispielprogramm.
- ./pysaml2-master/example/idp2/idp.py
48a49,50 > from saml2.saml import NameID > from saml2.saml import NAMEID_FORMAT_TRANSIENT 341a344,345 > nameid = NameID( > format=NAMEID_FORMAT_TRANSIENT, text=identity["uid"]) 344a349,350 > name_id=nameid, > sign_response=True,- ./pysaml2-master/example/idp2/idp_conf.py
117c117,124
<         "local": [full_path("../sp-wsgi/sp.xml")],
---
>         "local": [full_path("../sp-wsgi/sp.xml"), full_path("[cybozu.Relativer Pfad zu com Service Provider-Metadaten]")],
>         #"inline":
>         #"remote": [
>         #    {"url": "",
>         #     "cert": ""}],
>         #"mdfile":
>         #"loader":
>         #"mdq":
1. Führen Sie das Beispielprogramm aus, rufen Sie die Website cybozu.com auf und überprüfen Sie Ihre Anmeldung.
Wenn nach dem Anmelden über den pysaml2-Anmeldebildschirm der Bildschirm cybozu.com angezeigt wird, OK !!
99. Suchtpunkt
-
Installieren Sie zuerst pysaml2. Wenn Sie eine Fehlermeldung erhalten, führen Sie "sudo python setup.py install" aus, überprüfen Sie das Protokoll und installieren Sie die erforderlichen Bibliotheken nacheinander.
-
Gleiches gilt für die Ausführung des Beispielprogramms. Ich habe
./all.sh startausgeführt, um die erforderlichen Bibliotheken zu installieren. -
Cherrypy scheint nutzlos zu sein, es sei denn, es ist 7.1.0, also sei vorsichtig.
-
pycryptodomex ist nicht pycryptodome, sondern pycryptodomex. Seien Sie also auch dort vorsichtig.
-
Also, was mich am meisten süchtig machte oder nicht sicher war, war "7. Stellen Sie den SP von cybozu.com auf die pysaml2-Seite".
-
Wenn
. / Pysaml2-master / example / idp2 / idp.pyunverändert bleibt, wird der folgende Fehler angezeigt.
Wenn Sie "sign_response = True" zum Argument "create_authn_response" hinzufügen und damit umgehen ...
-
Dann wird der folgende Fehler angezeigt

Ich hatte das Gefühl, ich könnte name_id = nameid hinzufügen und zusammenarbeiten !!
- In beiden Fällen habe ich mir zuerst das Protokoll angesehen und es dann repariert, während ich die Testprogramme unter
. / Pysaml2-master / tests /überprüft habe. Es hat lange gedauert, weil es eine Antwort war, während man die SAML-Spezifikationen verstand. Als ich fertig war, fügte ich ein paar Zeilen hinzu ... - Ich habe auch auf diese Seite verwiesen.
- Bis eine SAML-Authentifizierung möglich ist \ -Cybozu Inside Out \ | Cybozu Engineer's Blog
- Fehlerbehebung bei der SAML-Authentifizierung \ | cybozu \ .com Common Management Help
XX. Zusammenfassung
Vorerst war es gut, bestätigen zu können. Vielleicht muss ich etwas mehr lernen, um mein Verständnis der SAML-Spezifikationen zu vertiefen ...
Recommended Posts