Edit files directly on Linux with Visual Studio Code Remote SSH
Edit files directly on Linux with Visual Studio Code Remote SSH
Here, we will edit the file on Linux with Visual Studio Code that runs on Windows. Here we use ubuntu 20.04.1.
I think there are many similar articles, but I will keep a record of what I did.
What to do in this article
- (Linux side) Settings that can connect to SSH
- (Windows side) How to generate RSA private / public key
- (Windows side → Linux side) Transfer the generated RSA public key to the Linux server
- (Linux side) Settings that allow you to log in to the Linux server with the RSA public key
- (Windows side) Install
SSH Remote pluginofVisual Studio Code - (Windows side) Setting the
SSH Remote plug-inofVisual Studio Code(setting the location of the RSA private key) - (Windows side) Setting
SSH Remote plug-inofVisual Studio Code(adding the Linux server to connect to) - (Windows side) Editing using the
SSH Remote pluginofVisual Studio Code
Not covered in this article
- What is SSH?
- What is Visual Studio Code?
- How to install Visual Studio Code
- How to install Linux
- How to install TeraTerm
preparation work
- Install TeraTerm.
- Prepare the Linux to connect to.
- Install Visual Studio Code.
(Linux side) Settings that can connect to SSH
Execute the following command to enable SSH by referring to https://qiita.com/m-tmatma/items/9a562863ca99ca6c0d1c.
sudo apt install -y openssh-server
sudo systemctl start ssh
sudo systemctl enable ssh
(Windows side) How to generate RSA private / public key
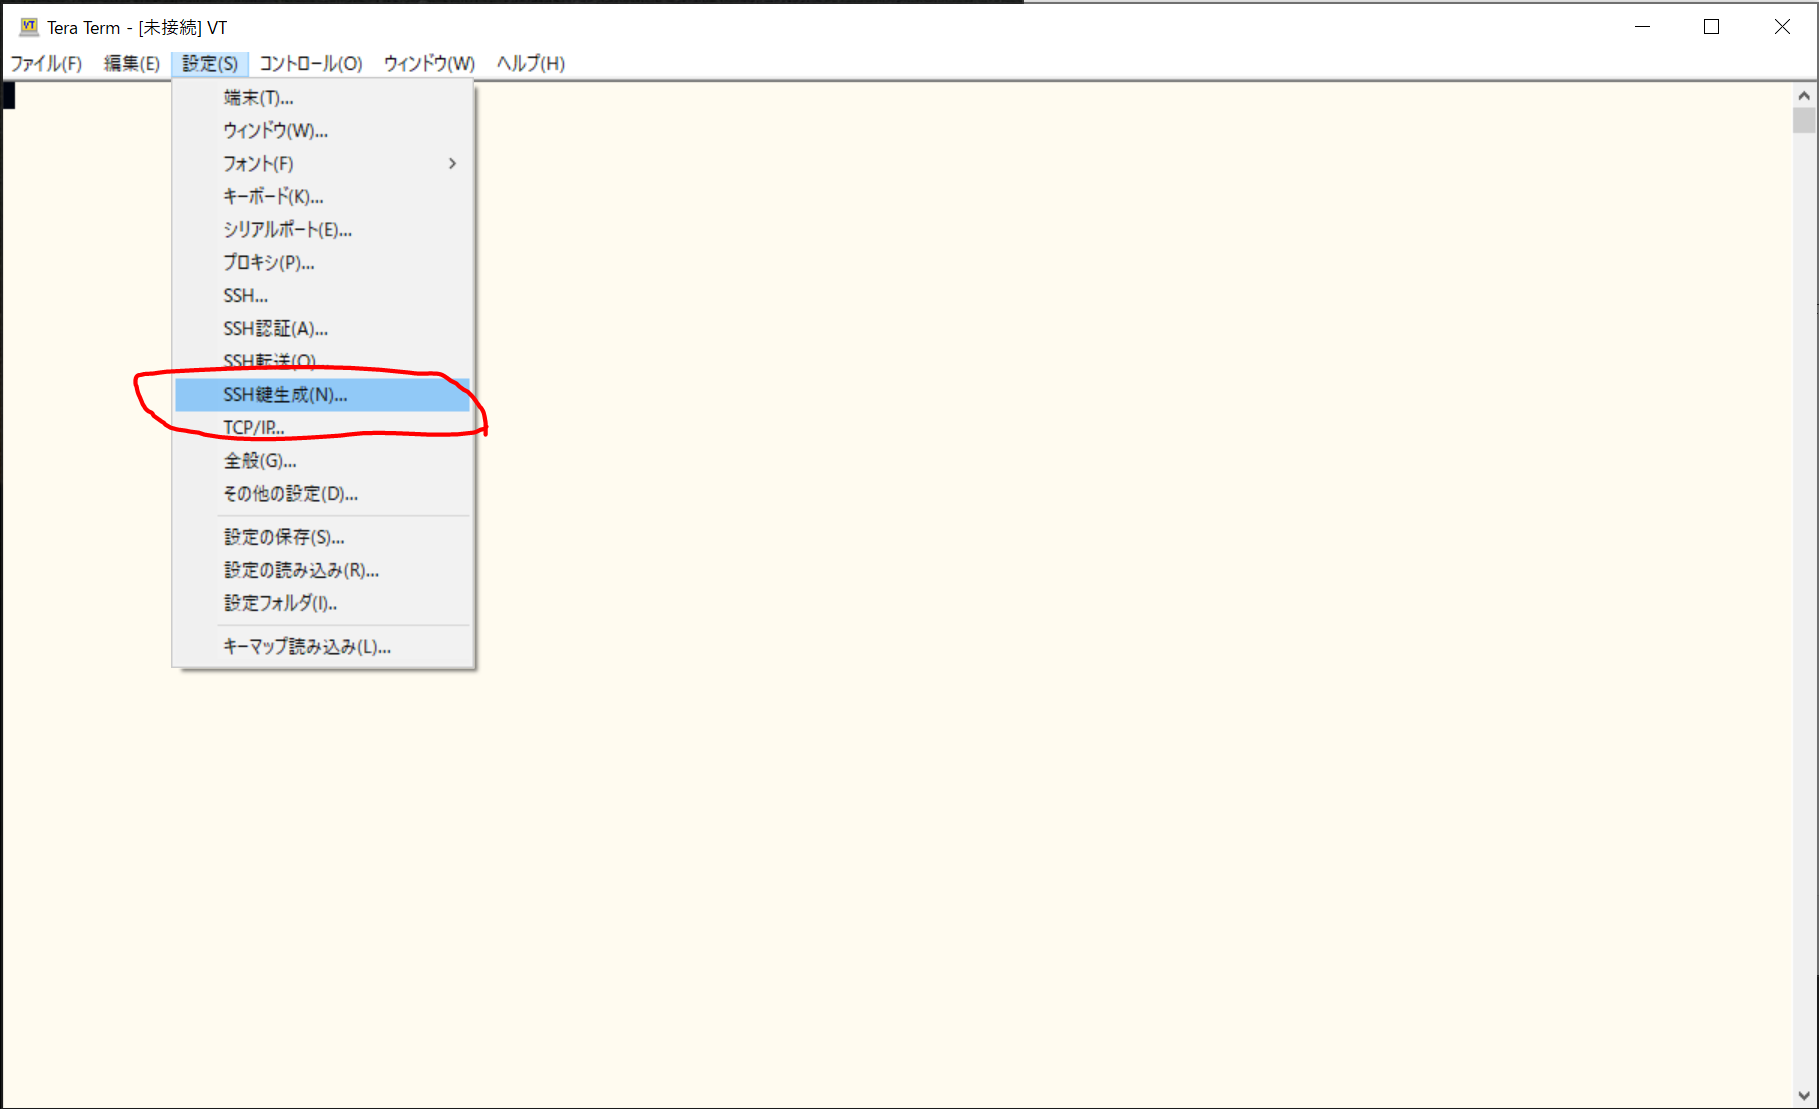
SSH key generation
Start Tera Term and select SSH key generation from the menu
Make sure the key type is RSA, set the number of bits to 4096, and select generate.
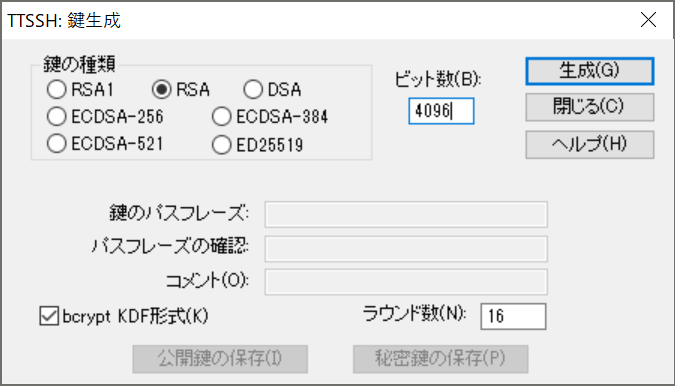
If necessary, write a comment in the comment field for later reference.
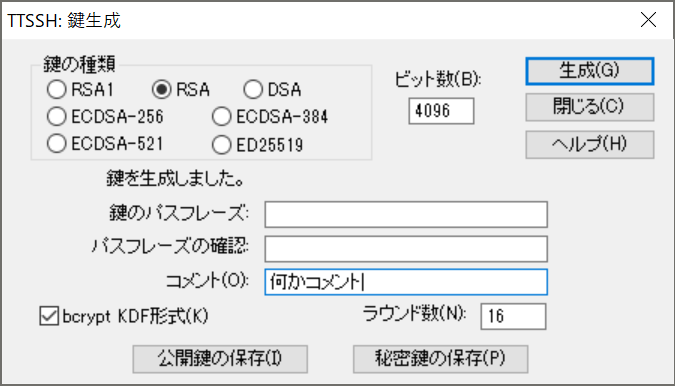
Save public key
Press Save Public Key.
At this time, you need to specify the save destination, but usually specify the folder % USERPROFILE% \ .ssh.
% USERPROFILE% means C: \ Users \ your username.
If this directory does not exist, create it with the following command.
mkdir %USERPROFILE%\.ssh
After creating the directory, specify it. Keep the default filename id_rsa.pub and press Save.
Storage of private key
- Press
Save Private Key. - At this time, the following dialog will appear. Here, press
Yesto leave the passphrase empty.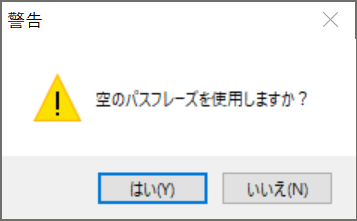
- When saving the public key, I specified
% USERPROFILE% \ .ssh, so that location is selected. - Keep the default filename
id_rsaand pressSave. - Press the
Closebutton to close it.
Important (security precautions)
** The private key is very important information and you need to make sure it is not leaked. ** ** This information is similar to a password, so if it is leaked, you will be able to log in to the Linux server freely, so you need to manage it strictly.
(Windows side → Linux side) Transfer the generated RSA public key to the Linux server
Transfer RSA public key to Linux server
- Use Tera Term to log in to the Linux server using your user name and password.
- In Explorer, open the folder where the generated RSA public key ends.
- Drag and drop
id_rsa.pub(= RSA public key) into the Tera Term window. - With
SCPchecked, pressOK.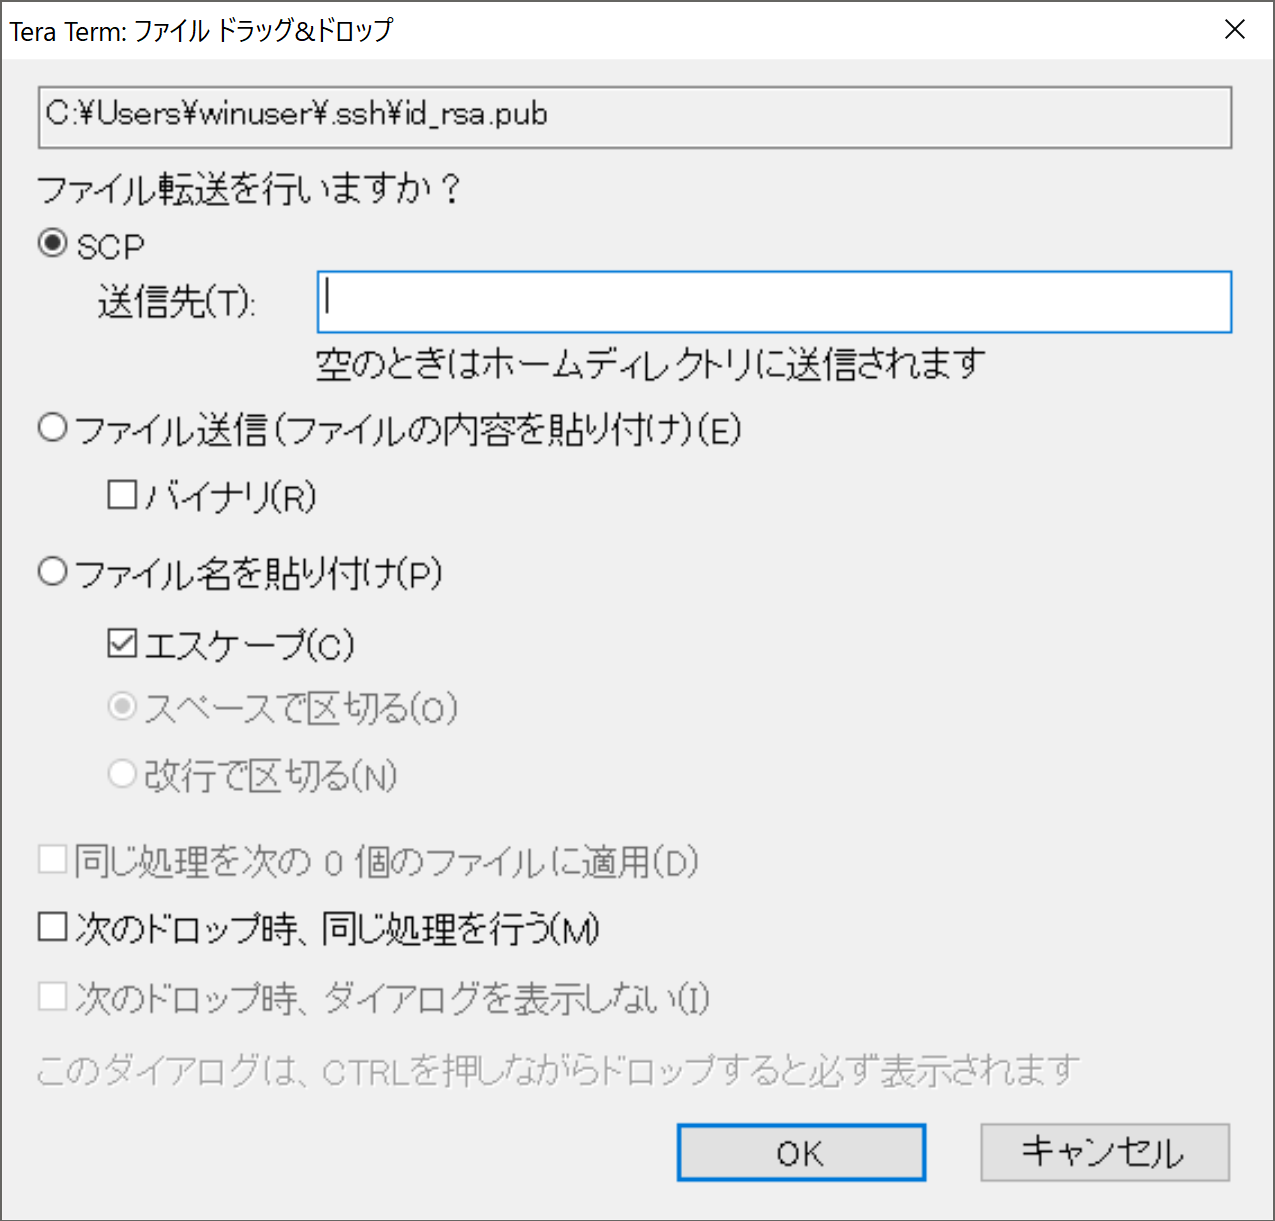
Check if the RSA public key has been transferred to Linux
If you run ls on the console of Tera Term, you can see that id_rsa.pub is transferred.
You need to make sure that you don't forward the id_rsa by mistake. (I made a mistake while writing this article)
(Linux side) Setting to enable login to Linux server with RSA public key
Set up to log in using the transferred RSA public key. Place the transferred public key by referring to https://m-tmatma.github.io/ssh/auto_login.html.
mkdir -p ~/.ssh
cat id_rsa.pub >>  .ssh/authorized_keys
rm  id_rsa.pub
chmod 755 ~
chmod 700 ~/.ssh
This procedure removes id_rsa.pub as it is no longer needed.
(Windows side) Confirm that you can log in to Linux with the set public key
- The
SSH Authenticationdialog that appears when you connect to the server is displayed. - Leave the
RSA / DSA / ECDSA / ED25519 Use Keychecked. - For
private key, specify the file path of the private key.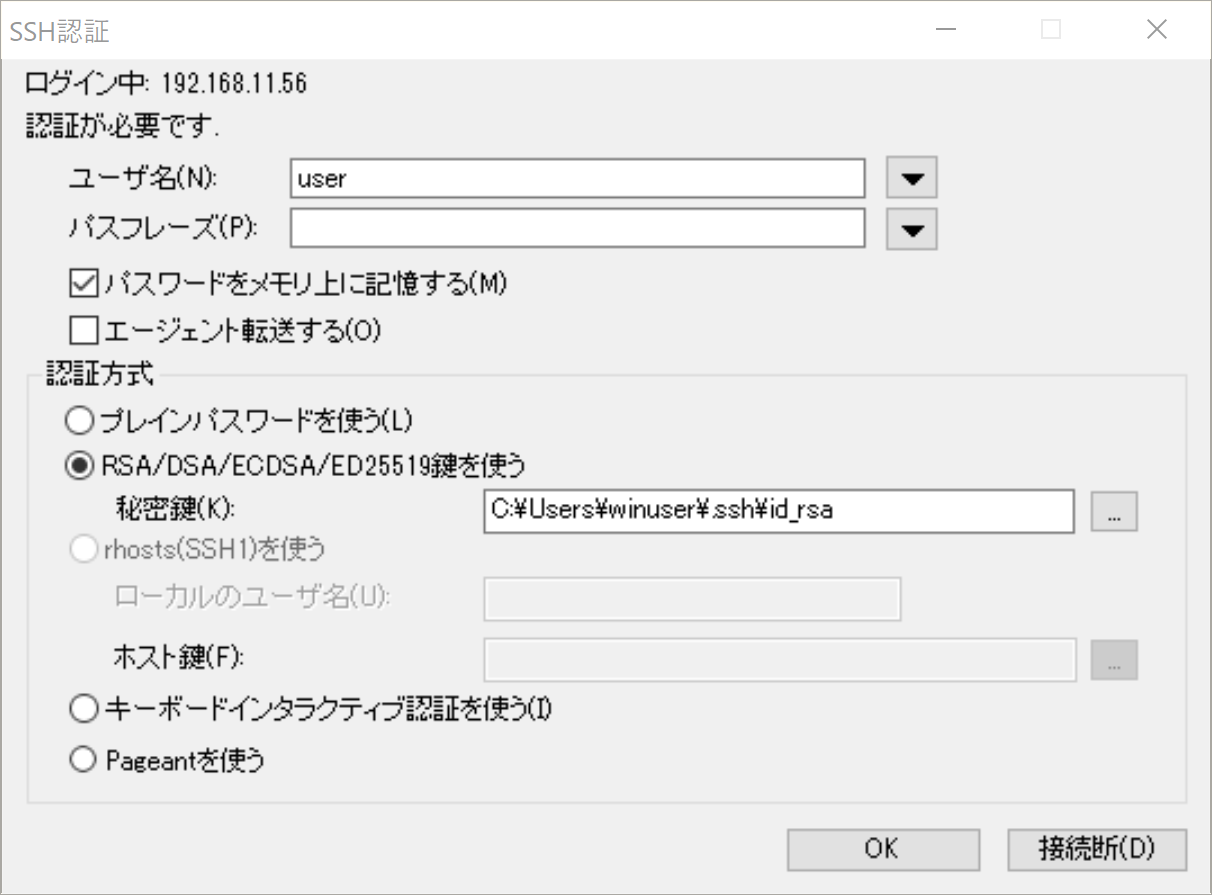
- You can see that you can log in without a password.
(Windows side) Install SSH Remote plug-in of Visual Studio Code
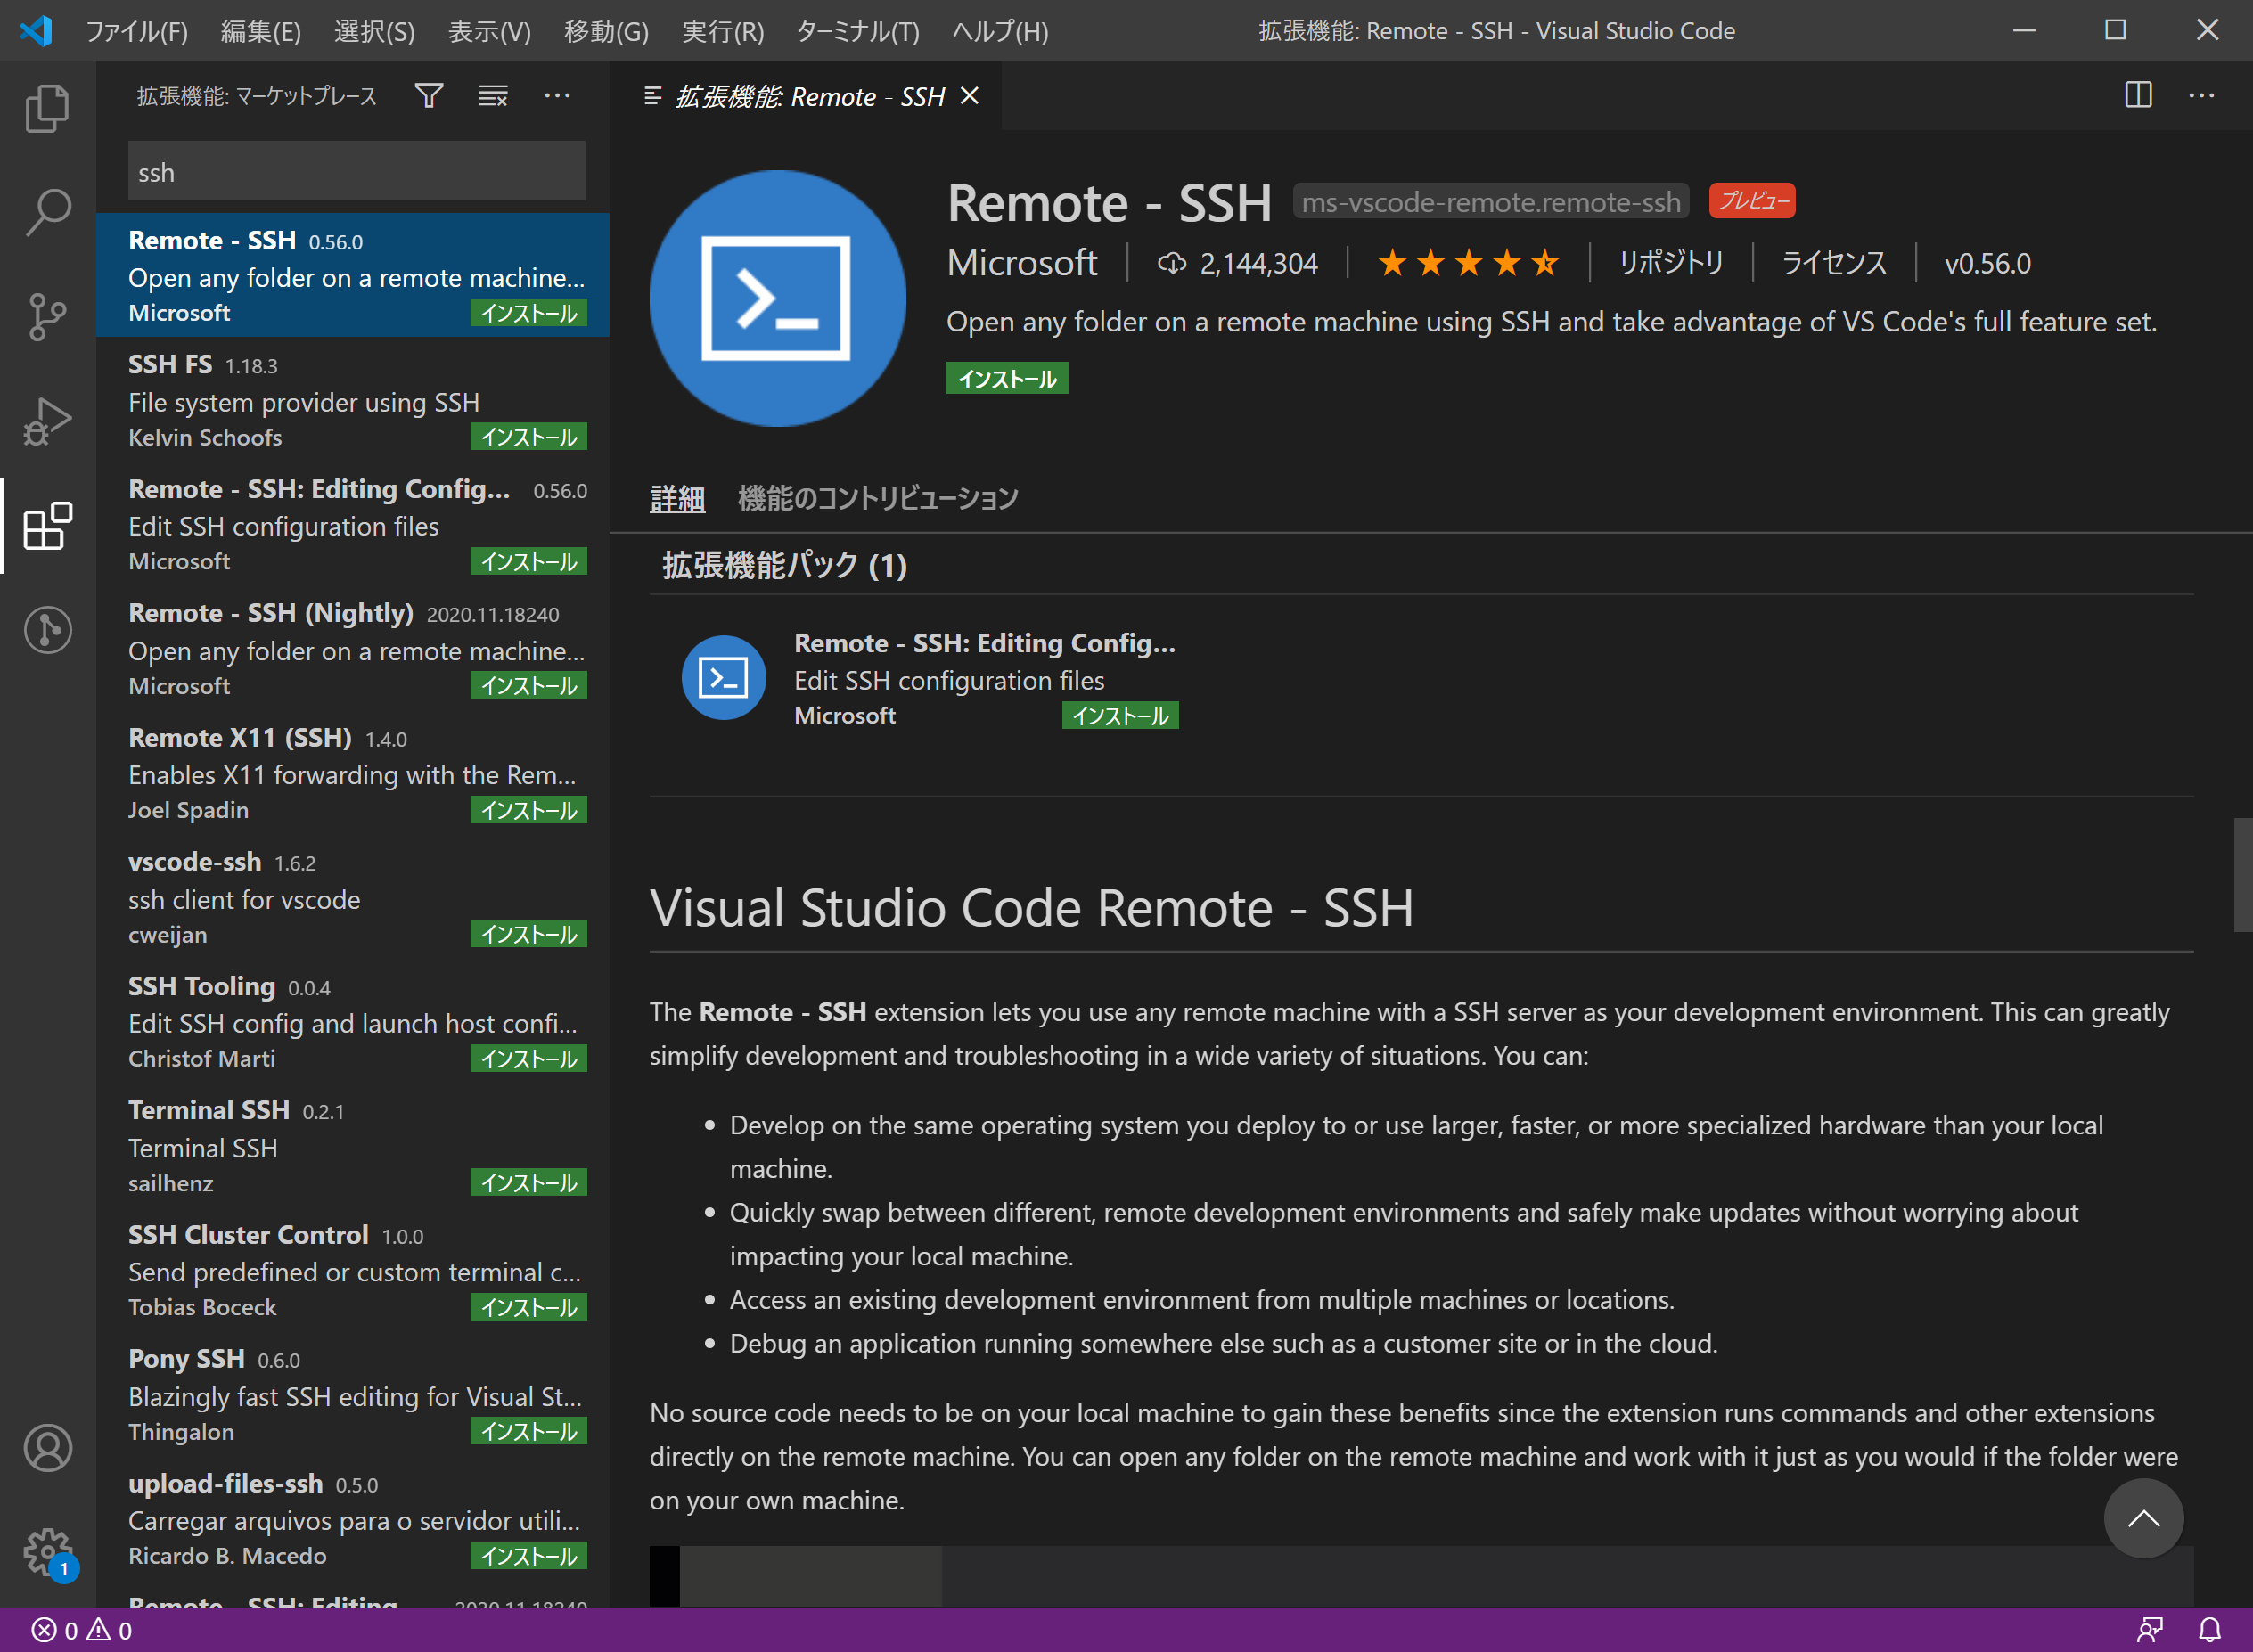
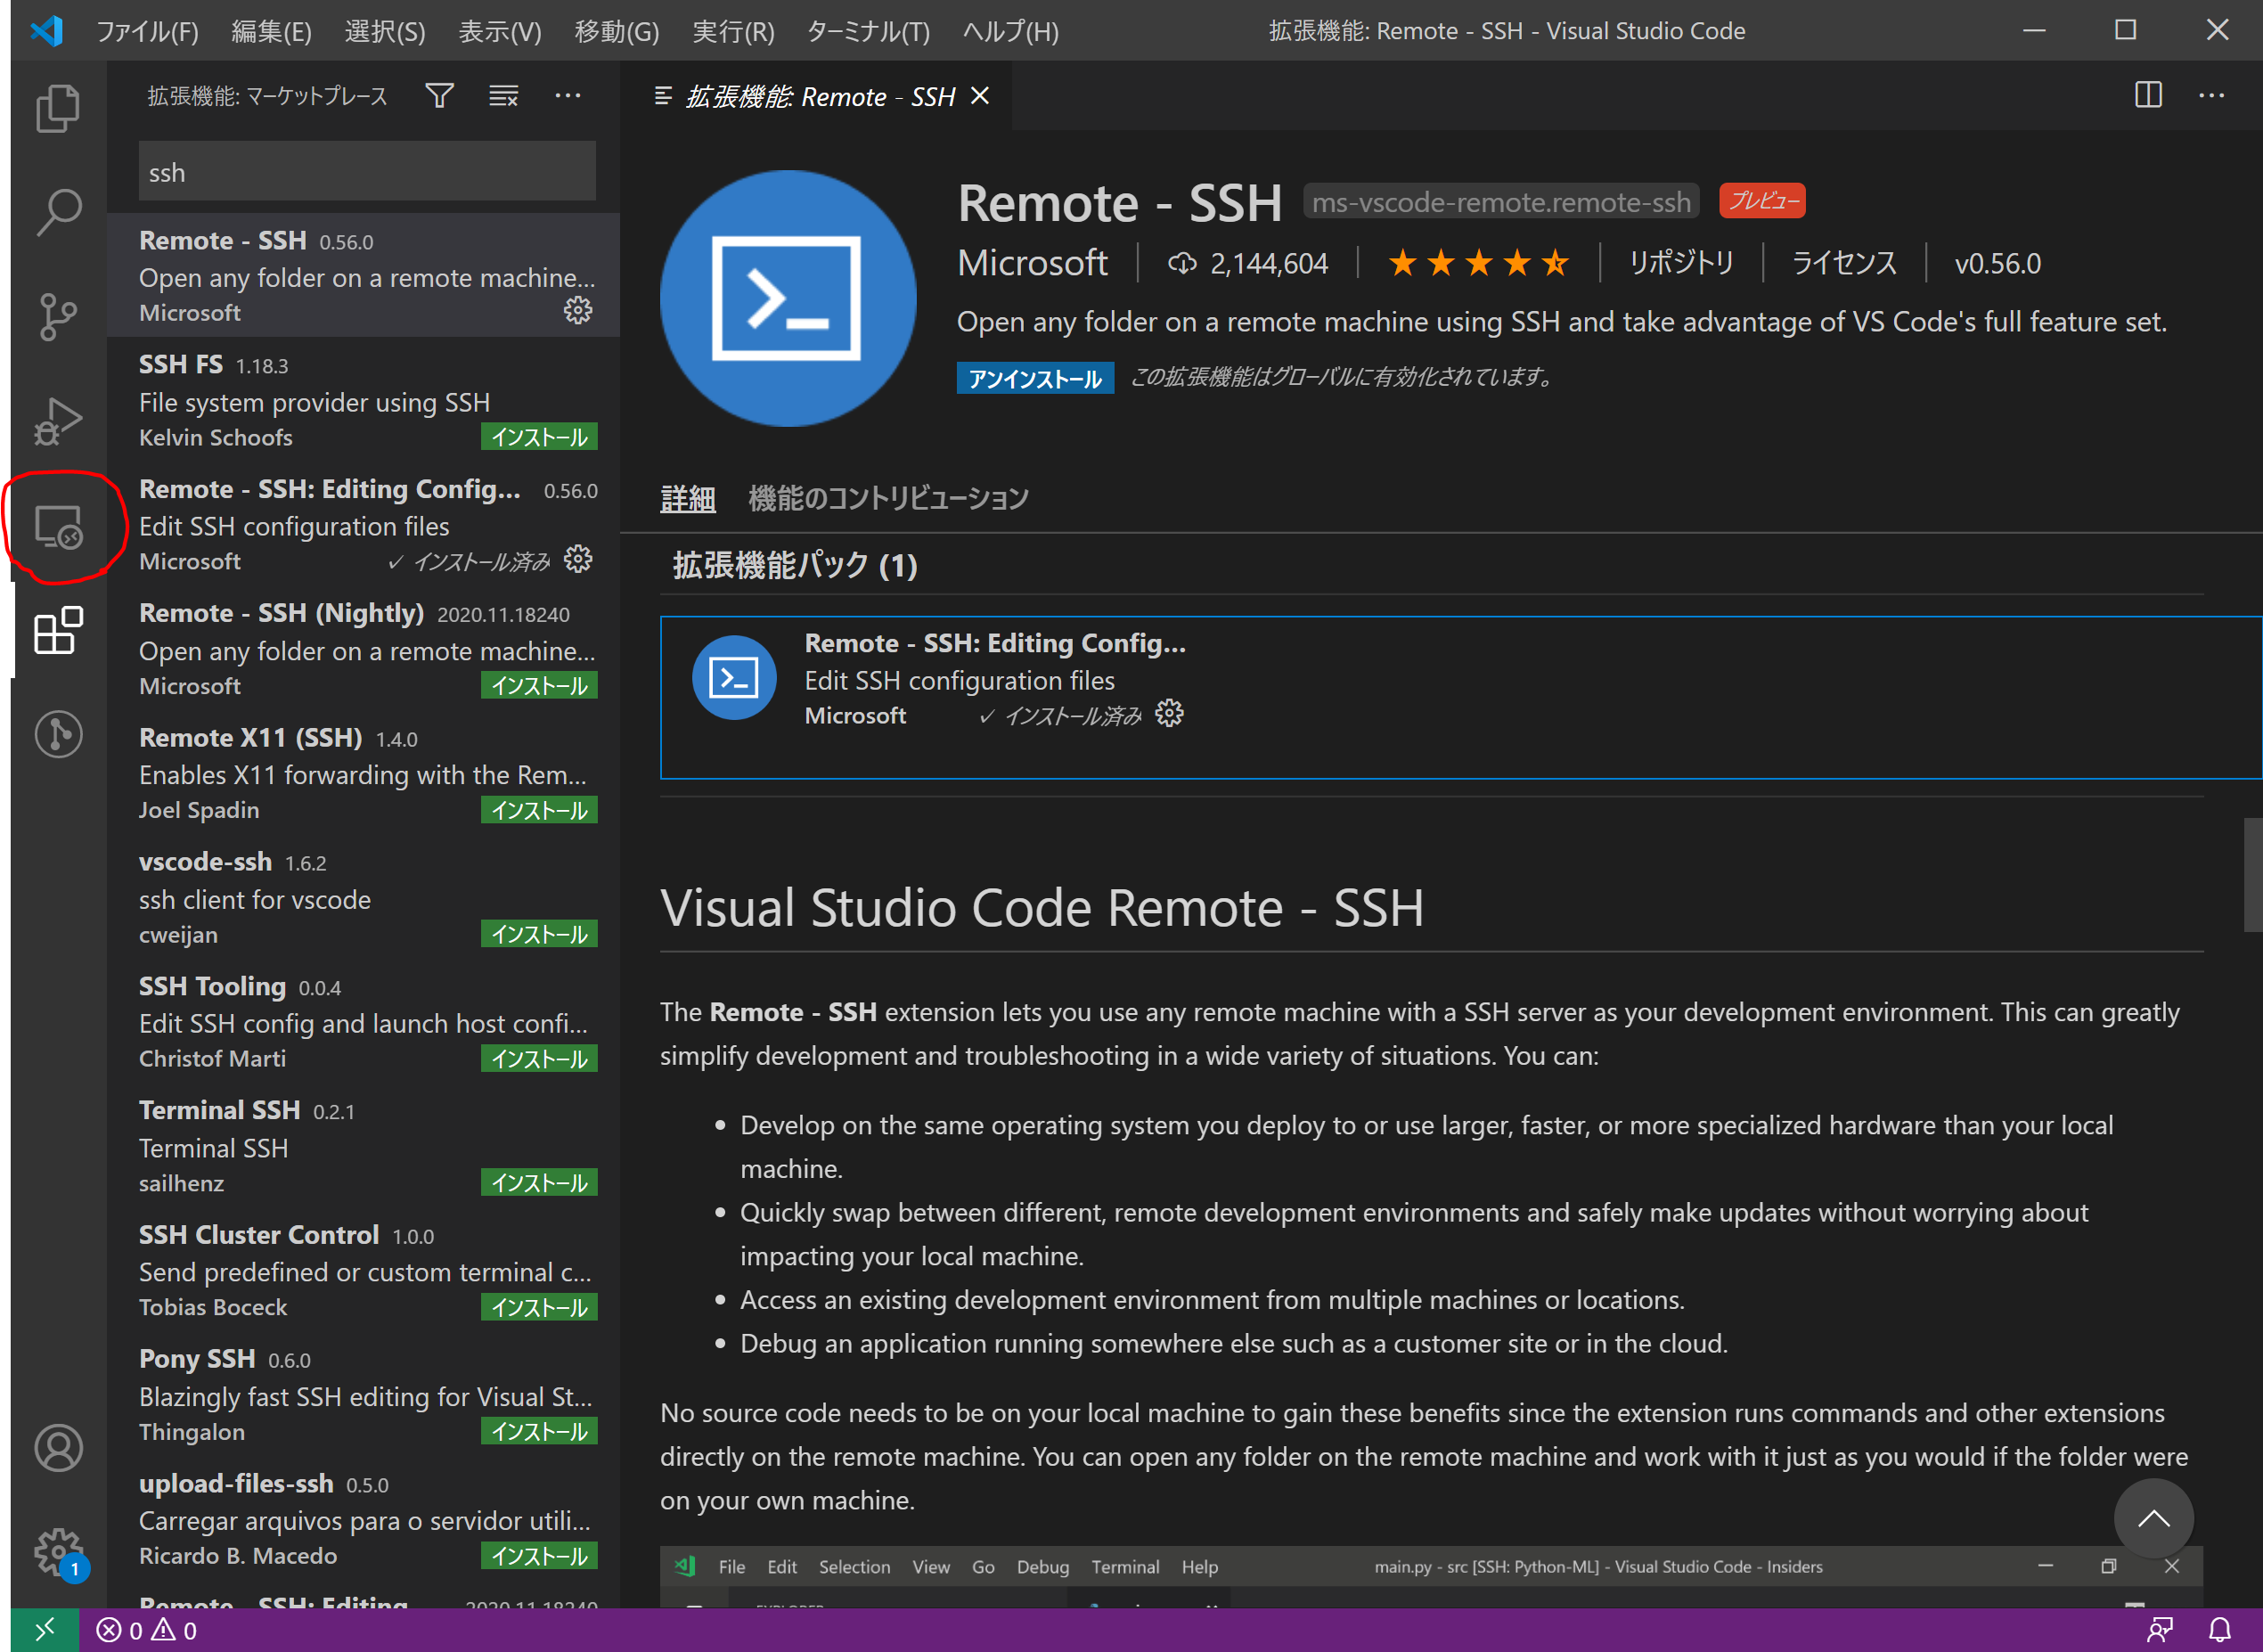
- Search for
Remote --SSHand install it. - After installation, the icon for remote connection will increase.
(Windows side) Setting the SSH Remote plug-in of Visual Studio Code (setting the location of the RSA private key)
- Click the icon for remote connection.
- Move the mouse around
SSH TARGETSto display the hidden icon. Click the setting icon.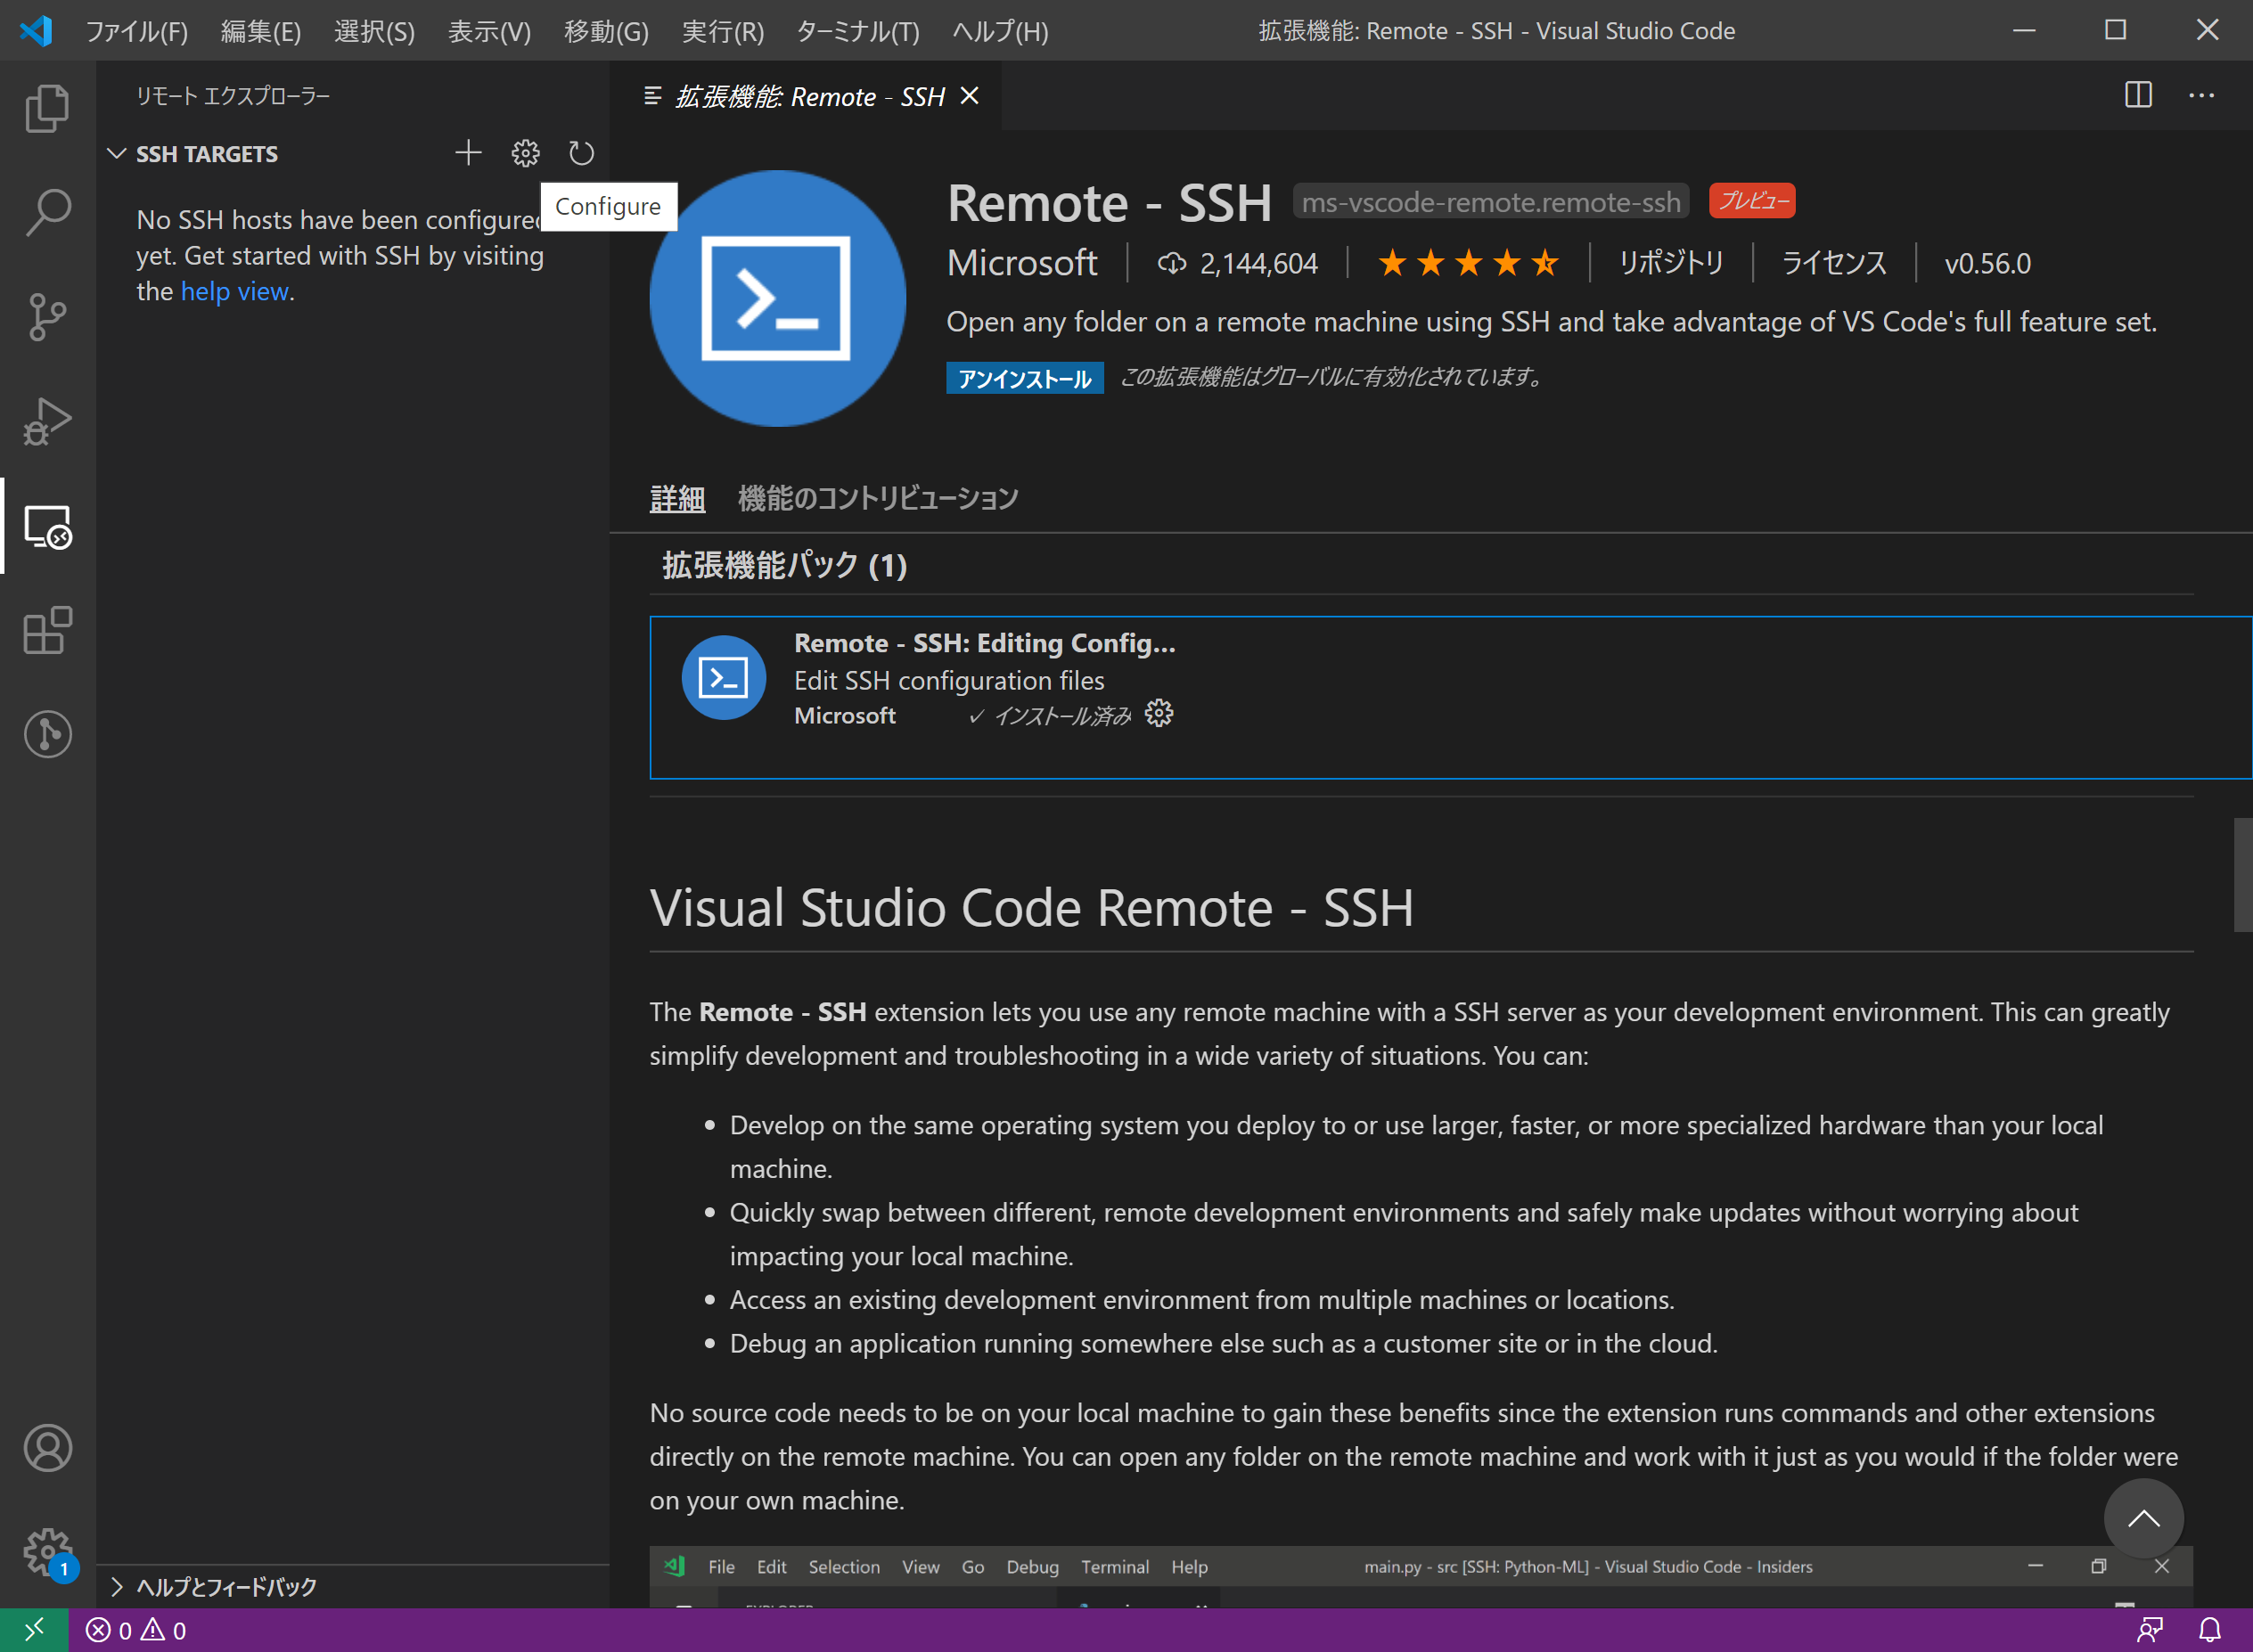
- The path of the configuration file will appear in the options, so select the setting for your user. This is the part hidden by the white fill.
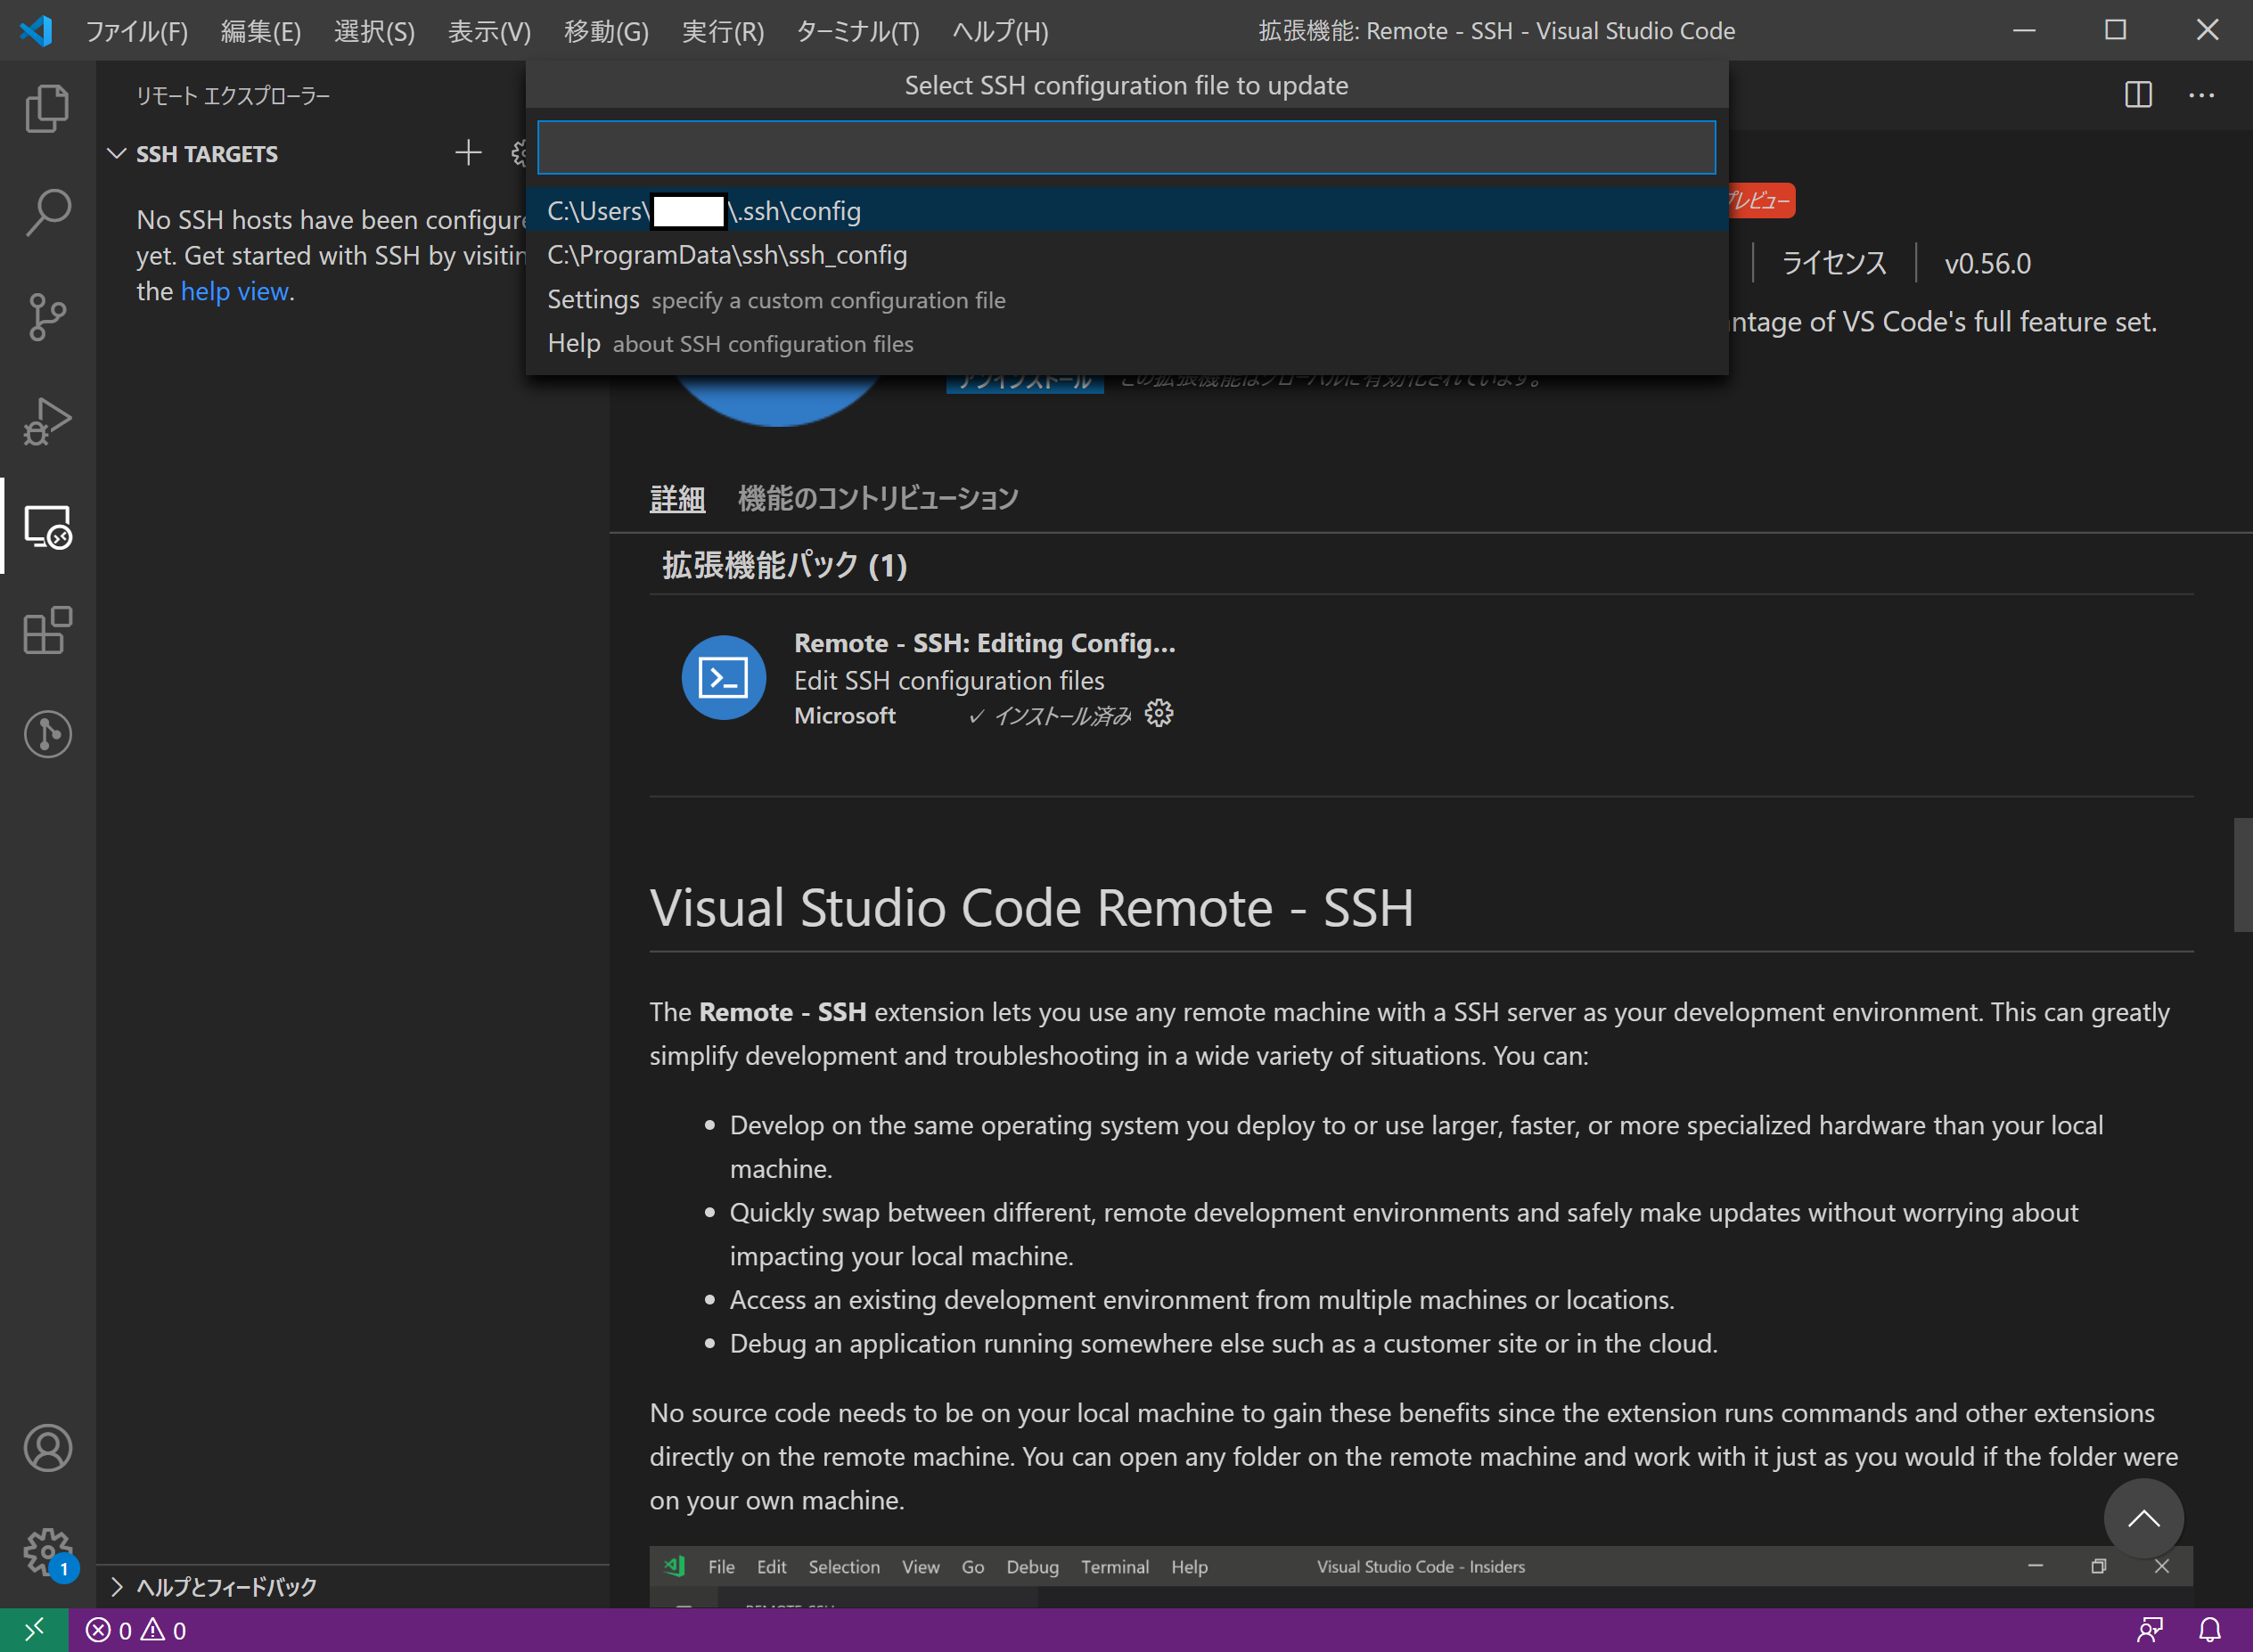
- The screen for editing the ssh configuration file with Visual Studio Code appears.
The contents are as follows.
# Read more about SSH config files: https://linux.die.net/man/5/ssh_config
Host alias
    HostName hostname
    User user
Add the IdentityFile setting to this and save it.
It looks like the following
# Read more about SSH config files: https://linux.die.net/man/5/ssh_config
Host alias
    HostName hostname
    User user
    IdentityFile C:\Users\winuser\.ssh\id_rsa.pub
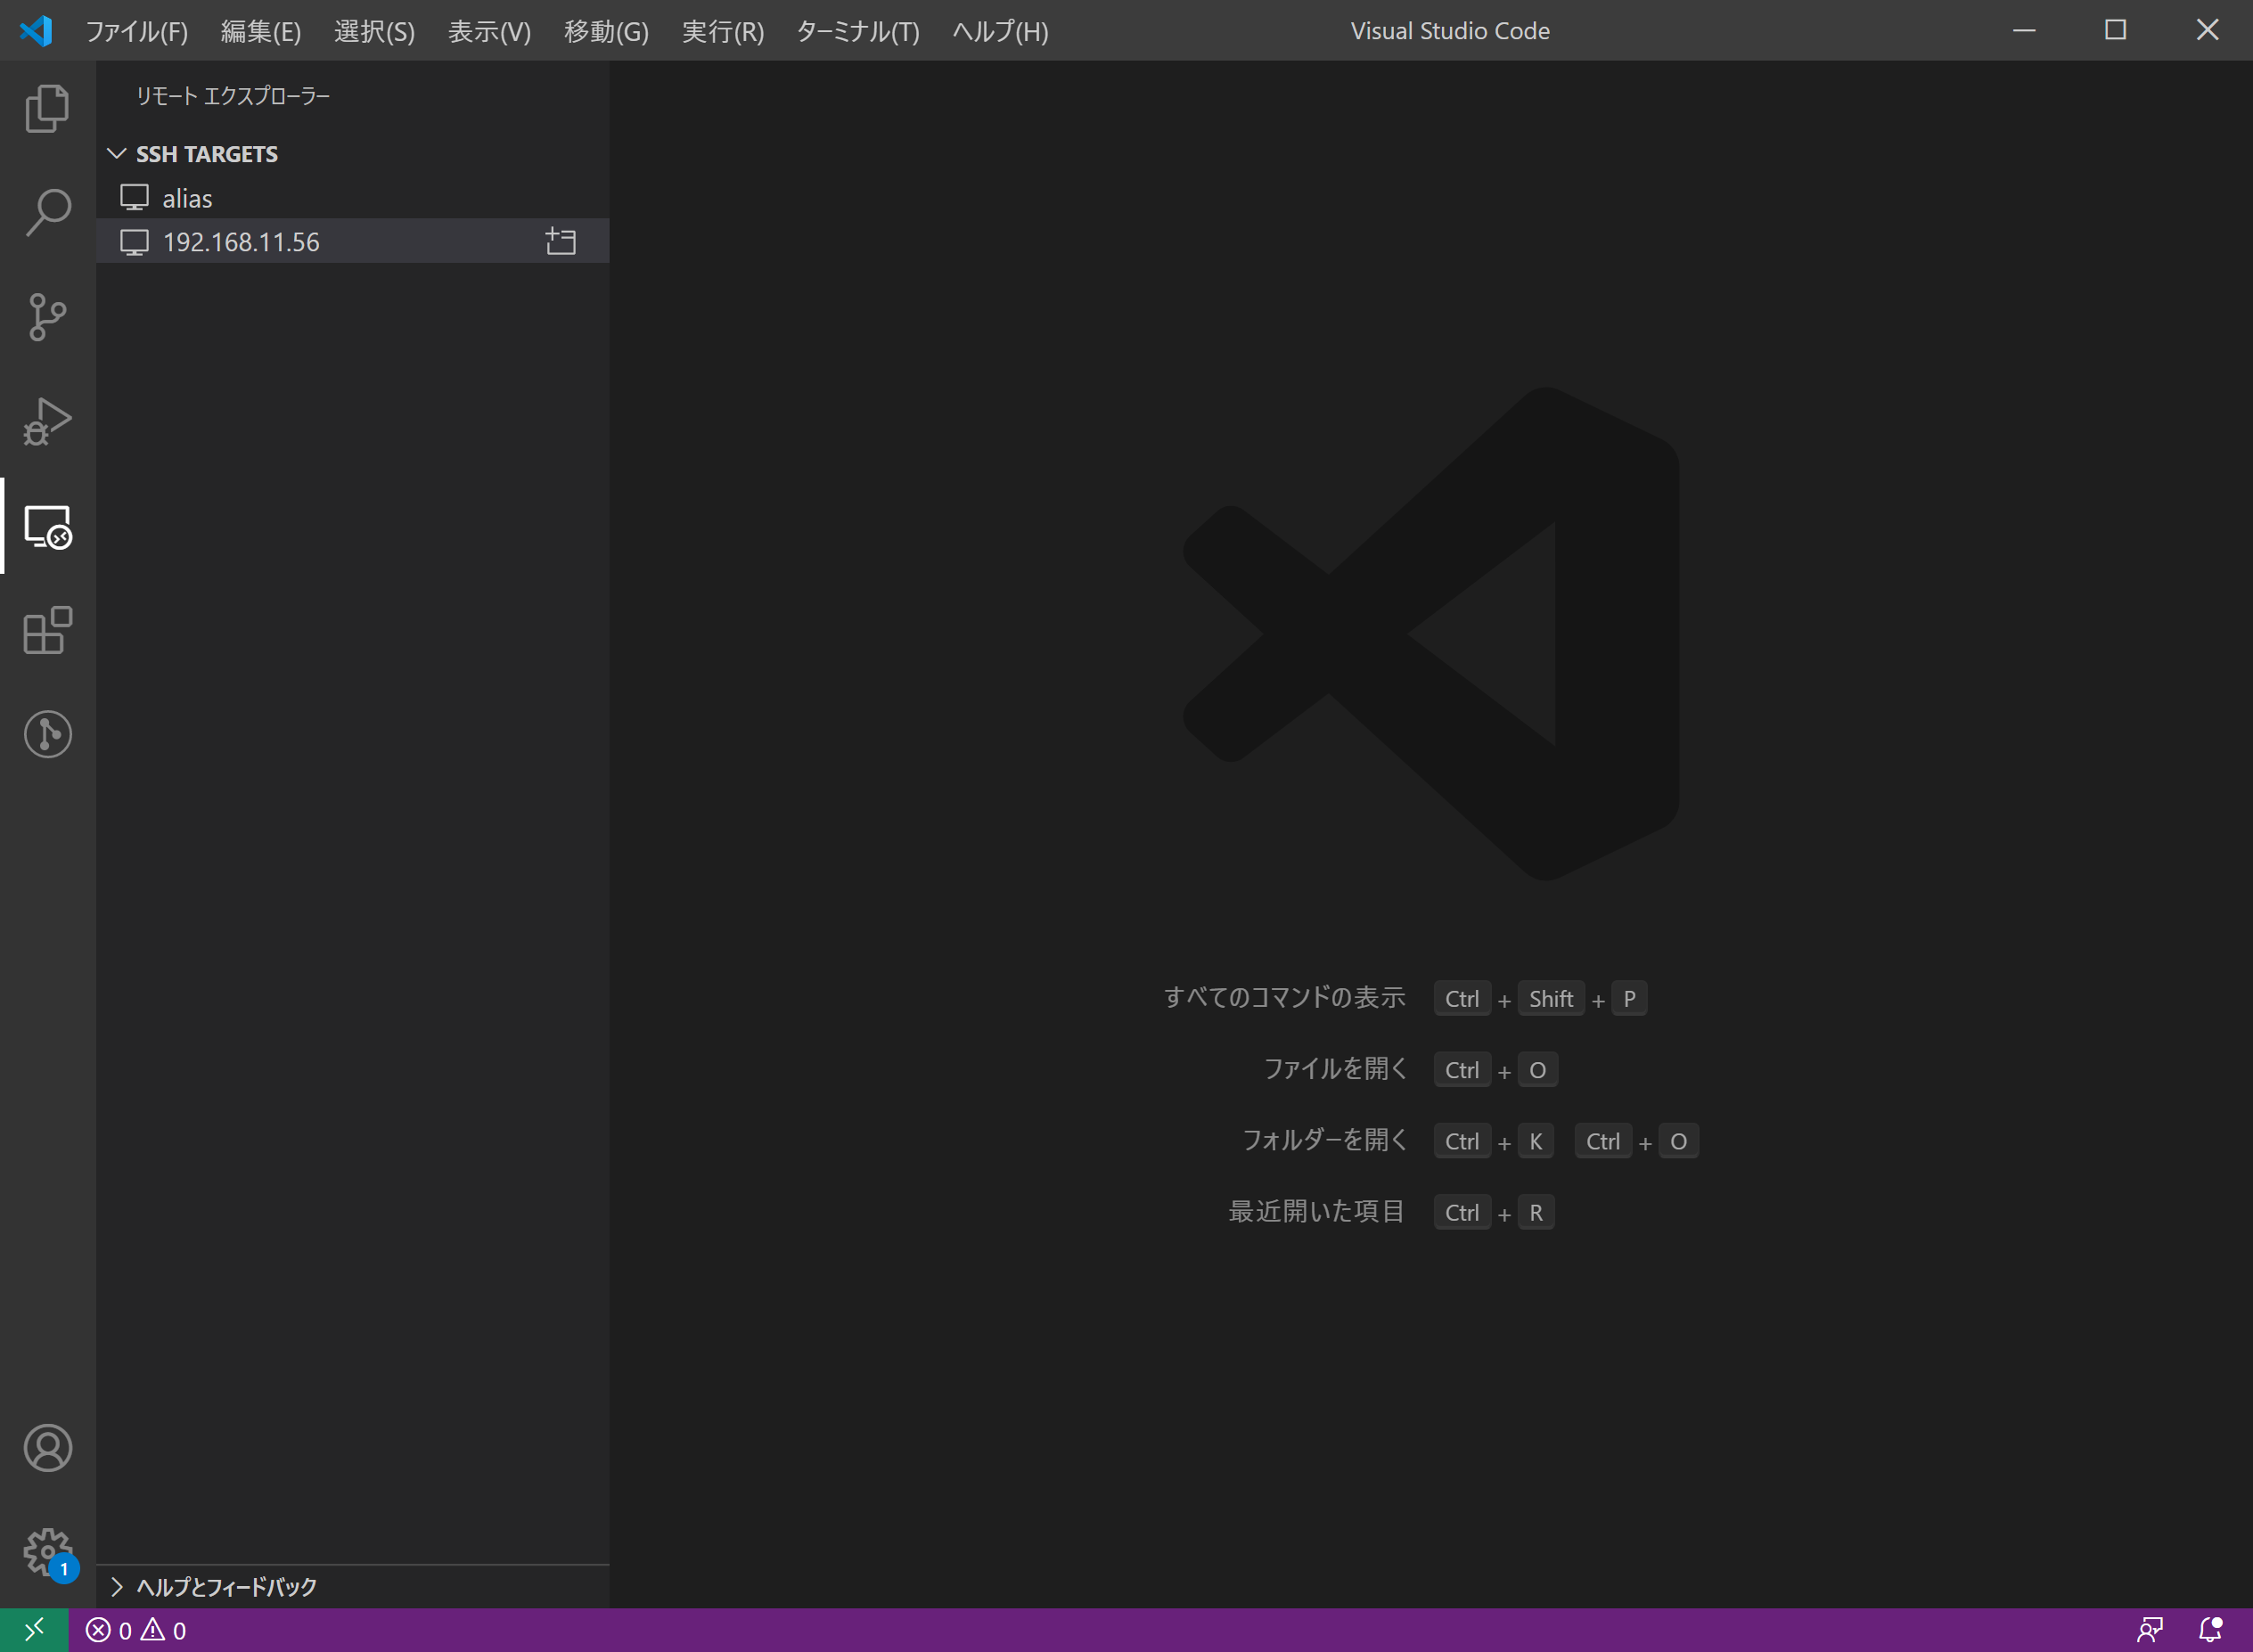
(Windows side) Setting SSH Remote plug-in of Visual Studio Code (adding the Linux server to connect to)
- Move the mouse around
SSH TARGETSand press the+button.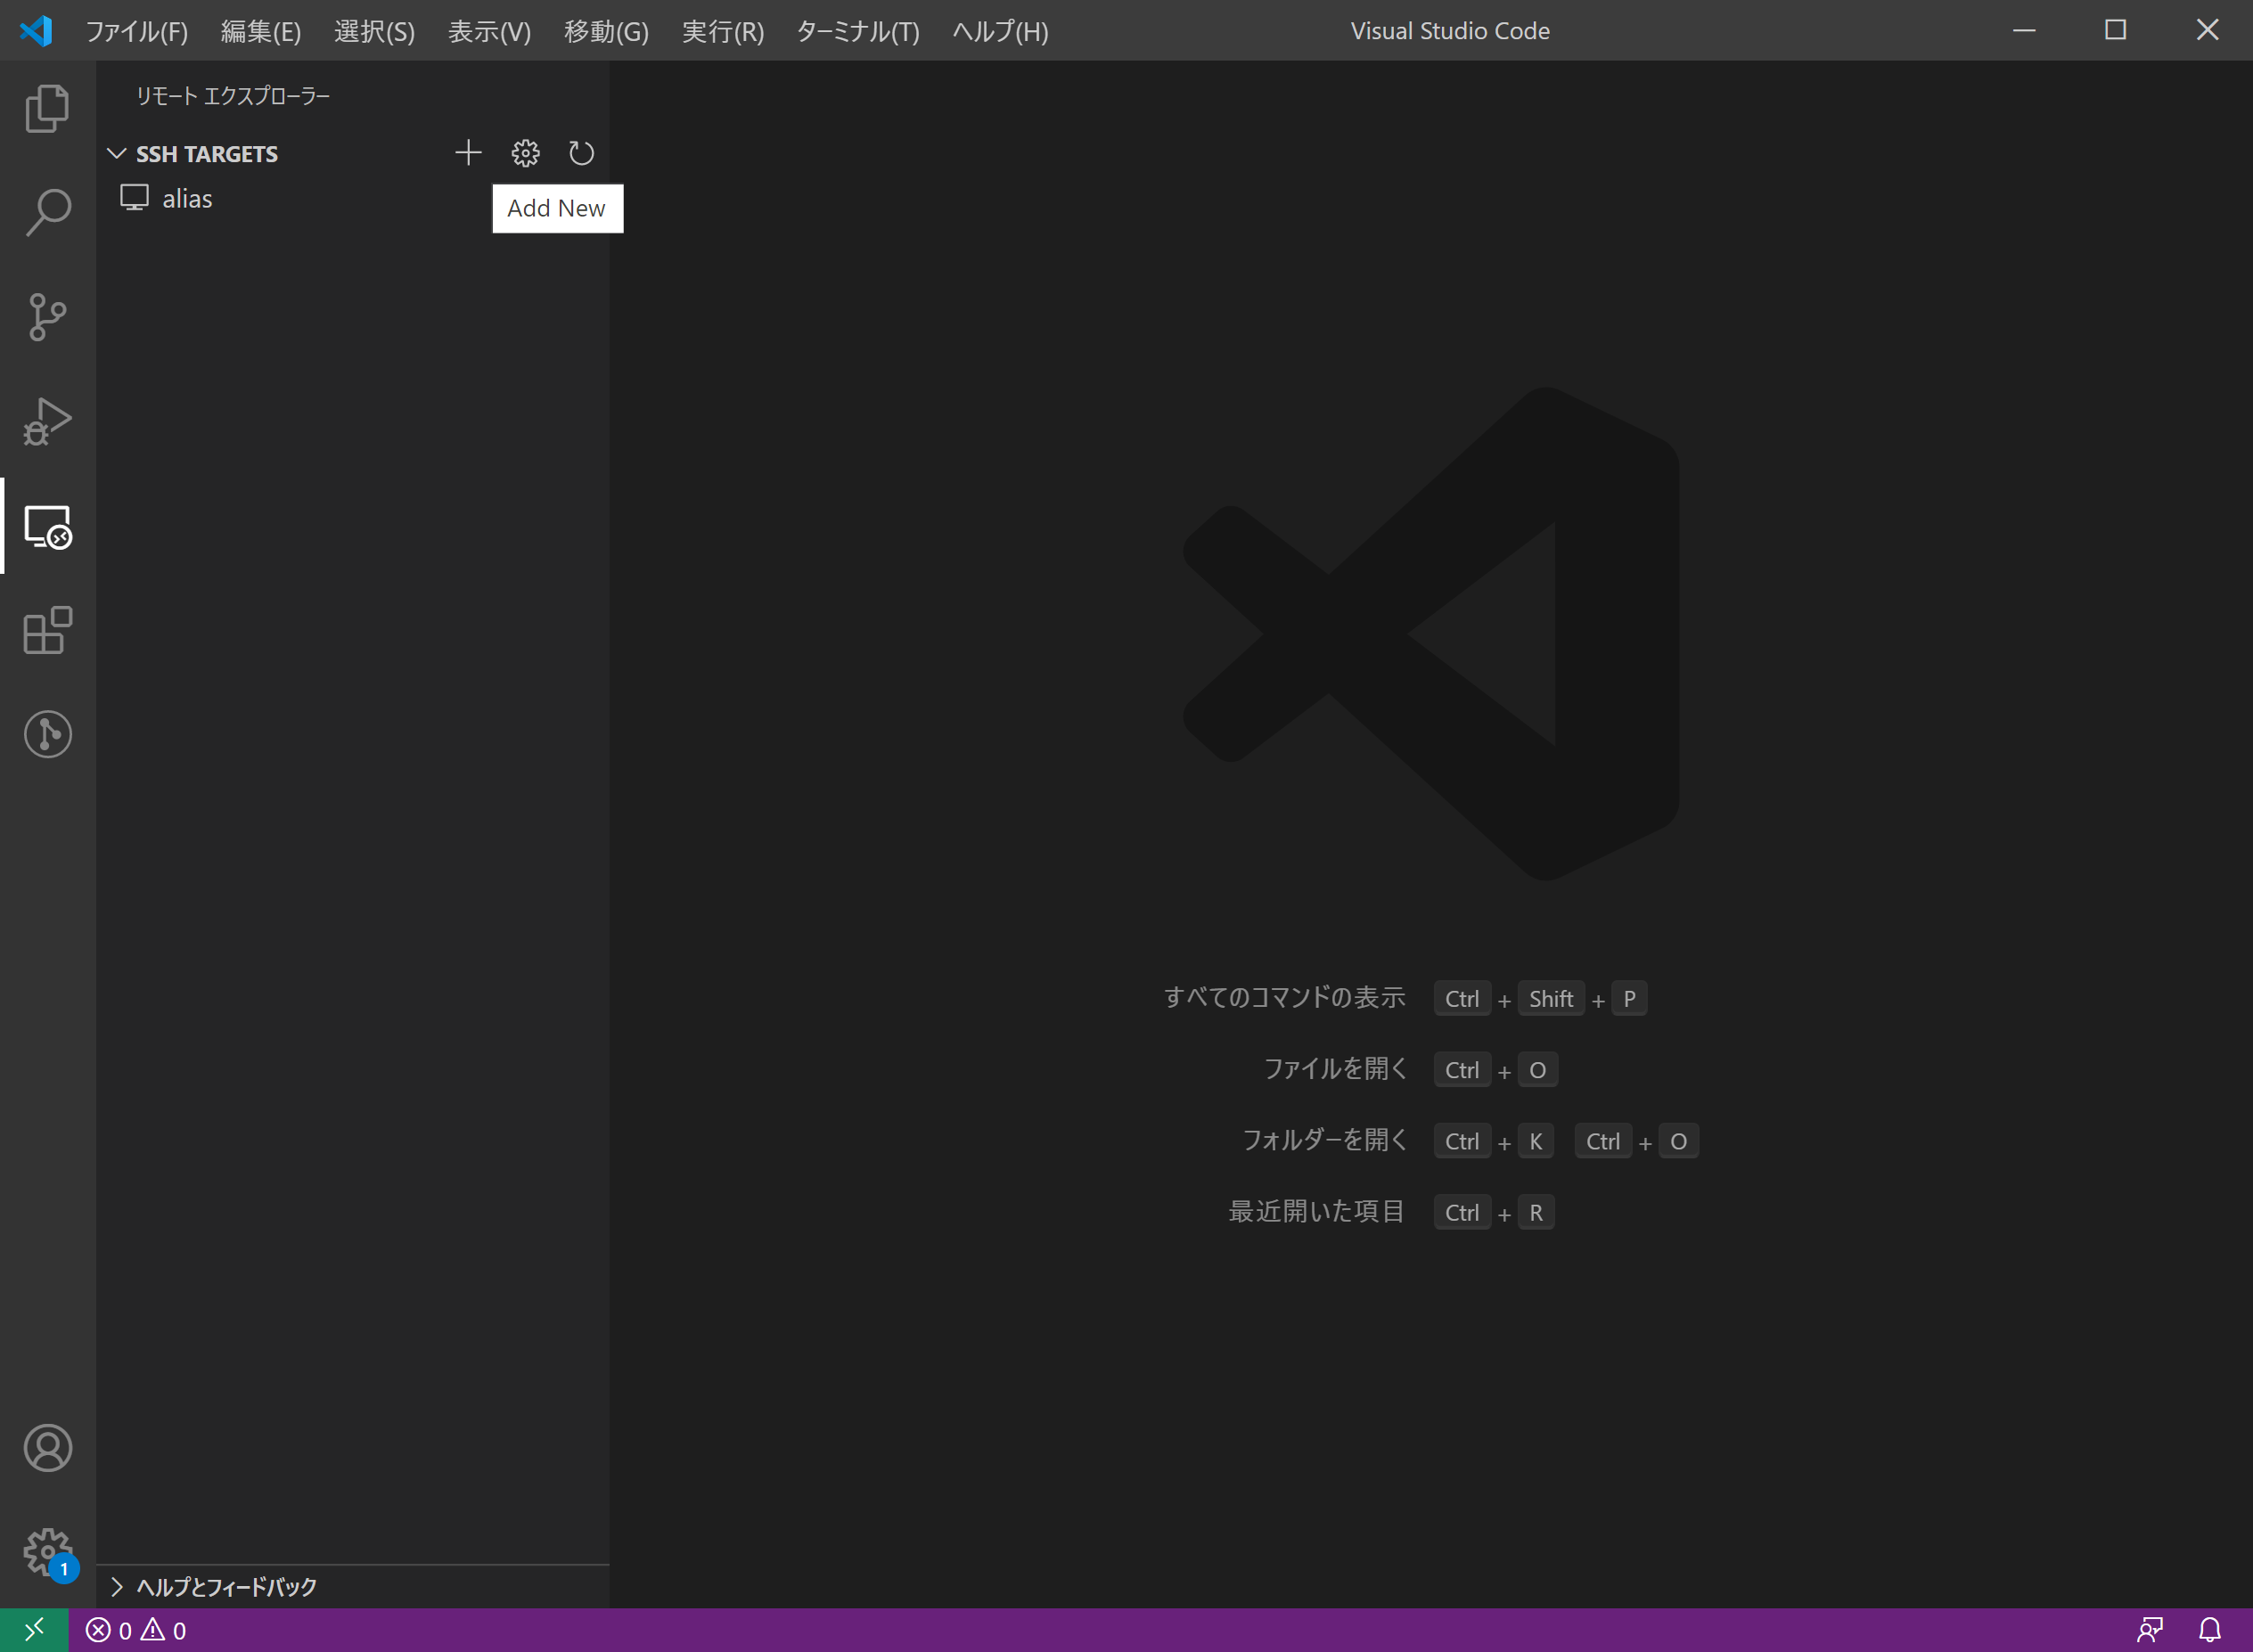
- Specify it in the format
username @linux servernameand pressENTER.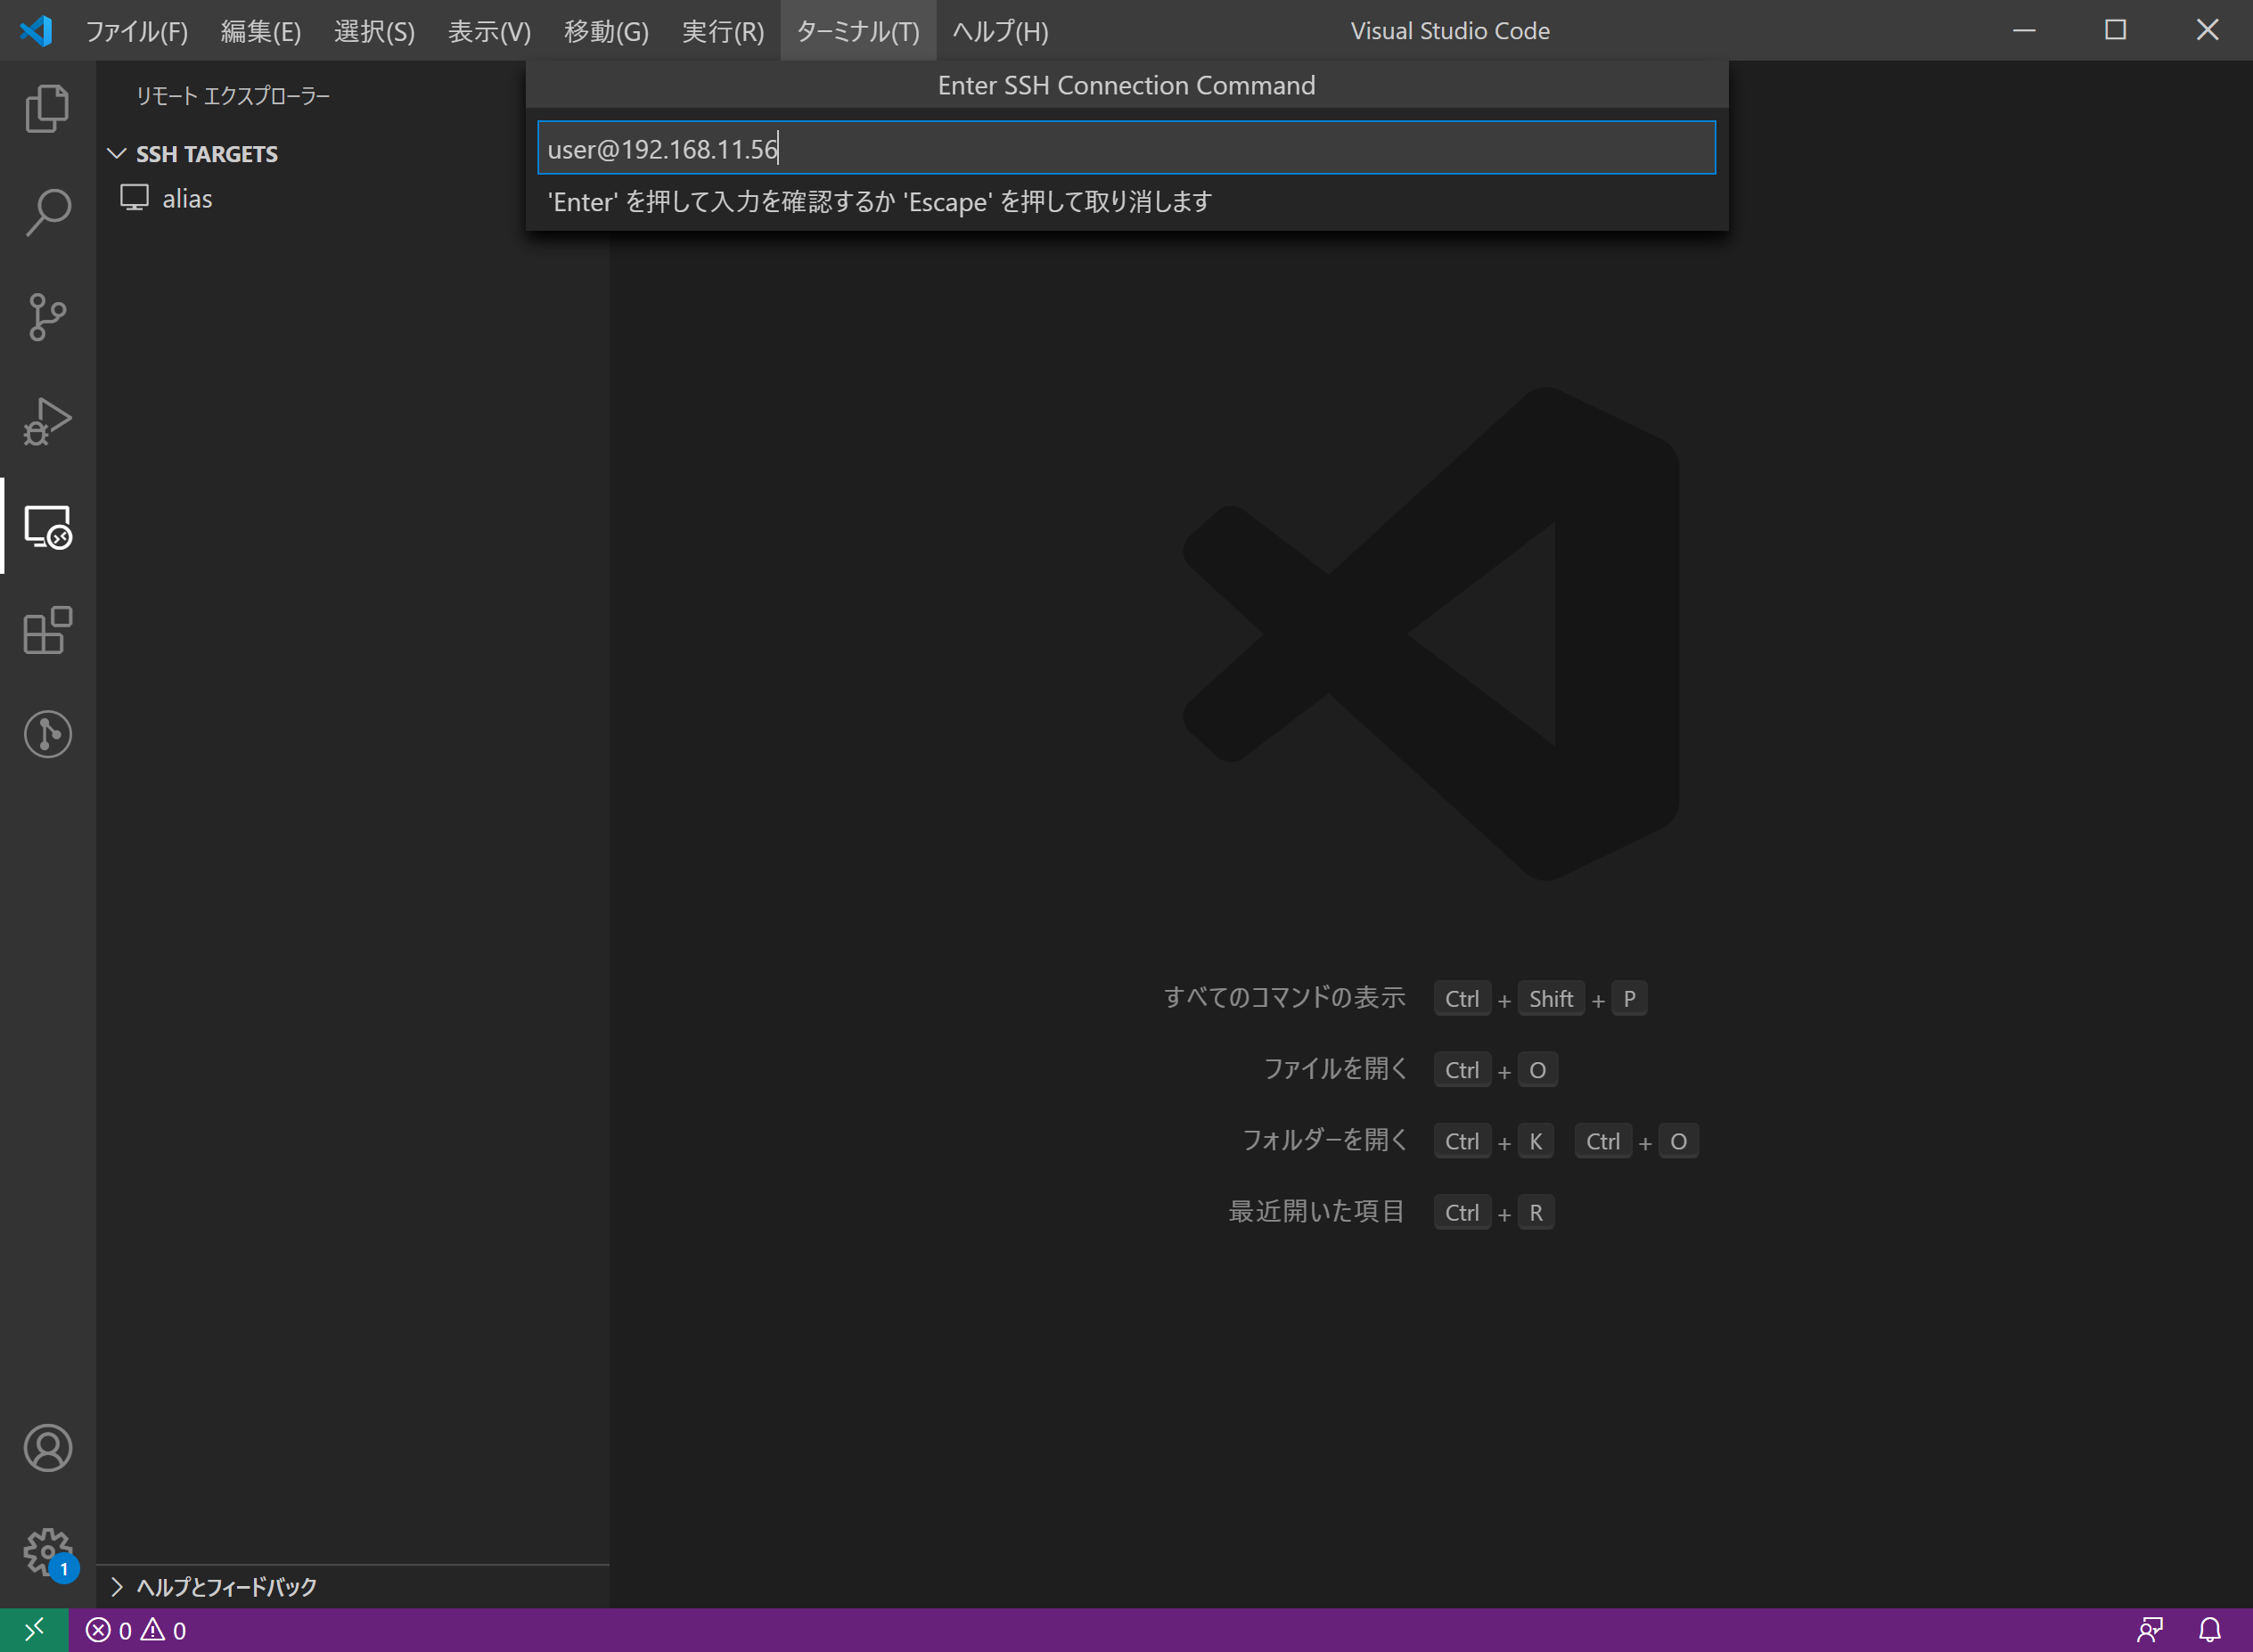
- When the setting file selection screen appears, select the location of the setting file corresponding to your user.
- The server item is added.
(Windows side) Setting SSH Remote plug-in of Visual Studio Code (adding the Linux server to connect to)
- Select the
+icon to open another window and confirm the OS. SelectLinuxand pressENTER. (Since I couldn't take a screenshot well, I omitted the screenshot). If you skip here, it will not connect well. The very first connection takes time as it sets up the server side behind the scenes.
- Another
Visual Studio Codewindow will open. It looks like nothing has changed, but if you select
 Open Folderfrom theFilemenu, the path part will be/ home / useras shown below, and it will be directly on the Linux server. You can open the file system.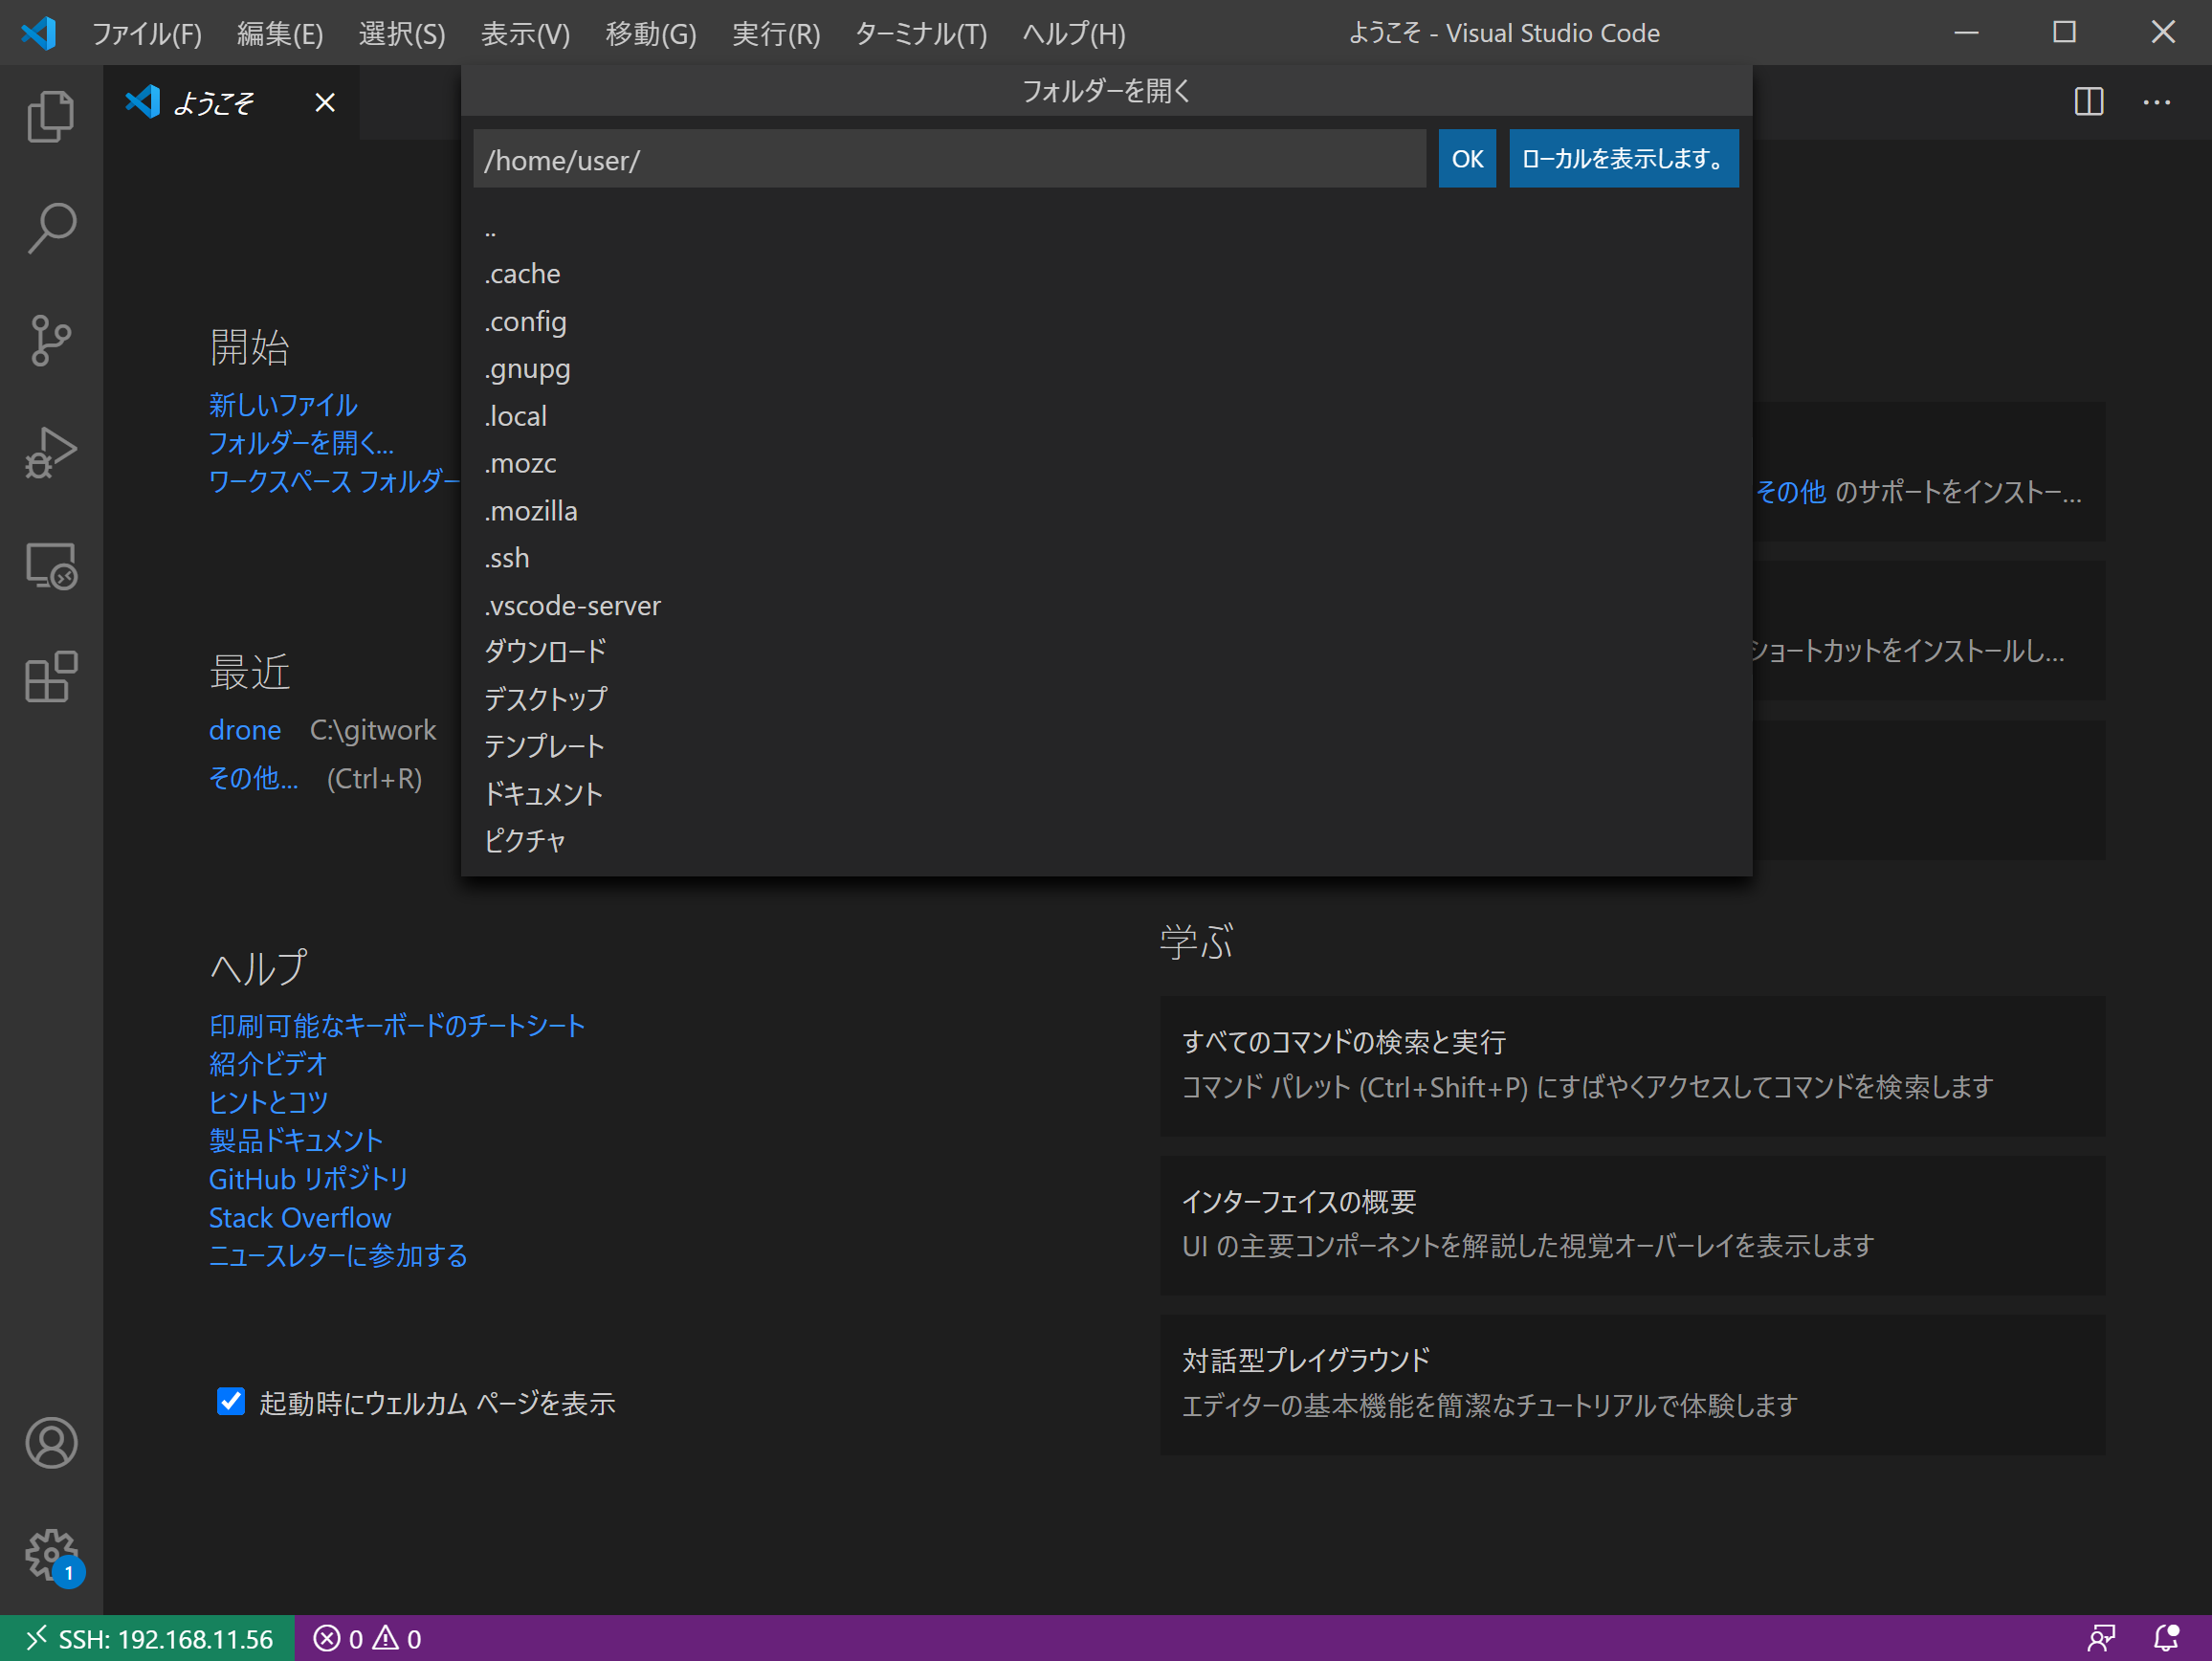
- Press OK and you will be able to directly browse to the
192.168.11.56folder.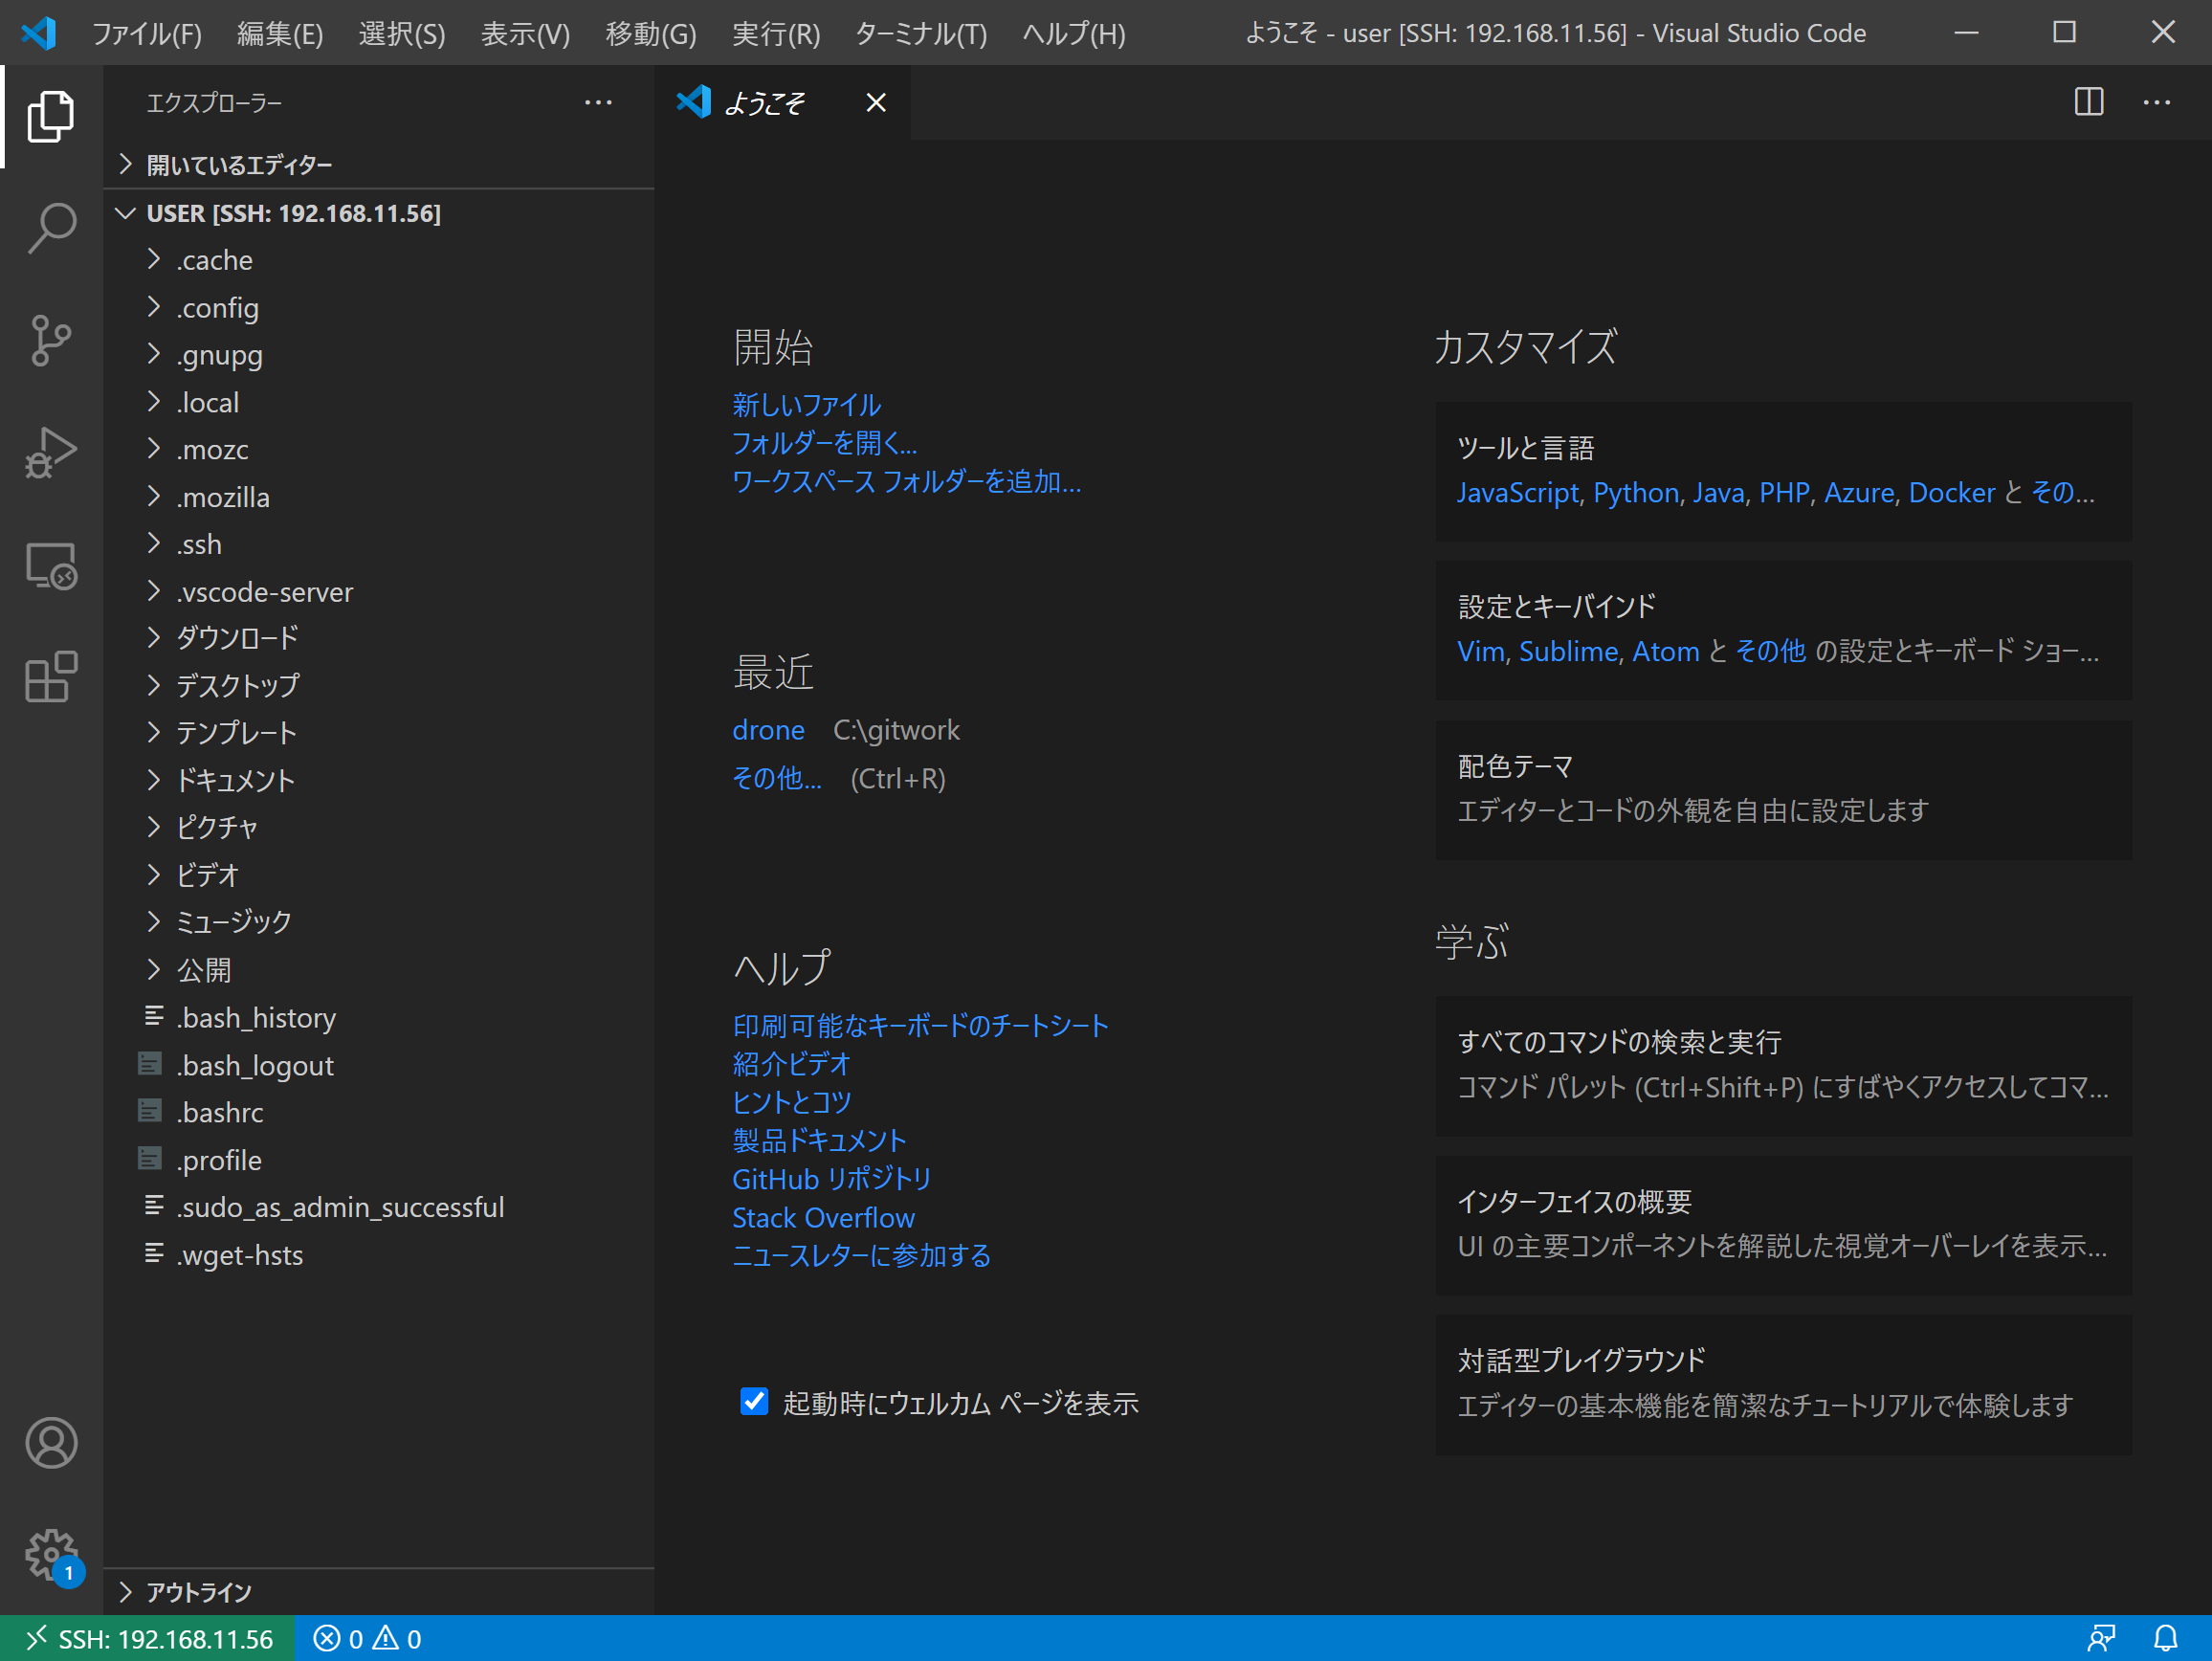
- Try saving the file by selecting
New Filefrom theFilemenu.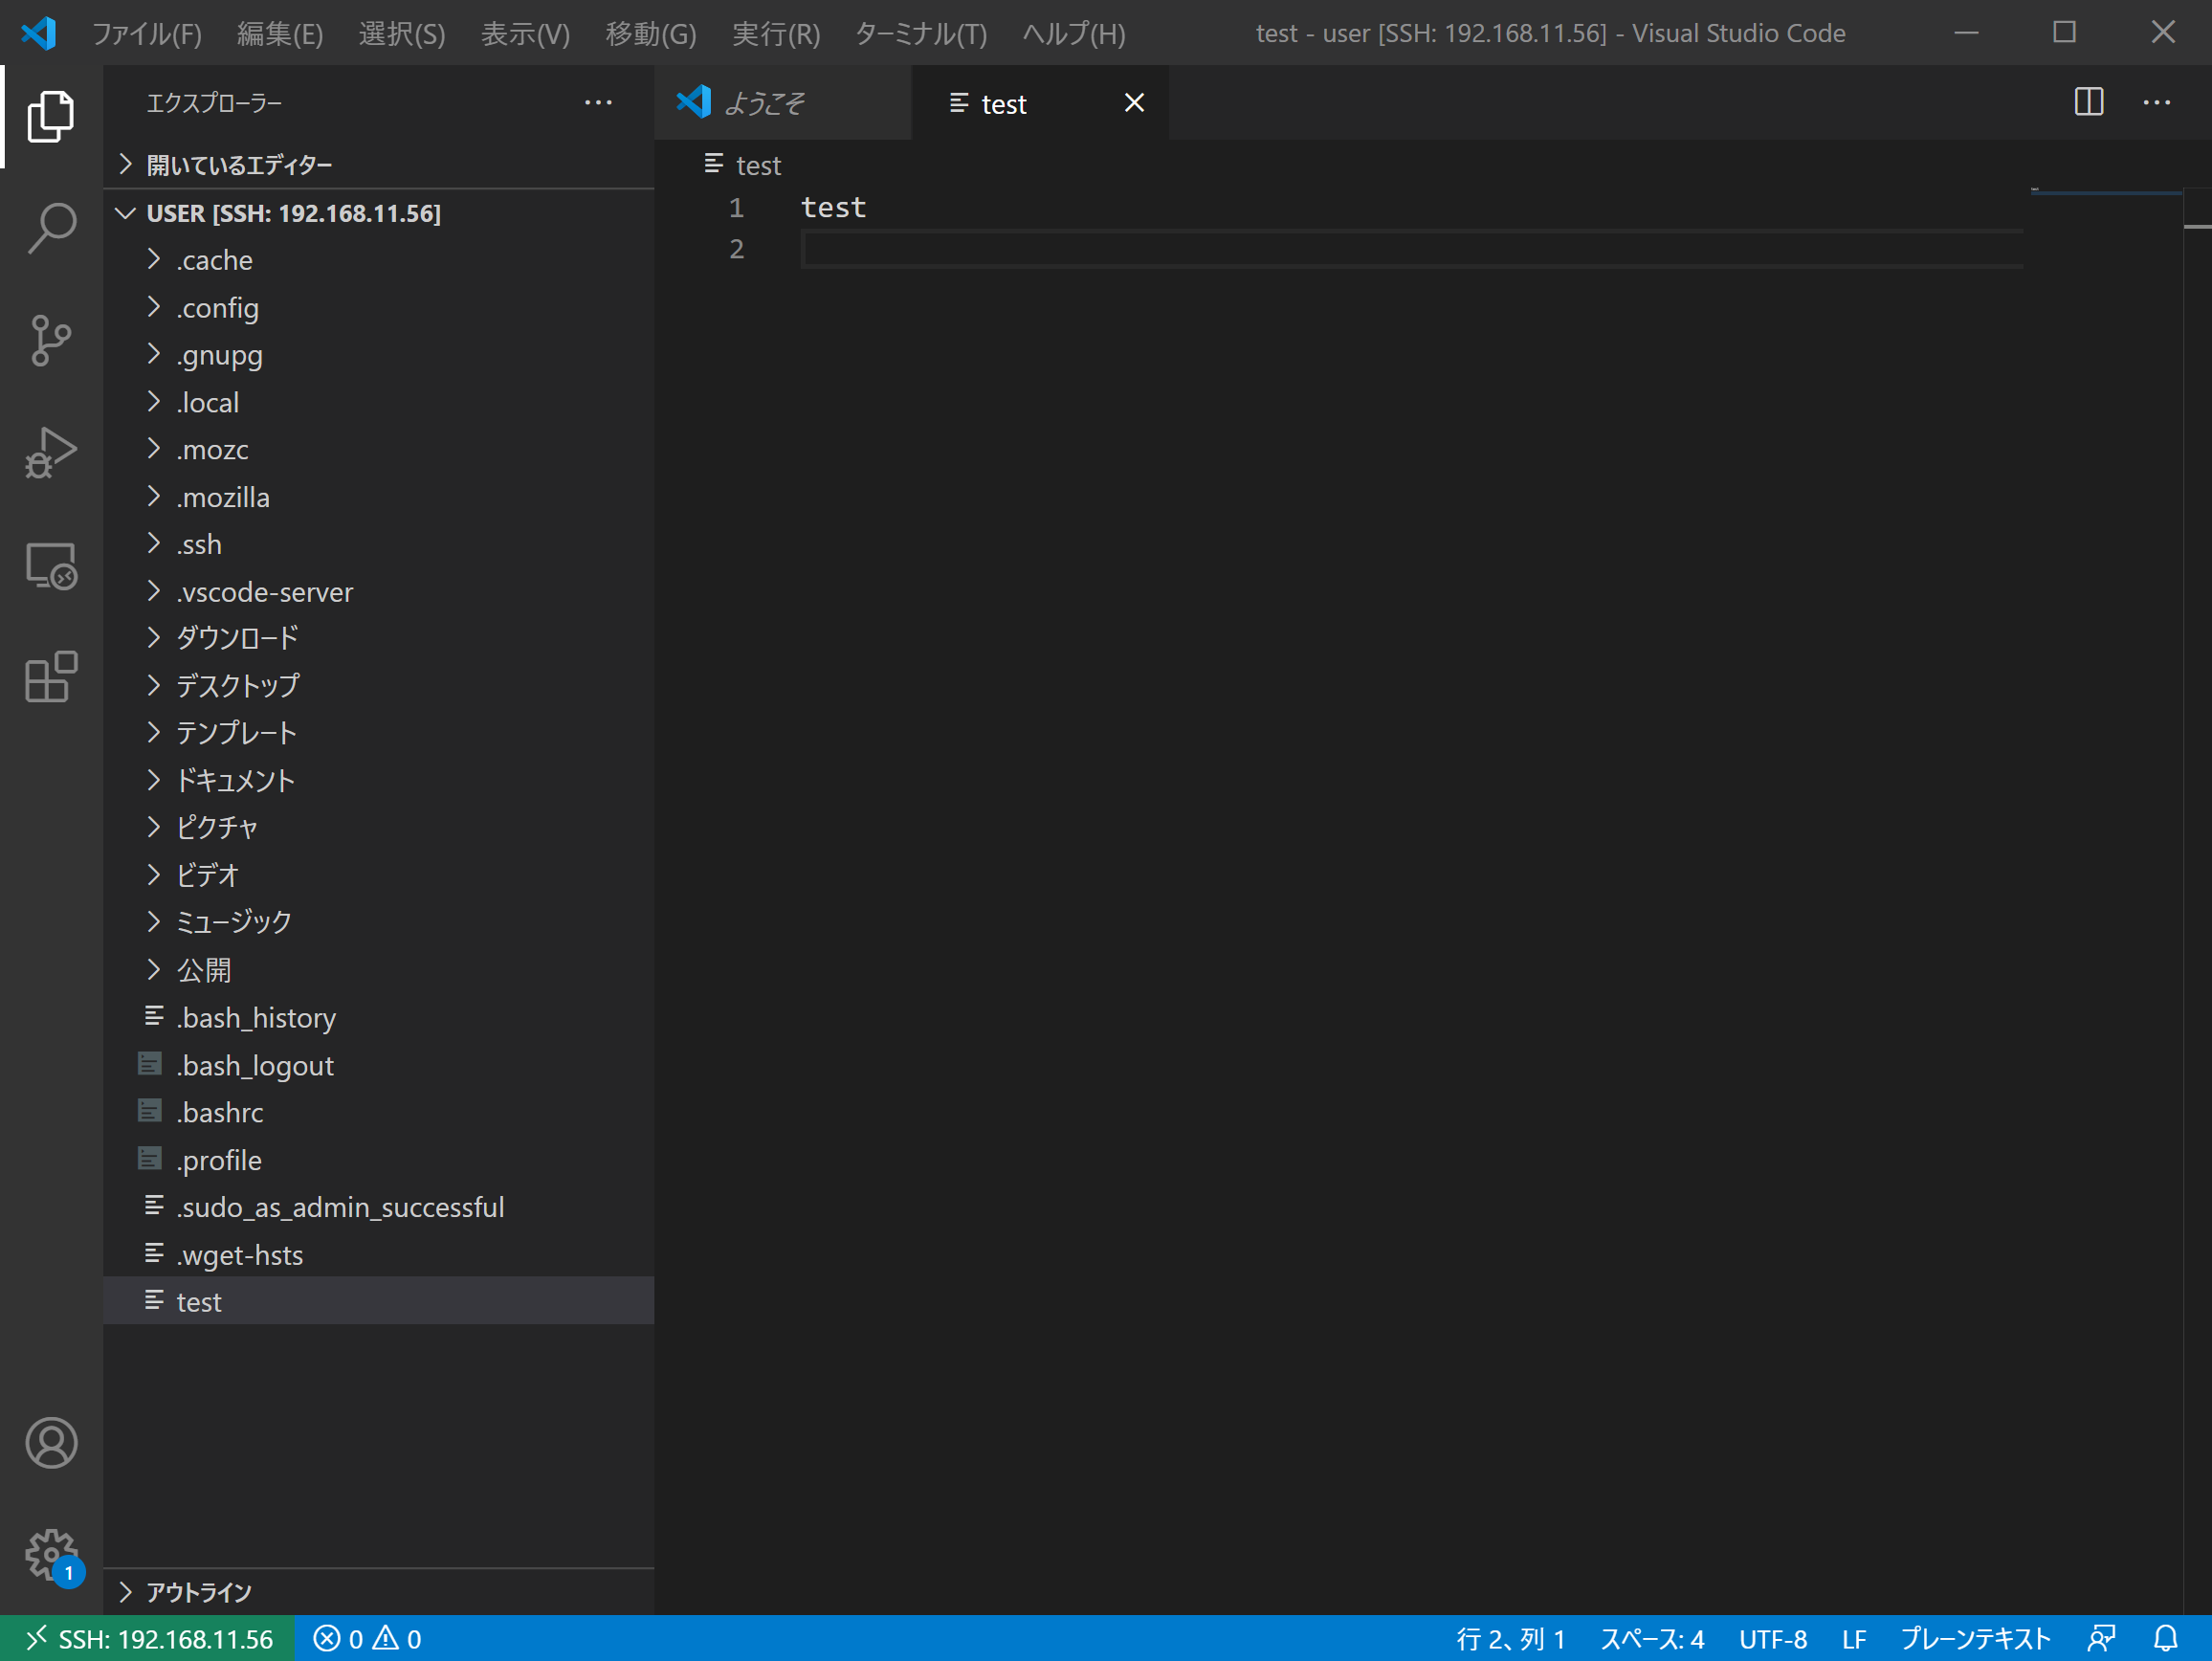
- If you try
ls -lin the Tera Term window that is opened separately, you can see that the file has been created and matches the edited contents.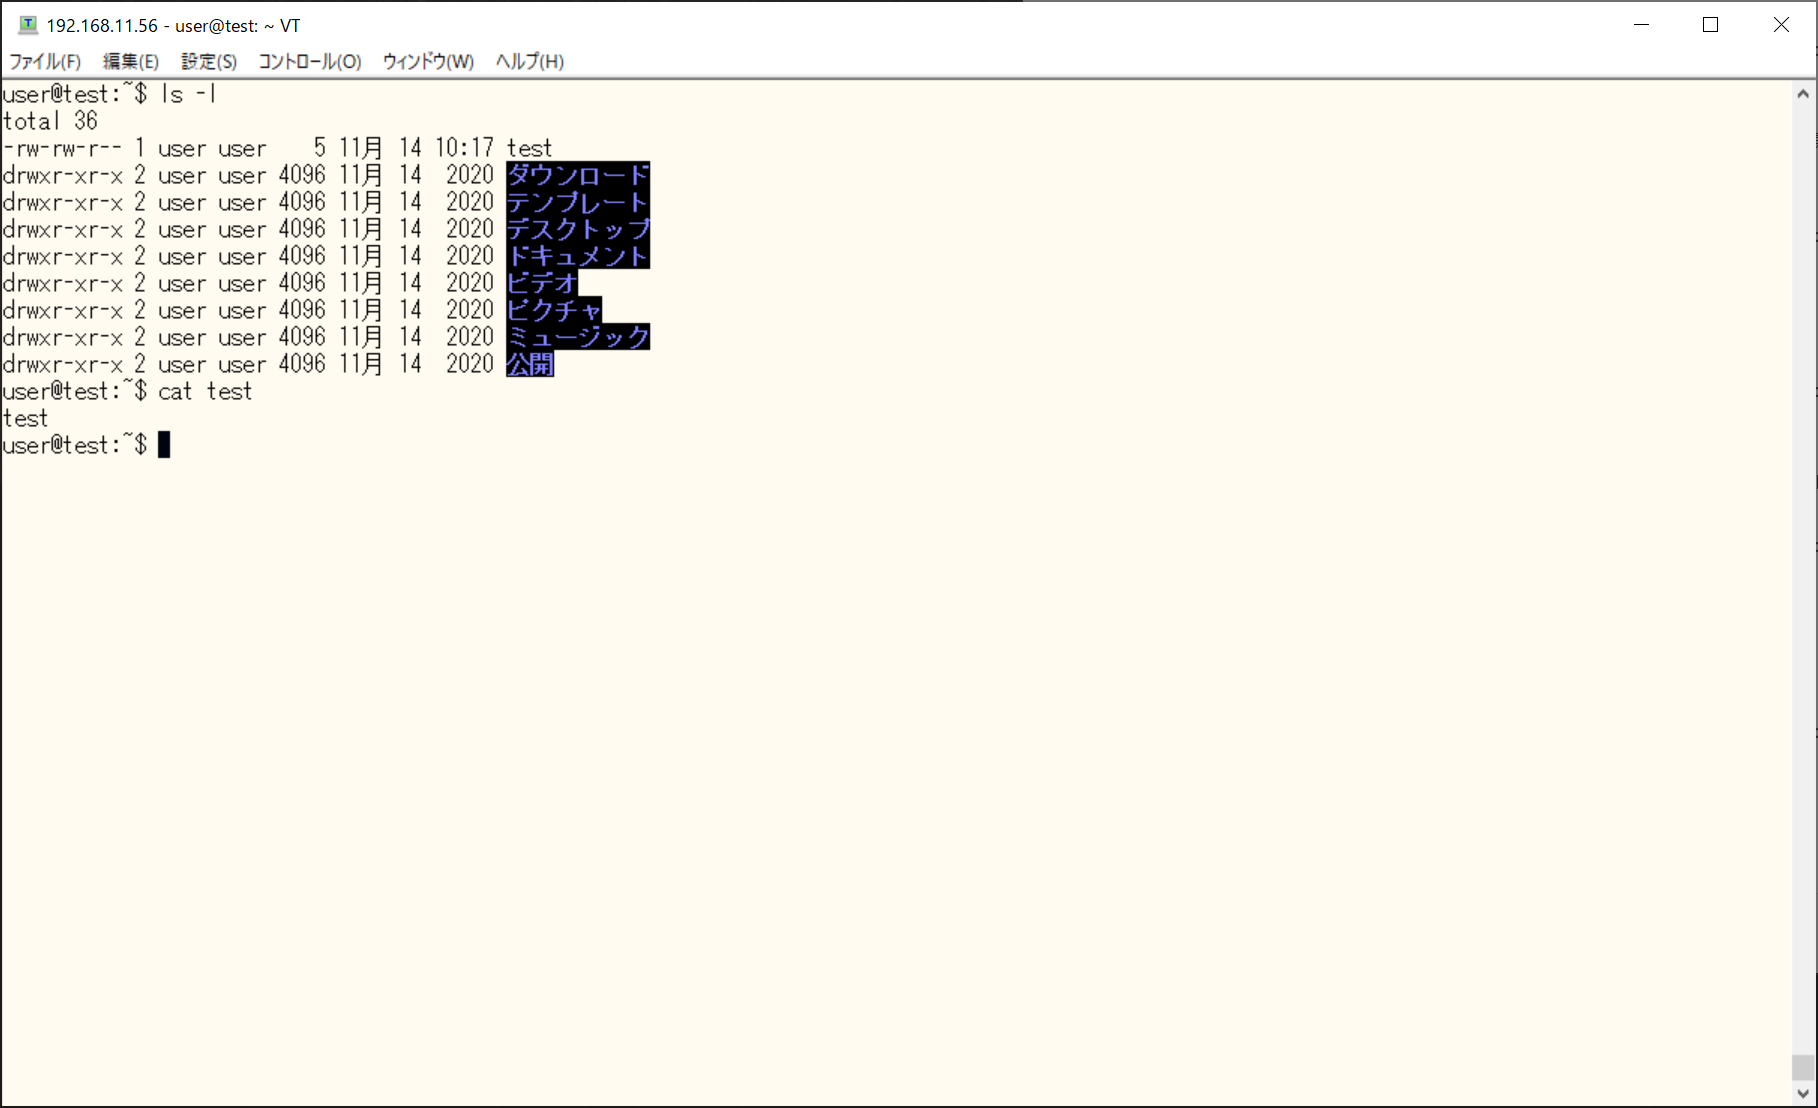
I opened the file on the server with Visual Studio Code in a separate window, but you can also open it in the same window.
Recommended Posts