Beginners try using android studio Part 1 (Hello World)
Overview
Assuming that android studio can be installed, let's first create the Hello World app. Even if you say ~~, there is nothing special to do because Hello World is already completed when you create a new project. ~~ Here, we will mainly explain the files. Tsukkomi welcome.
Prerequisites
・ Install java ・ Install android studio
Start android studio
First, start android studio.
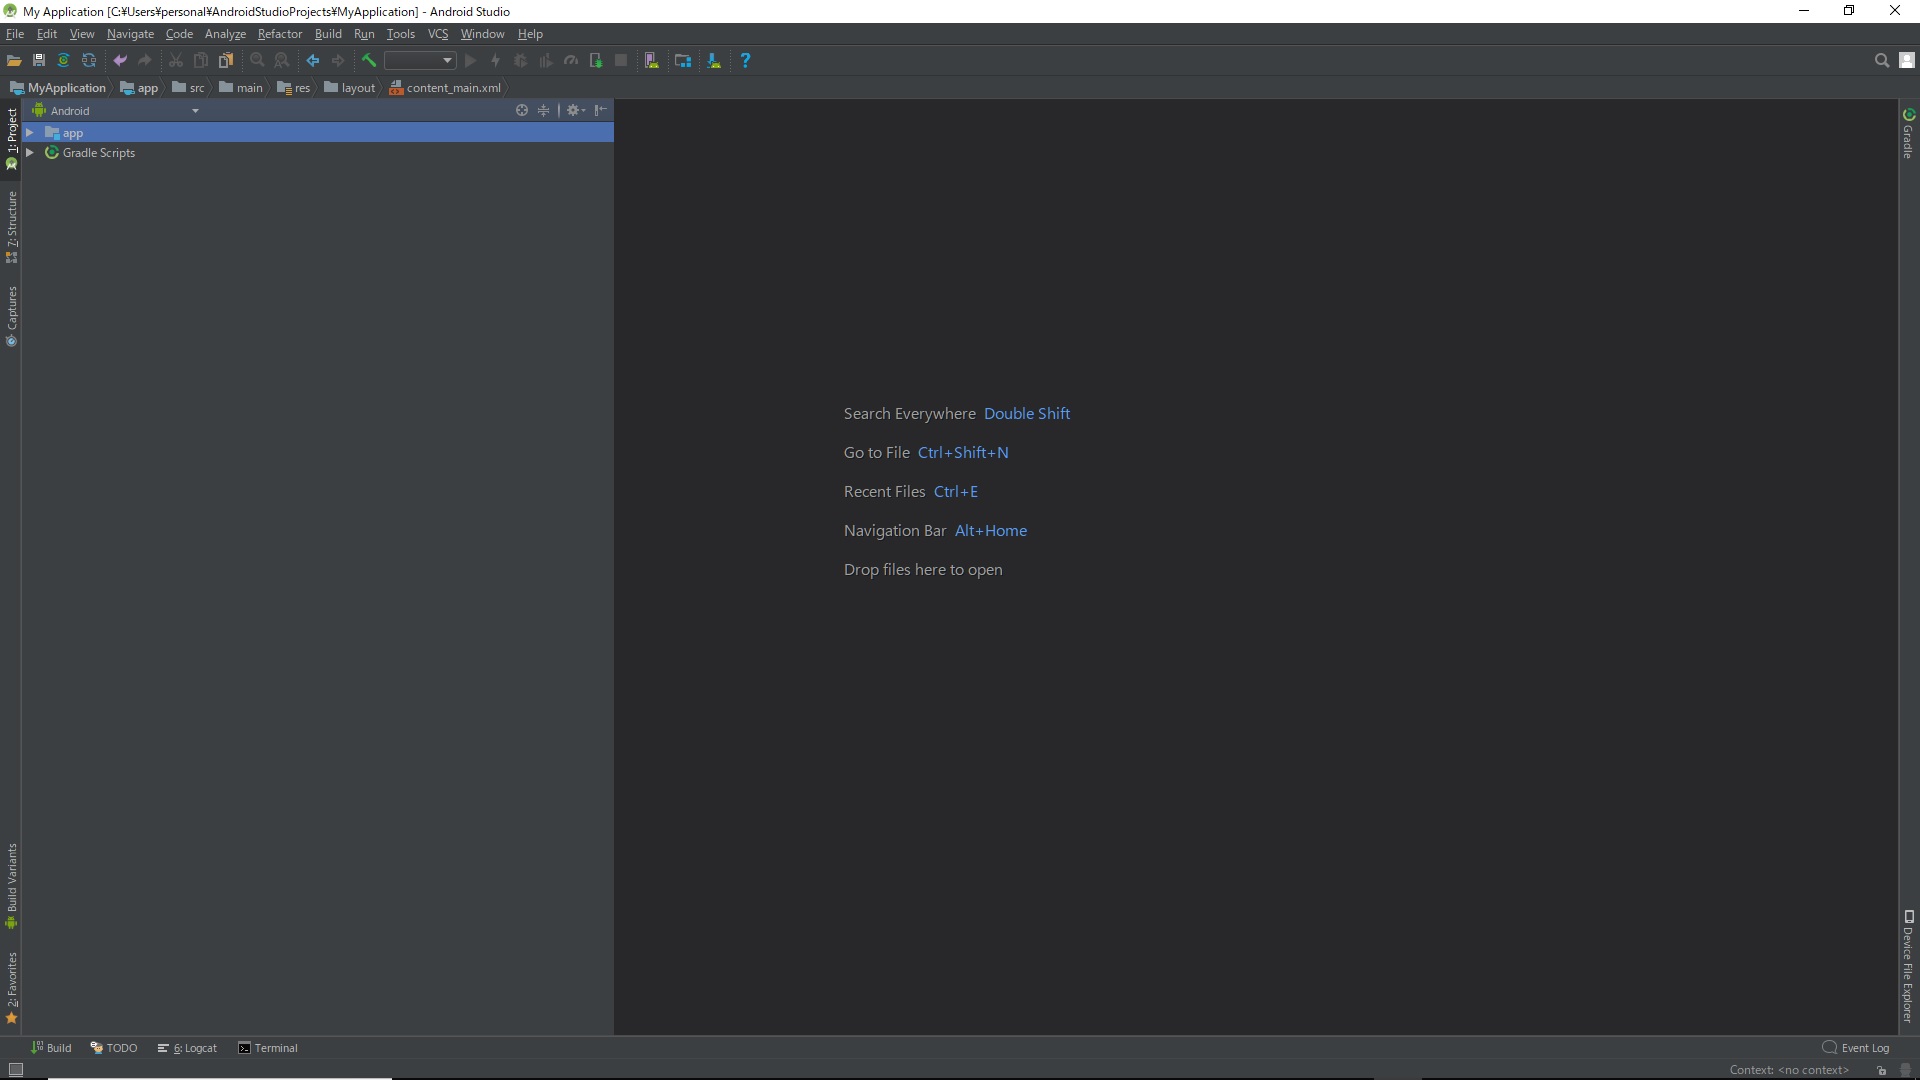
Android SDK settings
The first time you start android studio, you need to install the Android SDK. First, click File-> Settings to see the Android SDK settings.
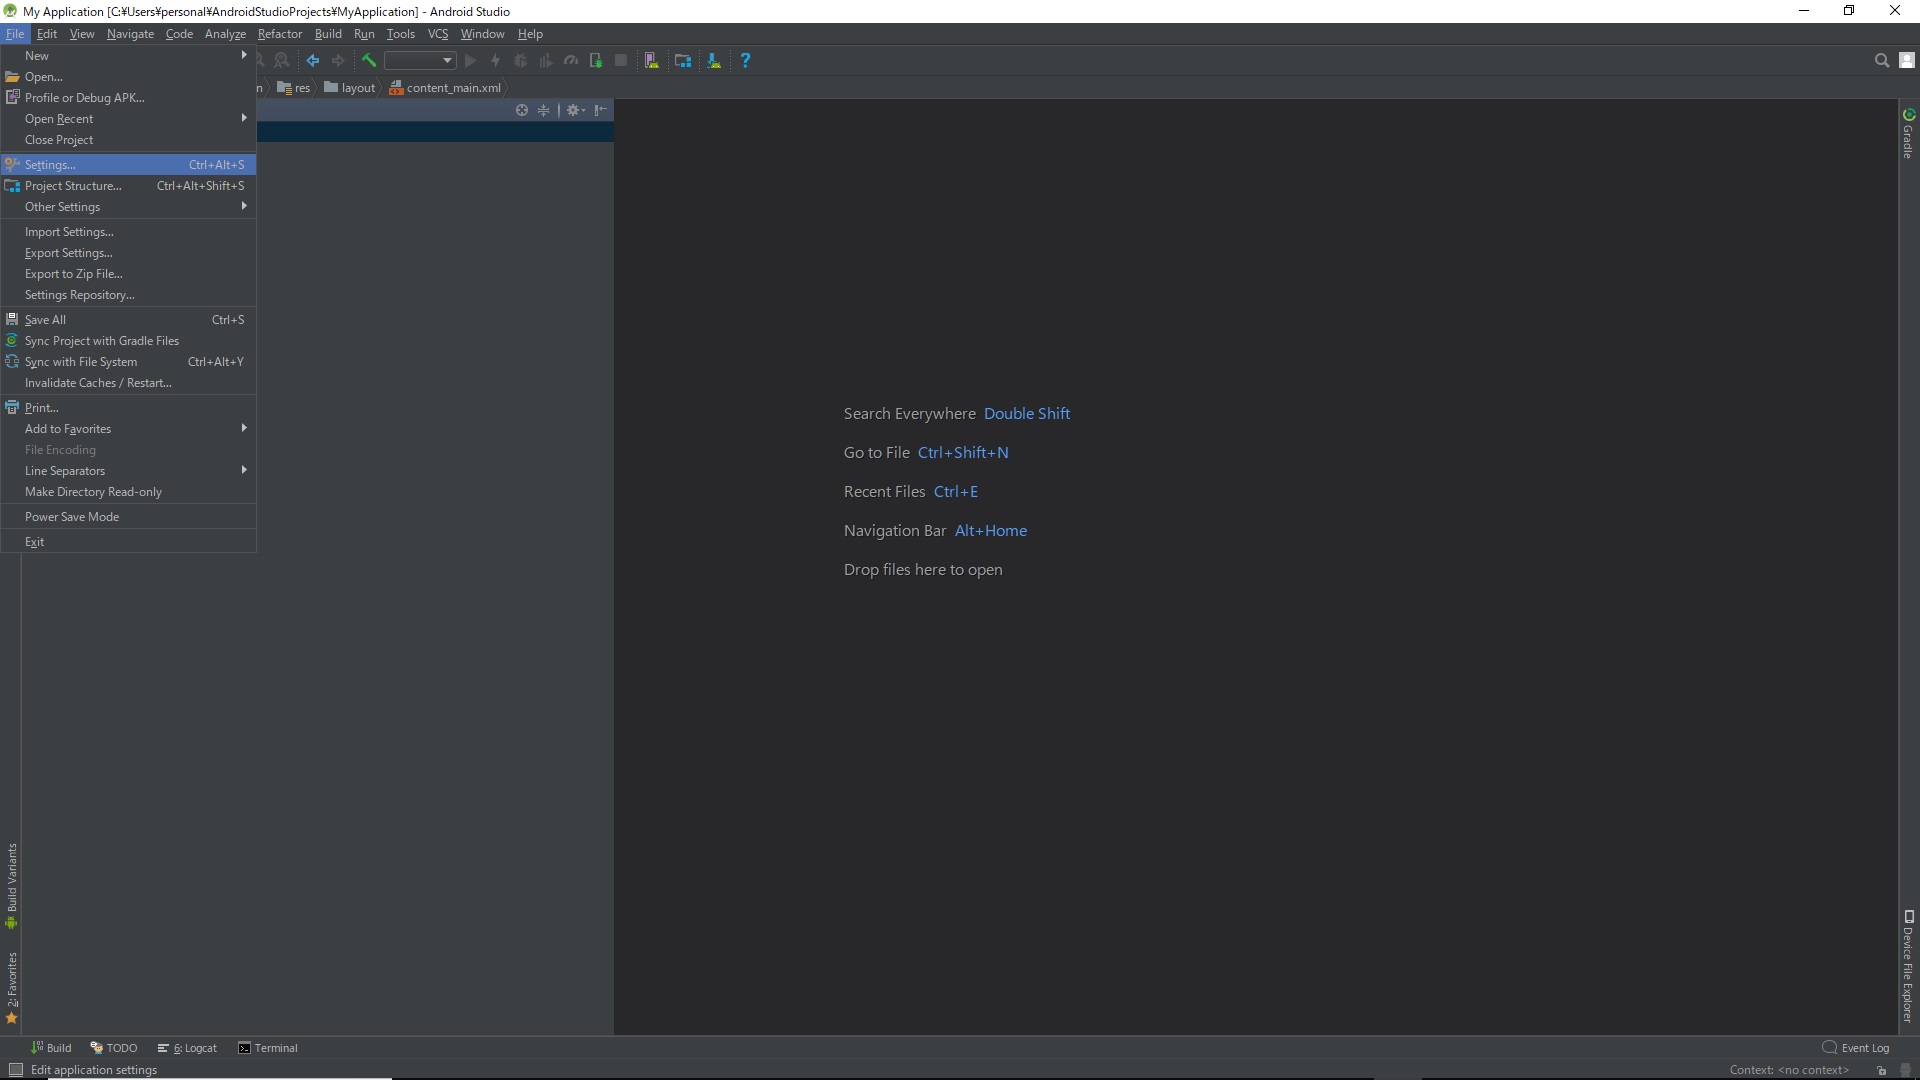
Click Settings-> Apperance & Behavior-> System Settings-> Android SDK ** It seems to be an error if the Android SDK Location contains Japanese. ** **
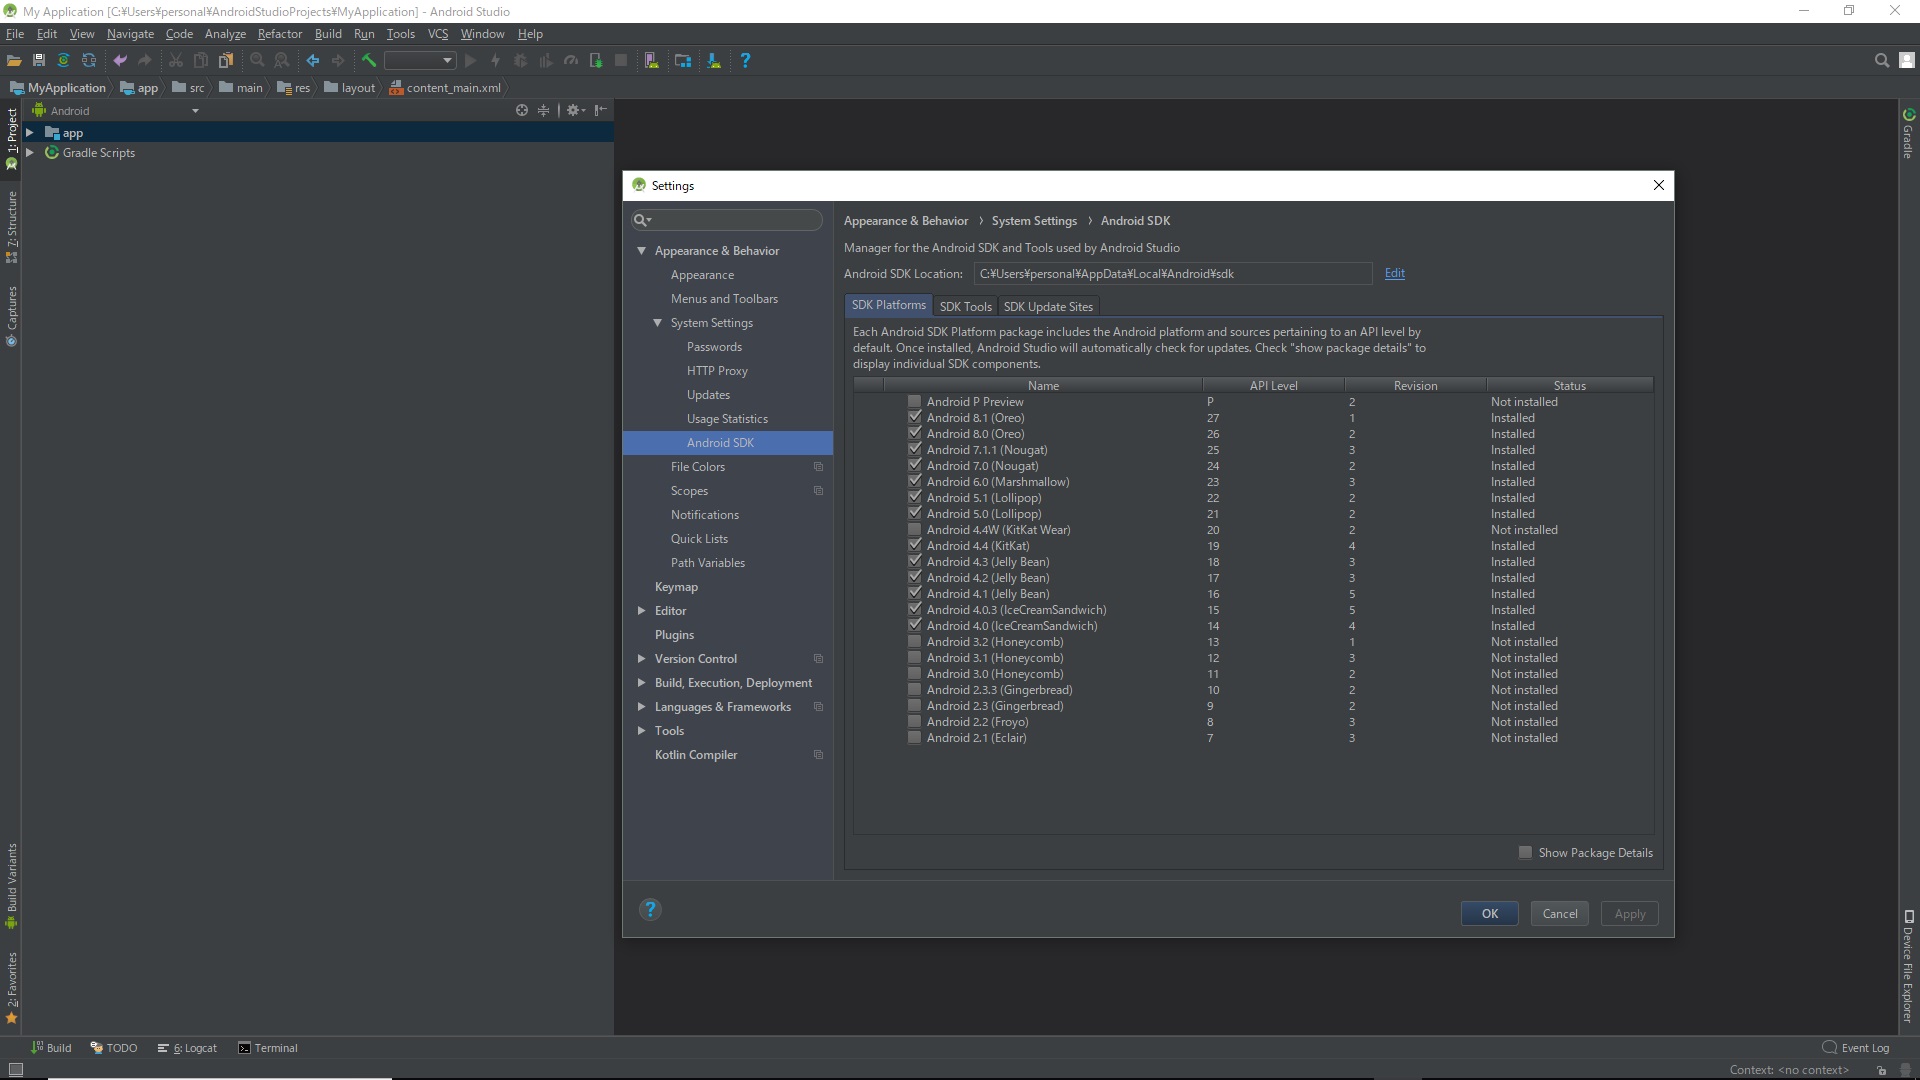
SDK Platoforms settings. Check appropriately and click the Apply button
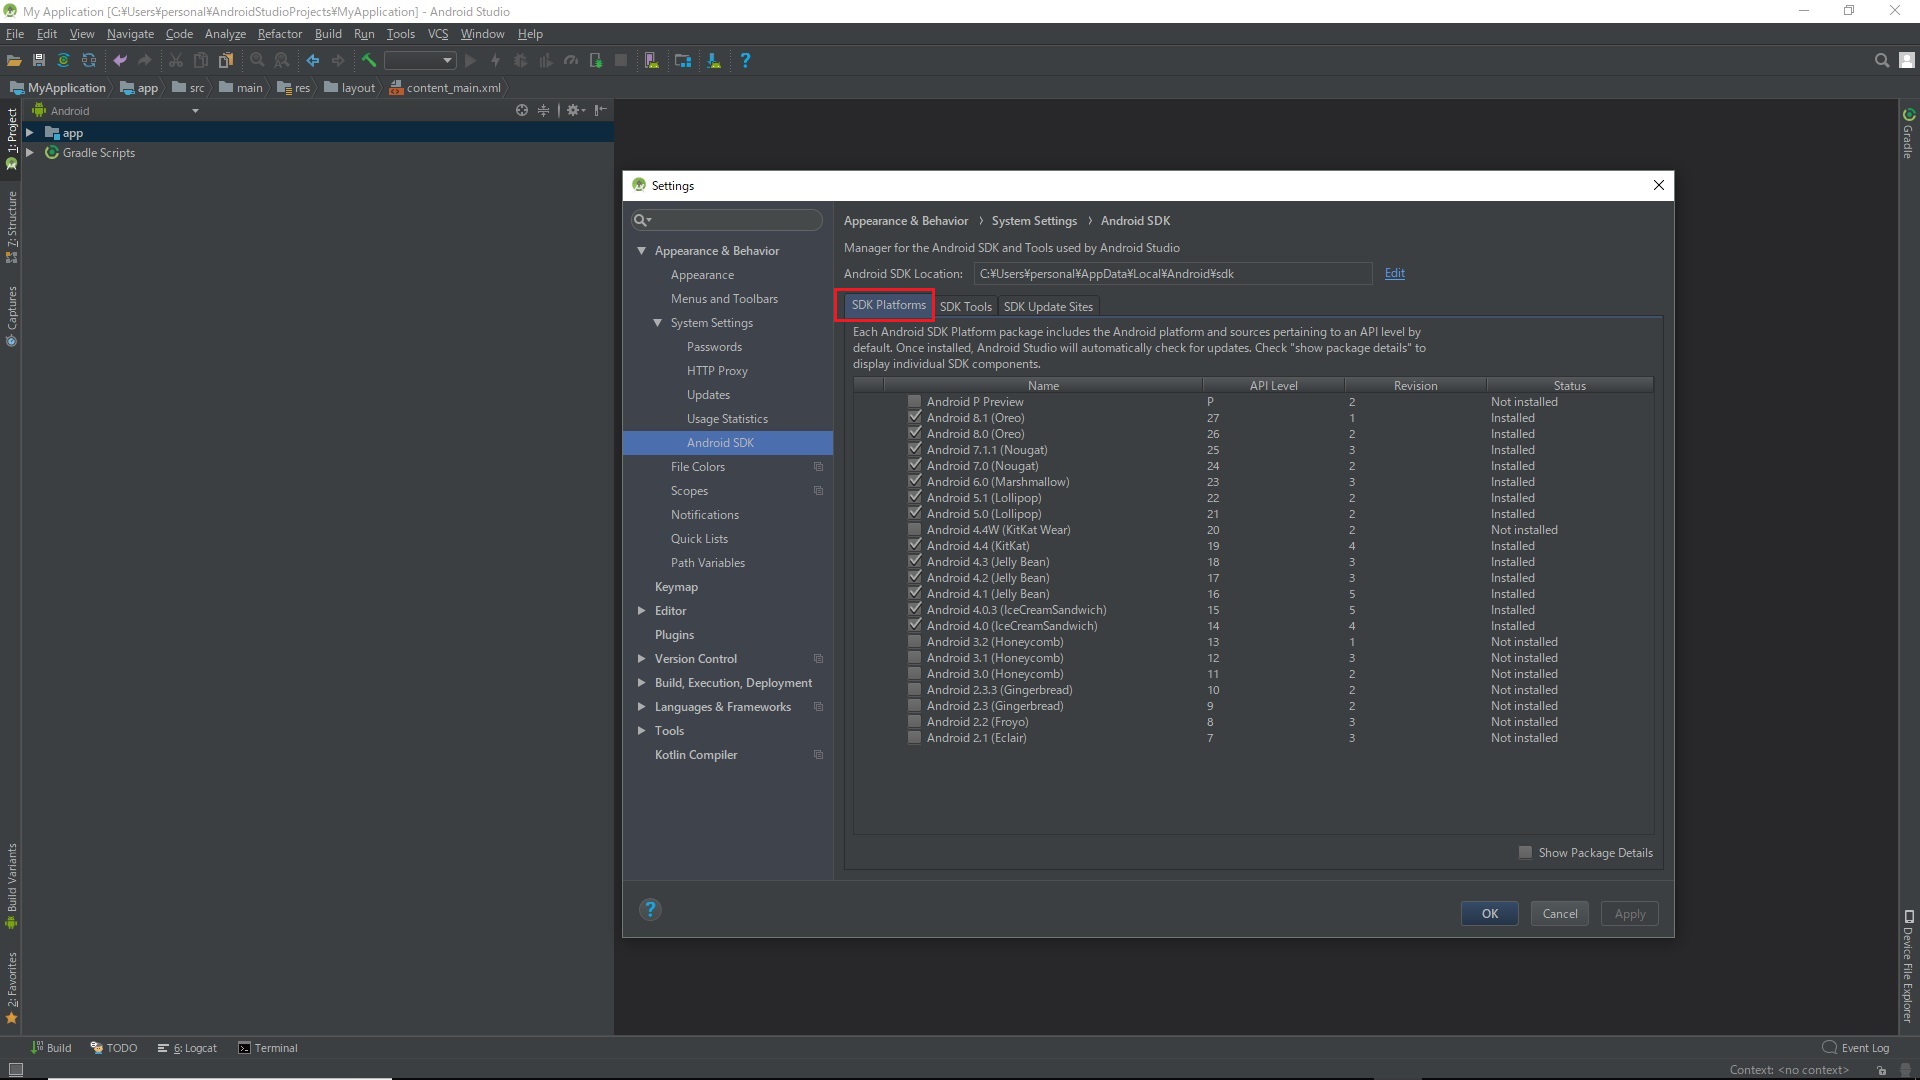
SDK Tools settings. Check appropriately and click the Apply button
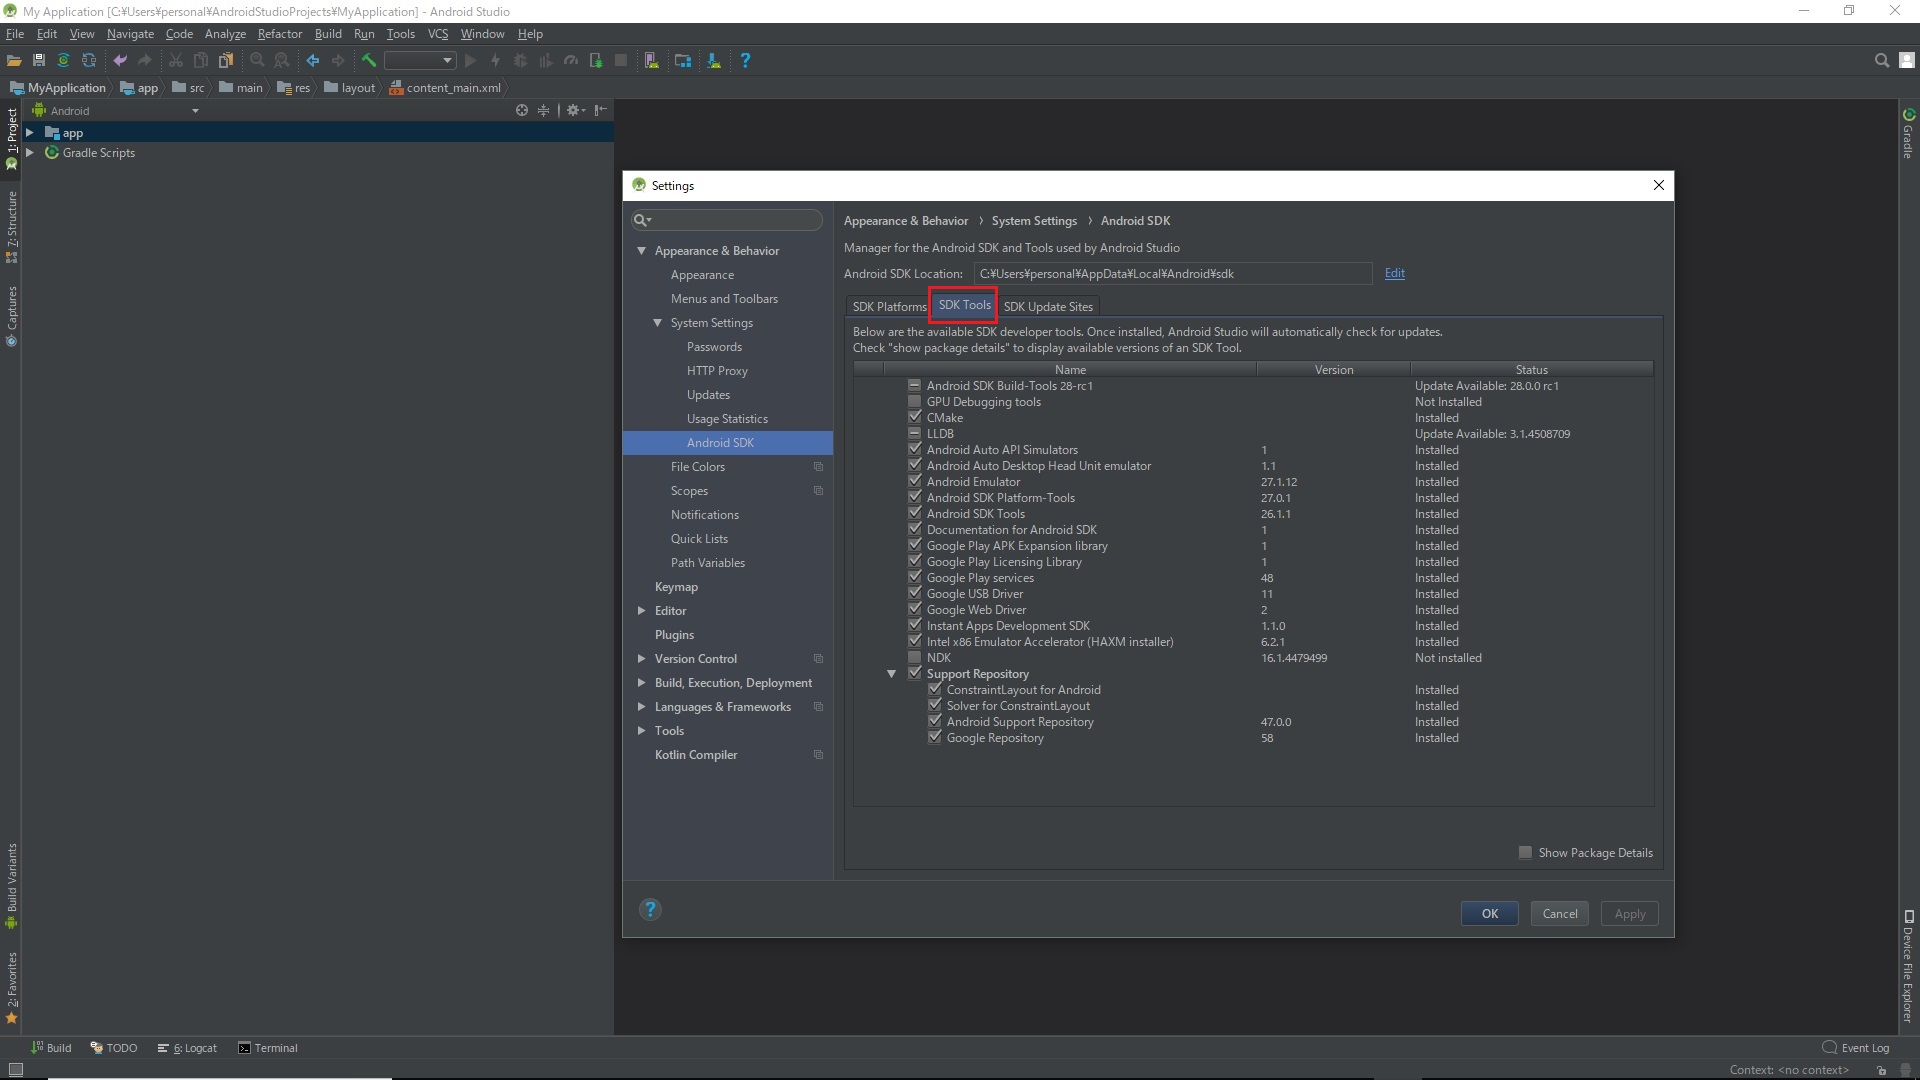
SDK Update Sites settings. Check appropriately and click the Apply button

This completes the settings.
Create a new project
Click New Project.
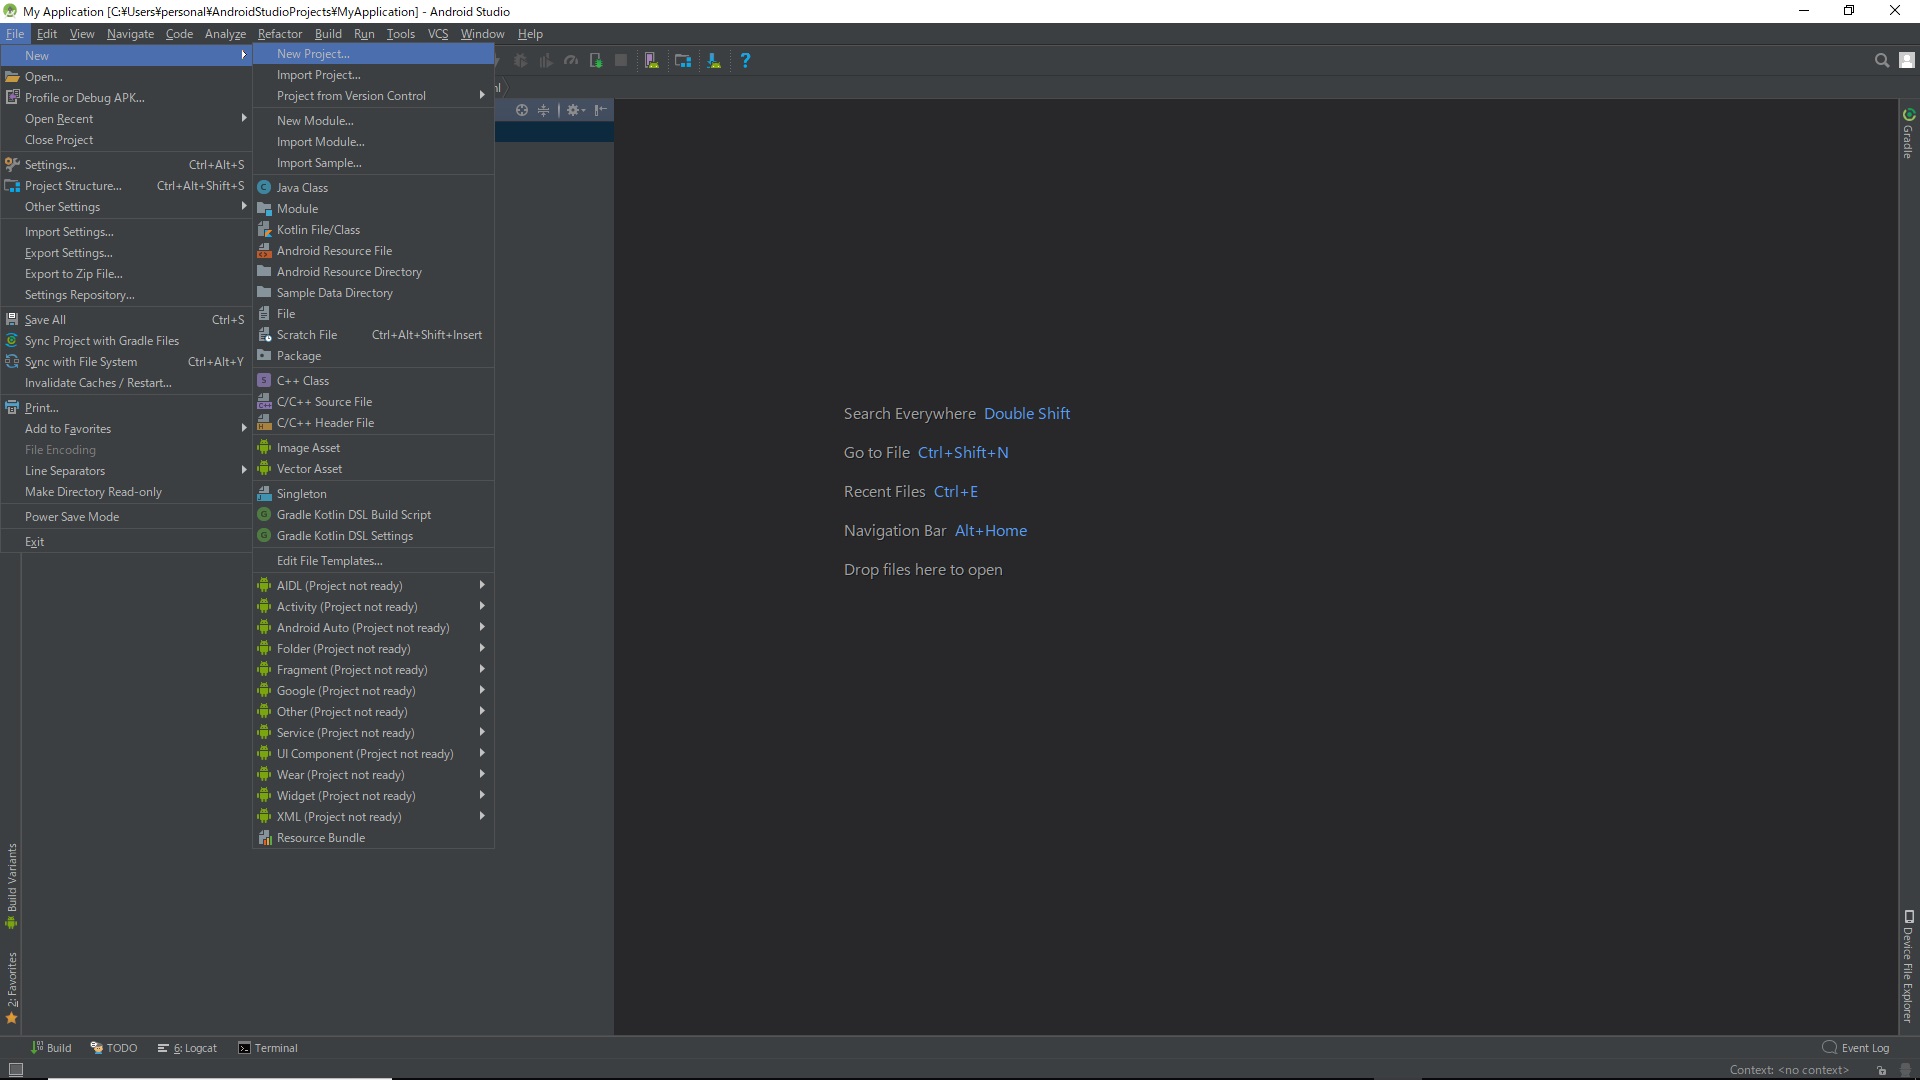
Click Next
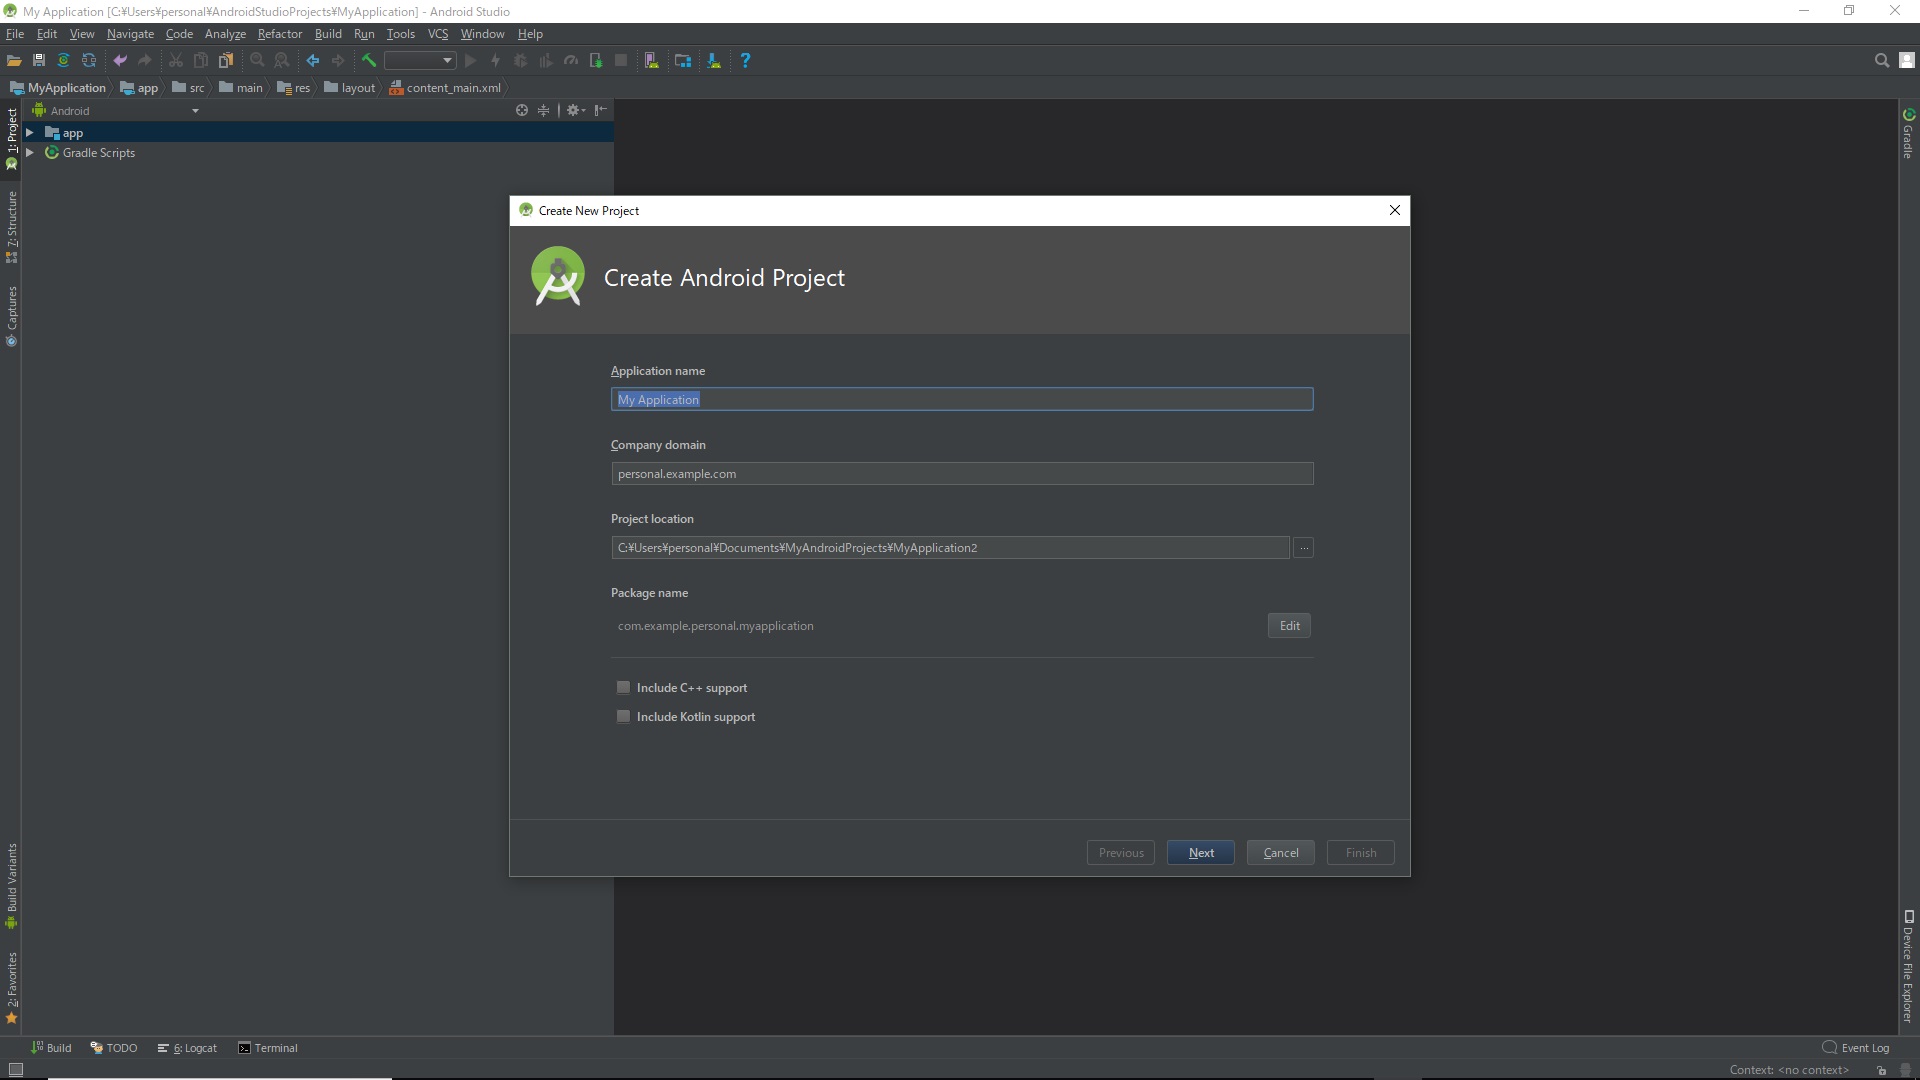
Click Next

Select ** Empty Activity ** and click Next
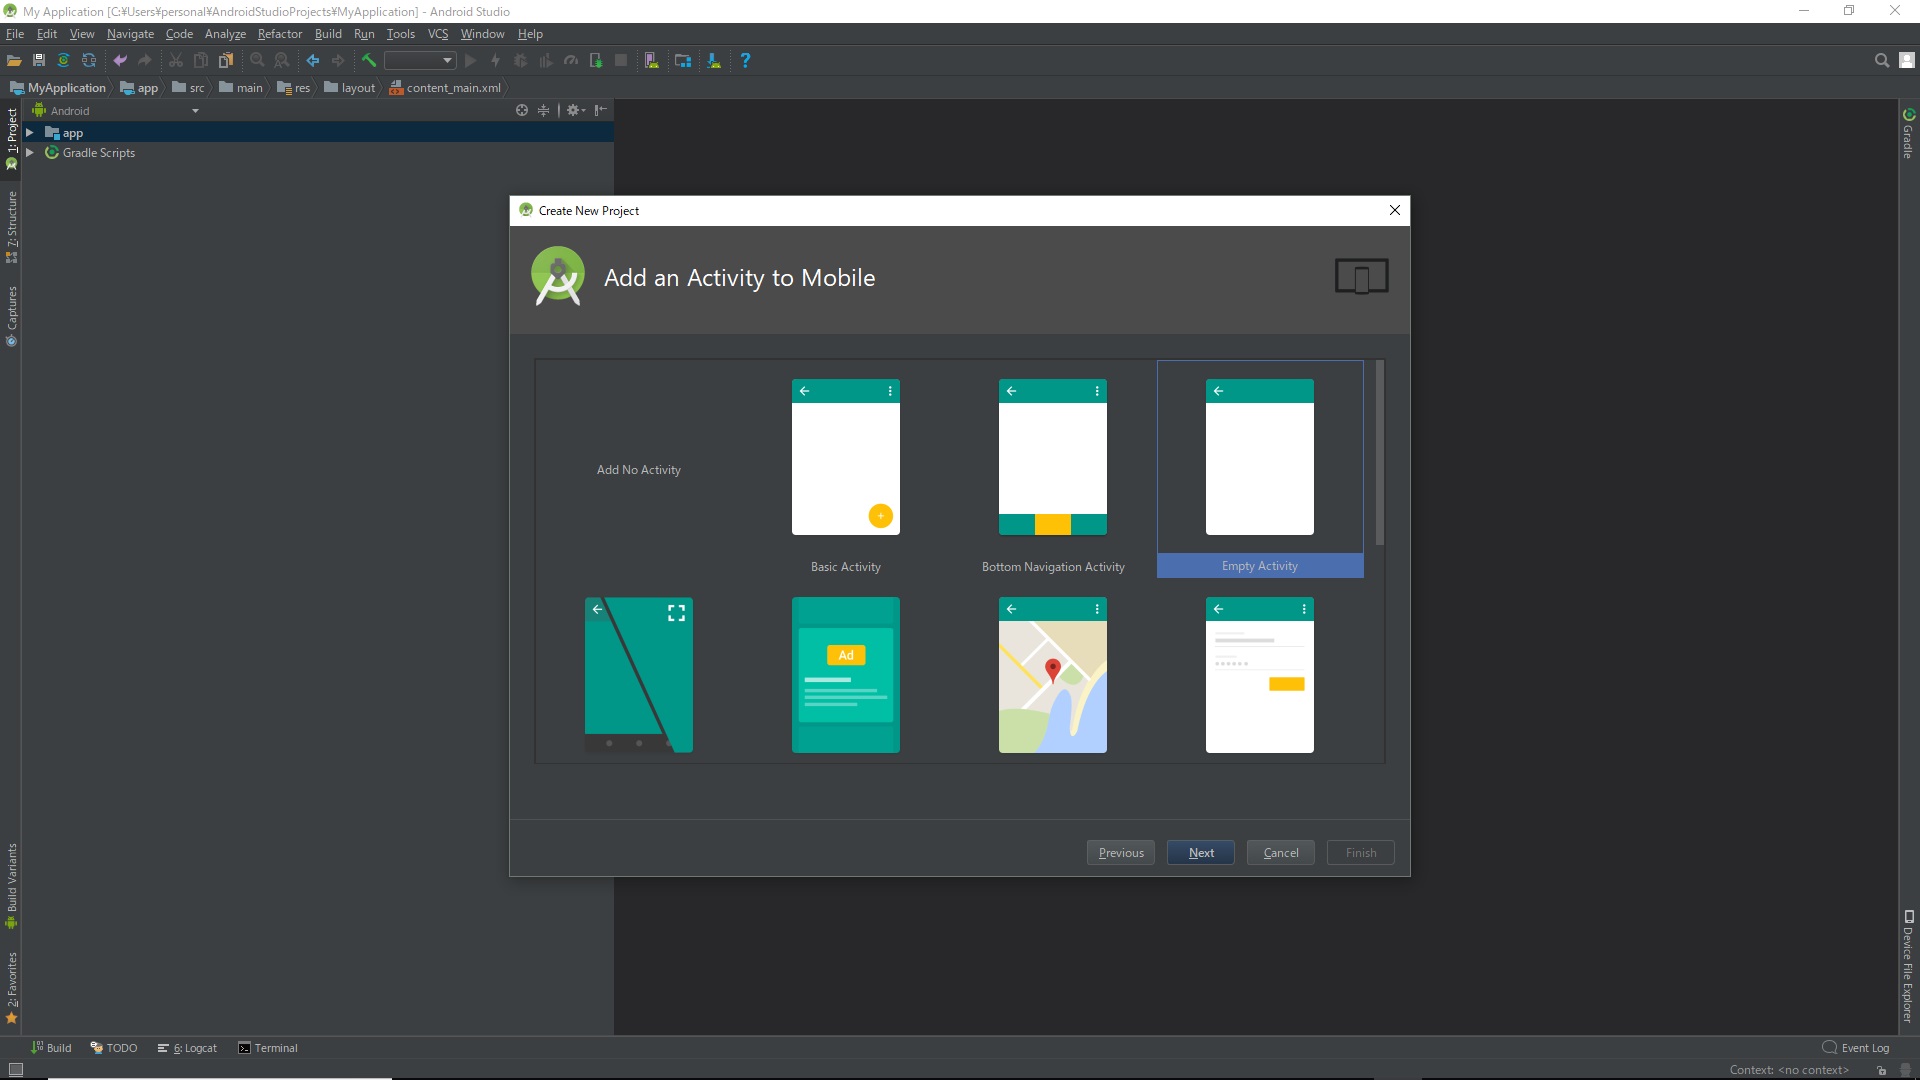
Click Finish
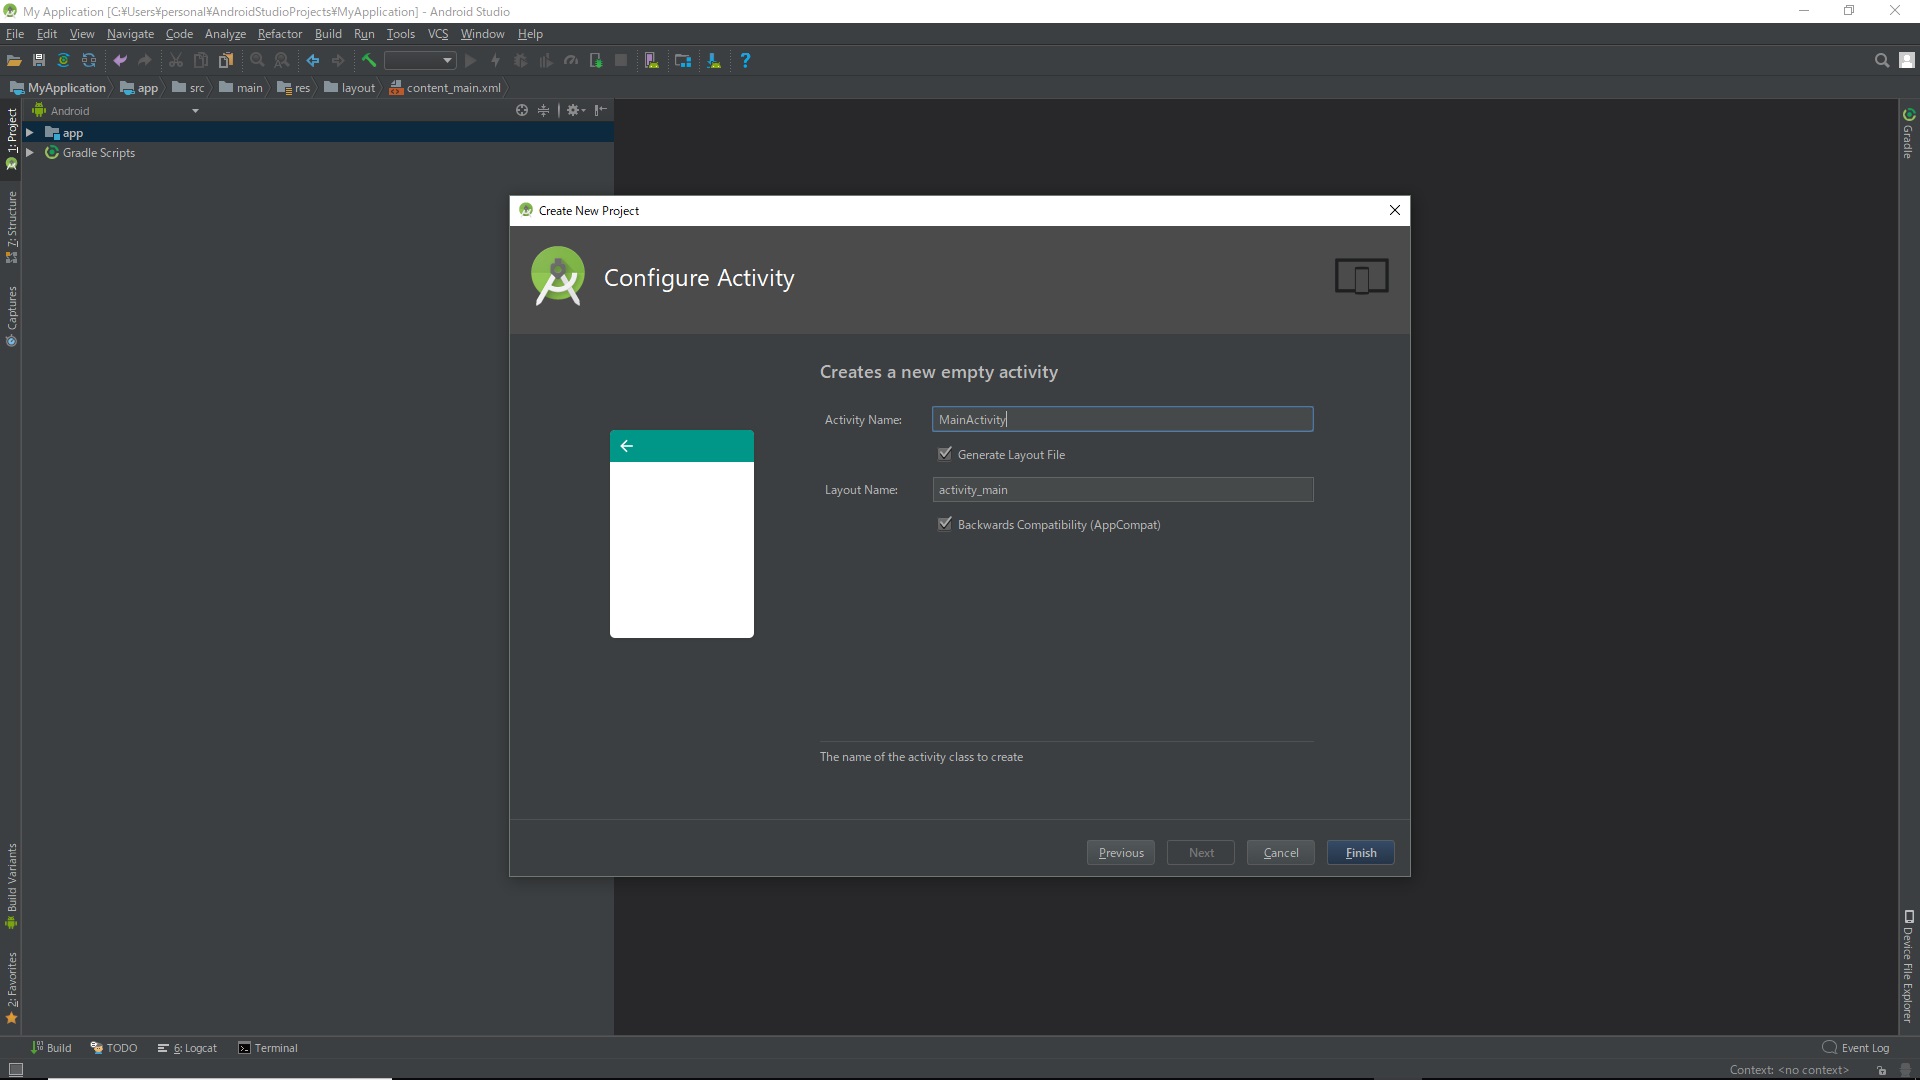
The project has been created.
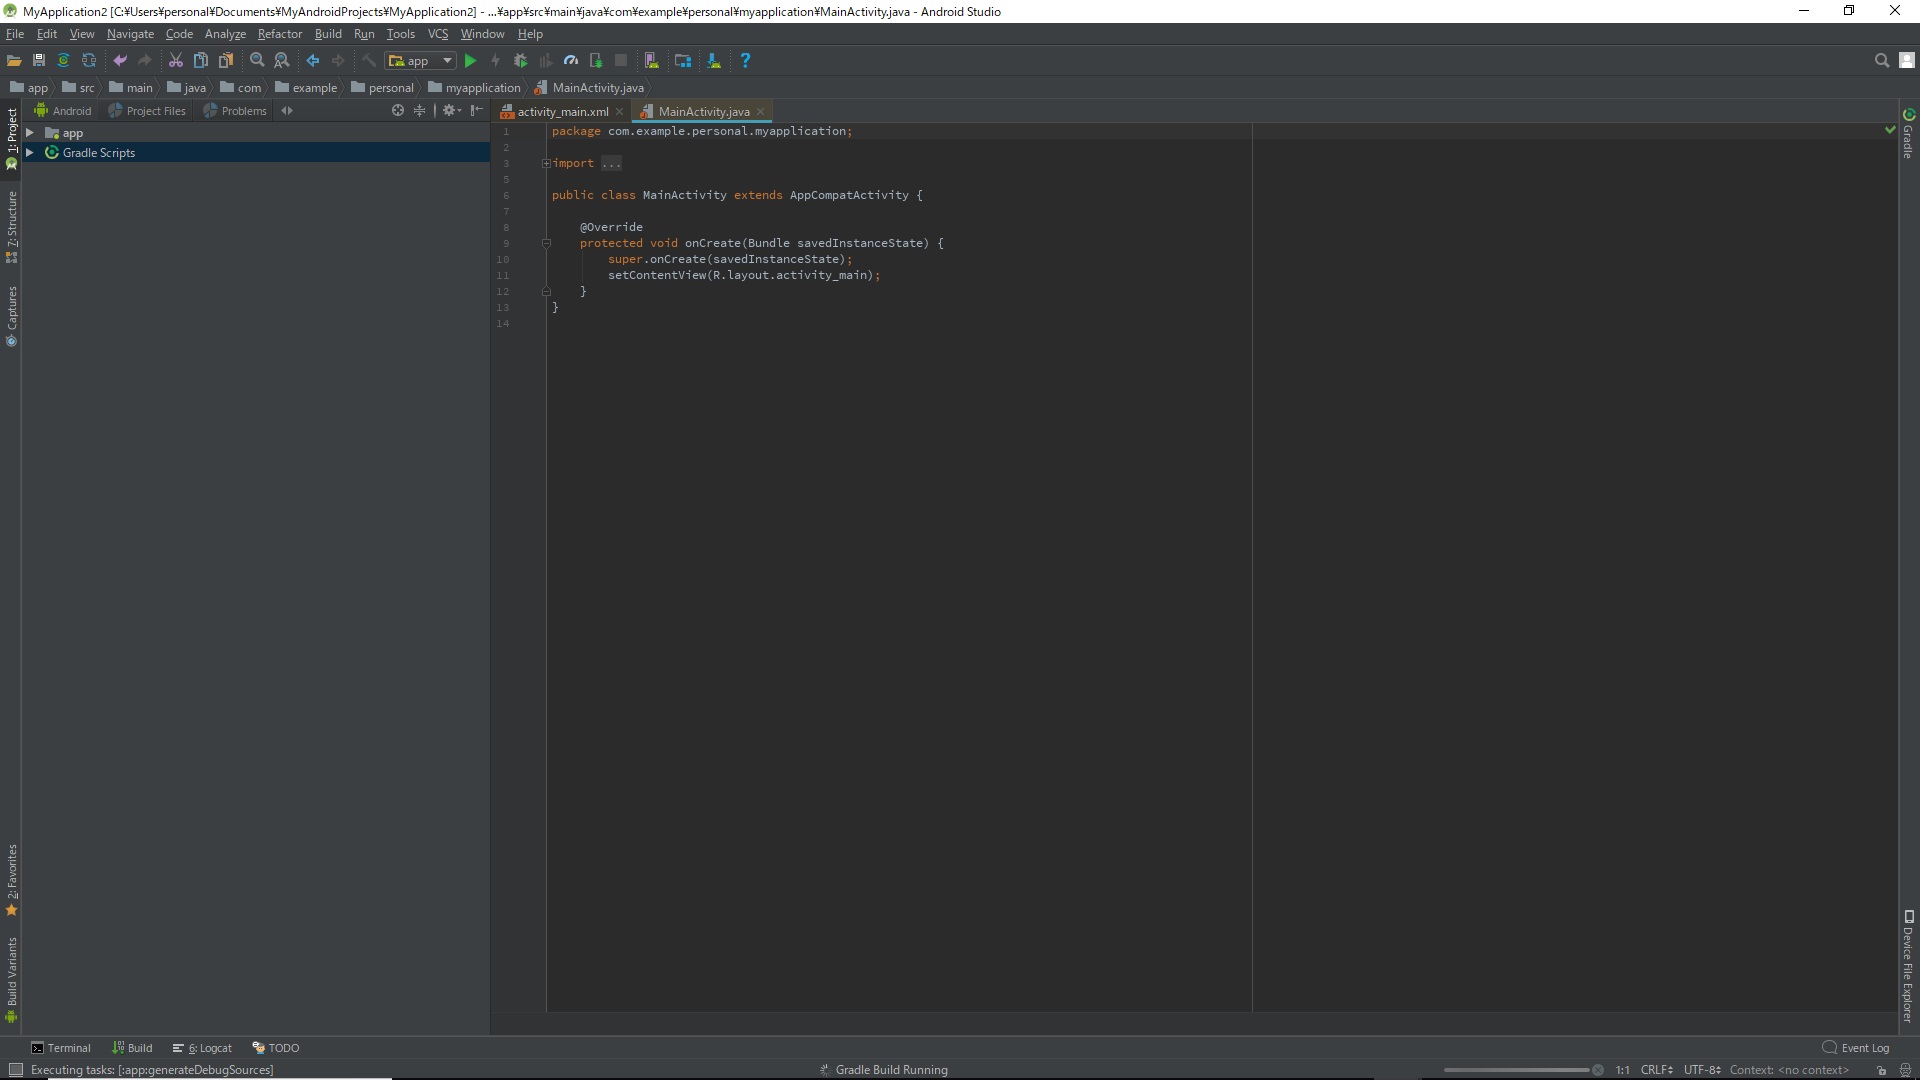
end.
The meaning of each file
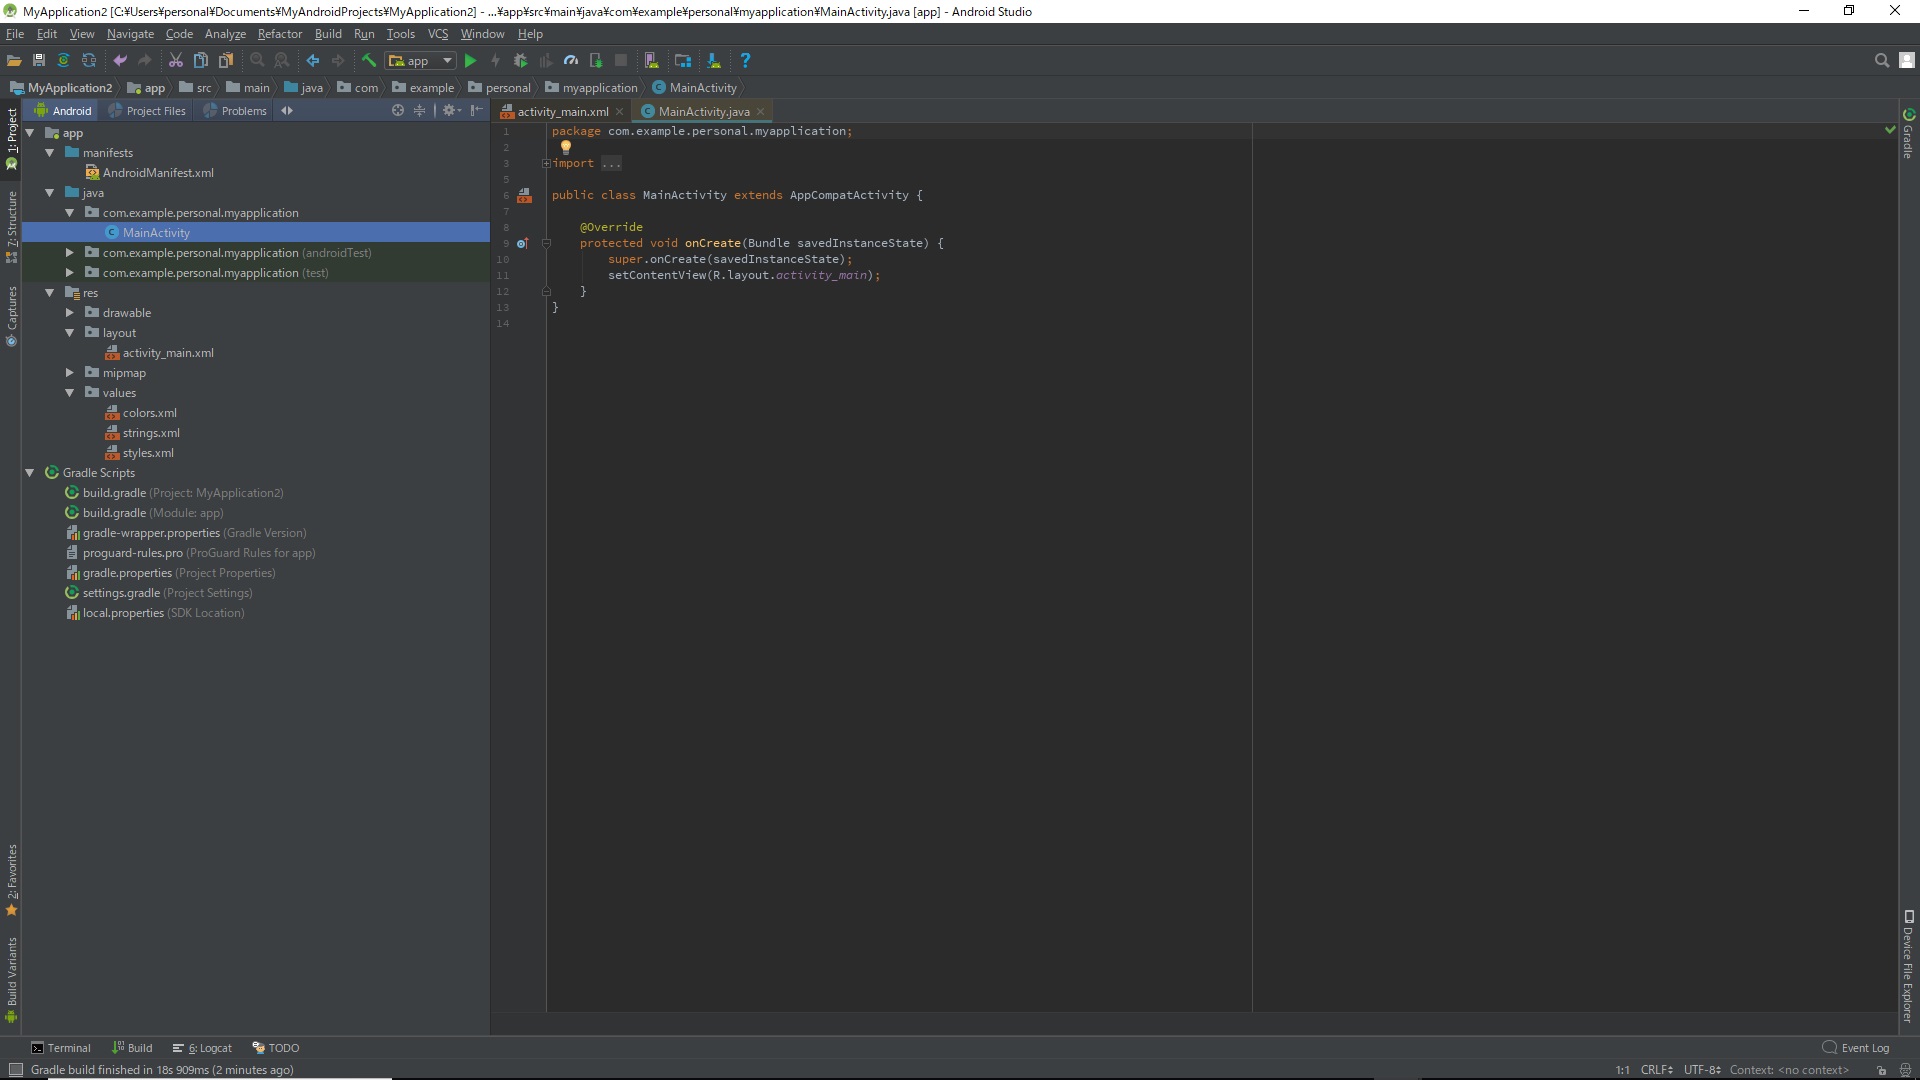
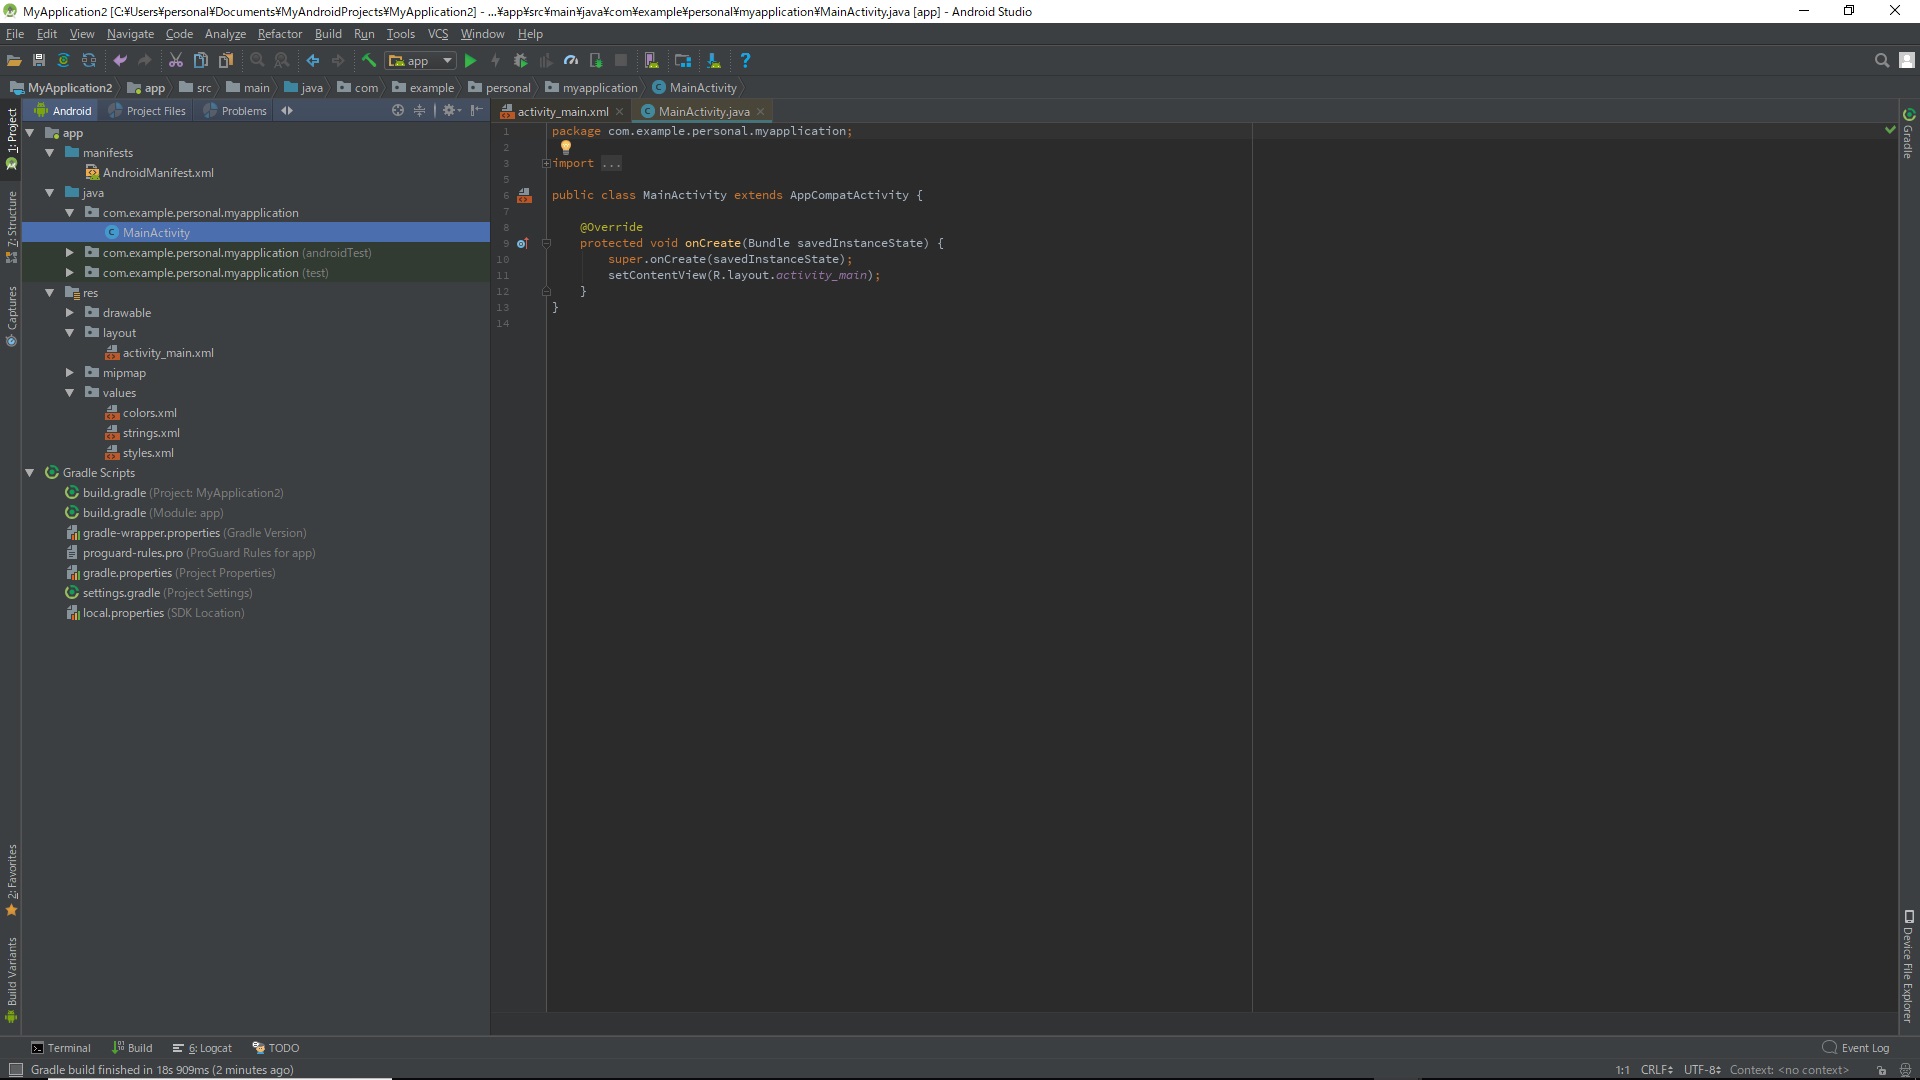
When you expand the project on the left side, the following files will be displayed.
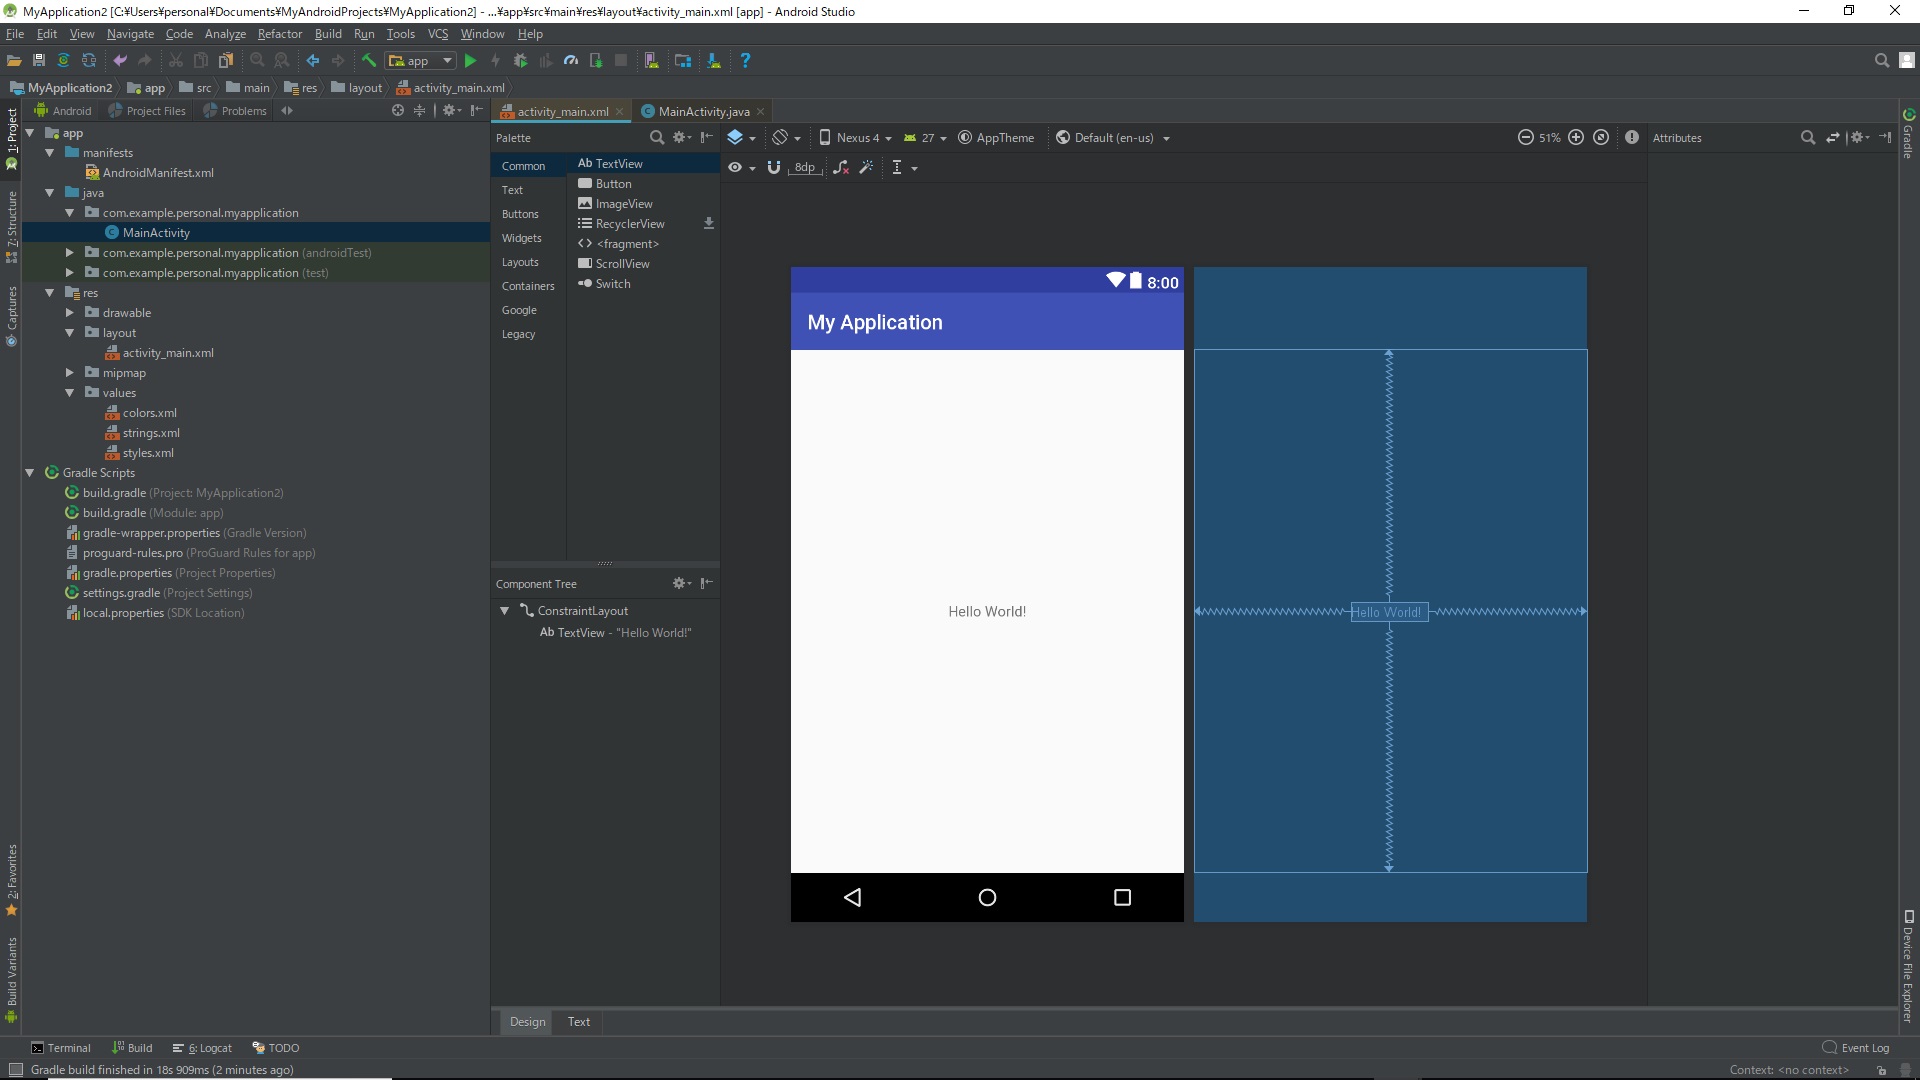
The description of the main files is as follows. This is all I know now. You can add pages as needed.
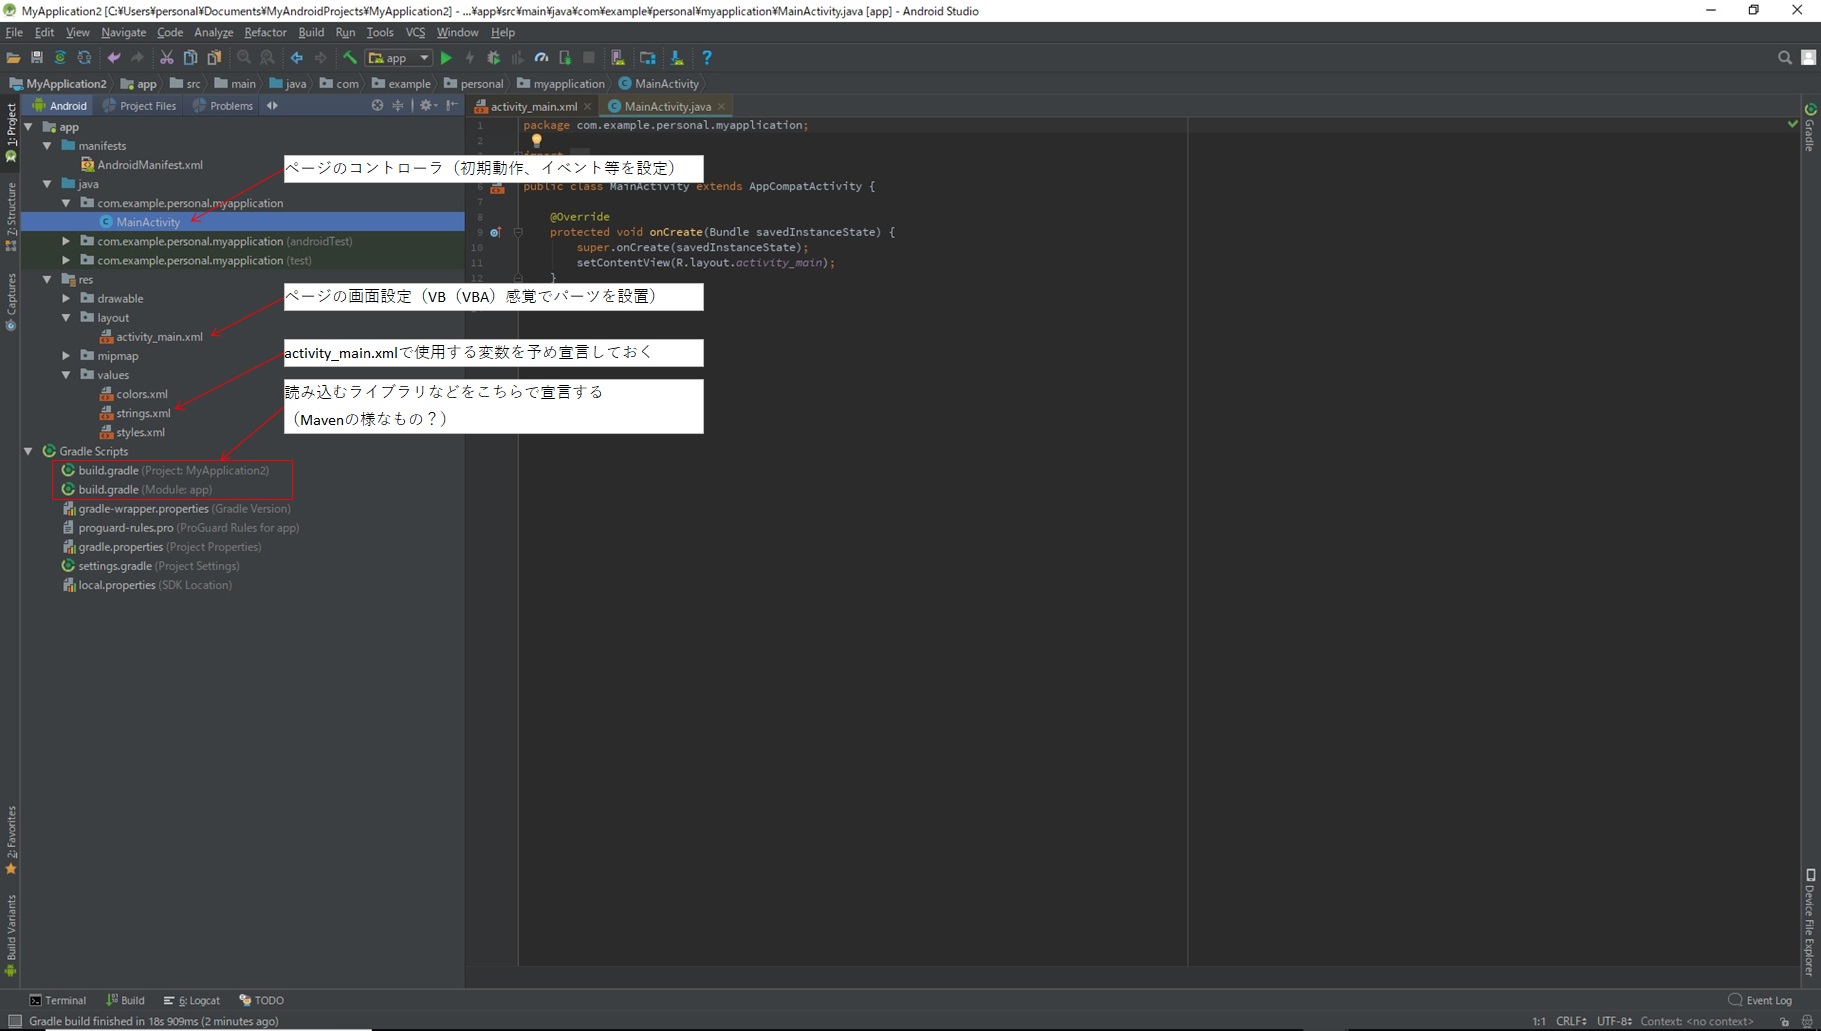
MainActivity.java Page controller (1 file per page) Write the initialization settings and settings for each event here. Basically, it seems to be written on Honyara. For details, please go to "android studio event settings" etc.
activity_main.xml Screen file I will write the screen settings here. You can place buttons etc. by dragging and dropping like VB (VBA). Assign an individual ID for each page to each part and set the operation.
Project execution
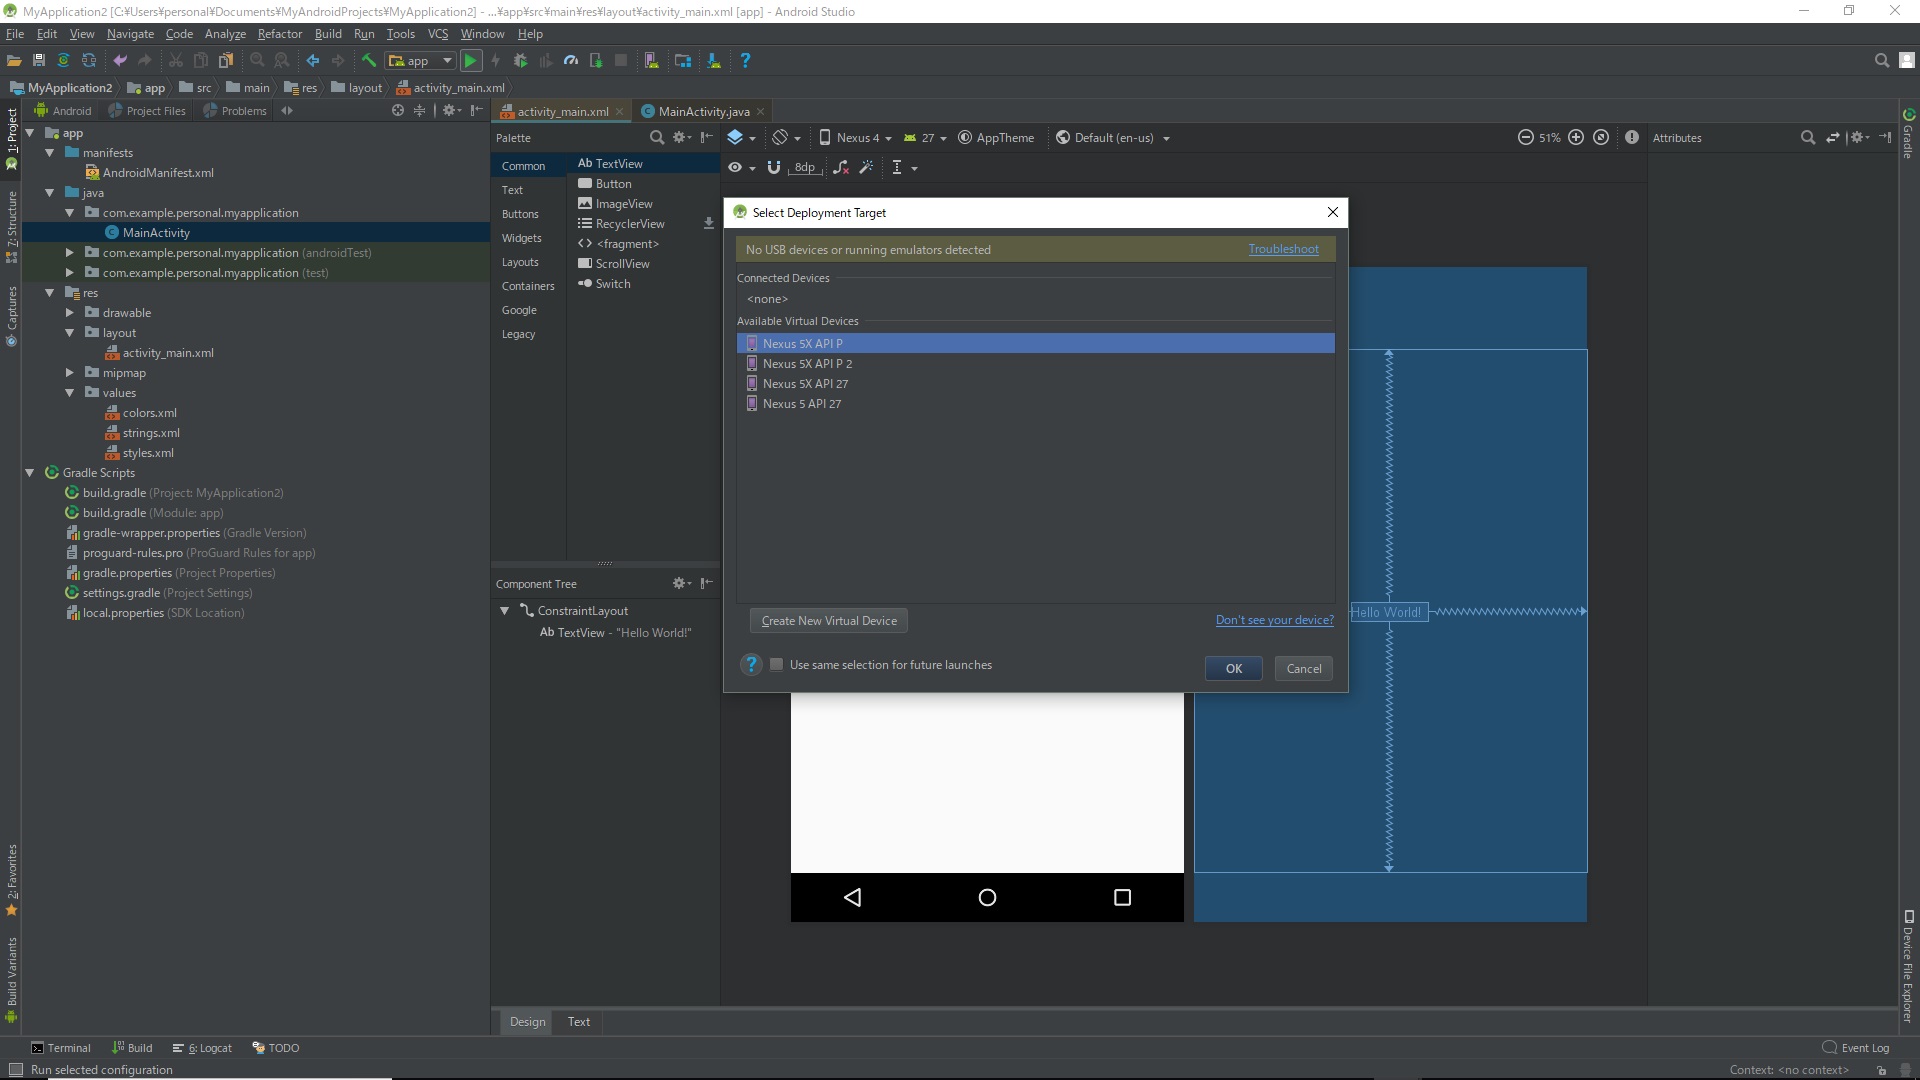
Click the green triangle button.

A screen for selecting the smartphone to be executed is displayed. The upper part of the list is the actual smartphone column, and the lower part is the virtual smartphone column. If you connect your smartphone to your computer via USB and make build settings on the smartphone side, it will be displayed in the actual device column. ~~ Please find the build setting method appropriately. ~~ If nothing is displayed, click the Create New Virtual Device button to install the virtual smartphone. Select an appropriate model and press the OK button.
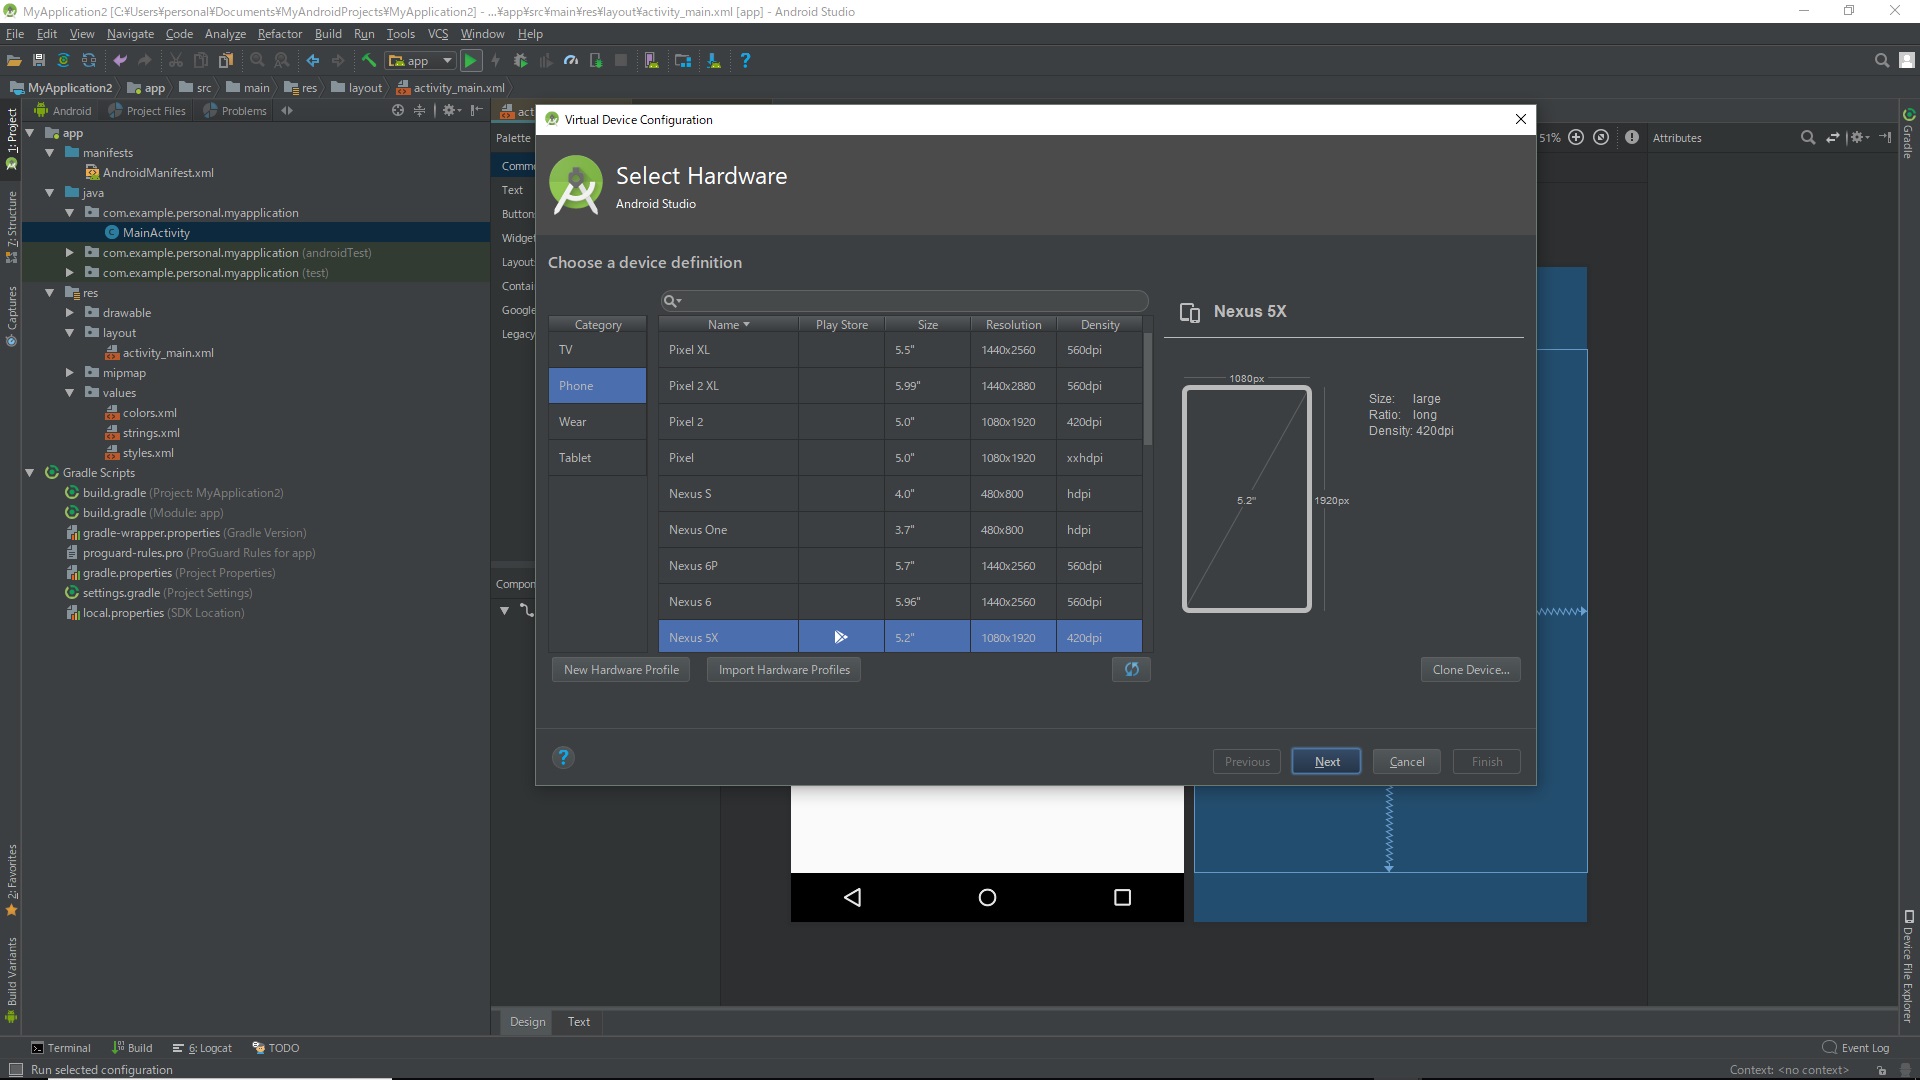
Installation of virtual smartphone
Select your smartphone and click Next.
Project execution continued
Project in progress
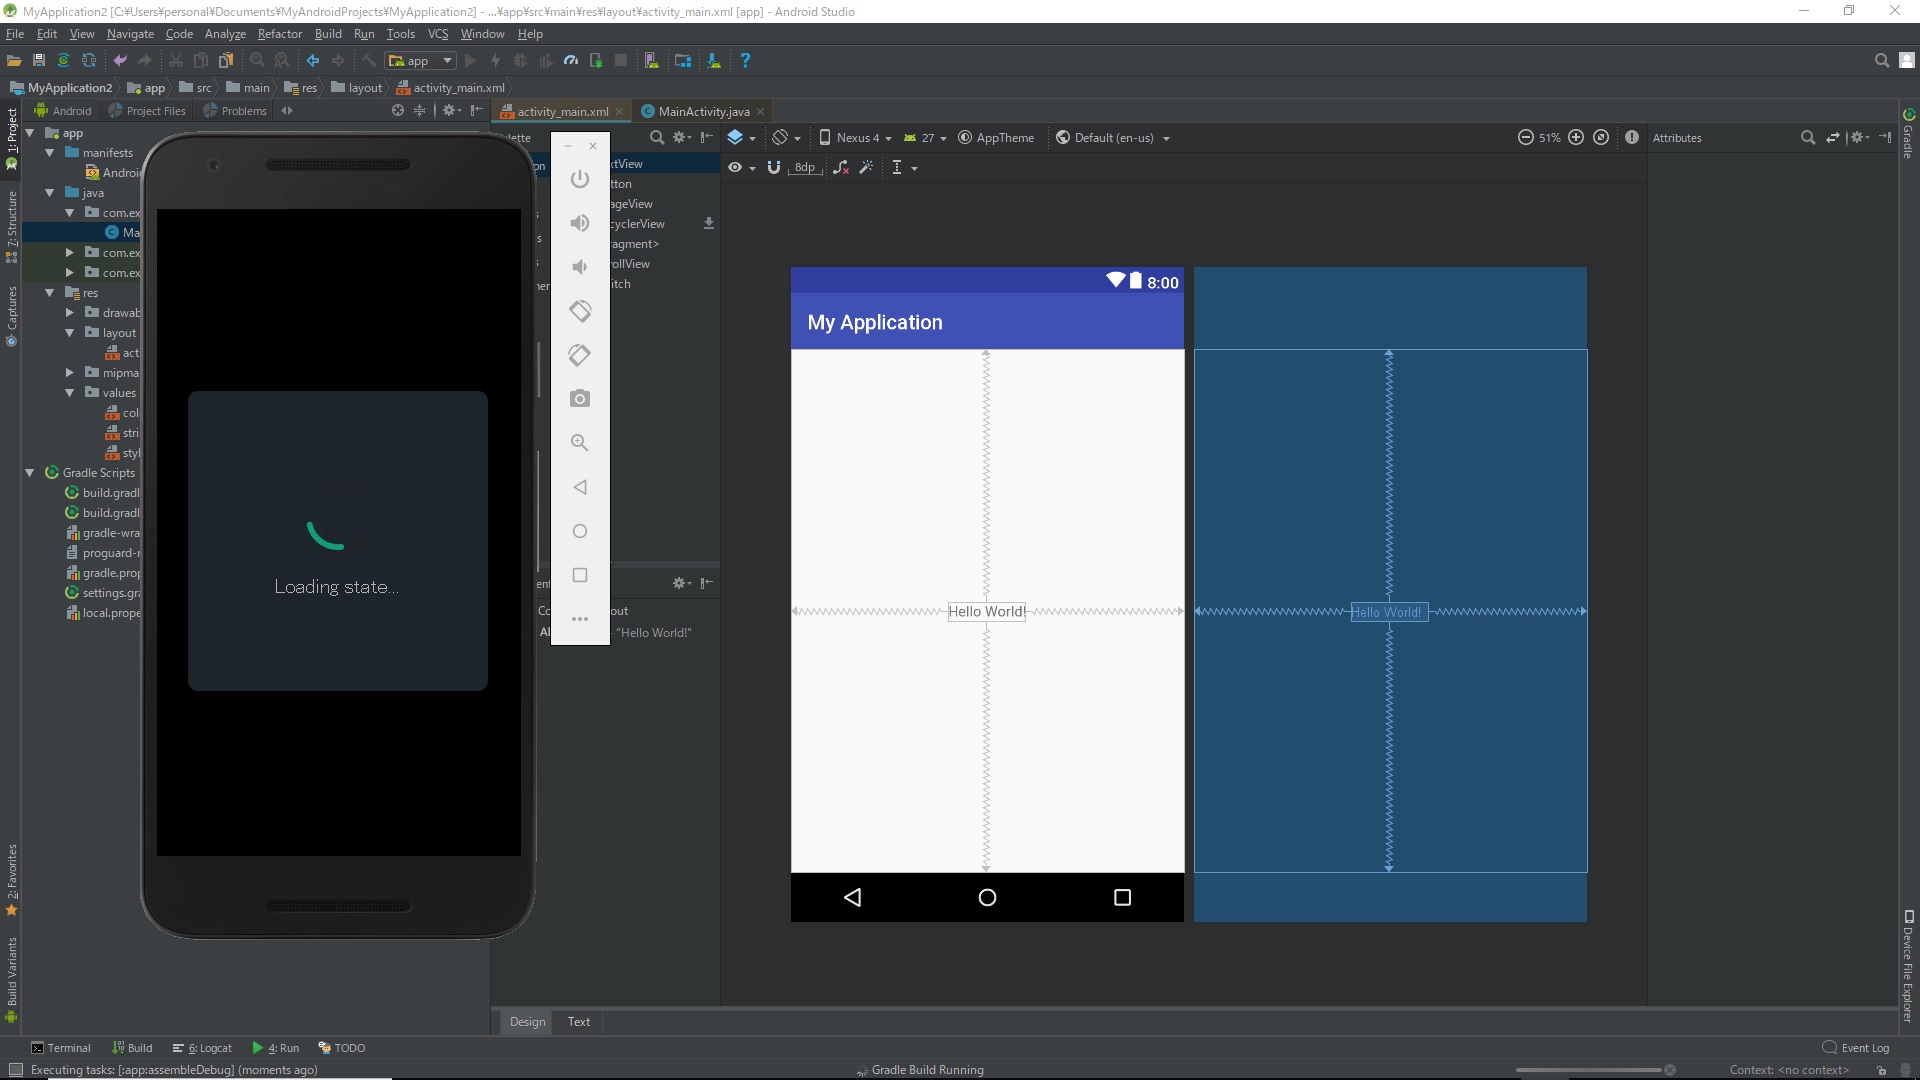
It takes a lot of time.
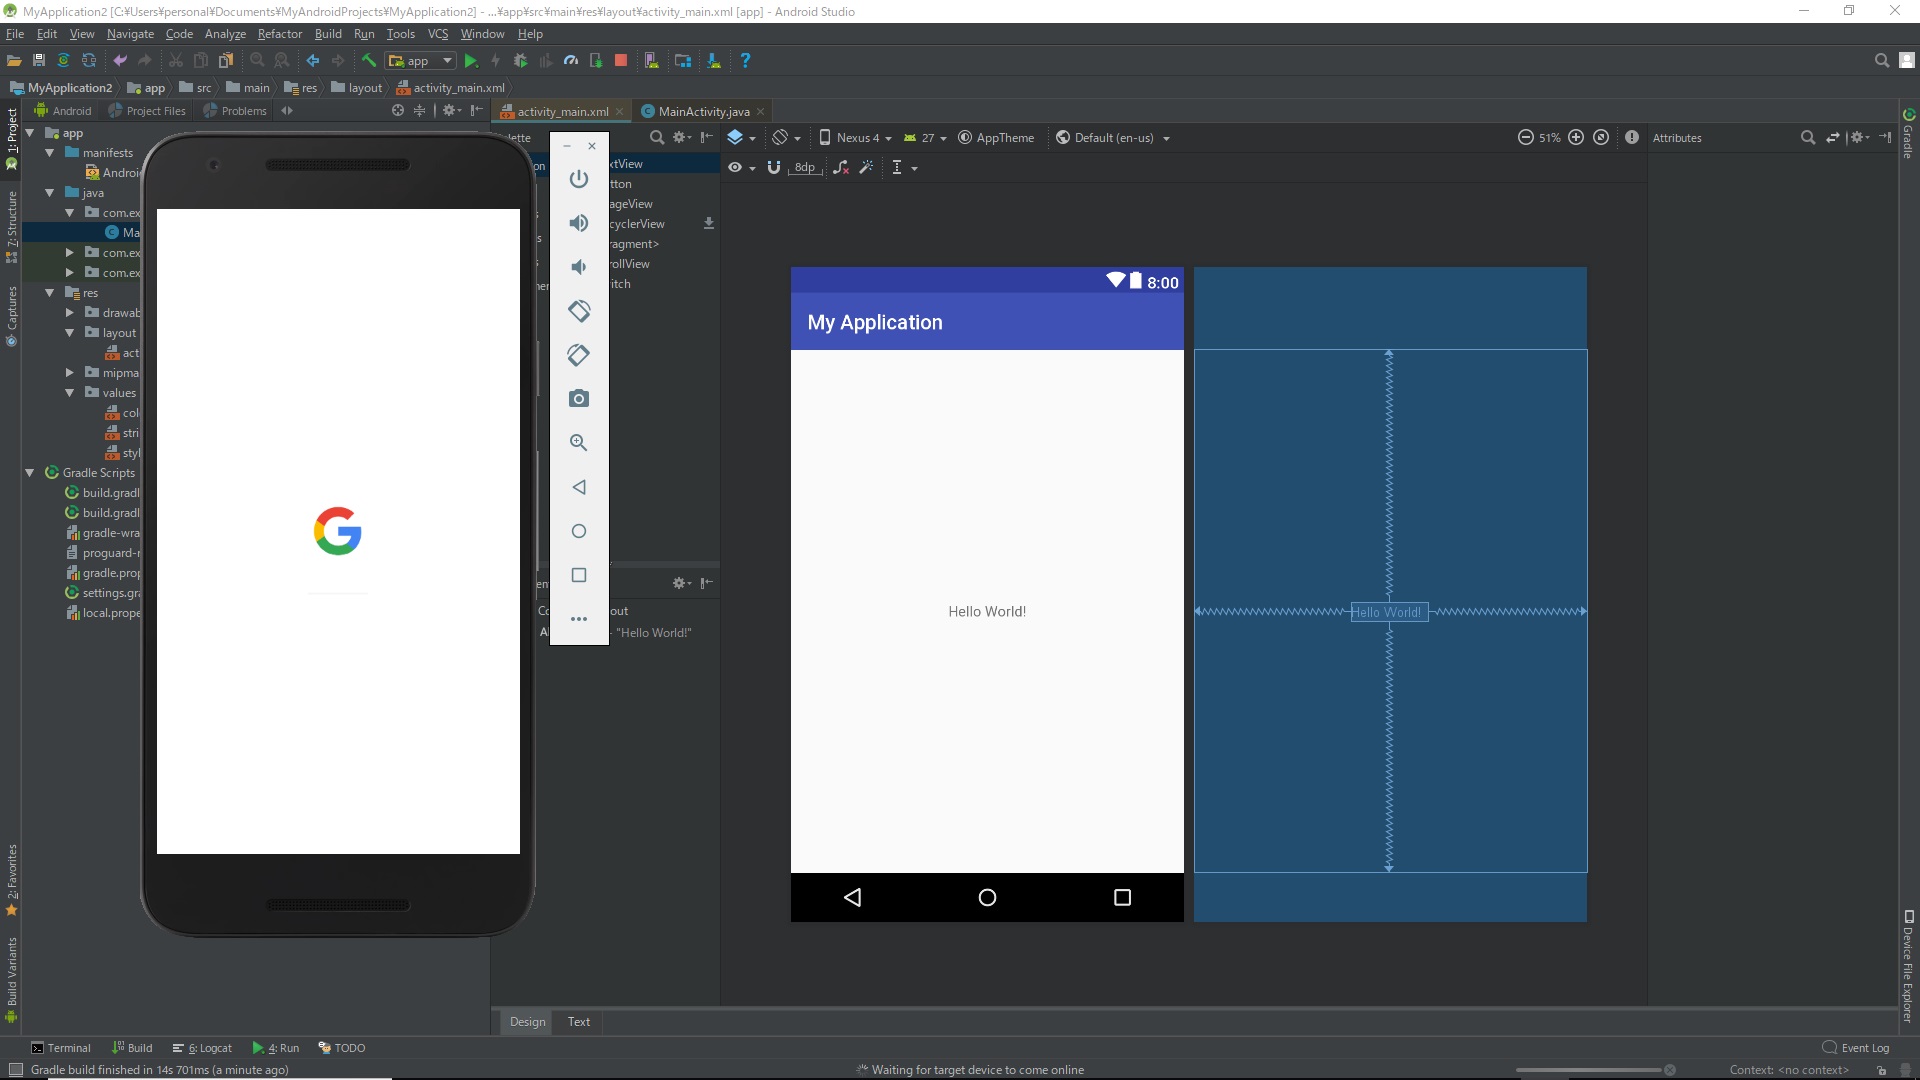
Execution completed. Hello World is displayed.

End of project
Click the red square button.
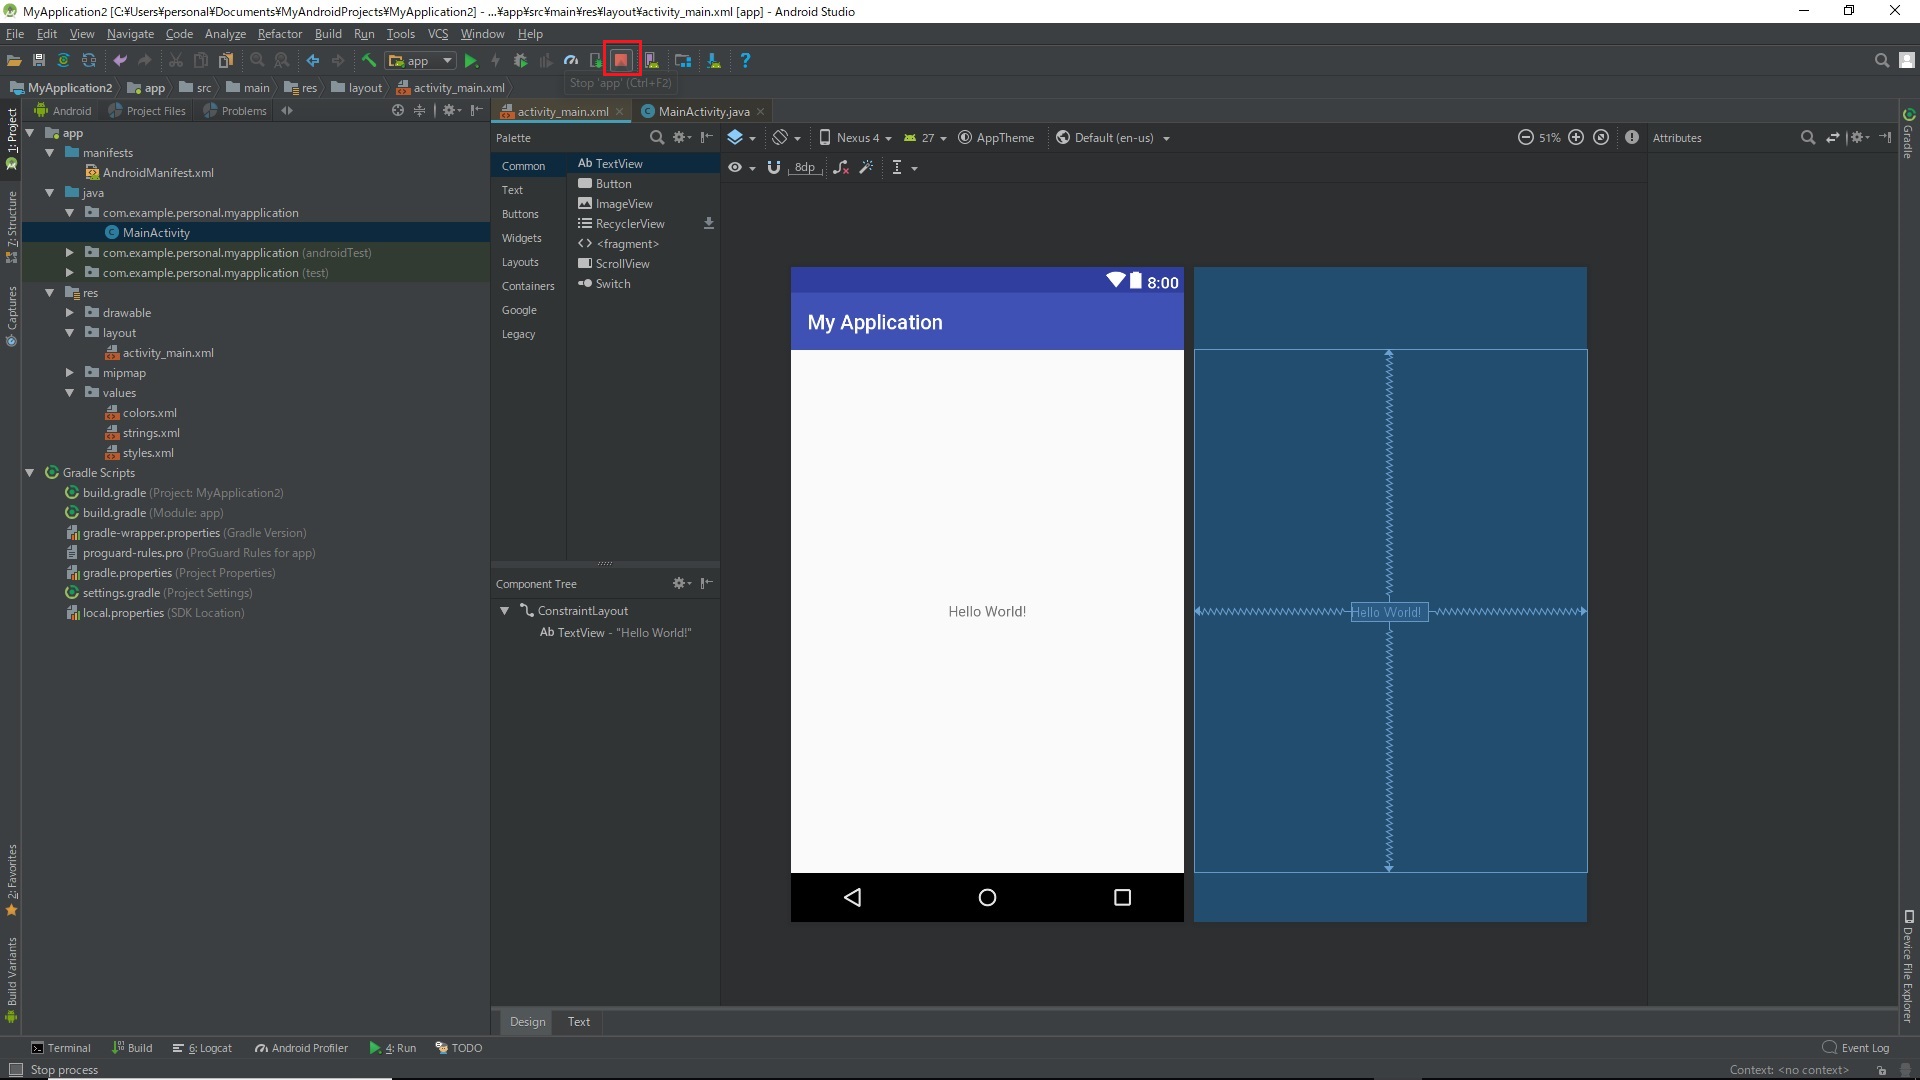
The project has been closed.
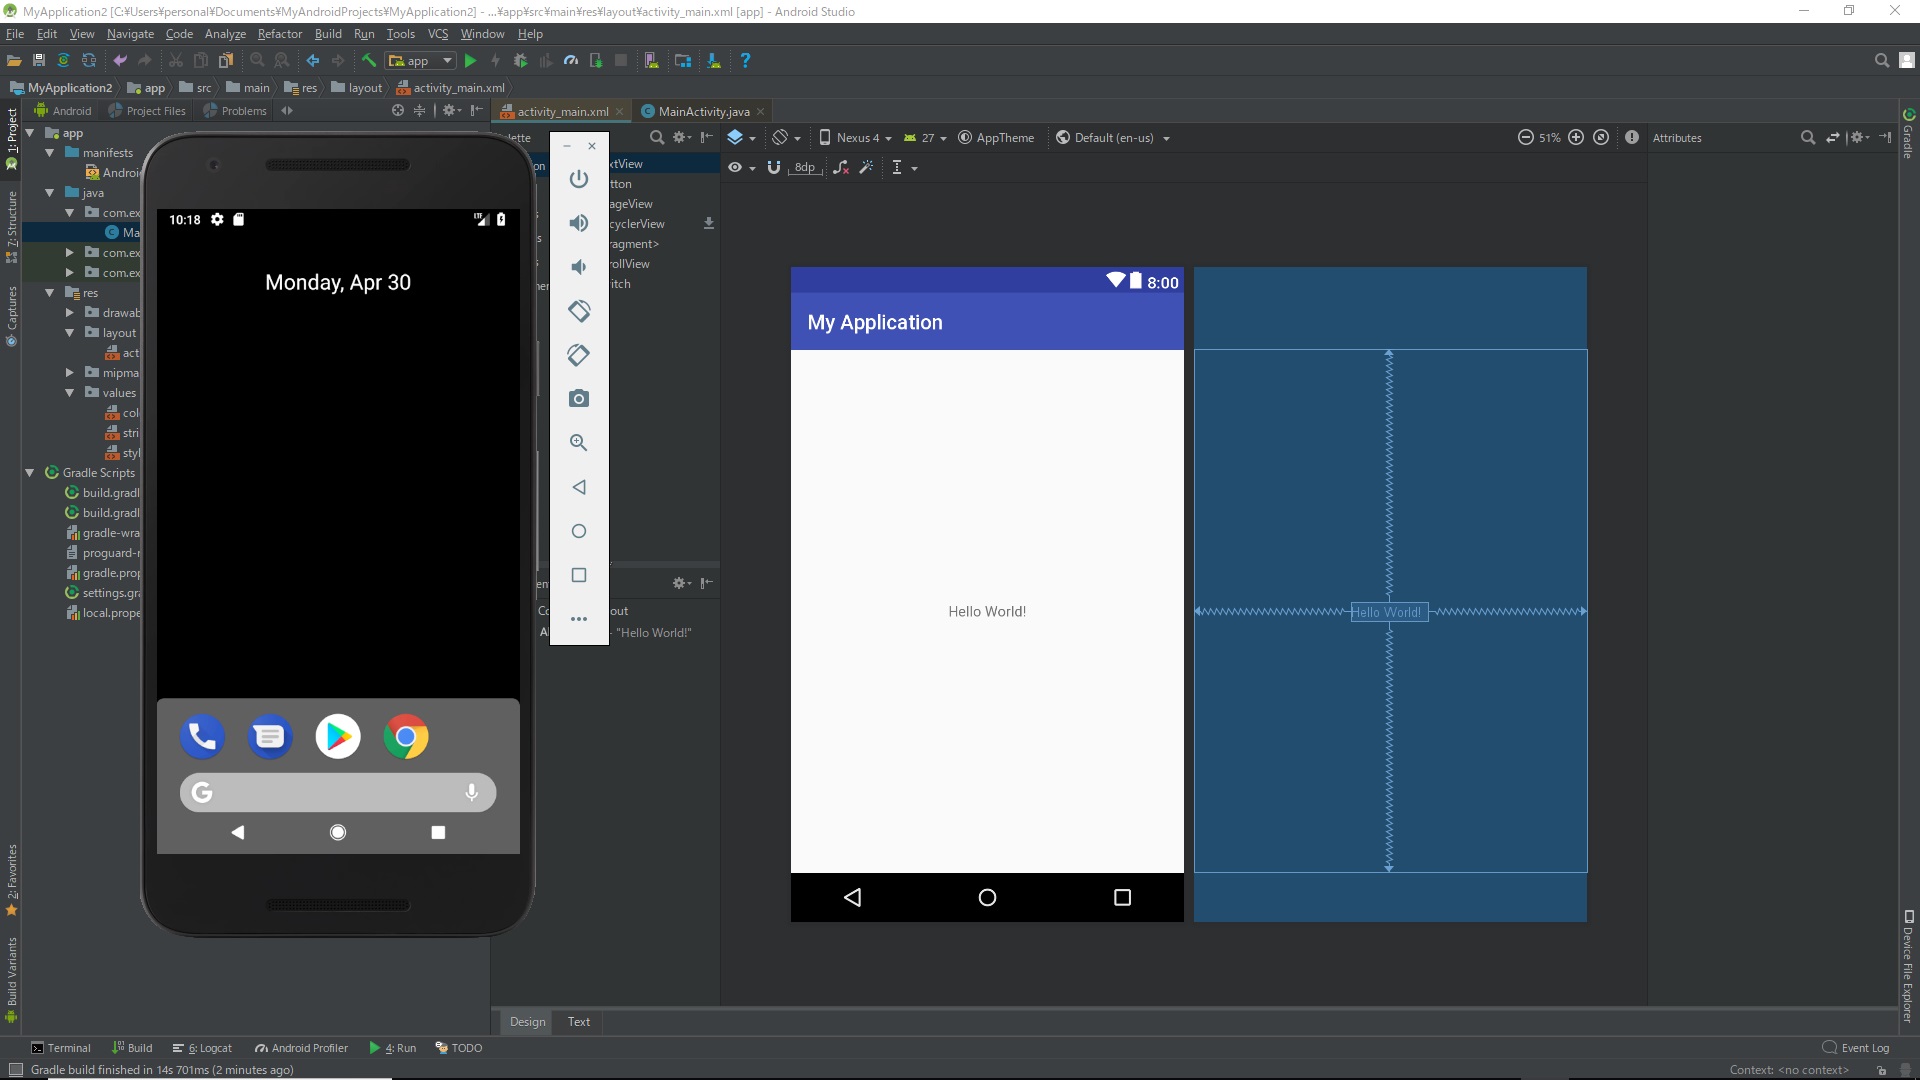
That's Hello World. ~~ Don't say "code it!" ~~
Supplement: When an execution error occurs
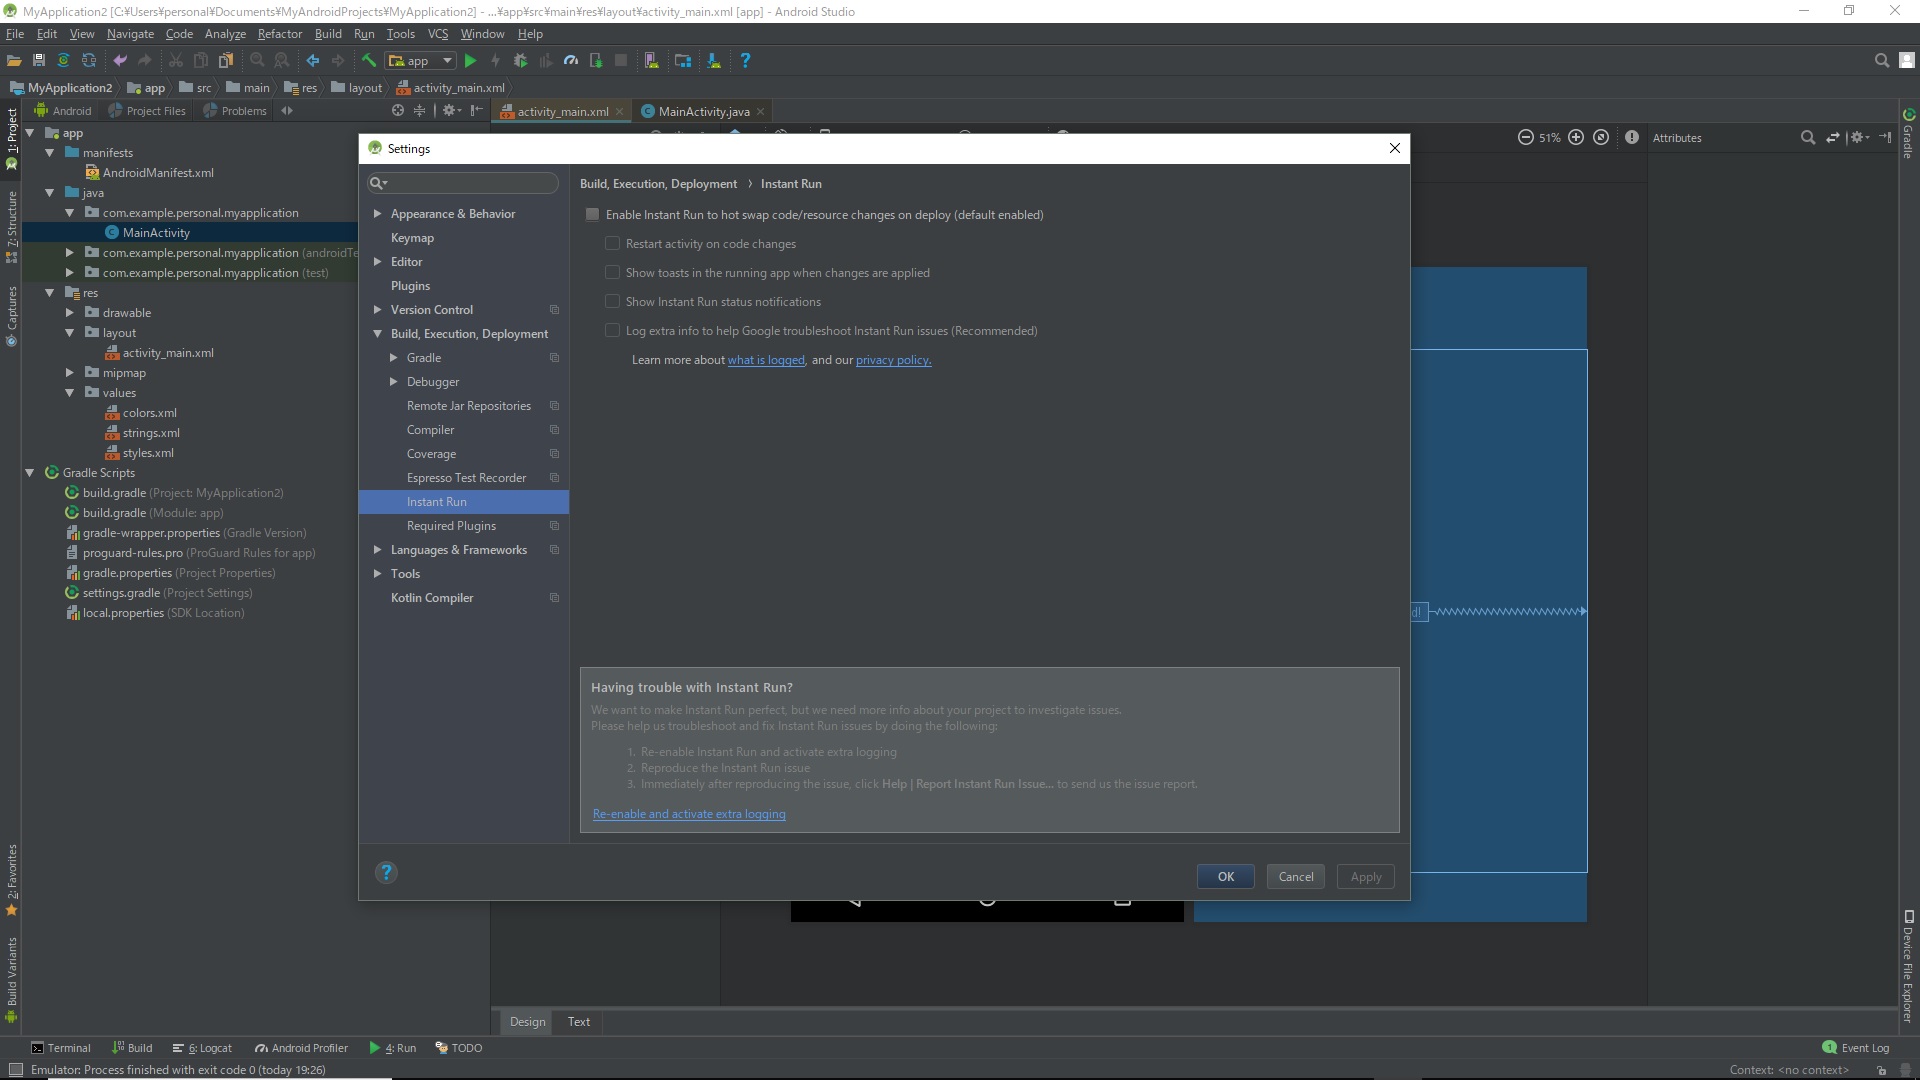
It seems that it may be executed if you try the following. ・ Open File> Settings> Build, Execution, Deployment> Instant Run ・ Uncheck Enable Instant Run to hot swap code
Event processing
Beginners try using android studio Part 2 (event processing)
Recommended Posts