Review the multilingual support (i18n) of the ios app in 3 minutes
Let's translate the English app into Japanese
The default language for ios is English.
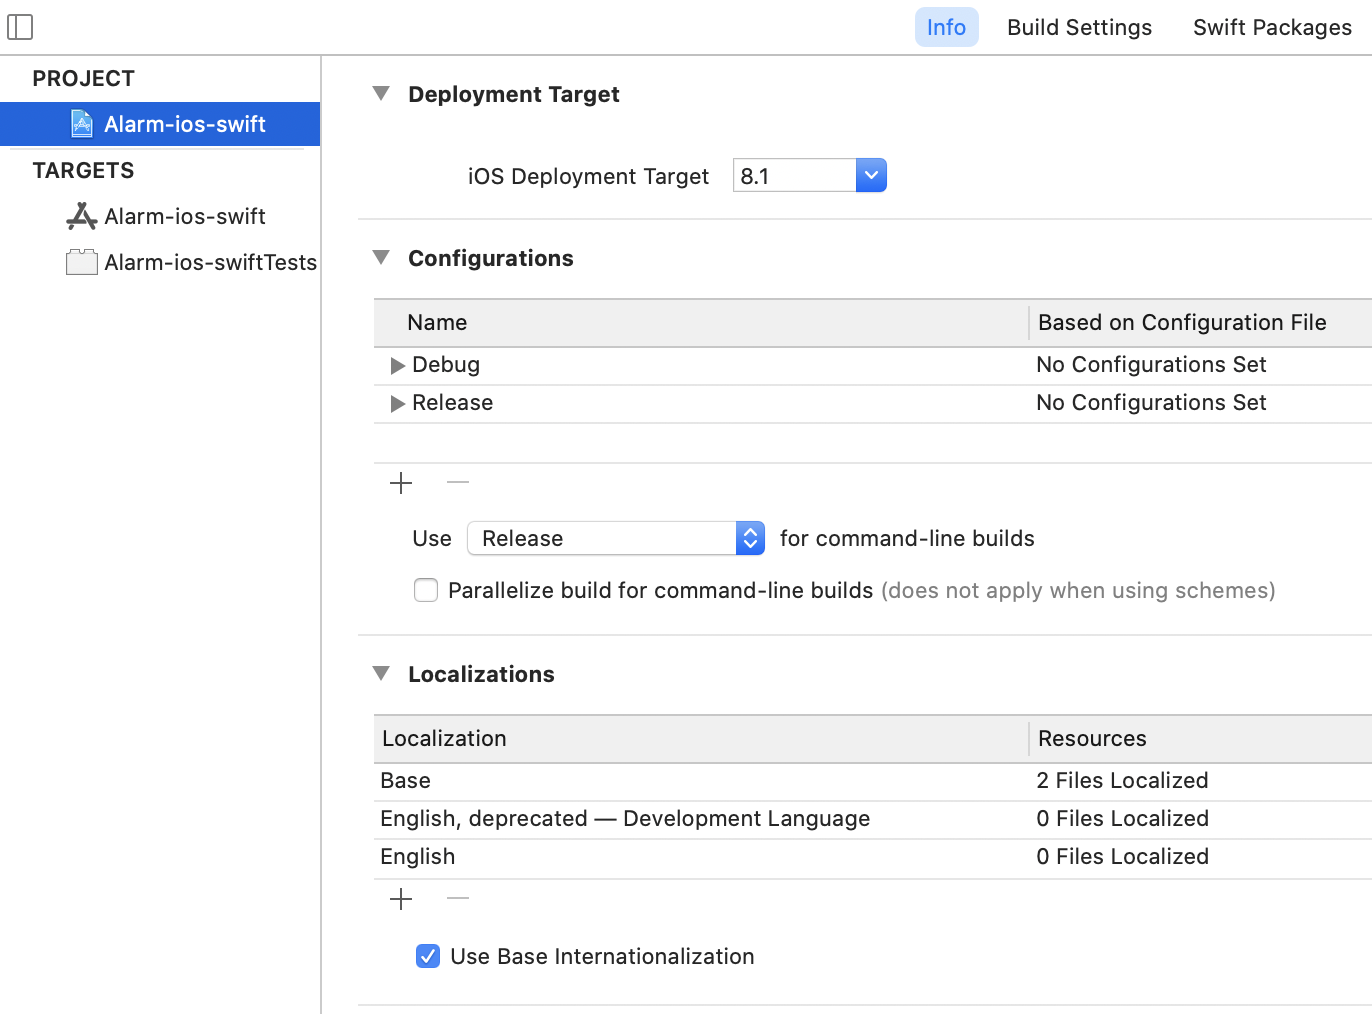
Make sure that project> info> Localizations is set to English as shown below.

Let's set Japanese i18n.
Press the + button to add ja.

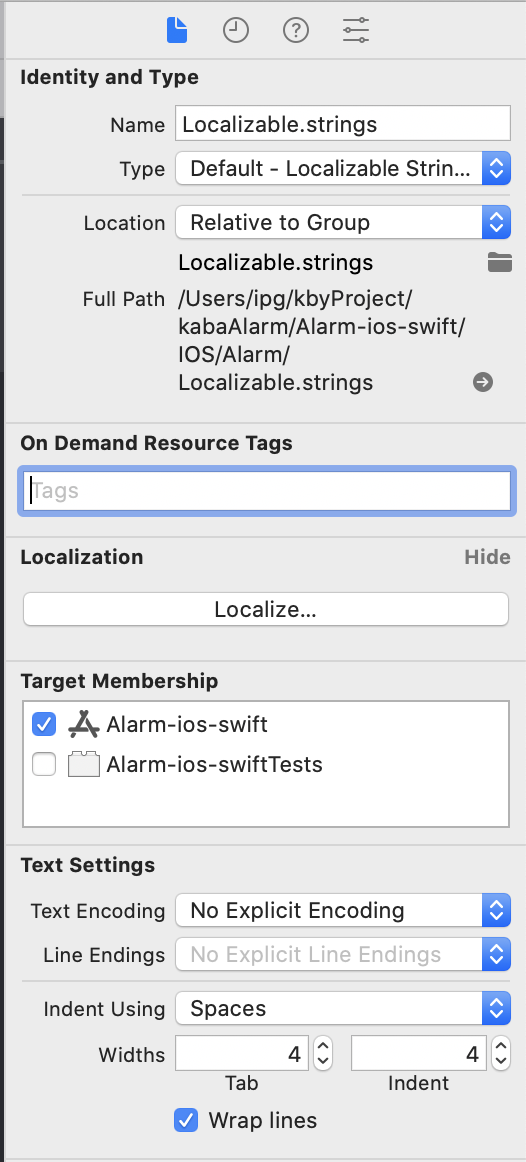
Create a string file called Localizable.strings.

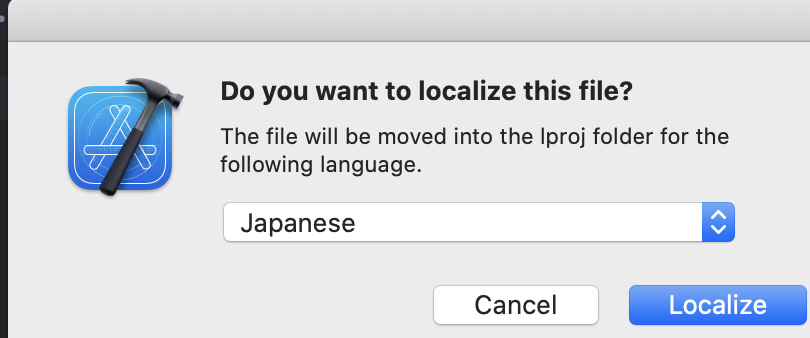
Normal files cannot be used for i18n, so press alt + cmd + 1 and press the localize button. 
A dialog will appear Let's select japanese.
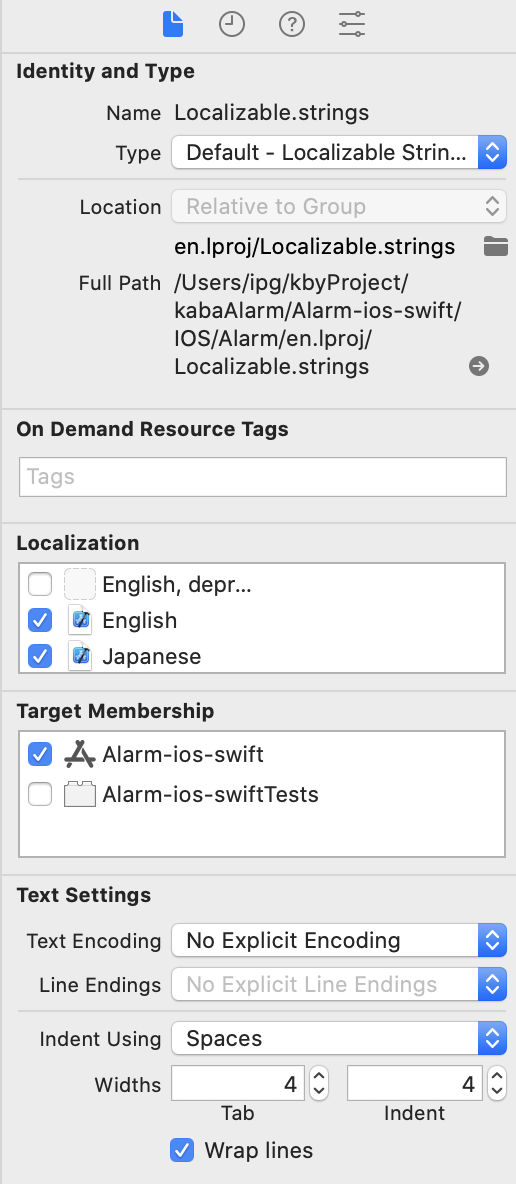
Make sure japanese and english are selected.
 The following 2 files are created.
Localizable.strings (Japanese)
Localizable.strings (English)
At this point, ios will automatically support i18n to some extent. For example, words such as "cancel" and "save" will be i18n compatible.
Supports i18 for solid words in source code
If there is a word in the source code that you want to support i18n, create a definition for each language as shown below and support it with NSLocalizedString.
// Localizable.string(Japanese)
"Hello" = "Hello";
"Buy" = "Buy this book";
"Register" = "Register for a new account";

// Localizable.string(English)
"Hello" = "Hello";
"Buy" = "Buy this book";
"Register" = "Register for a new account";
let buttonTitle = NSLocalizedString("bear", comment: "The name of the animal") print(buttonTitle)
Supports StoryBoard for i18
A multilingual file corresponding to each Storyboard should be generated. For Main.storyboard Main.strings(Japanese) Should have been made. Example
// Main.strings (Japanese)
"uZq-Aj-erb.text" = "Every Wednesday";
"uZq-Aj-erb.text" = "Wednesday";
If you rewrite the wording in it to Japanese, multilingualization will end
reference
https://www.hackingwithswift.com/example-code/uikit/how-to-localize-your-ios-app
Recommended Posts