How to use Apache Derby on Eclipse
Introduction
As a continuation of the previously written [Eclipse] Installing DB Viewer, I summarized how to use Apache Derby with DB Viewer.
What is Apache Derby
- RDBMS made in Java.
- Has both "client / server mode" like Oracle and MySQL and "embedded mode" like SQLite.
Preparing Apache Derby
download
- Download the JAR file from the Apache Derby site.
- If you look at the Download page, the available versions of Apache Derby differ depending on the Java version, so check the Java version you have. And then download.
- In my case, my Java version was Java8, so I downloaded Apache Derby-10.14.2.0.
Installation
- Extract the ZIP file and place it in the desired folder.
- This time, I placed it under
C: \ Program Files. - This time, I didn't do any work such as passing through the PATH.
Settings on Eclipse
DB registration
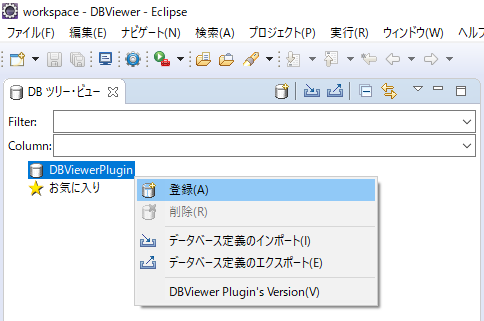
- Open the DBViewer perspective, right-click DBViewerPlugin and select Register.
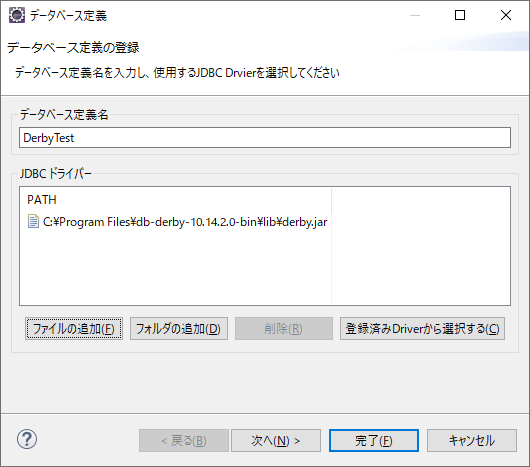
- When the [Database definition-Register database definition] screen opens, enter an arbitrary definition name.
- Next, click [Add File] and set the path of Apache Derby (derby.jar) that you placed earlier as the JDBC driver.
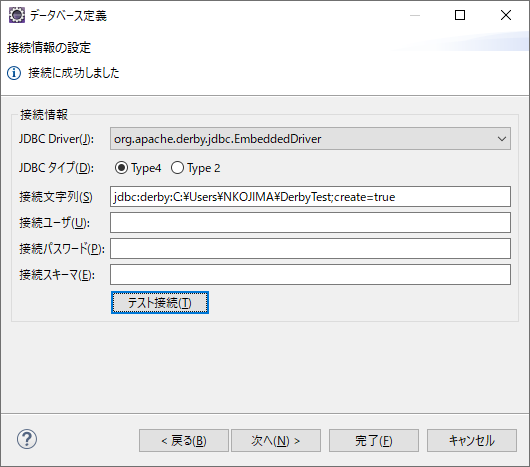
- In the screen called Database Definition-Set Connection Information, select the type of JDBC driver.
- This time, I chose ʻorg.apache.derby.jdbc.EmbeddedDriver` to operate in embedded mode.
- Next, create a connection string, but when you select the driver type, a template will be created, so specify only the folder for DB.
- This time, I specified
C: \ Users \ NKOJIMA \ DerbyTestas the folder for DB. - Also,
create = trueis written on the screenshot, but this is specified when the specified folder does not exist.
Connection to DB
- Go back to the DB Viewer perspective again, select the
DerbyTestyou just created and click Connect.
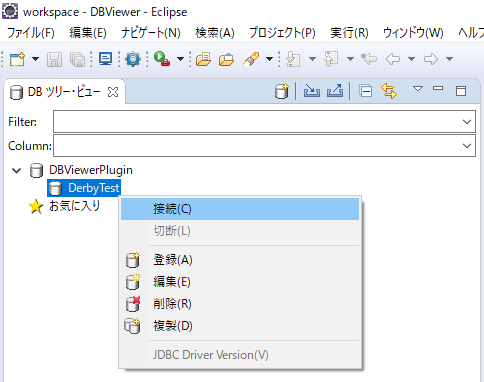
- If the connection to the DB is successful, you can list the schemas in the DB as shown in the figure below.
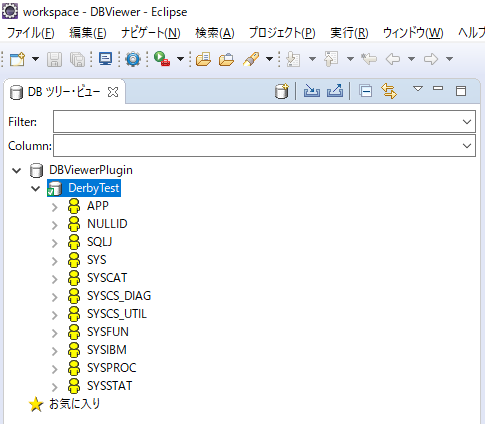
Use of DB
- In the DBViewer perspective, open the SQL Execution View tab located at the bottom (bottom right) and create the schema.
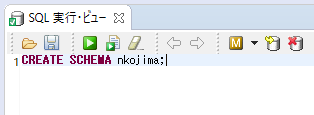
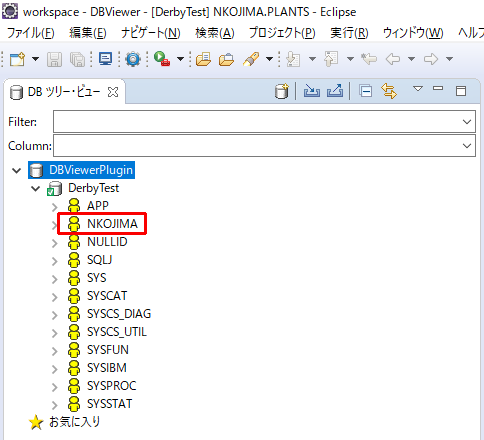
- If the schema is created successfully, the created schema will be displayed as shown in the figure below.
- Continue to create the table.
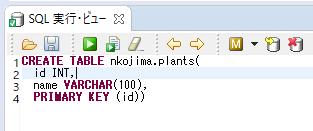
- The following table shows the typical data types that can be used with Apache Derby.
- I referred to Derby Reference Manual --Apache Derby 10.14.
| Data type | Range of values | Remarks |
|---|---|---|
| INTEGER | -2147483648~2147483647 | |
| DOUBLE | -1.7976931348623157E+308~1.7976931348623157E+308 | |
| VARCHAR | Up to 32,Up to 672 characters | |
| DATE | - | java.Any date recognized by sql |
| TIME | - | java.Any time recognized by sql |
| TIMESTAMP | - | Value(dateandtime) of DATE and TIME combined |
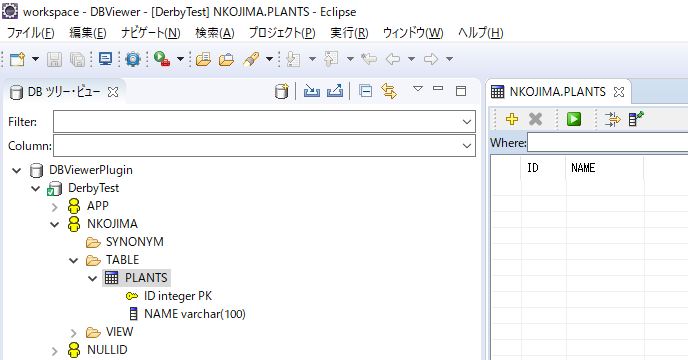
- Once the table is created, you can see the definition of the created table as shown in the figure below.
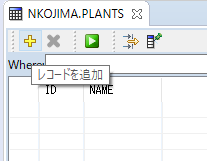
- With the created table selected, you can manually add records by clicking [+] on the right (upper right) panel of the DB Viewer perspective.
- When the data is entered, it will be displayed like this.
- You can also search the entered data by writing a SELECT statement in the [SQL Execution / View] tab located on the lower side (lower right).
Reference URL
Recommended Posts
